
Download videos from YouTube to your PC
The software previously known as YouTube Catcher offers us one of the best methods to download videos to our computer, to be able to keep a local copy on our hard drive and watch them whenever we want without requiring an Internet connection and without having to worry about our favorite videos being removed from the sites that host them. What are you waiting for to download aTube Catcher for PC totally free?
Over 120,000,000 videos downloaded with this program.
aTube Catcher, which is the name of this new version, can be used not only to download videos from YouTube, although we have to admit that it's the first site we go to watch all kinds of videos: music, movie trailers, video tutorials, walkthroughs, and youtuber reviews. It can also be used to download contents from video sites like Vimeo, Facebook, Dailymotion, Metacafe, Spike, Yahoo!, Globo or RTVE. And, of course, webs that host porn videos.
Main features
But, although its main function is to download videos, it also offers us a series of features that make it a really valid tool to burn optical discs or record audio, video tutorials, convert video formats, etc. so it's not only a great alternative to youtube-dl, but also to Format Factory or Camtasia, taking into account that the program is not exclusively dedicated to these tasks.
- Compatible with main video streaming webs, including sites with adult contents.
- Turbo Downloads that provide a download speed higher than any other download software.
- Video and MP3 file search engine.
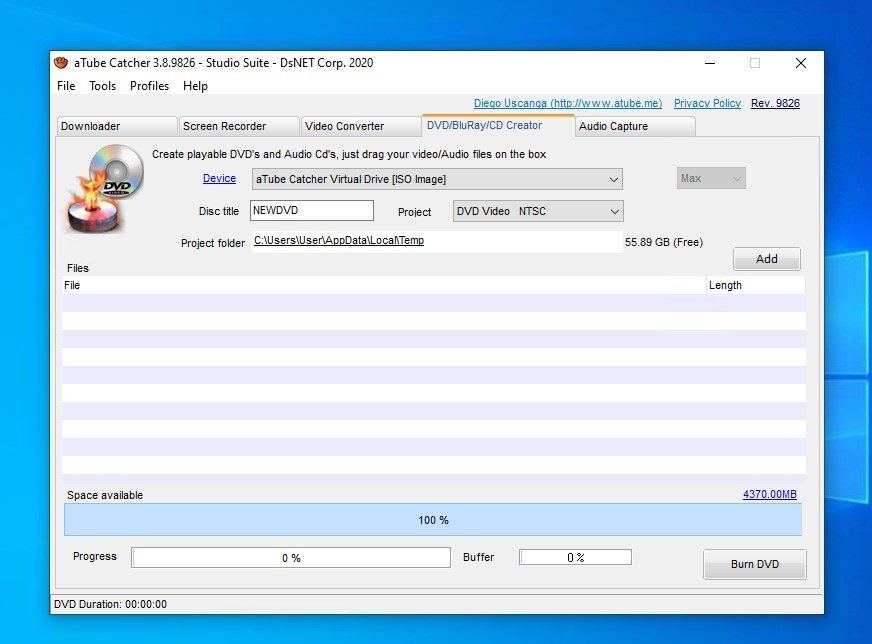
- Incorporated CD and DVD burner.
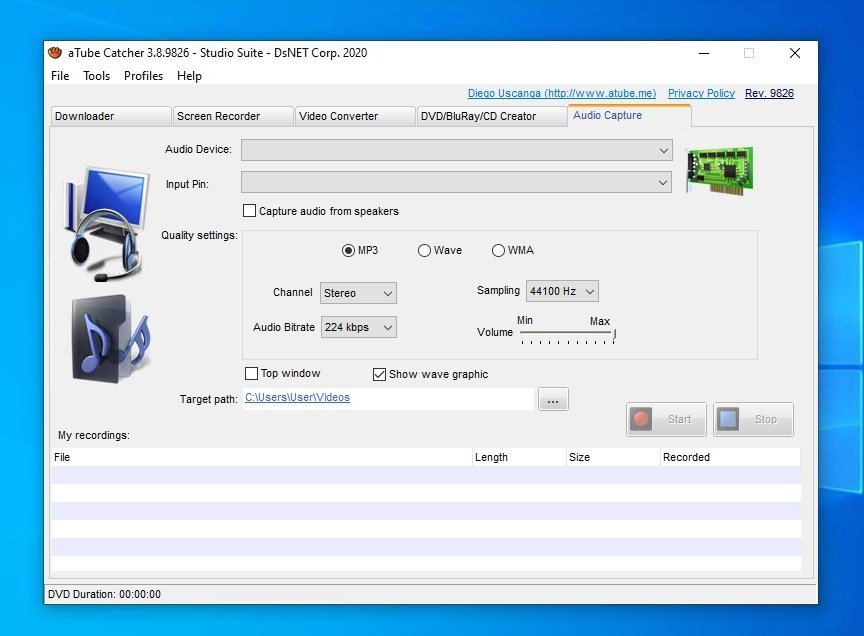
- Integrated audio recorder.
- Screen capture tool to record video tutorials.
- Stream Catcher mode that captures video and MP3 files from any web.
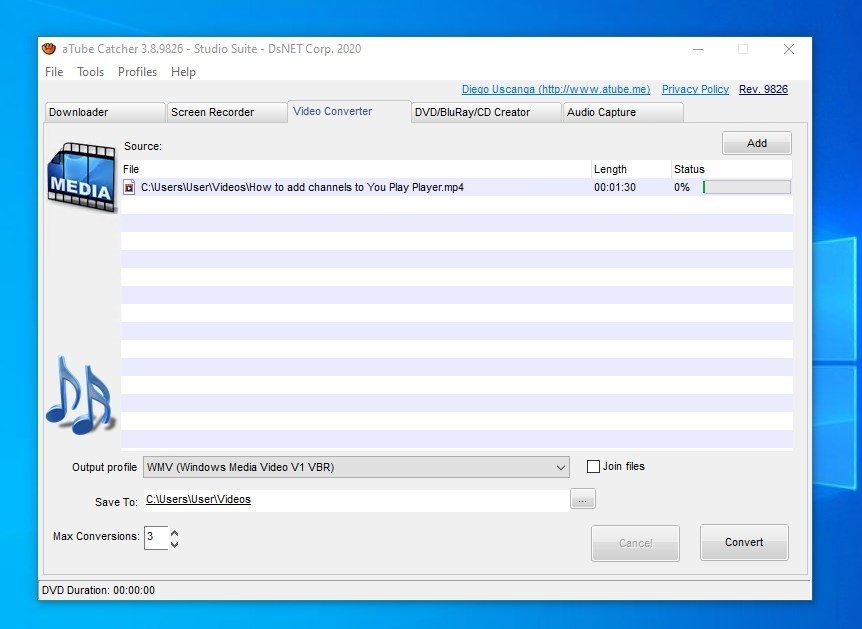
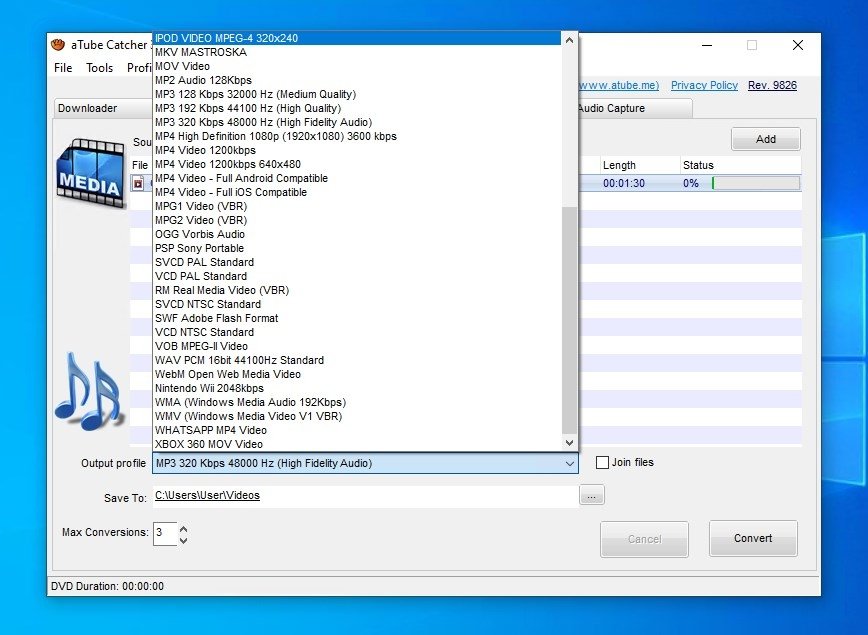
- Video converter that supports many different formats (3GP, 3G2, AVI, Xvid, MP4, MP3, MP2, WMA, WMV, GIF, FLAC, WAV, PSP, MPG, VOB, OGG, MOV, AVI y SWF amongst others).
- Edition of videos to join them in a single file.
- Download queue management.
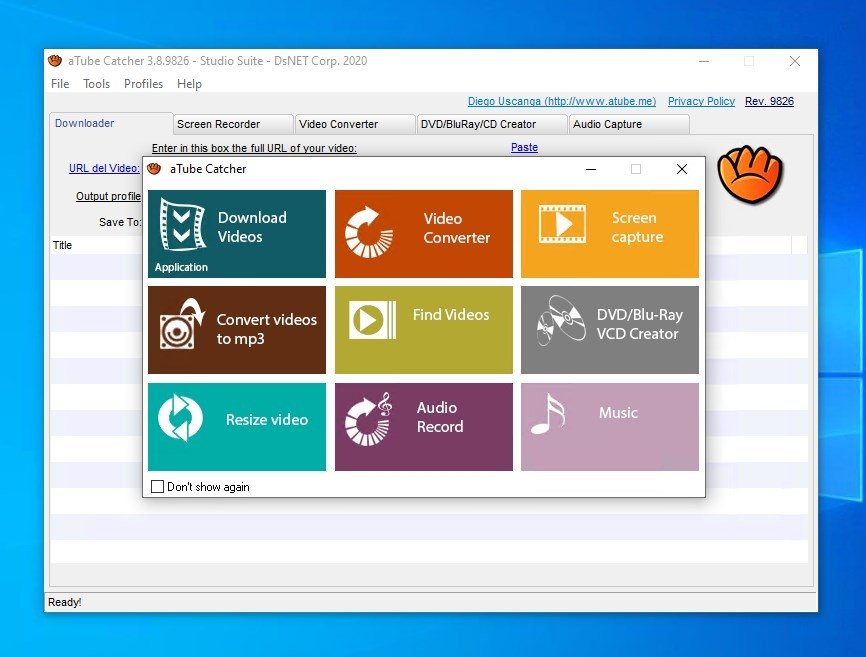
How to download contents using this program
It's so easy to download videos once you download aTube Catcher for PC that we hardly need to explain anything. Despite including an integrated search engine, the best option is to type or paste the video URL straight into the Download tab and press the corresponding button.
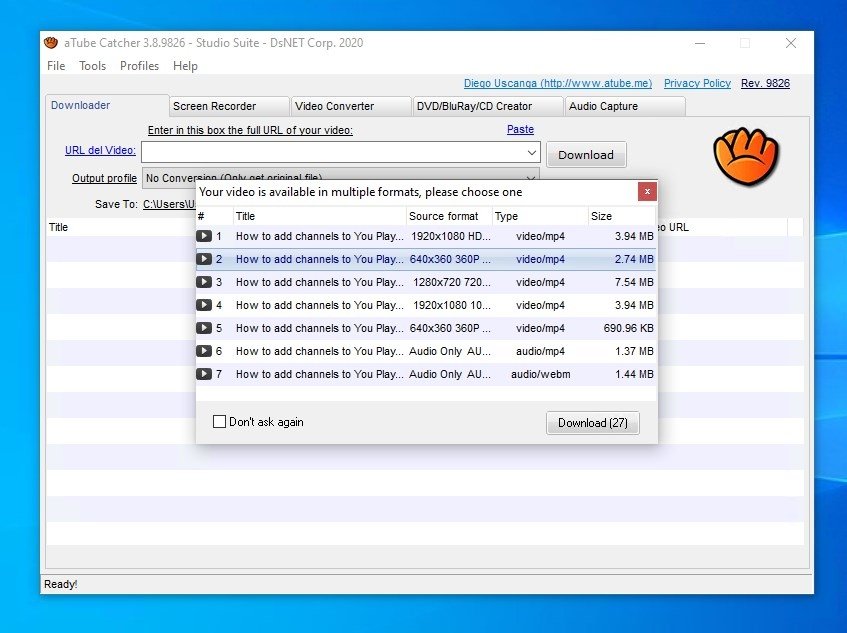
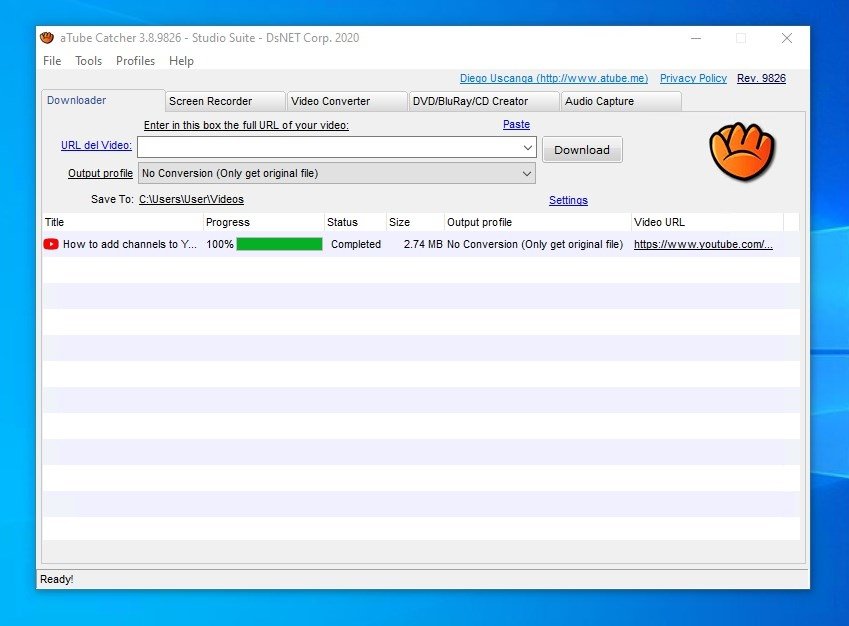
The program's interface will immediately show us a list with all the possible resolution qualities (1280x720, 640x360, 426x240, etc.) and formats for that video (WebM, MP4, 3GPP), and we'll just have to choose the one that suits our needs the best. By pressing Download again, the video will be added to the queue and we'll be able to observe the progress bar from the lower half of the screen. In a few minutes or seconds (depending on the size of the video), we'll have it saved in the folder of our choice.
aTube Catcher for macOS or Android?
And what about the users of other platforms different from Windows? Aren't they entitled to download videos from YouTube? Well, forgetting about the tiny detail that this is an illegal practice that violates quite a few copyrights, of course, they can download videos, but unfortunately not with this software that's only available for Microsoft's operating systems. Mac users will have to resort to programs like Free YouTube Downloader marketed by Wondershare, while the users of Android smartphones and tablets have a wider range of options with Tubemate, Snaptube, and Videoder, among the most popular alternatives.
And as we're at it, where can I download aTube Catcher safely, without viruses and totally free of charge? Well, you can go to the official page of this software, but since you've read all these lines you might as well hit the download button and get hold of this youtube downloader in a matter of seconds.
Changes to this latest version
The latest updates to aTube Catcher have been focused on improving and correcting minor errors and bugs of the application in order to improve the user experience when it comes to downloading videos. All the latter, in order to help this video downloader remain as the number one reference for whoever wants to download videos from YouTube or Facebook, convert formats, download music, or record their screen. The future changes will also go in that same direction unless its developer Diego Uscanga Cancino wants to surprise with a totally renovated version. In particular, this version fixes a bug regarding the app's titles.
 Antony Peel
A Telecommunications Engineer, chance led me to the translation industry, where after a few years, I discovered another side of the world of technology while translating what others were writing about mobile applications and software. That...