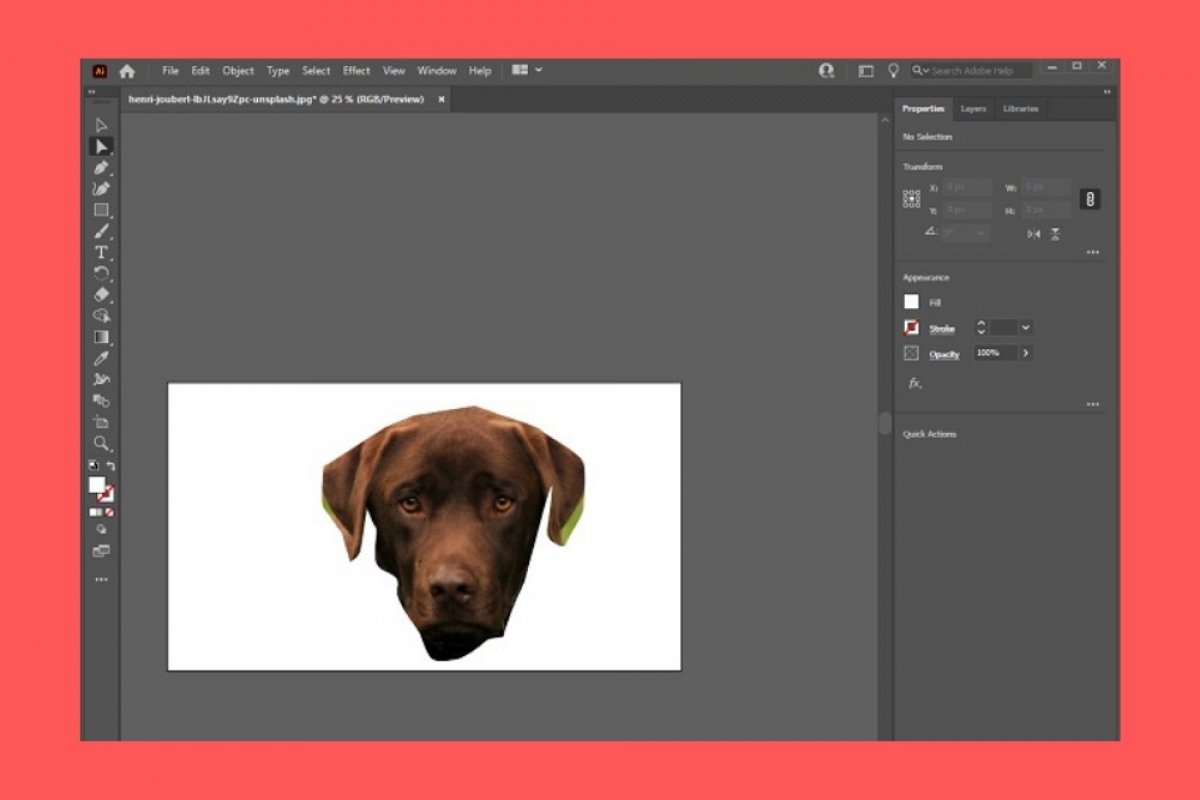

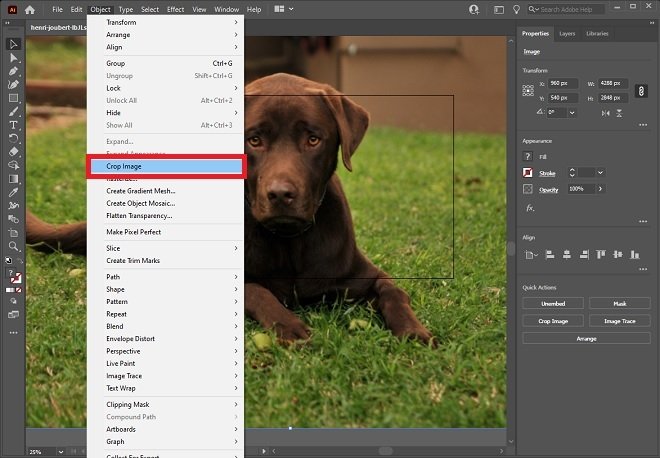
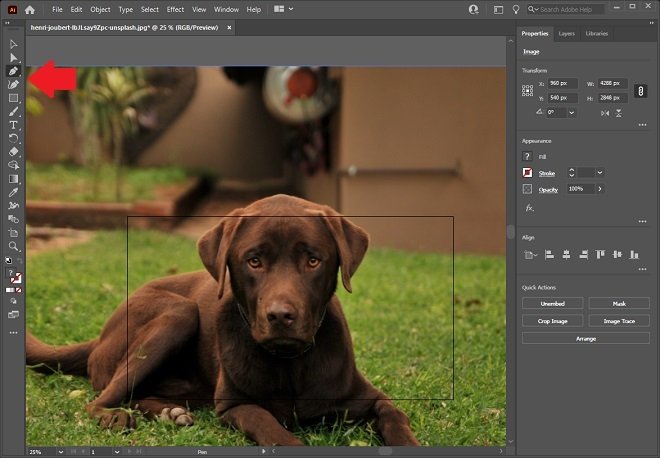
In Adobe Illustrator, you have several tools to help you crop images. The first one lets you select a rectangular area and delete the rest of the content. First, select the image and open the Object menu. There, click on Crop Image.
 Crop the image
Adjust the area you want to crop.
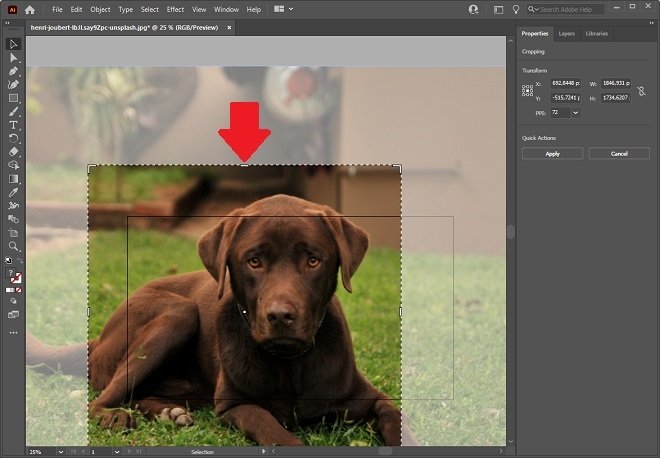 Select the crop area
Click Apply to set the changes.
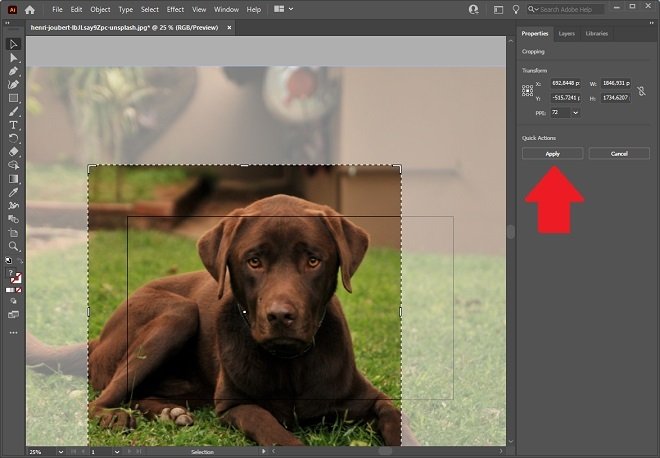 Apply the crop
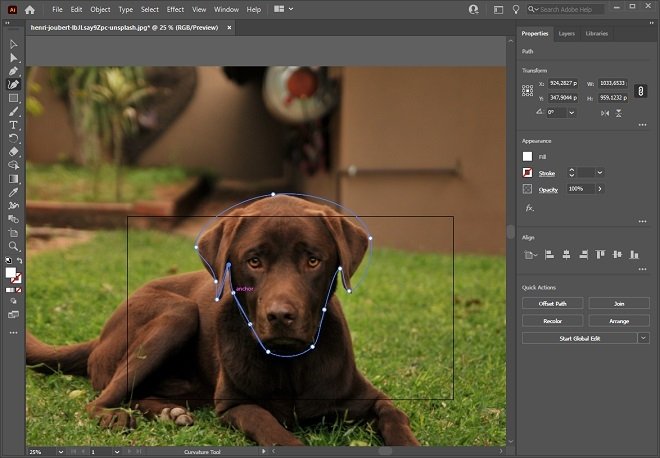
In addition to this method, you can create a custom selection with any shape using the stroke tool.
 Selection tool
Similarly, you can use the shape creation tool to create round or rectangular paths.
 Shape builder tool
Create the path over the image to crop a specific portion.
 Create an image trace
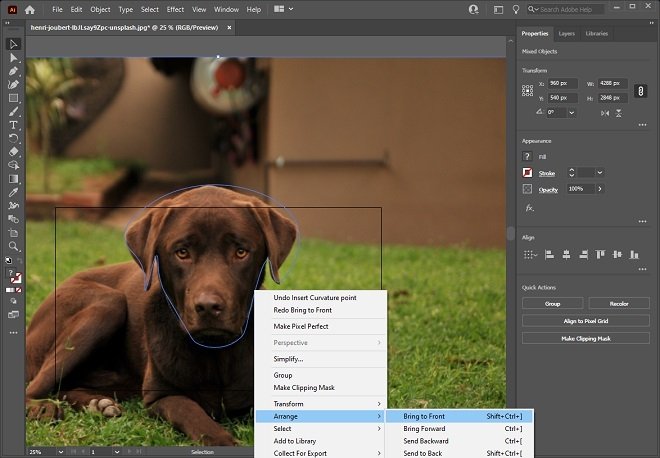
When you are done, make sure that the path is above the image. Do this by right-clicking, and from the menu, selecting Arrange, and then, Bring to Front.
 Bring the trace to the foreground
Now, select the image and the path with the selection tool. Next, open the Object menu, Clipping Mask, and finally, click on Make.
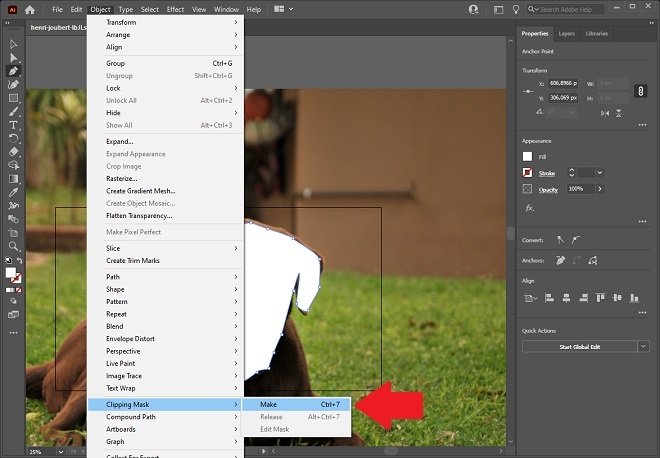 Cut out the trace
Adobe Illustrator will isolate the selection from the rest of the image so you can work with it.
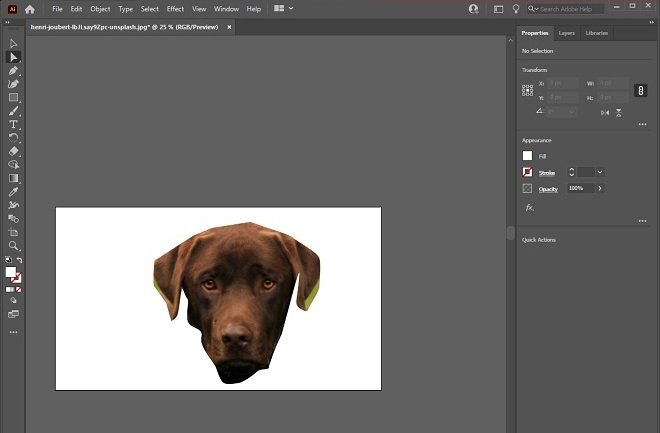 Result of the cropping
Finally, to split an object into a grid, select it and open the Path option from the Object menu. There, click on Split Into Grid.
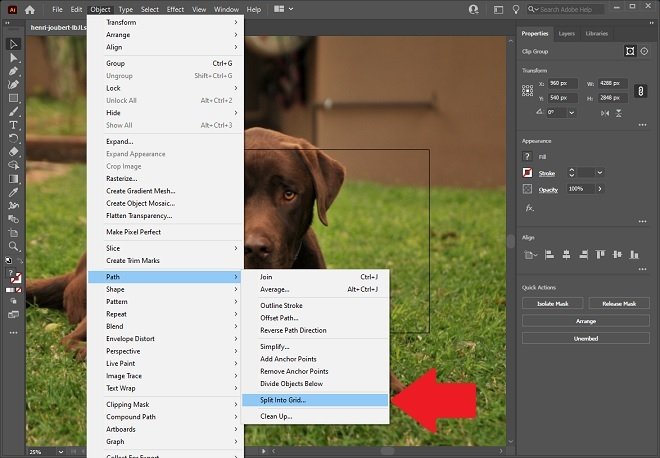 Crop the image on the grid
Choose the number of columns and files and click on Ok.
 Confirm the grid cropping
A grid will be drawn over your image, letting you divide it into several portions of the same size. Remember that, when you finish cropping your image, you must save the changes. You can do it as a project, in Adobe Illustrator's own format, or exporting the file as an image, using the extension that suits you best. This last option is available in the File menu, in the Export section.
