
The pen tool lets you design custom shapes with straight and curved lines. It is also perfect for creating a specific selection on an image and cropping that section. If you want to create shapes with straight lines, use the pen. It is located in the Illustrator tools area.
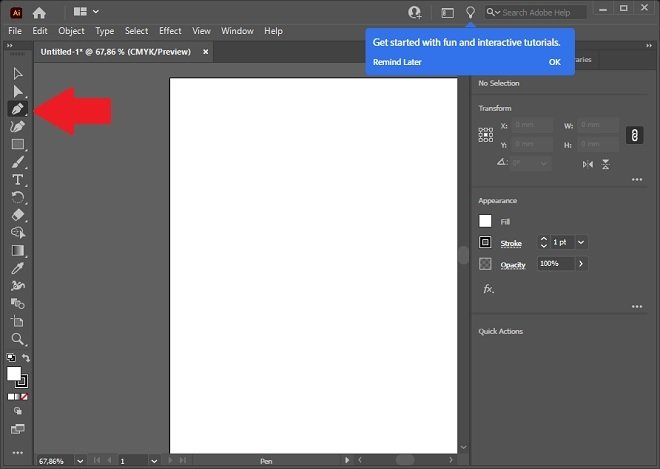 Enable the pen
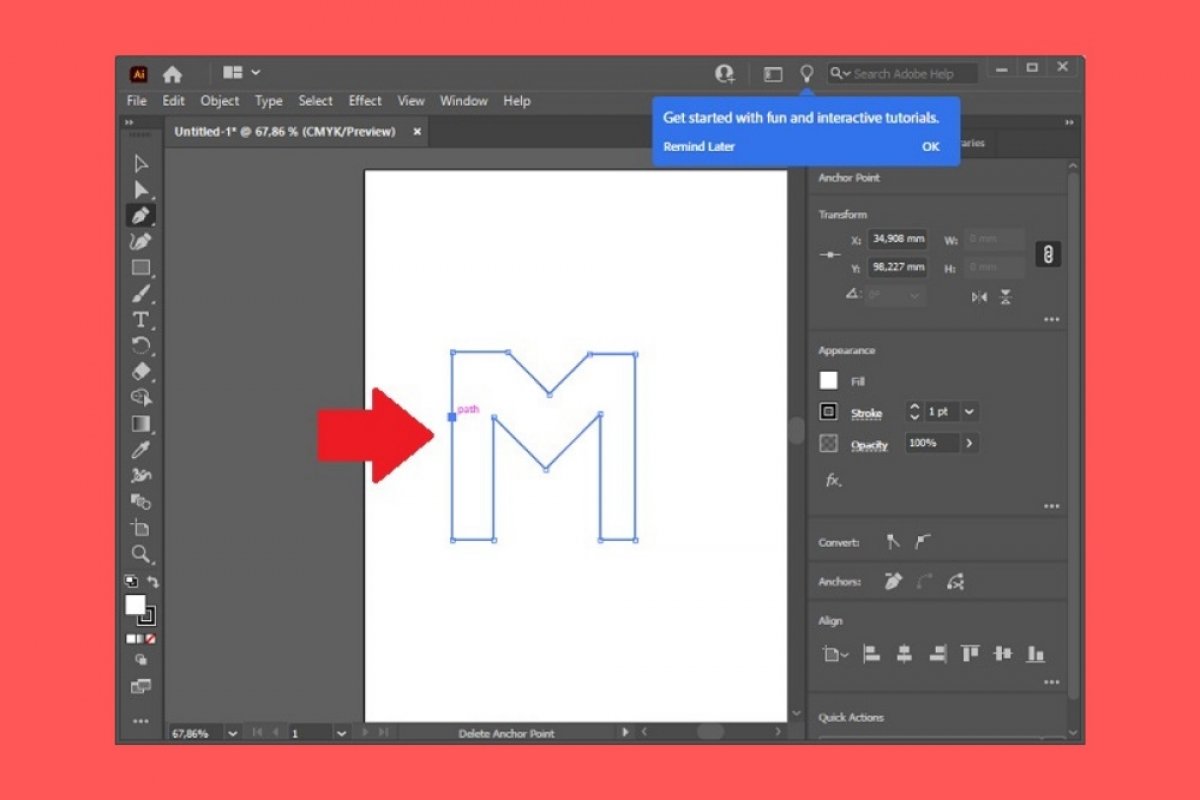
Now, click on a point on the canvas, and then, click a second time on another area. Repeat the process until your custom shape is created. Remember to click each time you want to change the direction of the outline. You can also hold down the shift key to activate the angle guide.
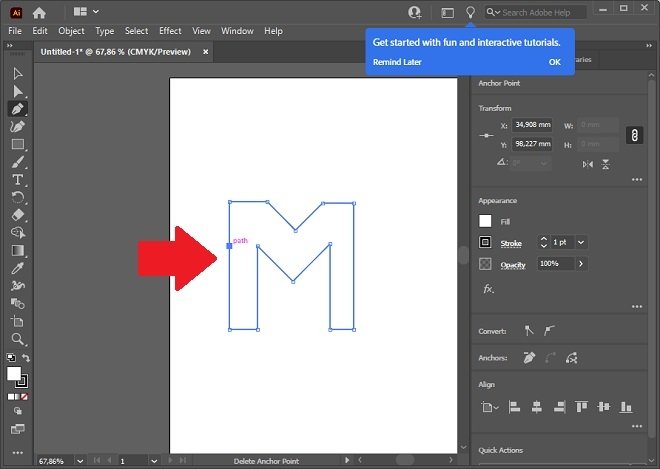 Create a shape with the pen
On the other hand, if you select the pen tool with curved strokes, you will create objects with curved lines. When you add new nodes to your shape, Illustrator will complete the curvature automatically.
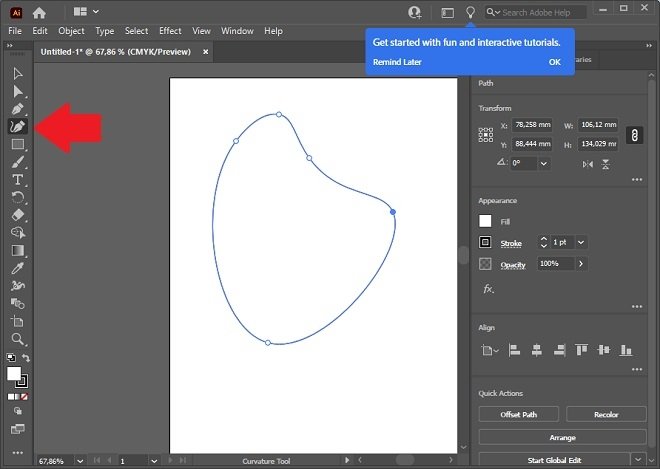 Create a trace with curved lines
Note that you can change the pen tool at any time. In this way, you can create one part of your object with straight lines and the other with curved lines. The choice of tool will depend on your needs and the type of figure you want to create.
When your shape is ready, you can change the fill color by clicking on the colored square next to Fill on the right side of the screen.
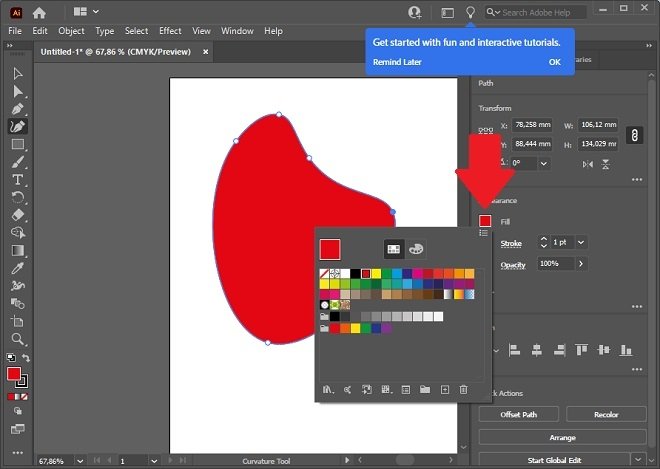 Change the background color of the shape
You can also freely modify its size. First, select the shape you have just created and then drag any of the 8 points you will see in its outline. If you want to keep the proportions, press shift during the process.
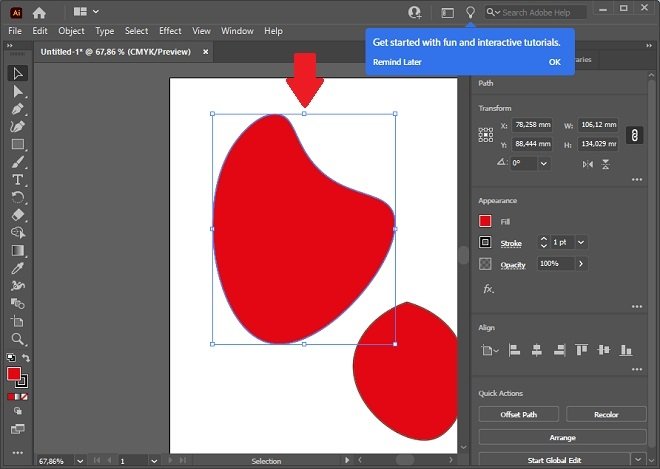 Change the size of the shape
When you are finished, you can create more objects by activating the pen again. Remember to save your changes when you are done, either as a project or as an image, using the export menu under File.
