
Signatures are an essential element of email. This is the section where the farewell, contact details, and other relevant information are included. Gmail for Android lets you modify it for all emails sent from your smartphone. Therefore, the signature you use from your device will be different from the one that appears in the web version. Why is that? Sometimes, it is useful to use a mobile signature that lets recipients know that you are writing from a phone. For example, it is a good excuse for spelling mistakes or autocorrect changes.
No matter why you want to include a signature, doing so in Gmail for Android is easy. Just go to the application settings by opening the side menu and tapping Settings.
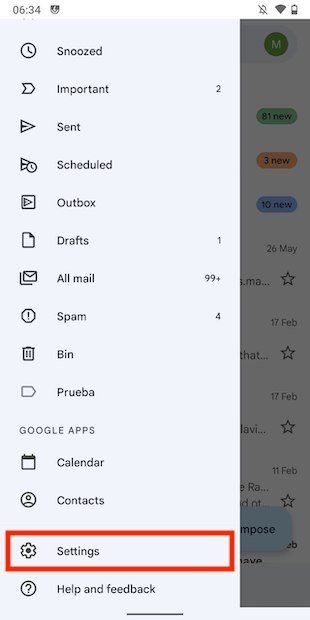 Open Gmail’s settings
In the list, select the account you want to add a signature to.
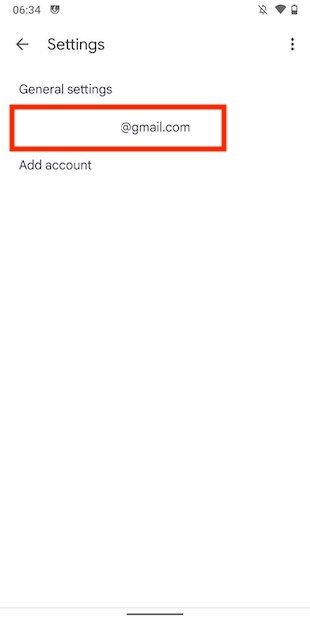 Account configuration in Gmail
The message Not set will be displayed under the Mobile signature setting. That means you have not yet established a mobile signature. Tap on the button to do so.
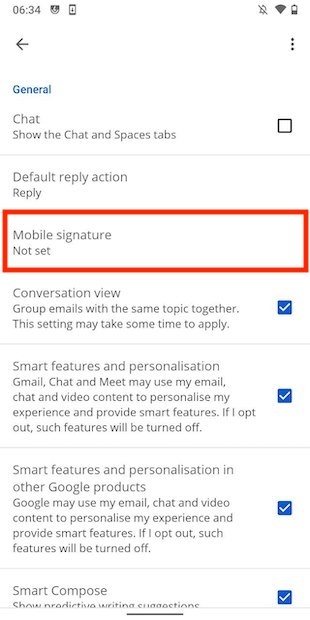 Change the mobile signature
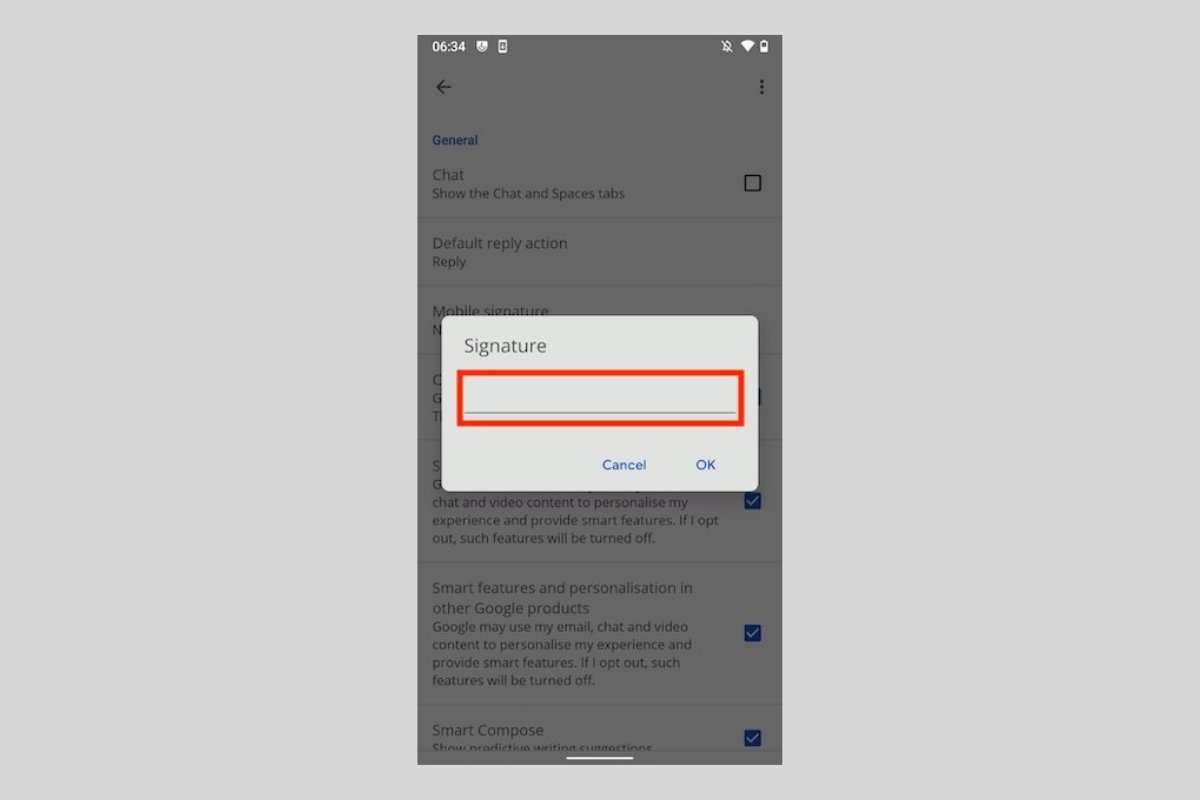
Type the signature in the text field. Remember that it is possible to use line breaks and include emojis in the text.
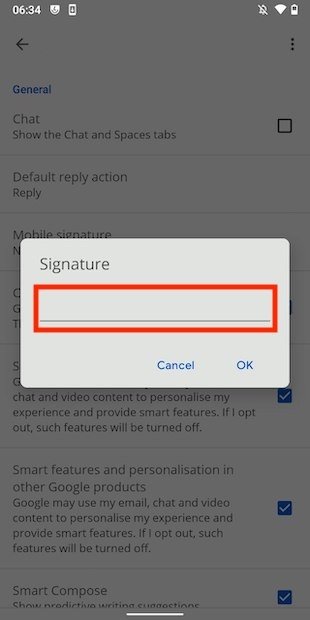 Input a new mobile signature
When you are done, tap on the Ok button to save the changes.
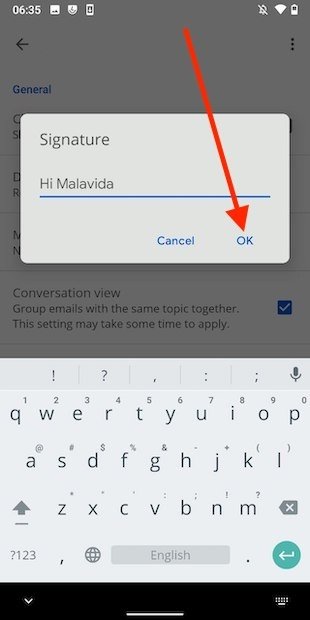 Save the new signature
The next time you start writing a new email, Gmail will automatically include the signature. You do not have to do anything.
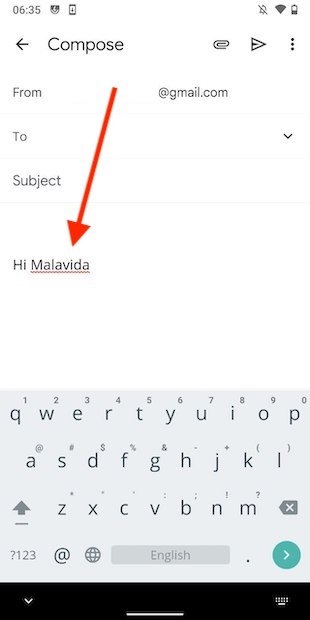 Signature applied to a new email
Of course, your signature may not be suitable for certain emails. If so, delete it manually. And if you want to make modifications or delete it, repeat the steps mentioned in this article. Remember to tap on Ok to save the changes. Finally, remember that these settings are different for each account.
