
Scheduling the sending of your emails with Gmail is possible from its official application. In fact, it is a feature that is included natively, so there is no need to install any additional software.
The first step is to compose a new email. To do this, tap on the Compose button in the lower right corner of the home screen.
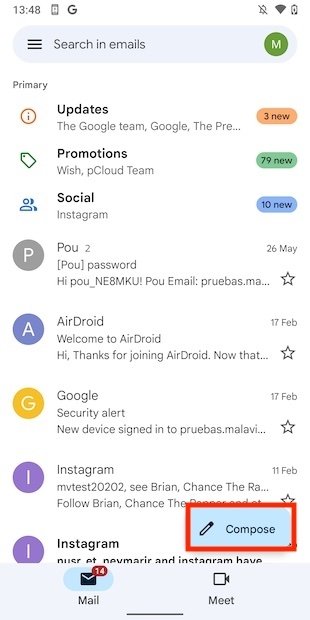 Write a new email
Enter all the necessary information. You must set the recipient, the subject of the message, and its content. When you have completed the email with all the required data, tap on the three dots to open the options menu.
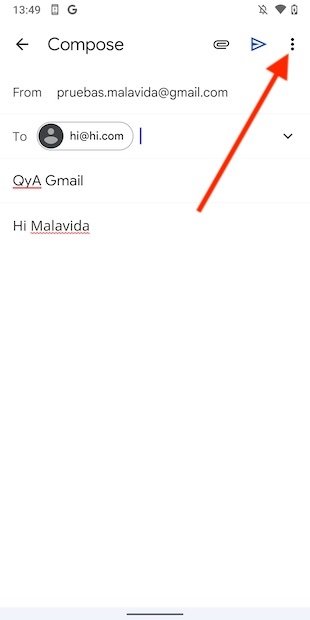 Open other email options
Select Schedule send to configure the schedule for sending the email.
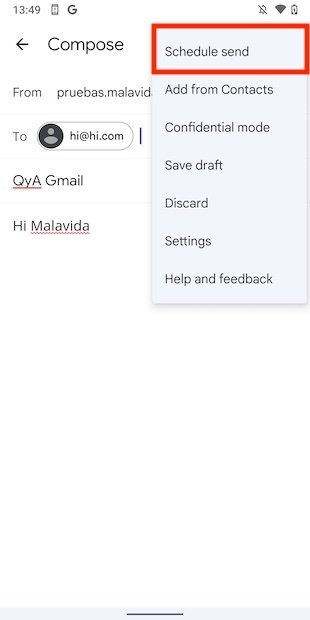 Option to schedule the sending
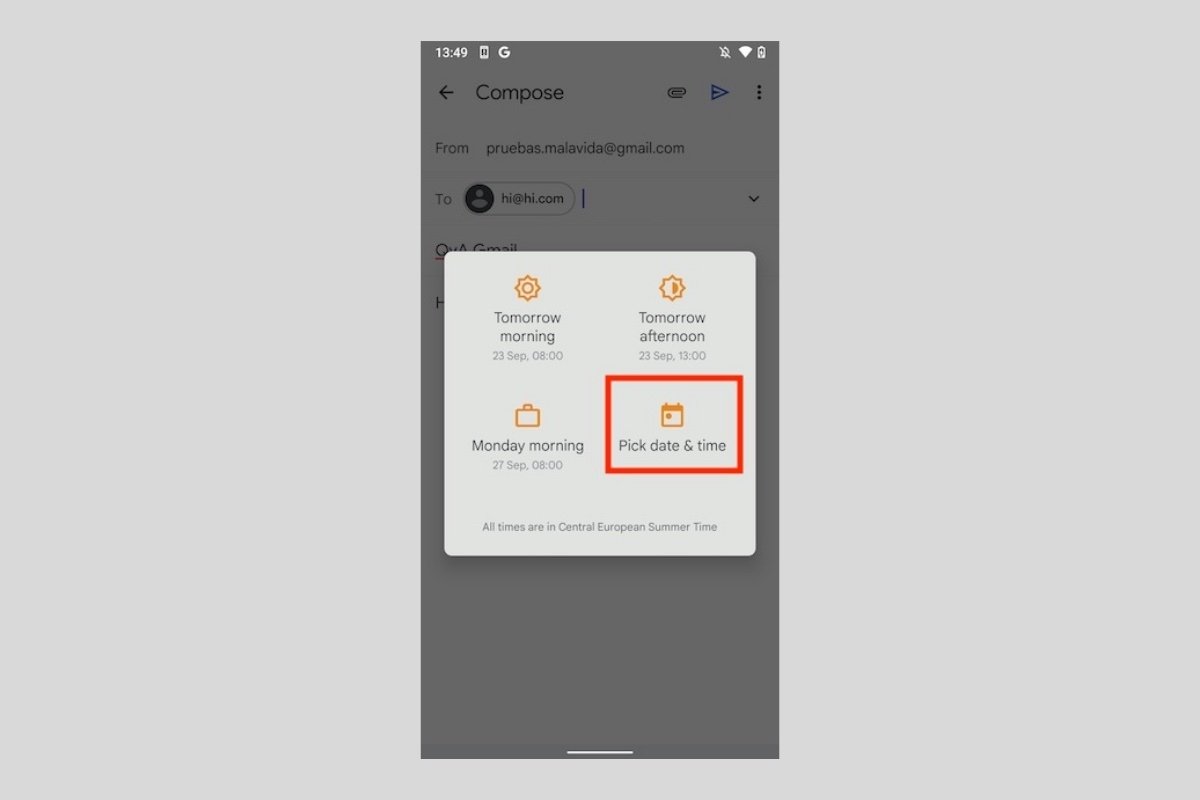
In the pop-up dialog, select a default setting. You have the possibility of scheduling it for the next day in the morning, in the afternoon, or early the following week. Of course, if none of these settings suit your needs, use the Pick date & time button to set a custom date and time.
 Select a time and date
Choose the most appropriate time for Gmail to send. After you have defined it, tap on Schedule send to confirm.
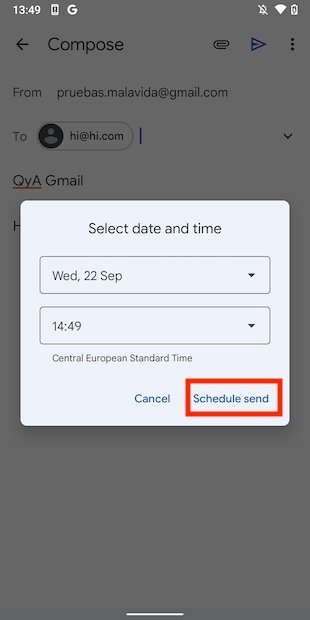 Confirm scheduled sending
After following these instructions, just wait for the right time for the sending to take place. Remember that you can cancel the sending at any time. How? Just go to the scheduled messages section in the main Gmail menu. When a mailing is programmed, a space is enabled where all the mails pending to be sent are displayed. There you have the same options as in the other folders. It is possible to delete conversations, edit them, or even reschedule them if needed.
