
In order to use Kodi on a Samsung Smart TV, you will have to turn to different installation options since there is no specific version of Kodi for these TVs, neither on their website nor among the apps available on the Samsung market. Unfortunately, televisions of this brand have their own operating system (Tizen).
However, there are some solutions to be able to enjoy Kodi on a Samsung Smart TV, although they involve having different devices. Let us look at each case in detail.
Using Kodi on Samsung Smart TV with Chromecast
If you have a Chromecast, it is possible to use it through a smartphone to enjoy Kodi on your TV. To achieve this, first, you must have installed and configured your Chromecast and Google Home on your mobile to manage it, the first thing you must do is download and install Kodi for Android, you can do it through the green Download button available at the end of this tutorial. Click the green button also in the following windows to get the APK file and install it as you would install any other APK file.
Your next step is to install a casting application that lets you send multimedia content from your mobile phone to the device. Kodi will not be installed on the Chromecast, it will be installed on the mobile from where we will send the signal to the device. Since Kodi does not include any native features to do so, a third-party application is required. In this case, we recommend Web Video Cast, one of the most popular options. First, download your installation file by using the green button provided here. Tap it and repeat the operation in the following windows.
Then, you can launch the installation either from the notification you will receive on your screen (this may vary depending on the version of Android you have) or by looking for the APK file in your downloads folder.
The first time you open the app you will see a tutorial. You can skip it by tapping Skip in the lower-left corner of the screen.
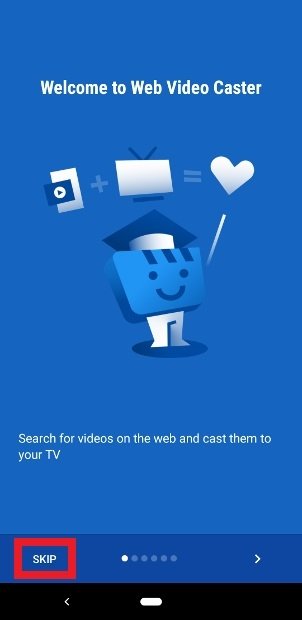 Tutorial to use Web Video Cast
You must now grant permission to the app. Be sure to tap on all the Allow buttons. Once done, tap Done in the lower right corner.
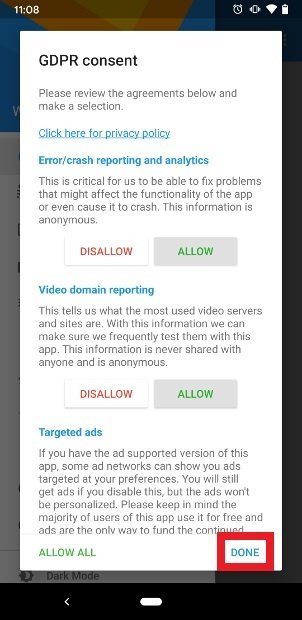 Accept the app’s permissions
In this window, you are warned that the app can display custom ads if you wish. Tap Yes, I agree or No, thank you. You will still watch advertising, the only thing that determines your choice at this point is whether those ads are more relevant or less relevant depending on your usage.
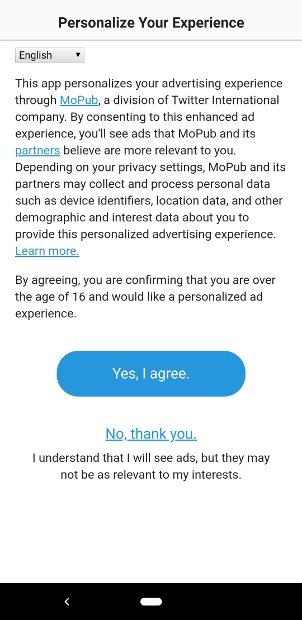 Choose the kind of ads you want to view
Confirm your previous choice to finally go to the app interface. Tap Close Window at the bottom.
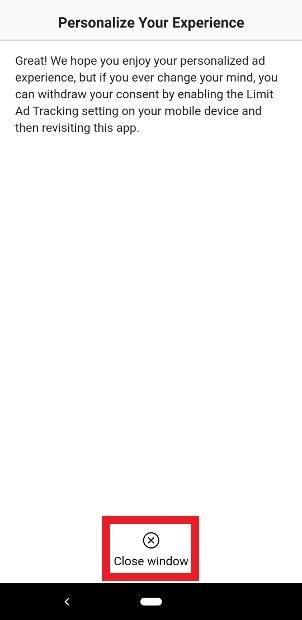 Press Close window to shut this window
With Web Video Cast already open on your mobile screen, tap the TV-shaped icon in the top right corner with a wi-fi signal.
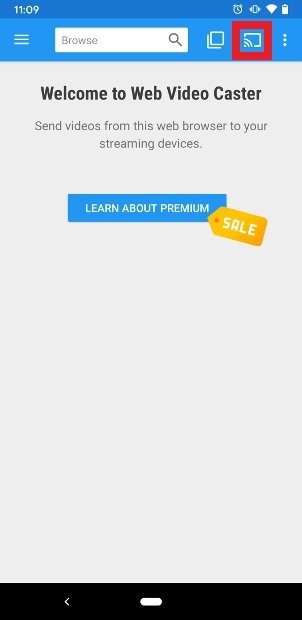 Press the Cast button in the bottom right corner
Now you can choose what type of device to scan on your network. The first option is Google Cast, precisely the type of device we are configuring in this guide. Be sure to check its box (you can also check the other options already in place). When you have it set up, tap Done in the lower right corner.
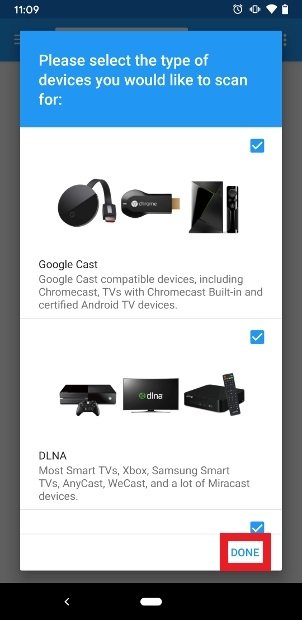 Select the devices to scan
The app will start scanning all the devices on your network and will show you a list of detected devices, you will see the Chromecast you are using among them. Tap it.
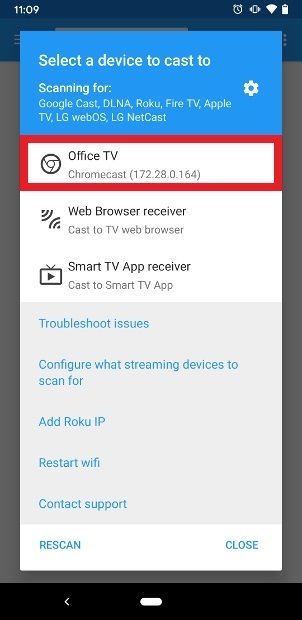 Choose Chromecast on the list
If everything has gone correctly, now the TV-shaped icon on the Web Video Cast home page will have turned white.
Now, display the left side menu by tapping on the 3 horizontal stripes icon visible in the top left corner. Scroll down and click on the Kodi option.
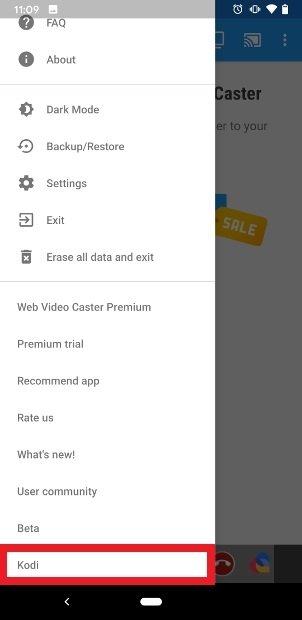 Search for Kodi at the end of the list
Android will ask you for permission to let the app access the files on your phone. Tap on Allow.
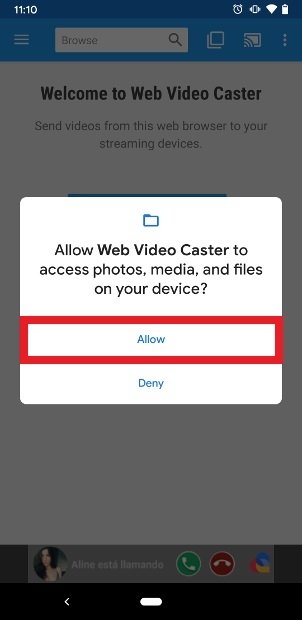 Give the app permission to access your content
For the configuration to work, Web Video Caster needs to install an additional XML file that will let you send Kodi content to the screen. Tap Yes.
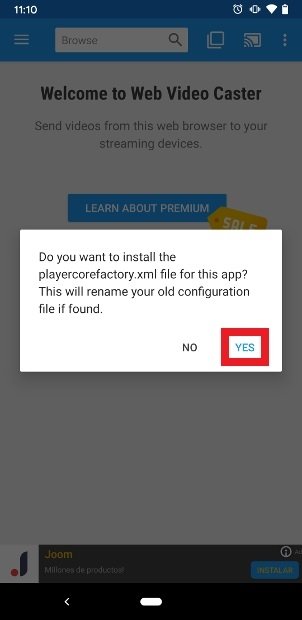 Press Yes to install the XML file
Once this is done, you will be notified that the XML file has been successfully copied to the right place and that you need to restart your Kodi app. Tap Close and close the Kodi run if it is on.
 Press Close and restart Kodi
Now, run Kodi and find the content you want to watch as you normally would.
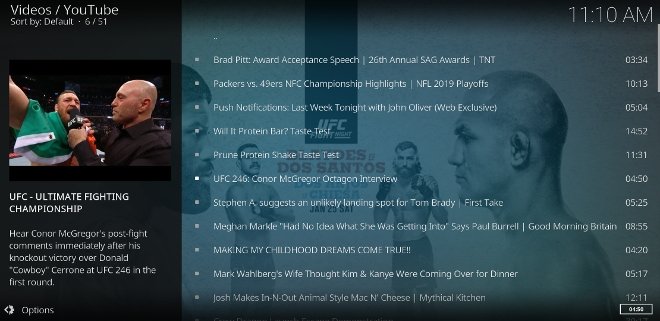 Access Kodi and play any content
When you try to play the content, a new window will ask if you want to route the video through your phone. Click Yes in the lower right corner (be sure to check the Alway do this option if you do not want to be asked again in the future).
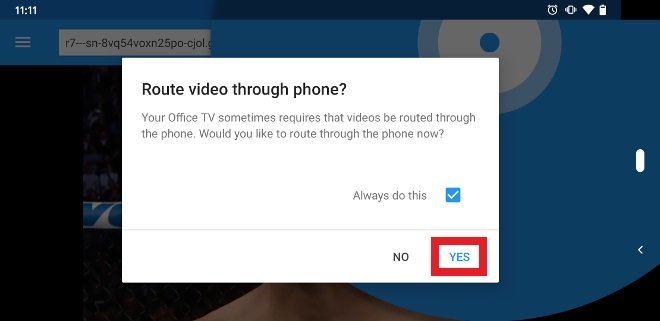 Press Yes to cast the content to the screen
From this point on, the content will be displayed on your TV screen, with your Android screen acting as the playback control.
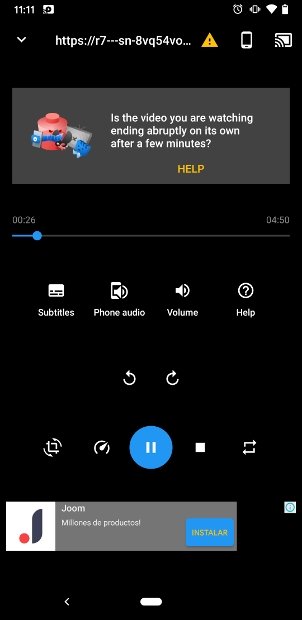 Kodi’s playback controls on your Android screen
If you look at the top, you will see a message asking if the video has stopped after a few minutes. Newer versions of Android include an app battery optimization feature that could cause playback to stop after a few minutes. Tap on Help and then select the option Disable Optimizations (Recommended).
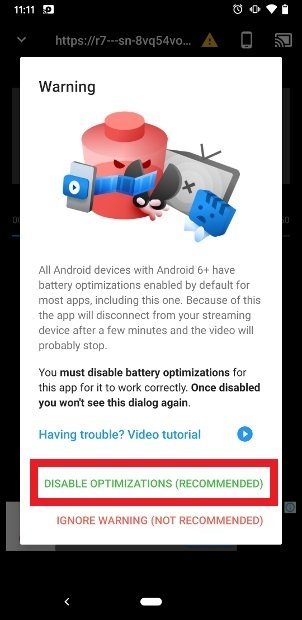 Notification about battery optimization for apps
You will be redirected to the corresponding settings section. Find Kodi in the list and click it (if the list is empty or you do not see Kodi among the options, be sure to select the All apps option at the top of the screen so it shows all the apps installed in the device).
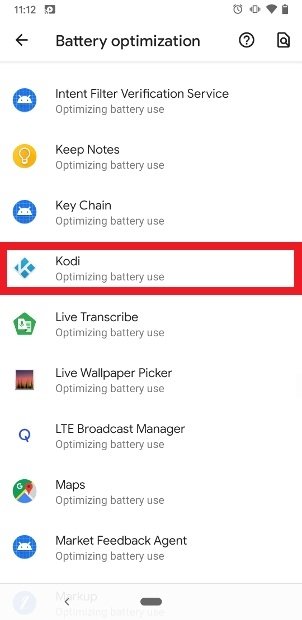 Kodi on the list of battery optimization apps
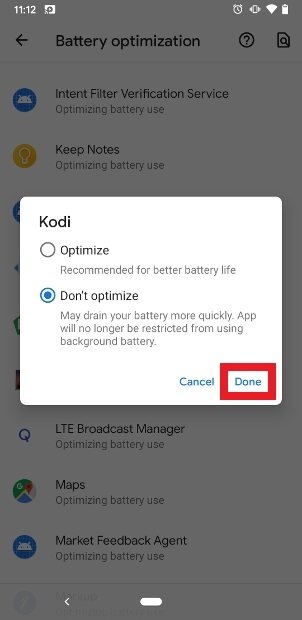
Check the option Don't optimize. Once it is done, tap Done.
 Disable the battery optimization option for Kodi
Using Kodi on Samsung Smart TV with Amazon Fire Stick
If you have an Amazon Fire TV device, it is possible to install the version of Android by Kodi on it. We explain how to use Kodi on a Samsung Smart TV using an Amazon Fire Stick step by step so you do not get lost along the way.
Using Kodi on Samsung Smart TV with a TV Box
TV Boxes are small devices that can be connected to a TV to turn it into a Smart TV. While it is true that our TV is now a Smart TV, as we indicated at the beginning, it uses the Tizen operating system and not Android. For this reason, a workaround to install Kodi consists of using one of these devices equipped with Android and capable of installing APK files like Kodi.
If you have a TV Box, there are a couple of options to install Kodi. The first is obvious: use your own web browser to visit our website, download Kodi from there and run its installation.
First, go to your Android TV and look for the Browser application, the web browser that comes pre-installed on the operating system.
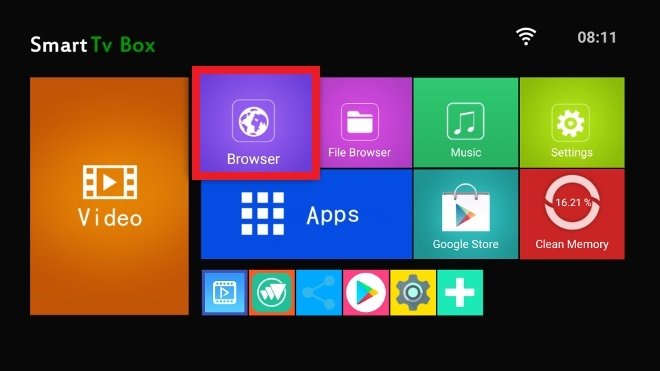 Web browser built into an Android TV Box
Now, it is time to access our website. Enter the URL in the address bar and press Enter. Once you get there, use the search engine to find Kodi, enter its name in the search box and click on the magnifying glass on the right.
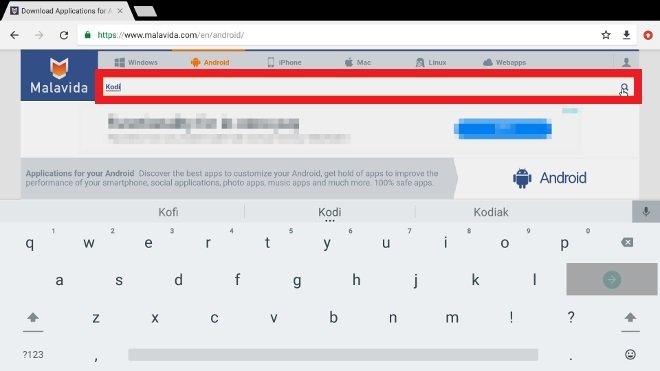 Use the search engine to find Kodi
In a few seconds, you will see the results of your search. Simply tap on the entry of Kodi.
 Access Kodi from the search results
Use the green Download button to get the APK of the media center. Press the same green button again in the following windows to confirm the download.
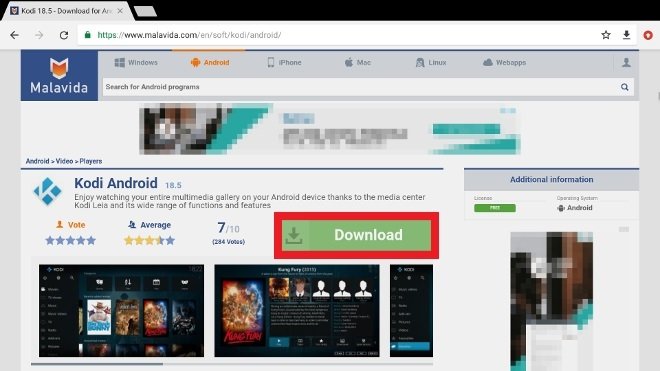 Press the green download button
When the download is complete, you have two options, open the file from the same notification that will appear on the screen using the Open button (may vary between Android versions) or look for the APK in your download folder to run it from there.
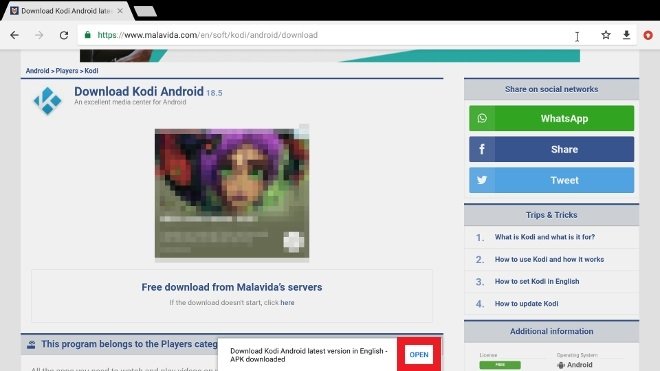 Press Open to open the downloaded APK
Tap Install in the lower right corner to begin the installation process.
 Press Install in the bottom right corner
Once the installation is complete, tap Open to open the Kodi app. From this moment, you can also open the app from the icon that is automatically created in your menu of installed apps.
 Press Open to open the installed app
Now, you must grant Kodi access to your multimedia content, tap the continue button.
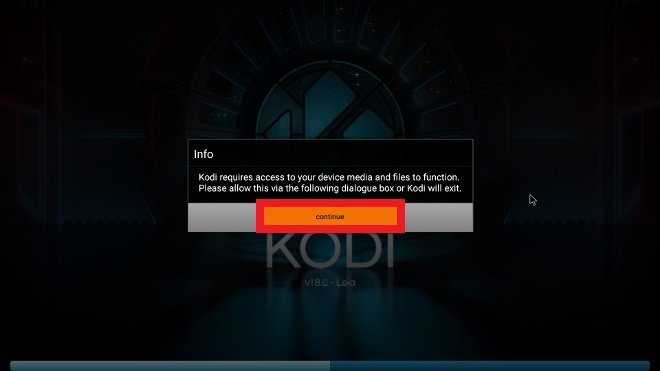 Press Continue to grant Kodi permissions
Confirm that you accept the required permissions in this new window and that you have finished configuring Kodi on your TV Box.
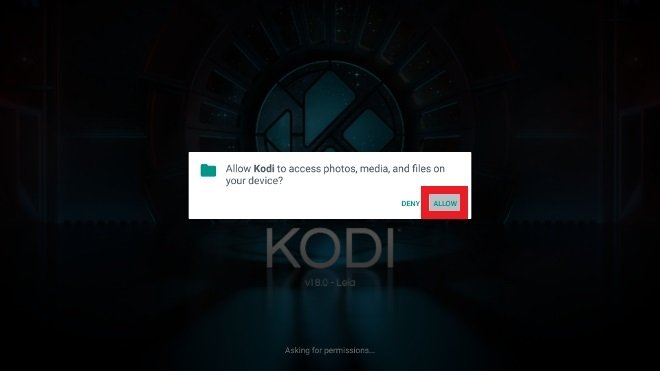 Confirm the multimedia access permissions
The second option is to download the Kodi APK file to a computer, transfer it to a USB memory stick and then connect it to our TV Box. Obviously, to do this, our TV Box must have some USB input available.
Turn on your TV and access the interface of Android TV. Search your apps in the file browser and access it.
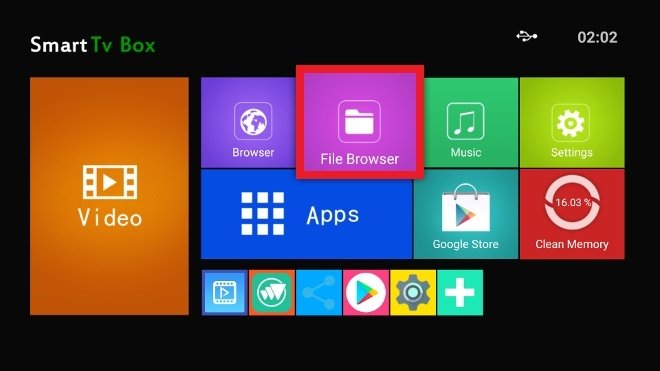 Explorer on the Android TV home screen
Use the navigator to locate the USB connected to the USB input of the device. Then, locate the Kodi APK file storaged and tap it.
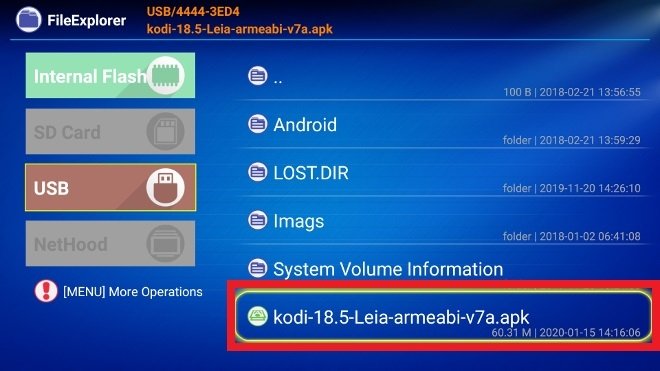 Content of the USB stick connected to the TV Box
The classic Android application installation window will be launched. Tap Install in the lower right corner of the screen.
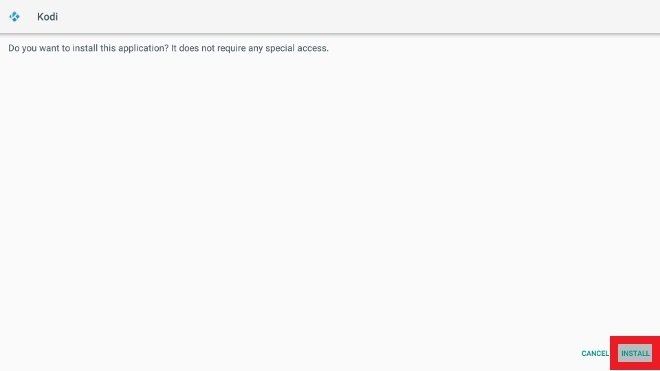 Press Install to run Kodi’s installation
With the complete installation, that button will become an Open button, press it to open Kodi.
Press Open to open the installed app
The first time you open it, you will need to grant Kodi permission to access the media content on your device. Answer affirmatively.
Press Continue to grant Kodi permissions
Confirm that you grant access permission to your videos, audios, images, etc.
Confirm the multimedia access permissions
In a few seconds, the Kodi interface will be displayed on your screen.
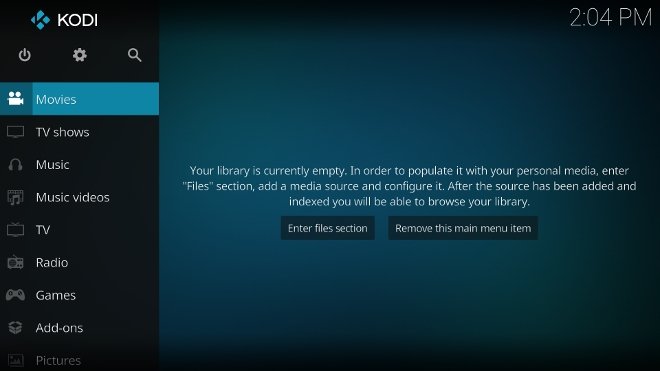 Kodi installed and open on an Android TV
Now, you have Kodi installed and available among all your apps, and you can even add it to the Home screen as we have done here.
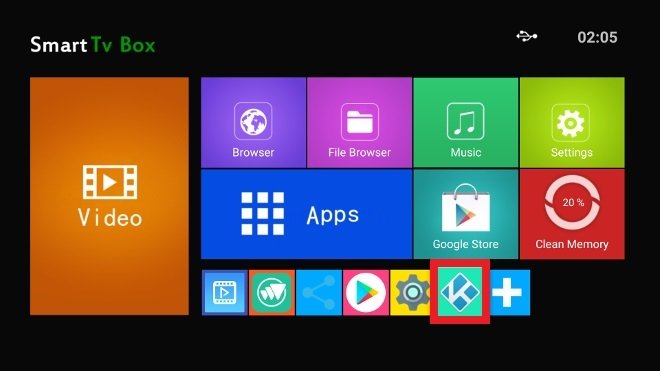 Kodi visible amongst the apps on our Android TV running on a Samsung TV set
Other ways to install Kodi on Samsung Smart TV
None of the above methods have worked for you or are they not valid in your particular case? Not all is lost. You still have a few more options to install Kodi on your TV.
Computers and Raspberry Pi
If you have a computer at home that you do not use (or even if you have a laptop that you use) you can install Kodi on it and connect it to your TV via HDMI cable. It is the most grotesque solution there is, but it may also be your only possible alternative.
Another option would be to buy a Raspberry Pi, a small economical computer where to install Kodi. There is a specific version of the media center for this type of device and its price is relatively low. It is one of the most used solutions among the community of users to enjoy Kodi on any TV, even on your Samsung.
Samsung Smartphones
If you have a Samsung phone, it may be compatible with the screencast function of the Smart TVs of the brand that shows on the TV. Install Kodi on your Android and use it there, but enjoy its image on TV.
If you do not have dongles, a TV box, a PC, a Raspberry Pi or a Samsung cell phone to make screencasts, we are afraid that you will not be able to use Kodi on your TV, and you will have to look for other alternatives.
