
Among the options offered by Microsoft Publisher when editing images is the option to snip. It is possible to snip the content of a graphic to your project's needs in just a few clicks.
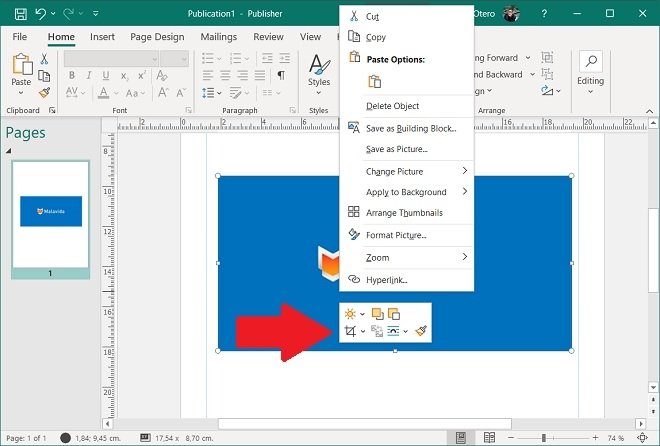
First, right-click on the image. In addition to the pop-up context menu, a small box will appear that provides direct access to some editing tools. The snipping function is identified by a square icon with a diagonal line. It is located in the lower-left corner of the box.
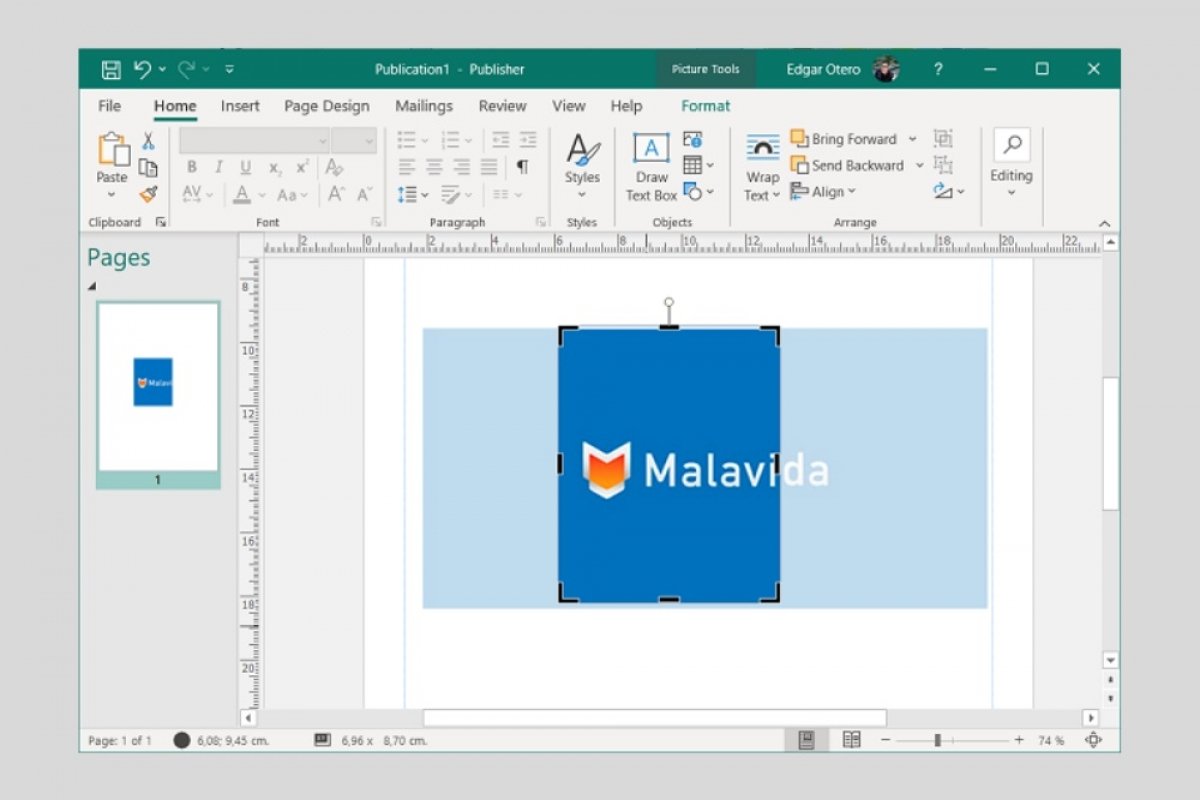
 Picture settings
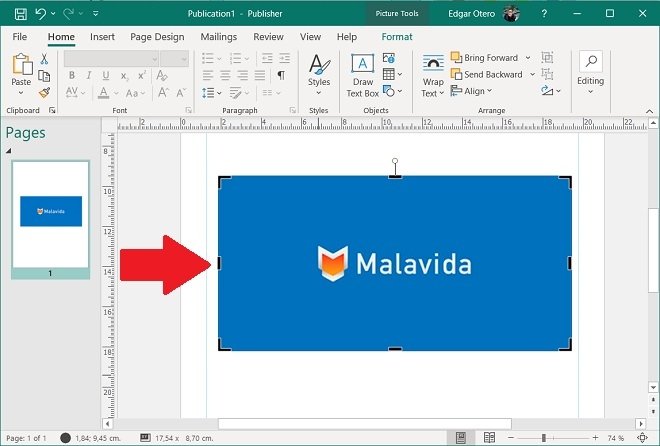
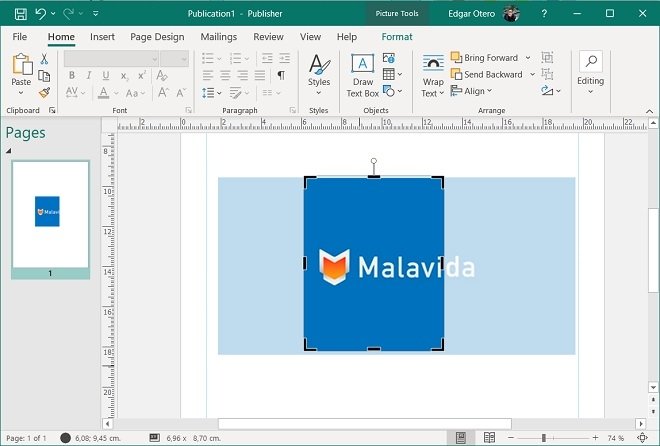
When you click on it, the resizing nodes will disappear and will be replaced by 8 black lines.
 Cropping settings enabled
Use each line to adjust the image content. The dimmed area is the area that will no longer be displayed after snipping.
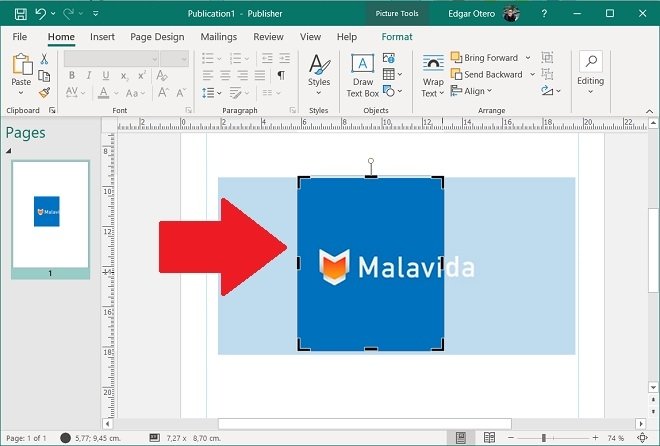 Crop effect
Click anywhere in the project to apply the changes.
 Crop applied
Now, the image has been snipped. However, the snippet in Microsoft Publisher is never definitively applied. In fact, you can modify or delete it at any time. Repeat the steps above to reactivate the snipping tool. The adjustment lines will reappear and the entire image content will be displayed.
 Recover cropped areas
Click again on any area of the document to confirm the modification. You can change the snip of an image as many times as you want. Of course, when exporting or printing your document, the image will always be snipped. You can also use other image editing tools included in Publisher, such as adjusting brightness or contrast, adding decorative elements, or modifying the size of the graphic.
