
The installation of Nero is done following the usual method. The first step you must take is to download its executable. Although you can get it from its official website, we recommend that you use the link below. This will let you download the latest version of Nero quickly and securely.
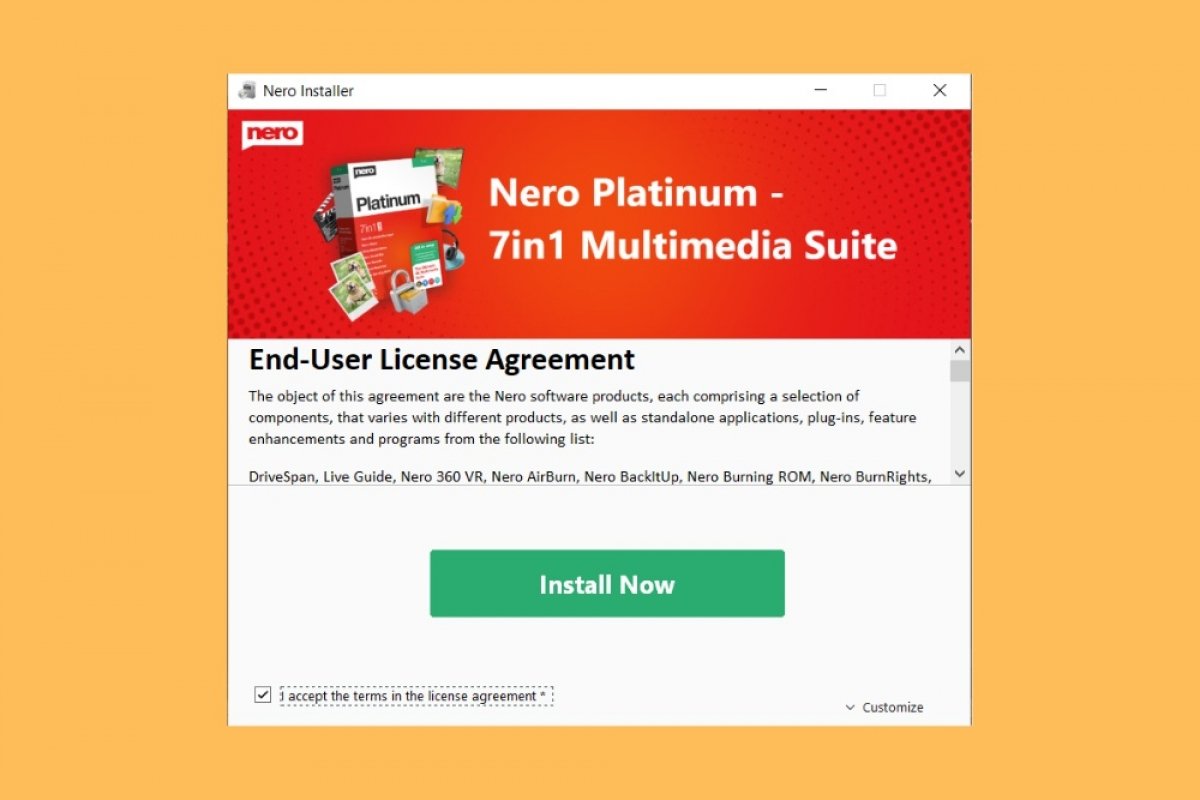
When the download is complete, double-click on the installer to access the wizard. Then, accept the terms and conditions of Nero.
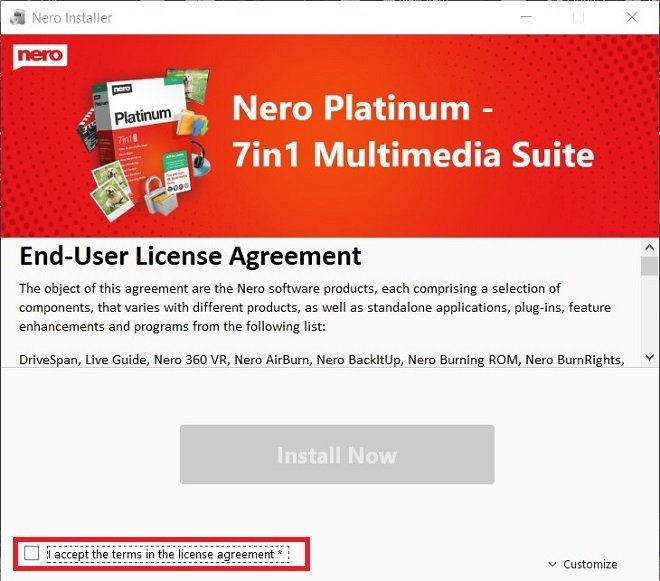 Accept the terms and conditions
Before proceeding, we recommend that you indicate what programs from the suite you wish to install. Nero includes a long list of tools that you probably will not need. To do so, click on Customize.
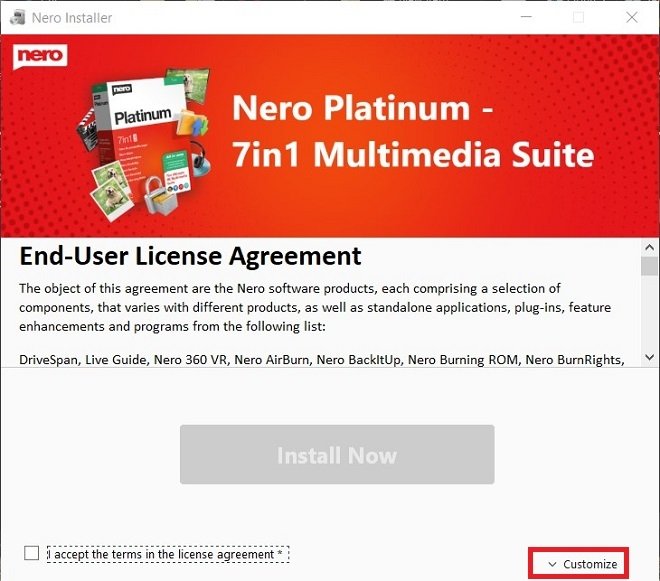 Customize the installation
Then, select Installation Settings.
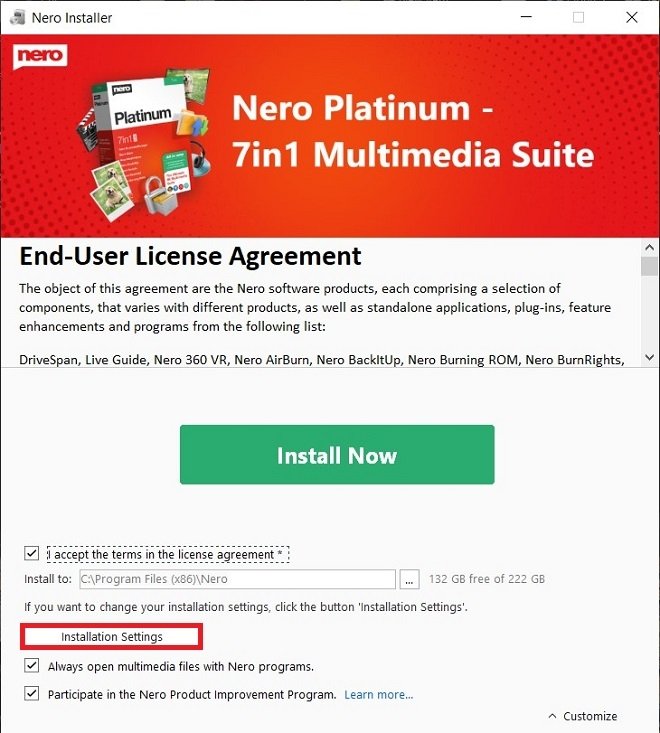 Installation options
In the pop-up window, choose the Nero programs you want to install by checking or unchecking each of the boxes. This selection will depend on your needs as a user. Use the OK button to confirm.
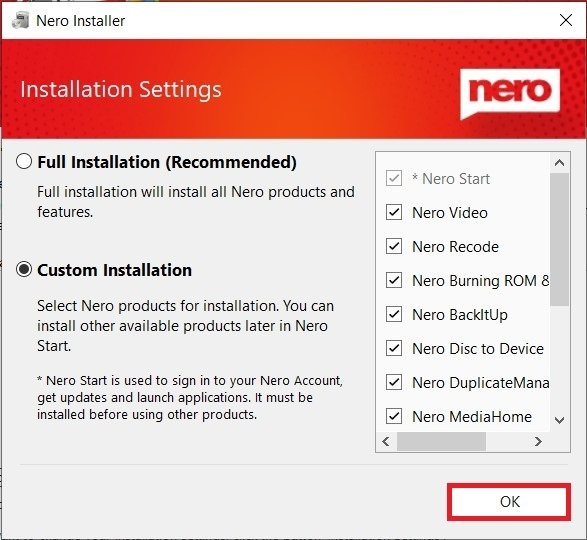 Full or partial Nero installation
Now, you must click Install Now to start the installation.
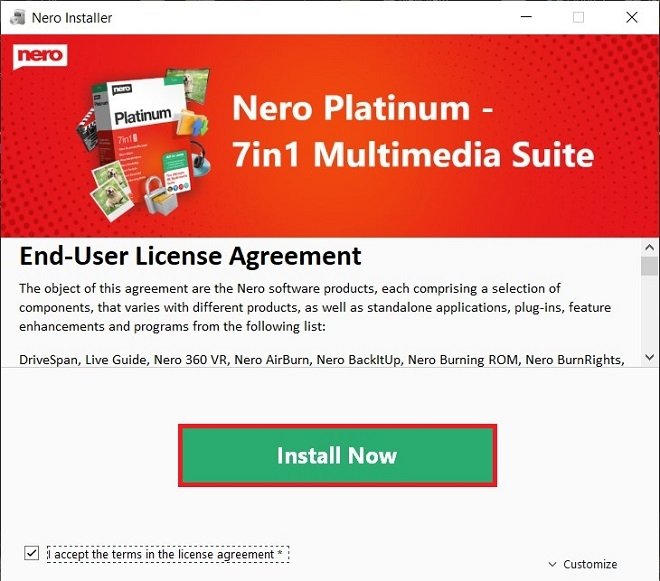 Start installing
Remember, the more tools you install, the longer the installation will take. When it is done, you can use the Start button to launch the main Nero application.
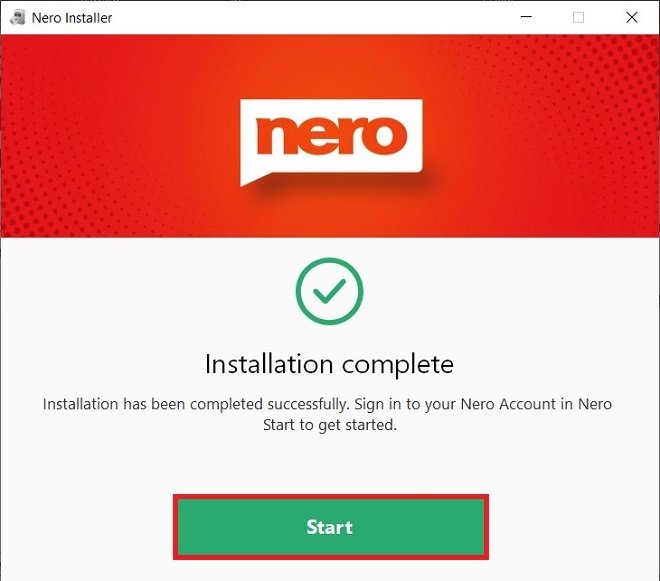 Installation completed
If you opt for the full installation, Nero includes more than a dozen tools and utilities. With them, you can copy whole discs, burn your favorite music to a CD, extract your favorite movies, create custom covers, or even modify the labels of your photos.
It is true that being such a complete suite, the user may feel somewhat overwhelmed. To make it easier to use, in the last editions, the company has included a main application that serves as direct access to the rest of the utilities. You only have to select which task you want to carry out.
