
One of Photoshop's most popular functions is to change the color of a person's eyes in a photo. Here is how you can do it yourself. The first step is to open the image you want to edit. Next, create a duplicate of the layer by right-clicking on the original layer and selecting Duplicate layer.
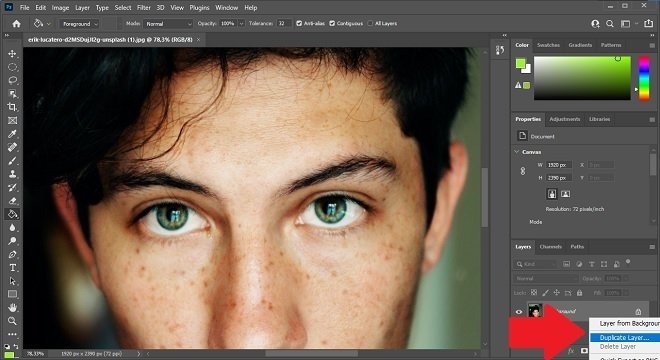 Duplicate the layer
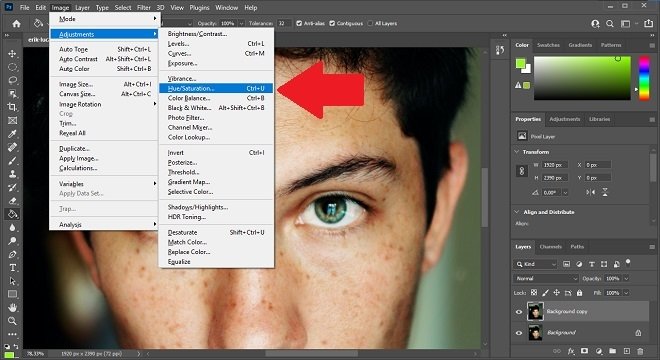
Then, go to the Image menu, open Adjustments, and select Hue/Saturation. You can also use the keyboard shortcut Control + U.
 Saturation settings
Use the Hue bar to find the eye color you like best. With this setting, you will modify the tonality of the entire photograph, but you do not have to worry about that. Just focus on eye color.
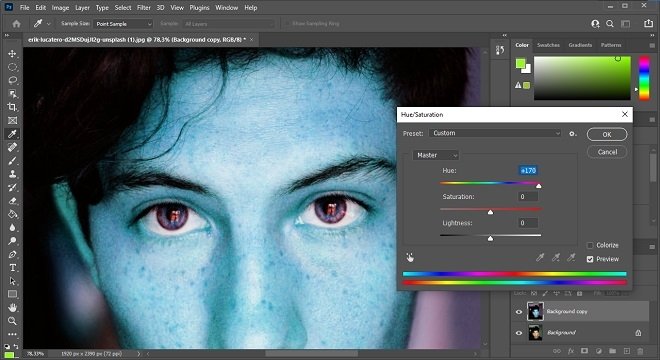 Change the saturation
Once you have the right color, create a mask with the button you see in the following image.
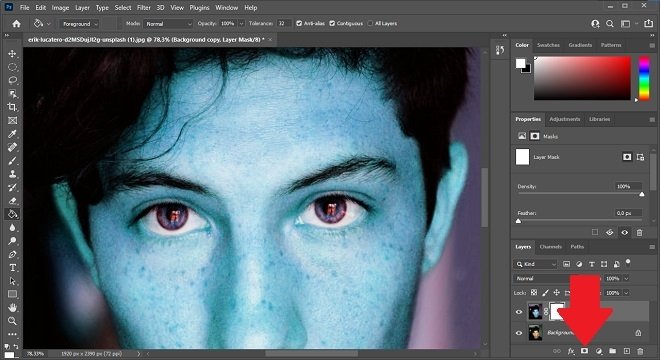 Add the vector mask
Select black from the color palette. Then, enable the fill tool and click anywhere on the image. You will see that the mask you created has turned black.
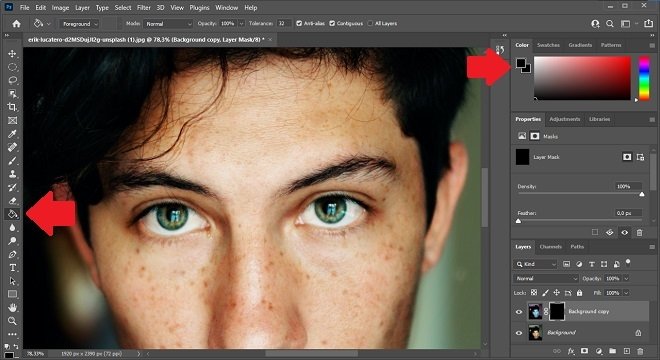 Paint the mask black
Again, use the color palette to select a shade. In this case, you should choose white. Then, click on the brush tool. Brush it over your eye to change the color.
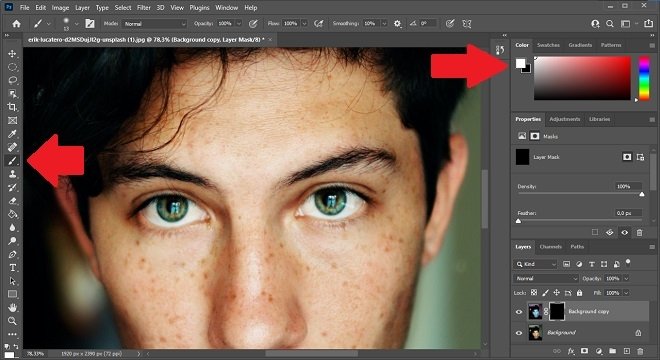 Choose a brush to color the eyes
As you can see in the following screenshot, the left eye has the color we selected earlier using the saturation adjustment. Repeat the process with the other eye.
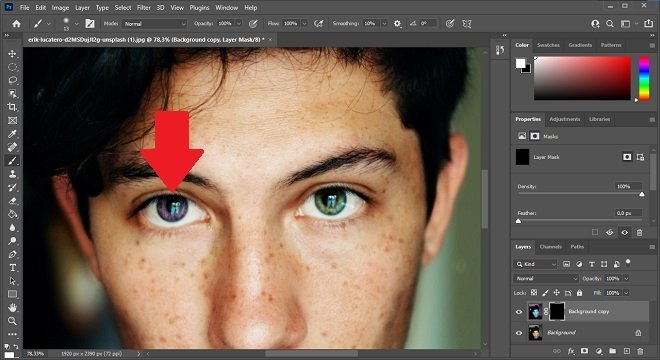 Result on a single eye
When you are done, export the project to an image file. Remember that you can also save the project in PSD format for future modifications. If you want to change the color of the eyes, adjust the saturation of the layer by repeating the process mentioned in this article.
