
VLC allows you to record video from up to 4 different sources: the videos that are played in the software, the desktop of your PC and what happens on it, your computer’s webcam, if you have any, or the signal from your TV. We explain how you can record video for all these cases.
Record videos which are being played in VLC
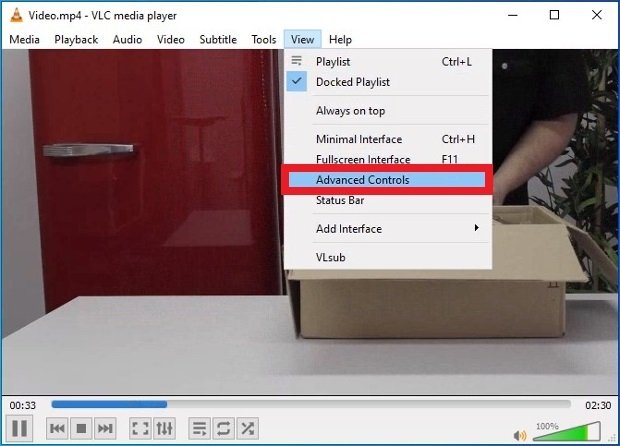
You can directly record a video which is being played. It can be useful if the signal arrives via streaming or if you want to capture images from a DVD, to give a couple of examples. To do this, click on the View option in the upper toolbar to open the option menu and click on Advanced Controls.
 View VLC’s advanced controls
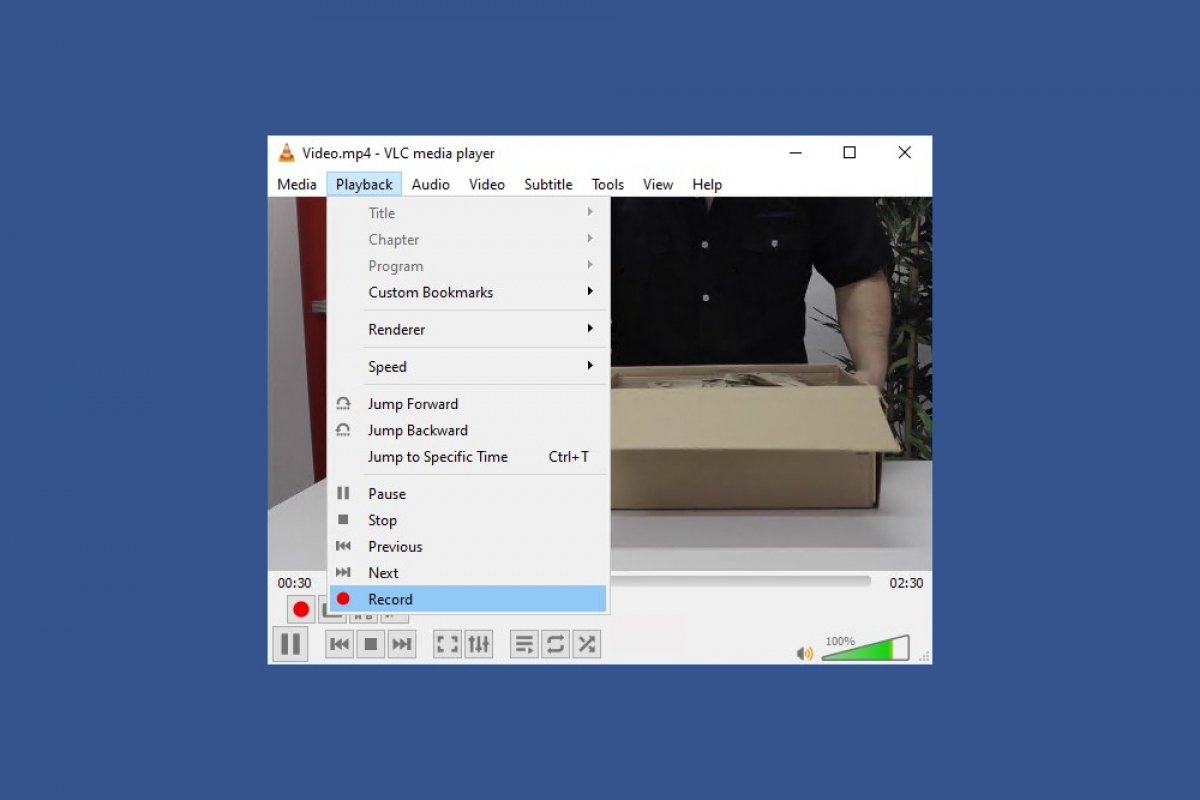
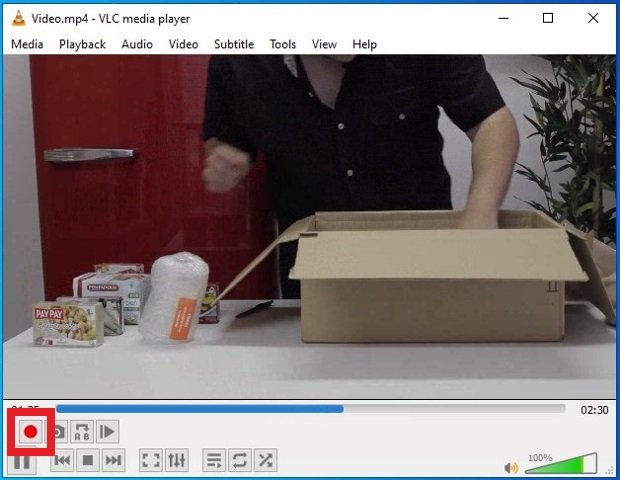
As you can see, new control buttons appear on the interface. One of them contains a red circle, similar to those found in videotapes and cassette players. To start and end the recording, you just have to click on the button while the video or audio is playing.
 Button to start recording video in VLC
You can stop the recording whenever you want by pressing the same button with the red circle. The resulting files can be found in the Videos folder that Windows has configured on your hard drive.
Record your PC desktop
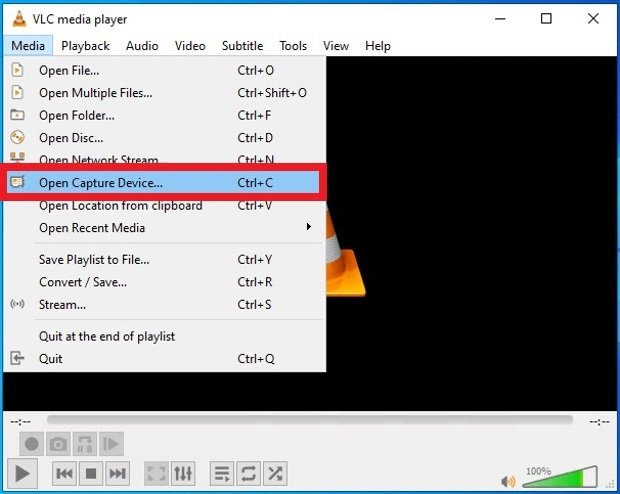
The player offers the possibility to capture what happens on the screen of your PC, it can be useful to create video tutorials or to capture images that are played by any means on the screen. Open the software and in the top menu go to Media > Open Capture Device.
 Open the menu dedicated to video recording devices
In the new pop-up window, select Desktop from the Capture mode drop-down menu at the top. This is how we tell VLC to check the desktop.
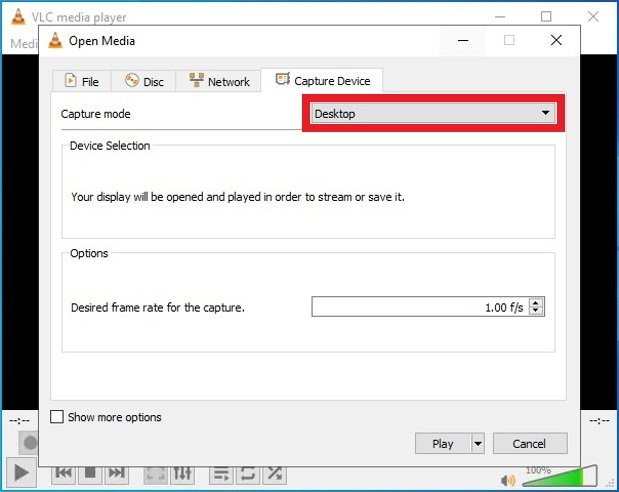 Choose VLC’s video recording mode
Selects the frame rate at which VLC is to record. The ideal rate is 24 frames per second for smooth video output, but you can assign higher rates if you are interested in details at the expense of larger videos. Additionally, you can set lower frames per seconds rates for long recording sessions such as surveillance.
 Select the recording’s frame rate
If you press Show more options at the bottom, you have access to some additional settings such as selecting exact start and end times of the recording or play simultaneously some other multimedia file. At the bottom right is the Play button, when you press it, the recording of the screen starts immediately.
 Button to start recording your screen
Record the webcam image
The third option to record video is to record the image captured by a webcam. To do this, click on the Media option on the top toolbar to open the menu and select Open Capture Device.
Open the menu dedicated to video recording devices
You will see several tabs before you. In the first tab, in Capture mode, choose DirectShow from the drop-down menu. Then select your PC's webcam in Device name. Finally, choose the name of the audio device that you will use if you wish to record sound.
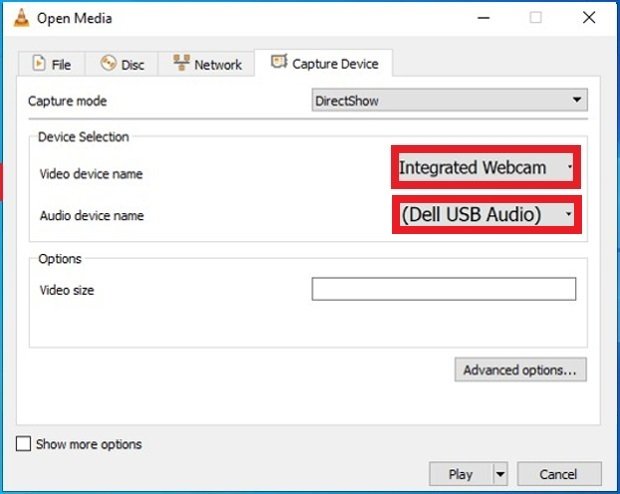 Choose the video and audio recording devices
Record the signal from a TV card
VLC Media Player, in its recording functions, also allows capturing video from television. Repeat the steps we followed in the previous method, but instead of choosing as a video device the webcam, select this time in Capture Mode the option TV - digital.
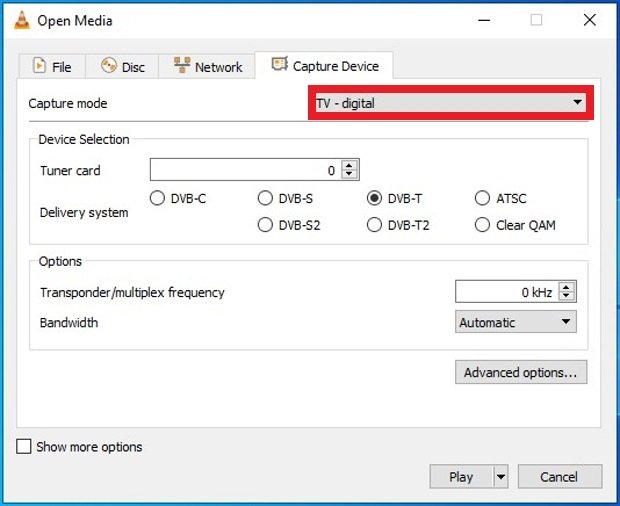 Choose Digital TV as the video input signal
Then select the TV card and signal input system.
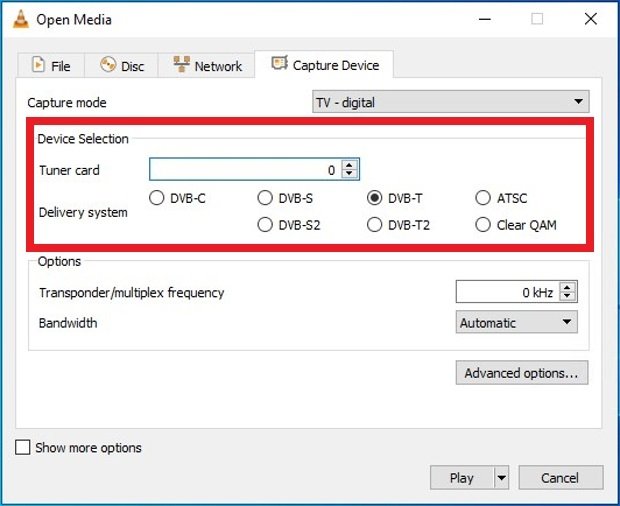 Choose the TV device
Finally, adjust the frequency and bandwidth of the broadcast in Options.
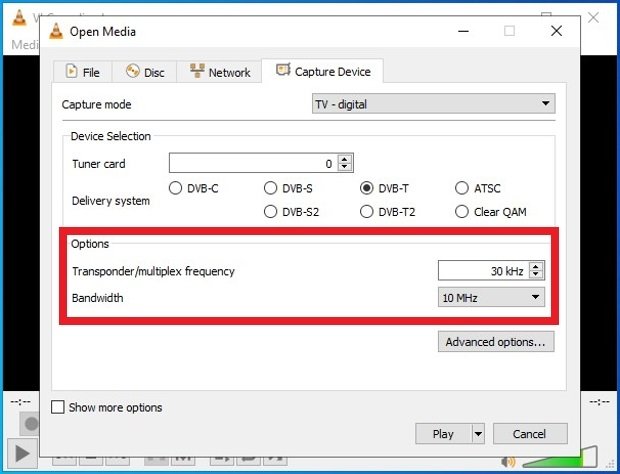 Options to record the TV signal
Press Play in the lower right corner to start recording.
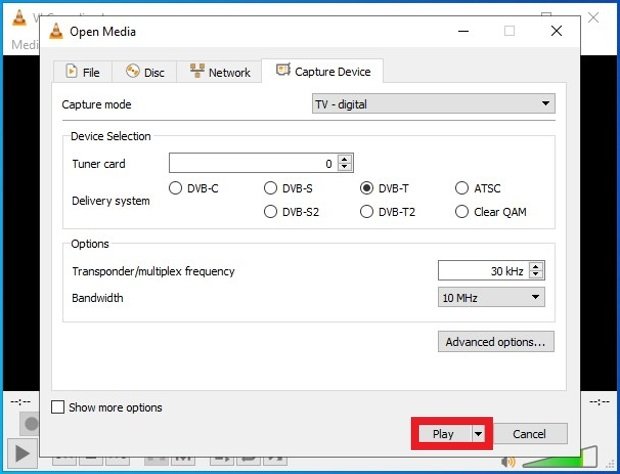 Button to start recording the TV signal