
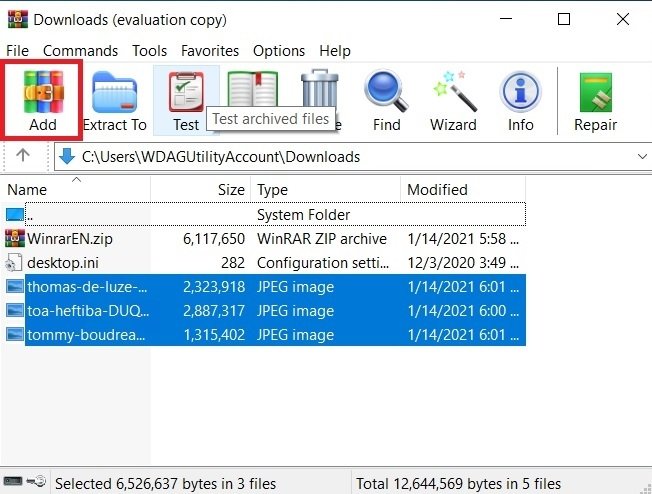
Applying compression to any file with WinRAR is very easy. The first thing you must do is locate, using the integrated browser, the file or files you want to compress. Then, click Add to start the process.
 Create a new compressed file
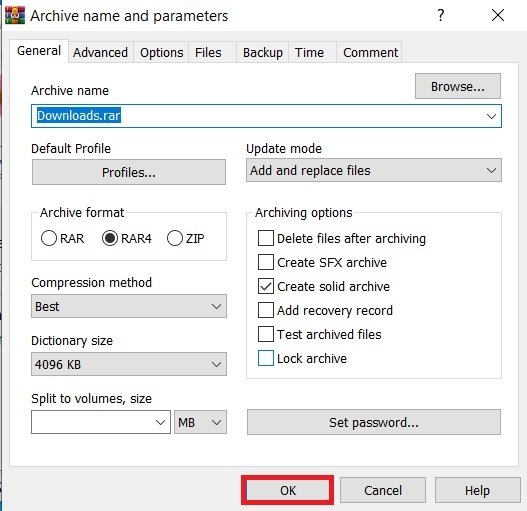
In the pop-up window, modify some parameters. First, under the heading Compression method, go to the drop-down list and choose the option Best.
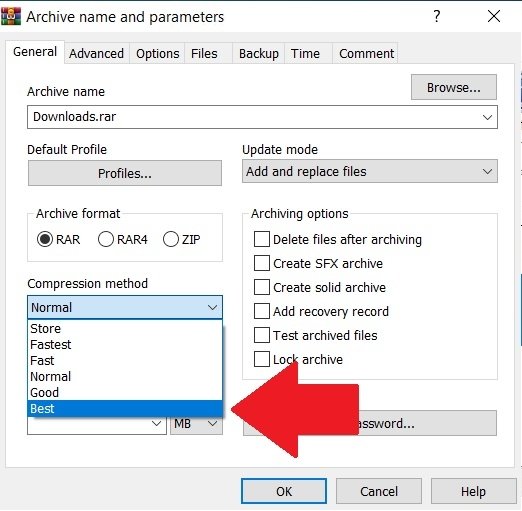 Increase the compression in WinRAR
Then, check the checkbox on the left of Create solid archive.
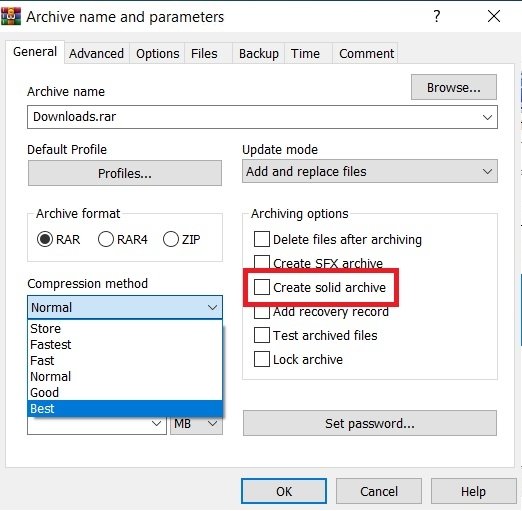 Create a solid file
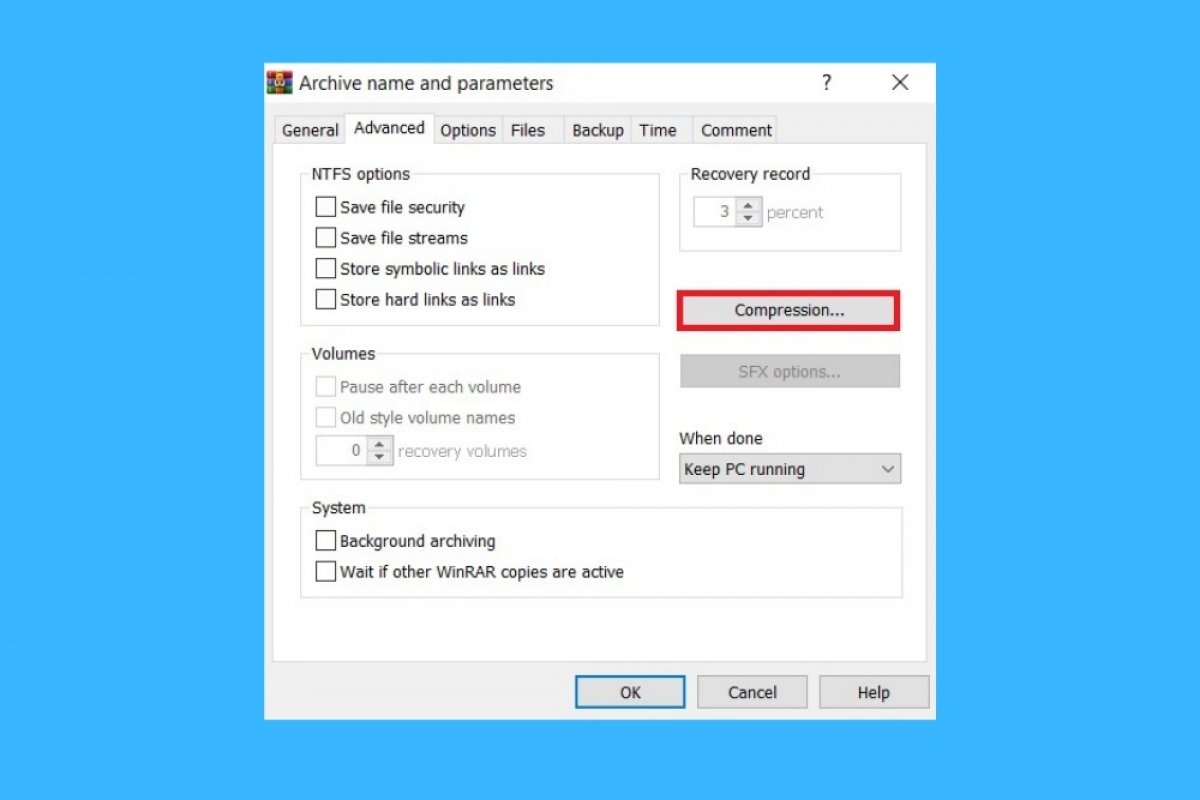
Open the Advanced tab and use the Compression button to access some additional settings.
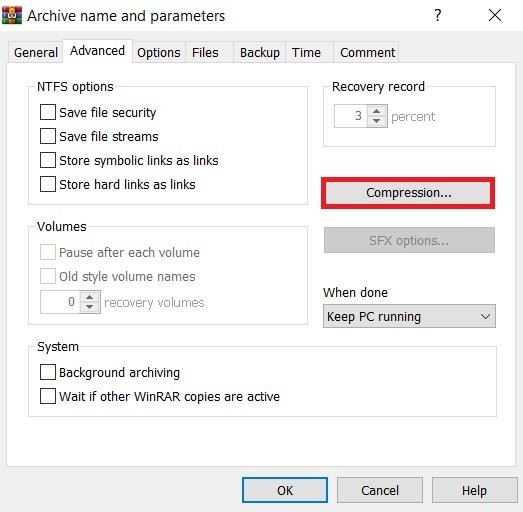 Advanced compression options
Check Forced in all fields where it is available. This option is not enabled in RAR and ZIP formats. It is only possible to use it if you choose the RAR4 file type. You can select it on the main screen, in the Archive format section.
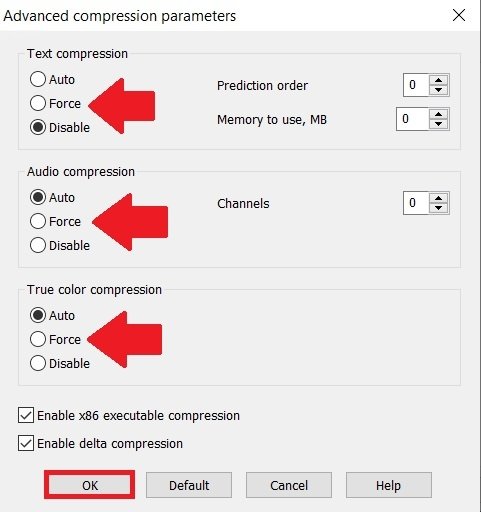 Compression options in RAR4 format
To start the compression process, use the OK button.
 End the file compression
Immediately, WinRAR will start compressing. As you have seen, it only takes a few clicks to compress a file to the maximum. However, we must clarify some points. First of all, file compression is really effective with very large files. When a text document, a single song, or a photograph is compressed, the final size reduction is not too big.
On the other hand, you should know that RAR4 files are less compatible than other formats, such as compressed ZIP folders. These are natively supported on most modern operating systems. Therefore, if your objective is to share information with other users, it is recommended that you choose the ZIP format, leaving aside RAR and RAR4. This will ensure that the receiver can open the file without any problems.
