

Watermarks are text and/or background images that we place on all document sheets. Since they are for background only, watermarks are printed with a low opacity, so any text written on top of them will cover them up. This is useful in several situations: to create an official company document by printing its logo in the background, to clarify that a document is a draft by placing the word "draft" in big letters on each page, and so on.
Microsoft Word has several different watermarks, as well as some customization options. We will explain them below.
How to add a watermark with predefined text
With the Word document open, go to the Design tab.
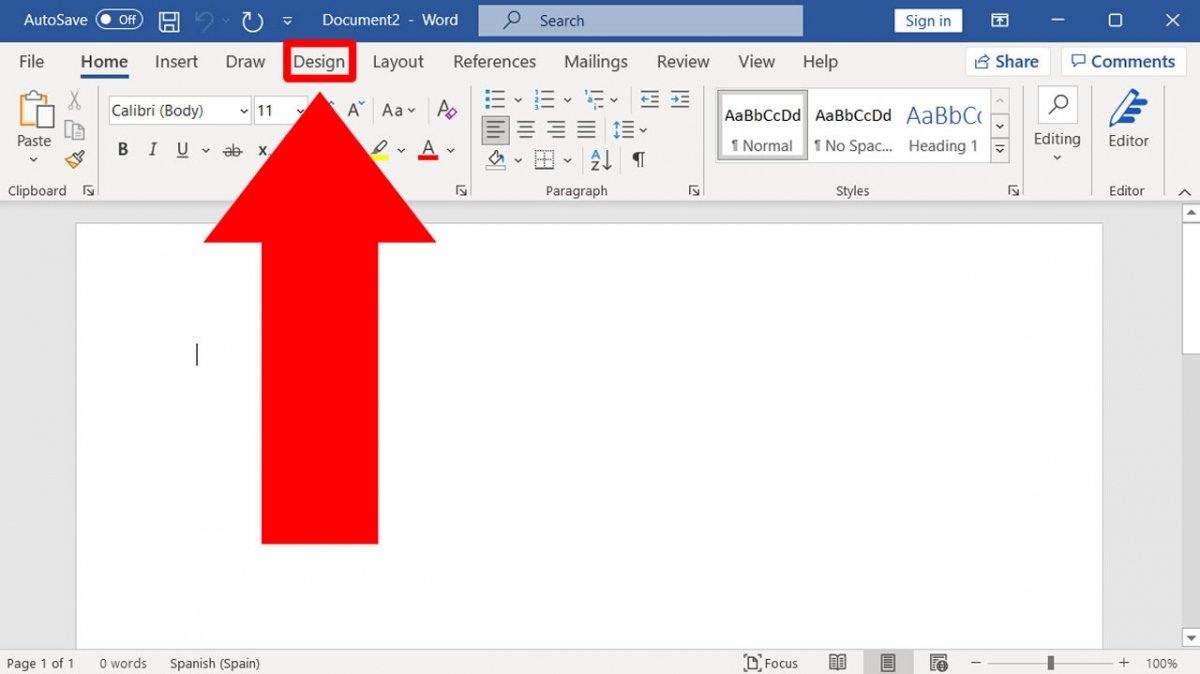 Go to the Design tab
Among the buttons that will appear below, one of them will be the Watermark button. Click on it.
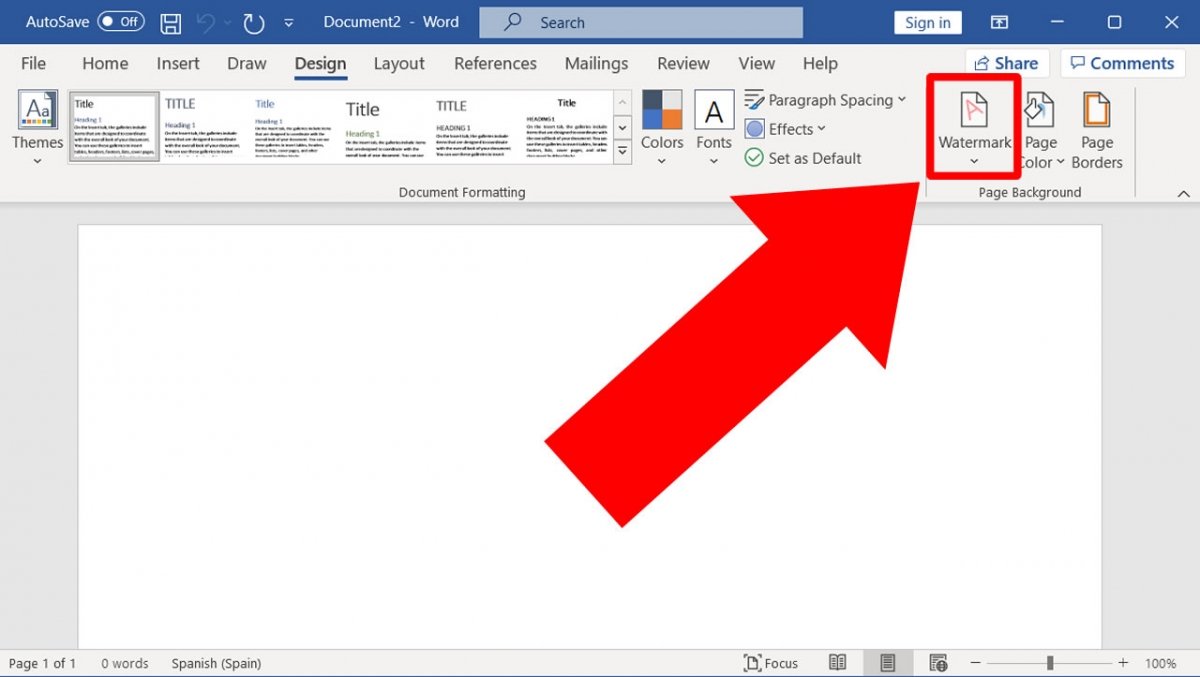 Press the Watermark button
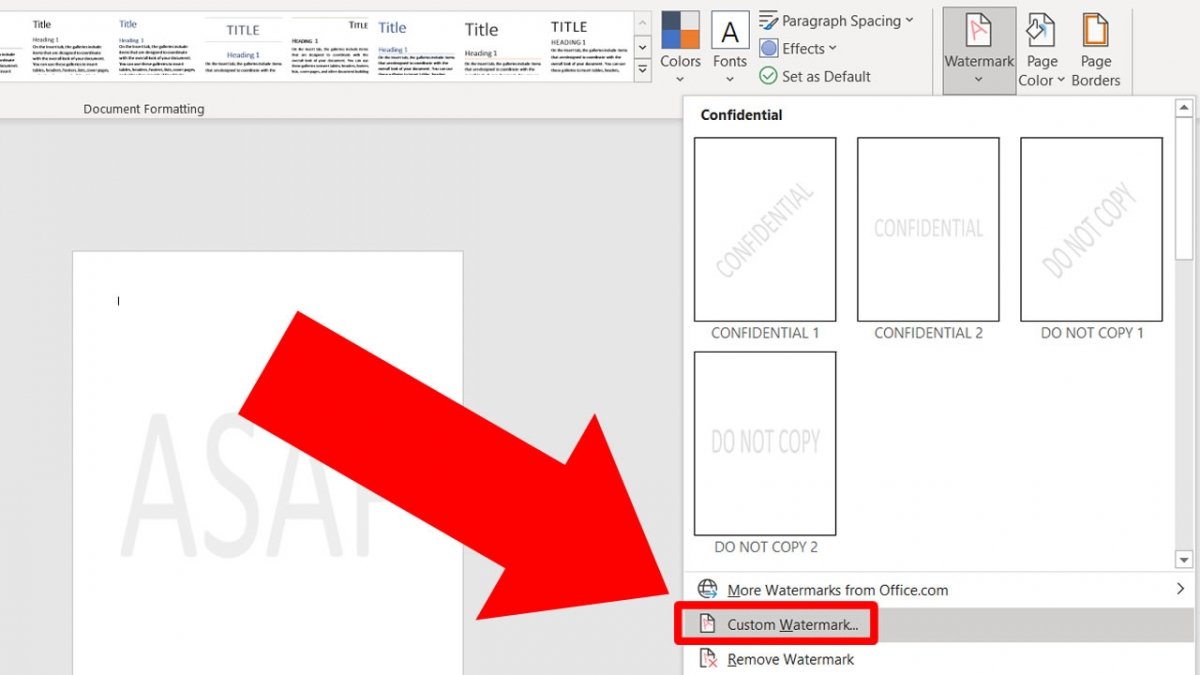
The menu shows a few examples of watermarks with very recurrent texts: Confidential, Do not copy, Urgent...
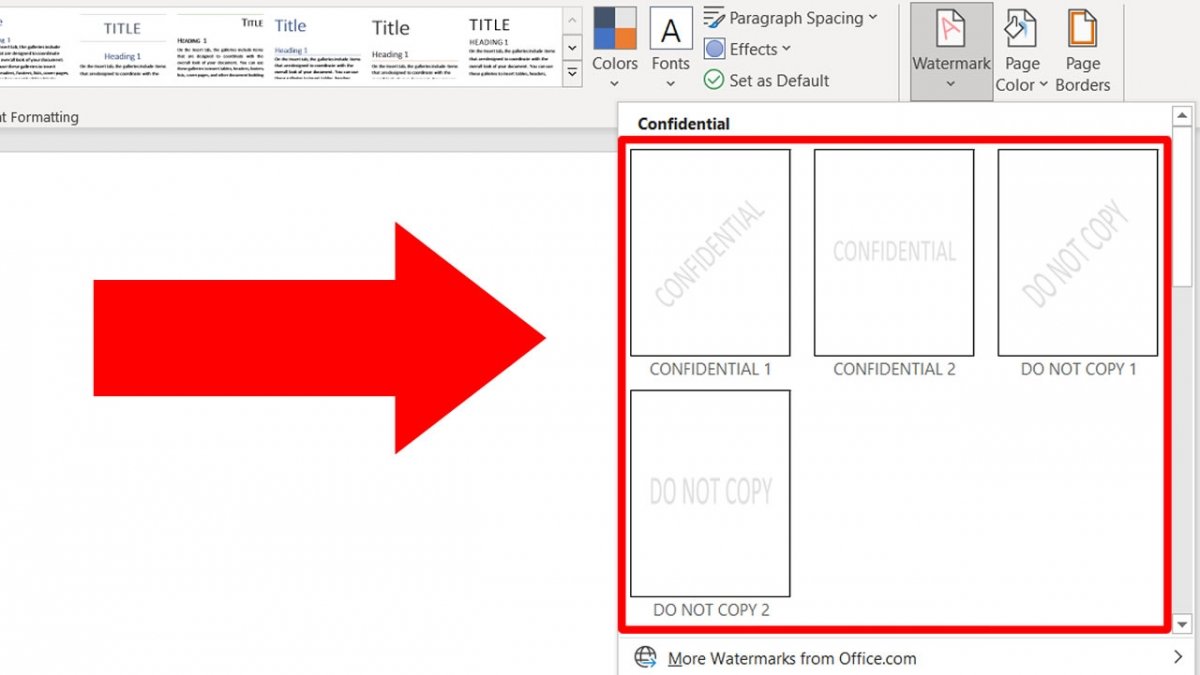 Default watermarks
If one of them works for you, you can click on it and the watermark will automatically be added to all document pages.
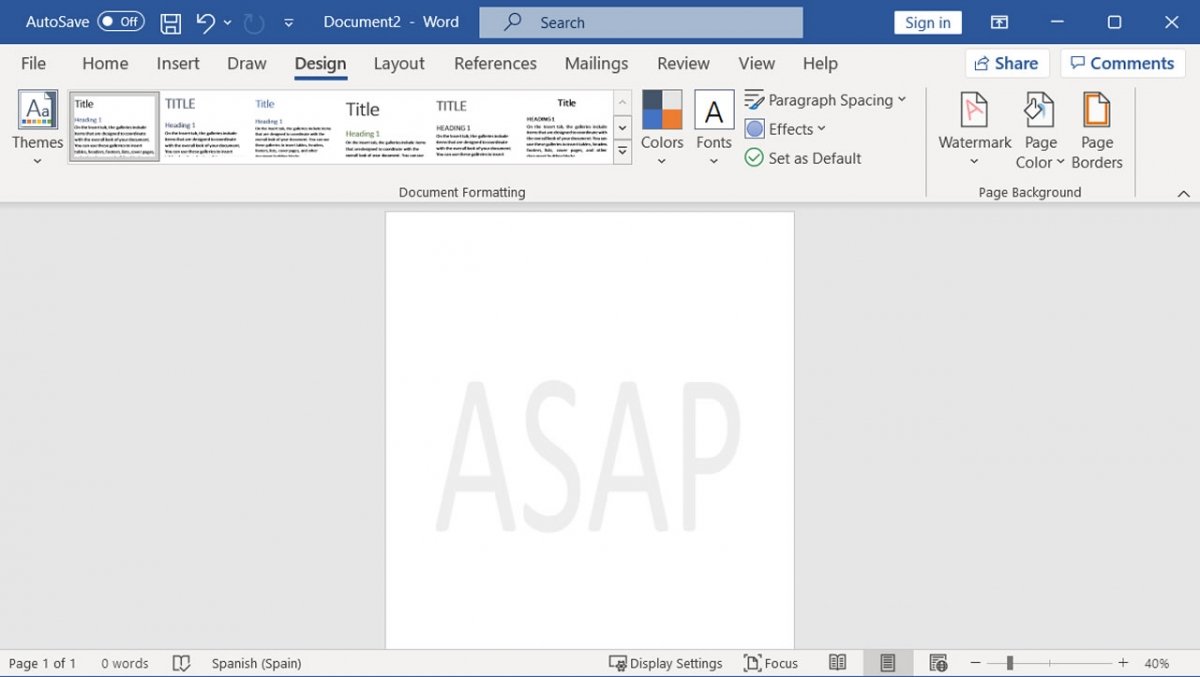 Aspect of a document with a watermark
How to add a watermark with custom text
To set a custom text watermark, you must click again on Watermark and then on Custom Watermark.
 Click on Custom Watermark to change the text
A new tab will be displayed letting you change the text, its size, font, color, and orientation.
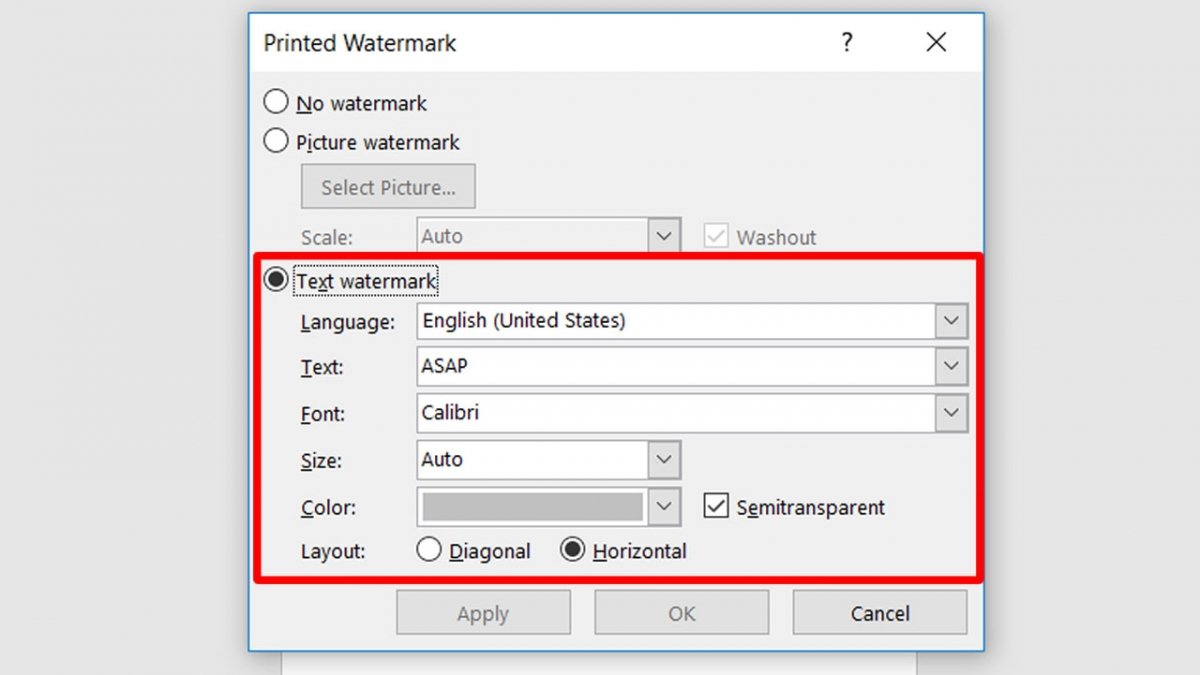 In the new window, you can configure the watermark text however you like
After making all the changes you wish, click on Apply to see how the watermark looks on the document and click on OK when you see that it is to your liking.
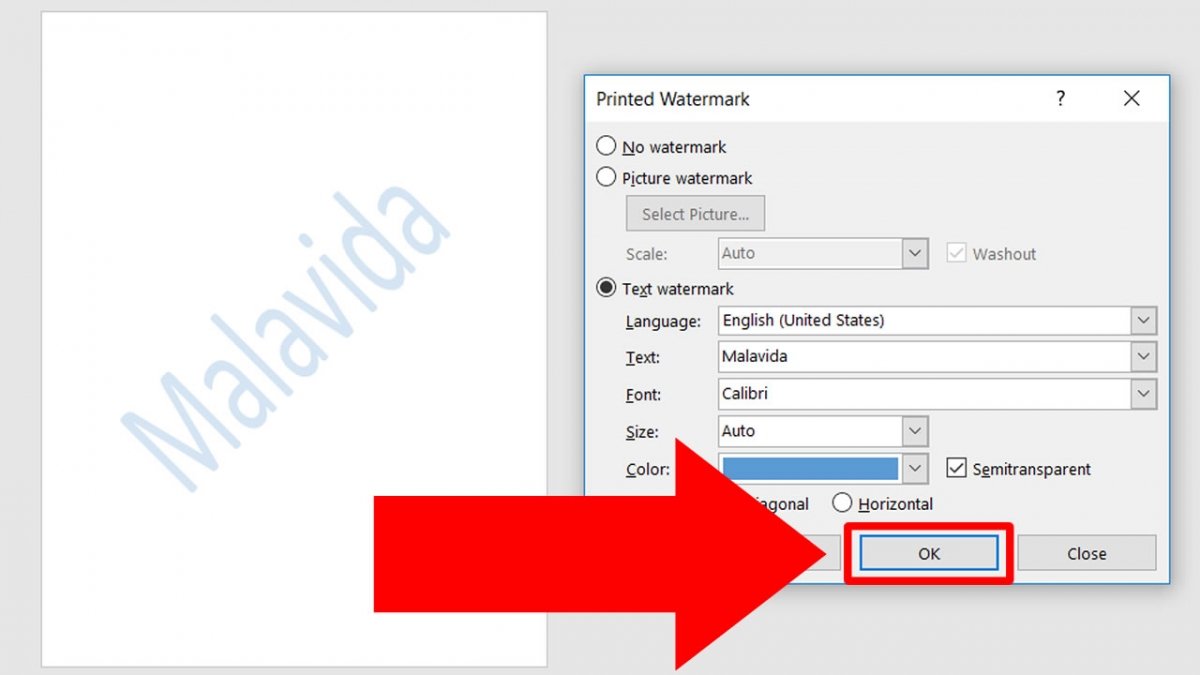 After making the appropriate changes, press OK
How to insert a watermark with an image
Watermarks with images are very common to see in company documents. It is normal to place the company's logo in the center of each sheet. Again, go to the Watermark button and click on Custom Watermark.
 Click on Custom Watermark
Select the Picture watermark option.
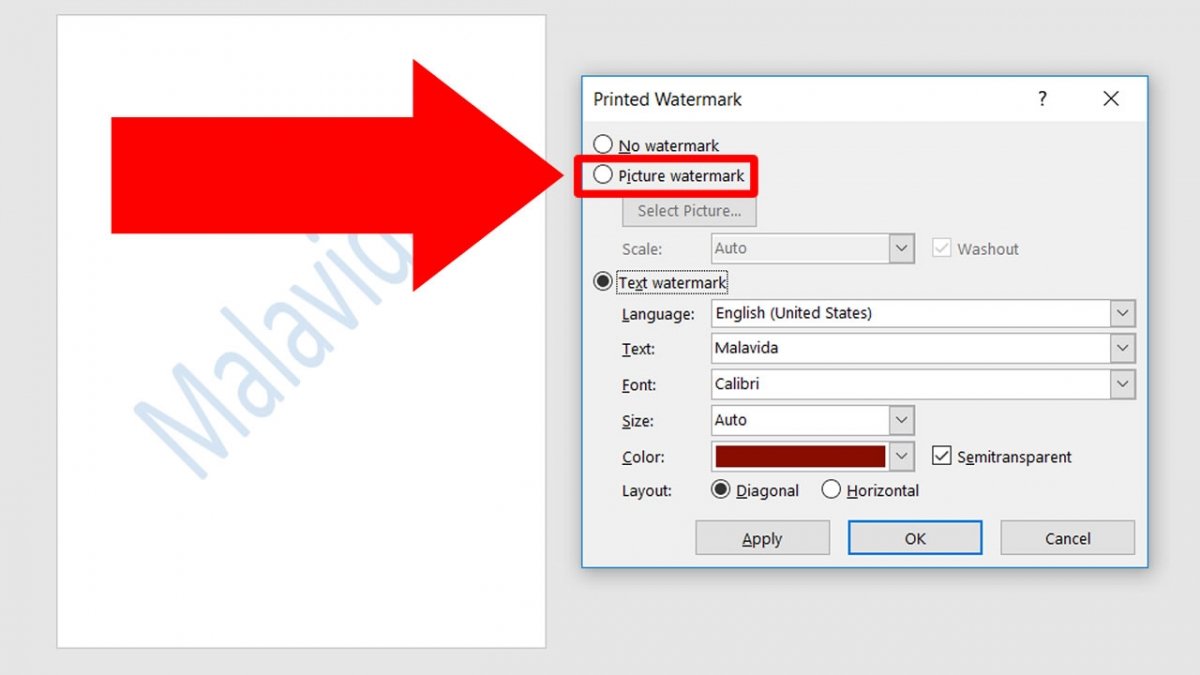 Select the option Picture Watermark
Click on Select Picture to start the image search.
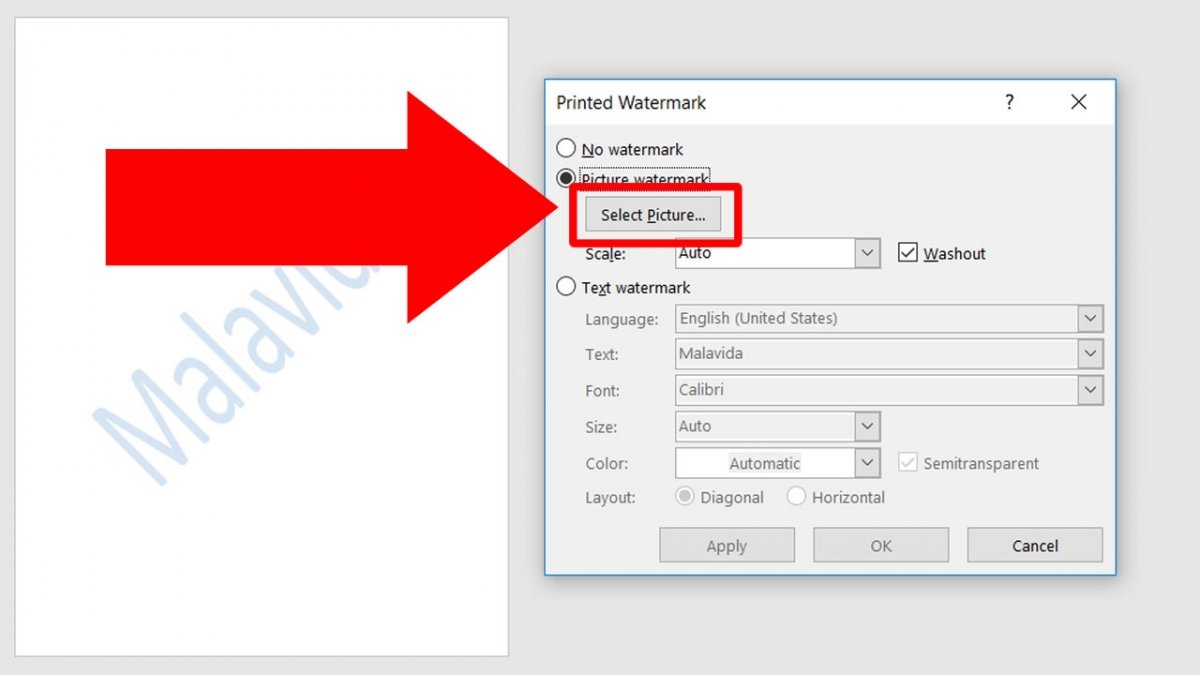 Press the button Select Picture
Now, click on Browse, to the right of From a file.
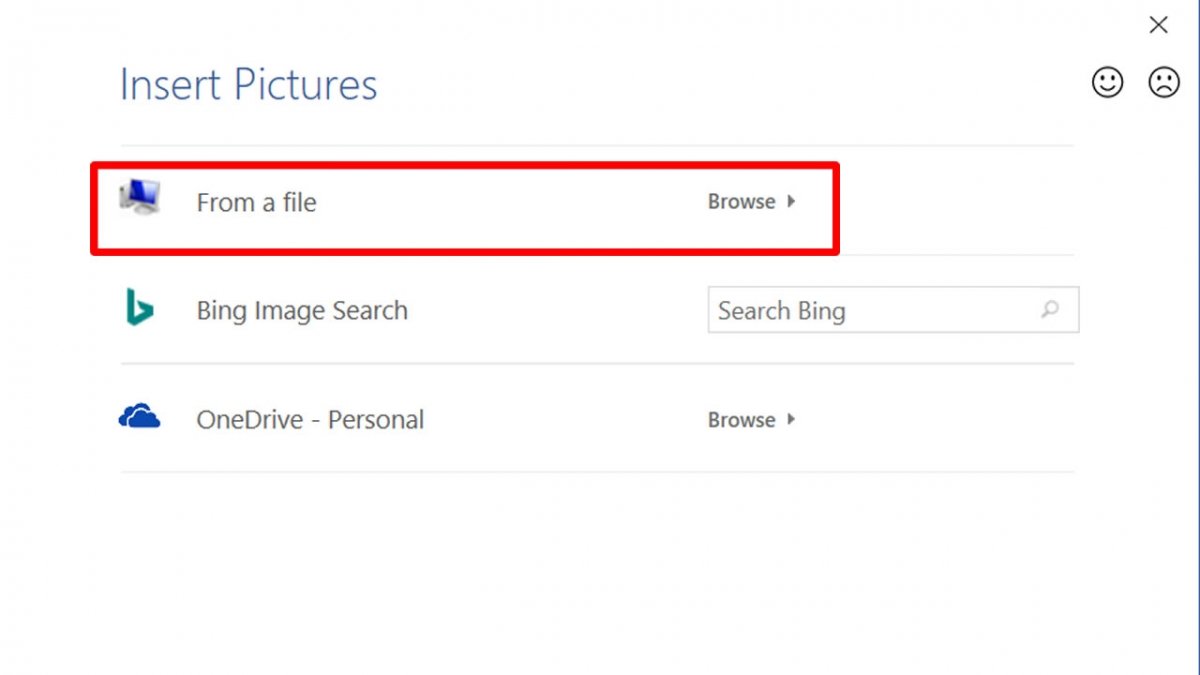 On the option From a file, click on Browse
Next, search your computer for the image you want to use as a watermark. Once selected, click on Insert.
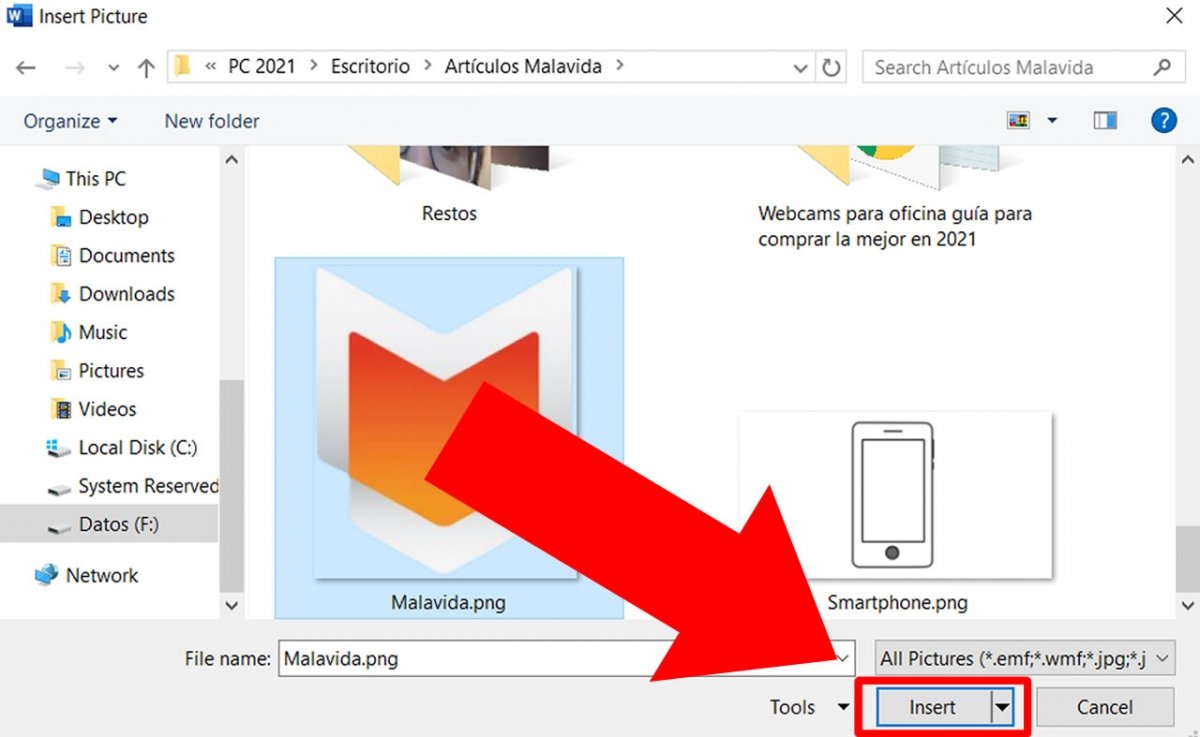 Search for the image on your computer and press Insert
You can modify the size (Scale) and select if you want to discolor it or not. This second option is really important, as the image must have very light tones to avoid an overlap between the text and the watermark. After that, click on Apply to preview how it looks, and click on OK to place the image in the whole document.
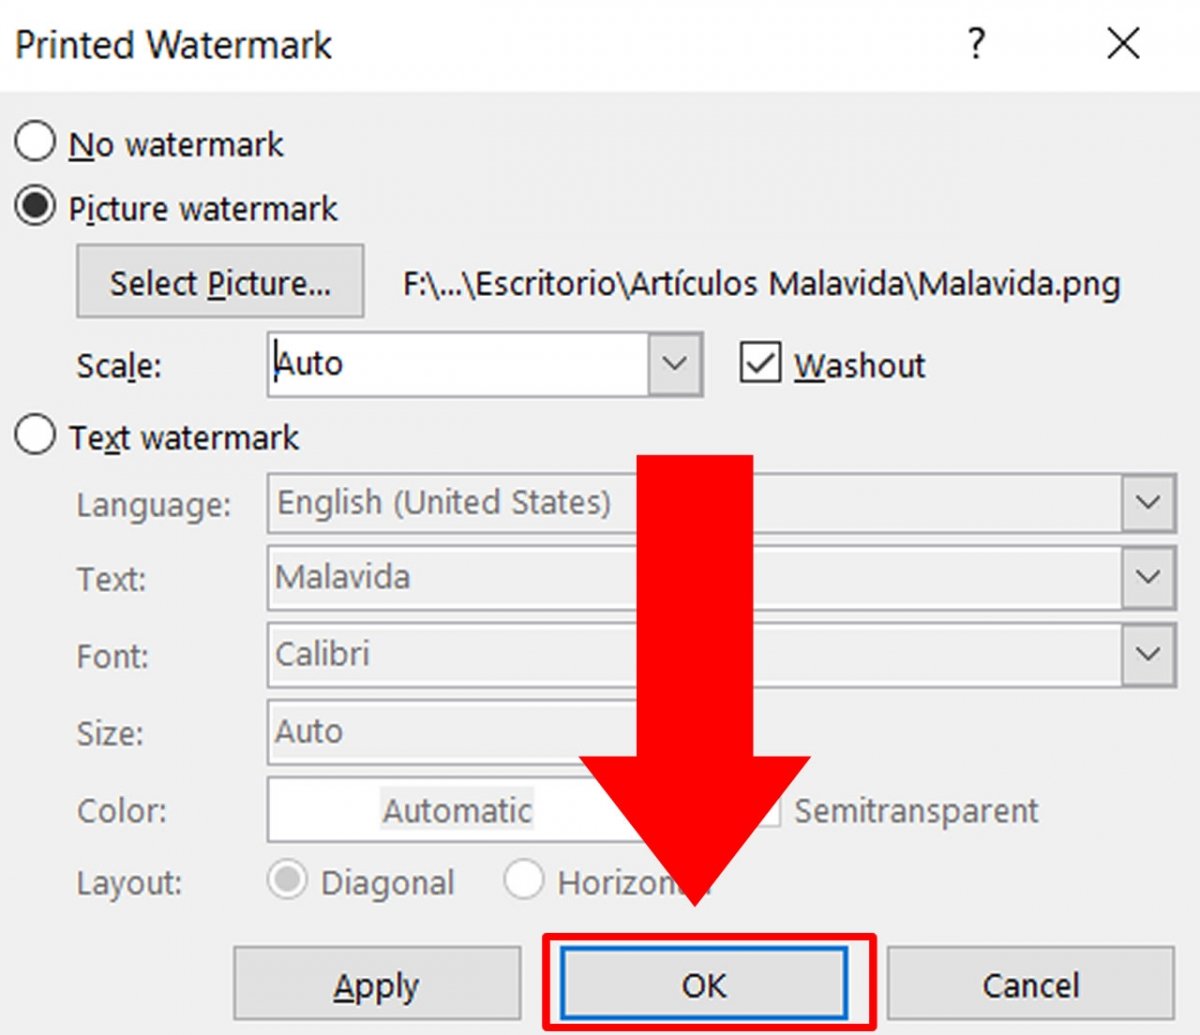 Press OK and watermark will become the new image
This way, the image watermark will be set.
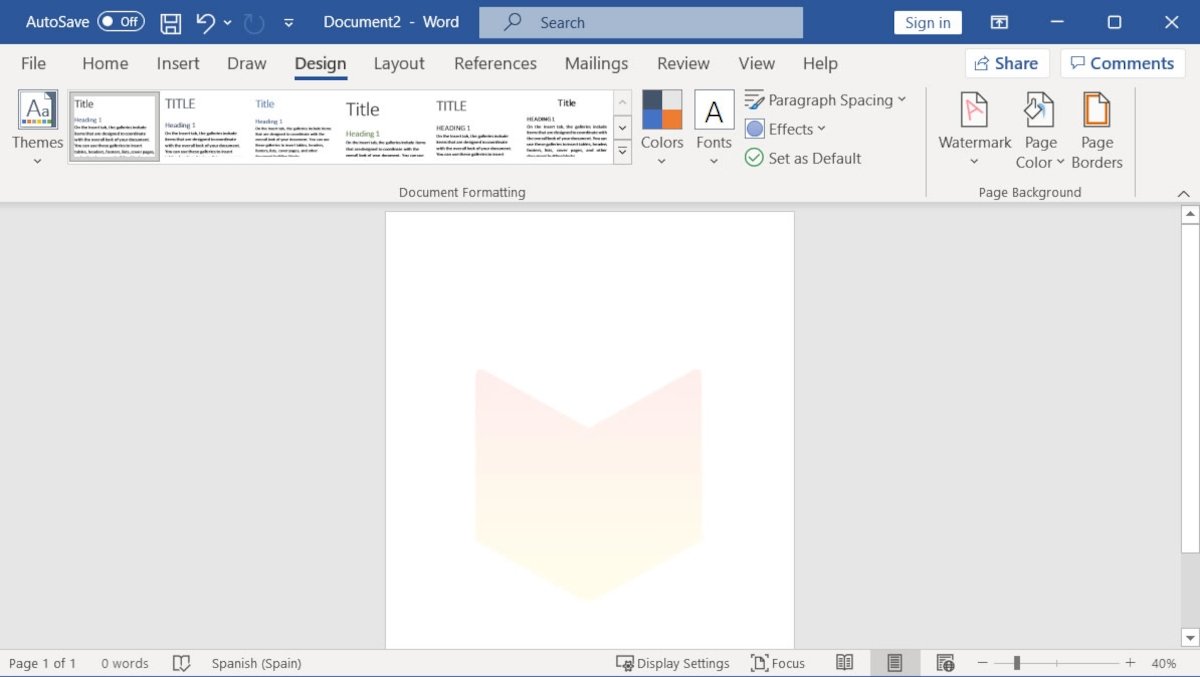 Final aspect of the document with an embedded watermark
The watermark will always be behind the text on all sheets and you can only change it from the watermark menu.
