
Like almost any text document, Word files do not usually take up too much space, usually around 20-30KB per document. Filling a modern hard disk with such files may become a titanic task: there is room for millions of documents of that size.
However, sometimes these files are much larger, especially when using images. If your Word files take up several tens of Megabytes (MB) and you are starting to run out of space, you may be thinking about reducing the size of your files. Here is how to do it.
Reduce size by compressing and reducing images
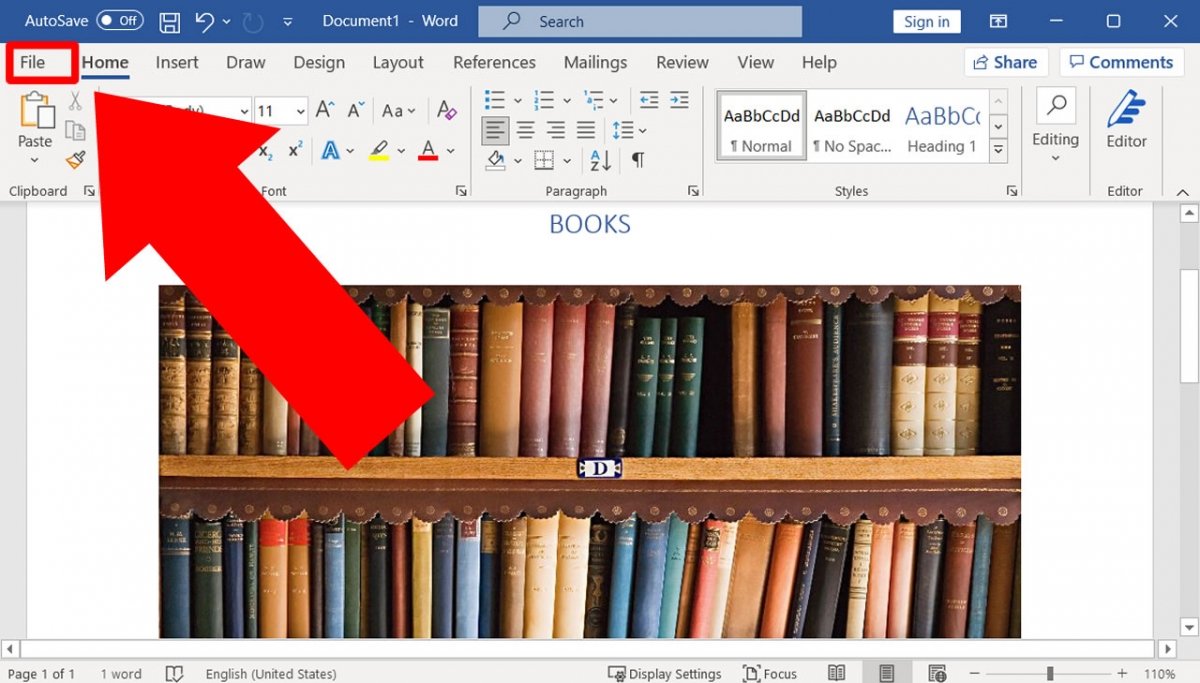
The first option is to reduce the size of the images by improving their compression and reducing their quality. To do this, click on File.
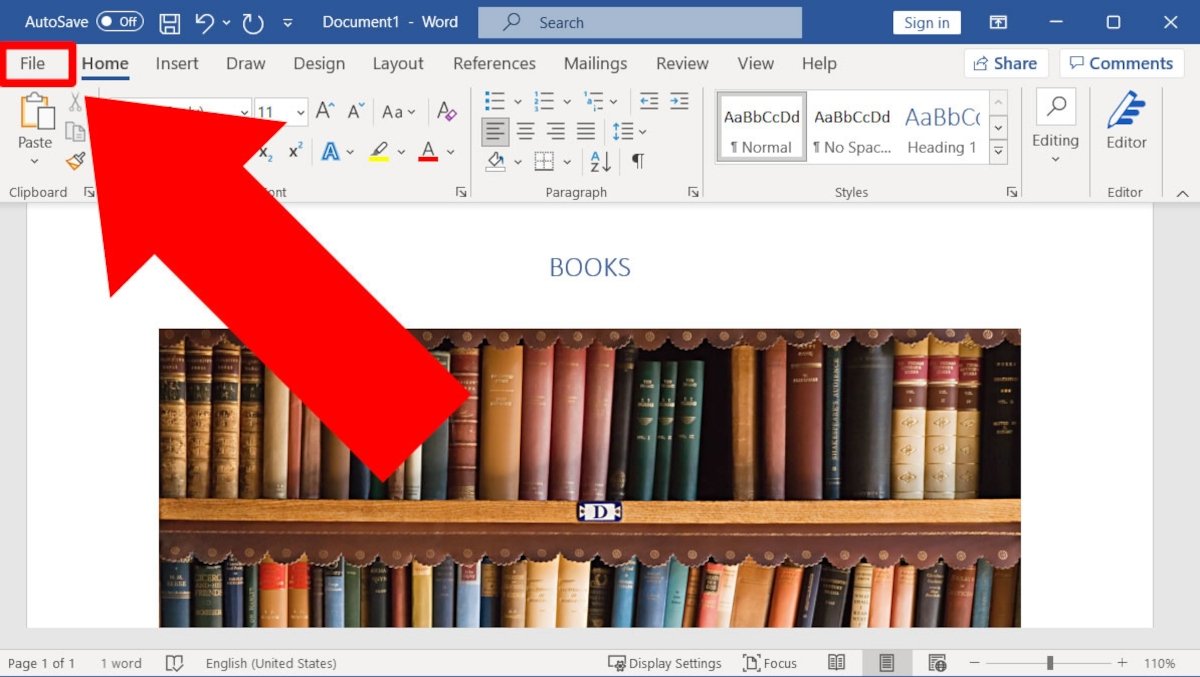 The first step is to press File
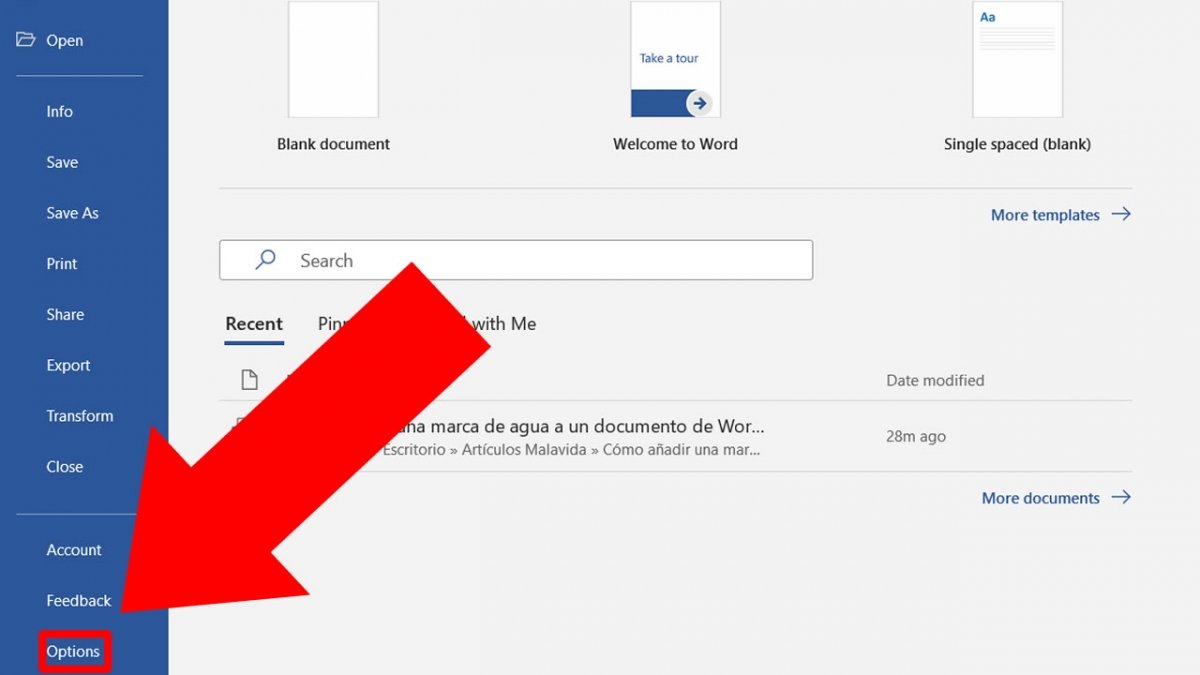
Now, click on Options.
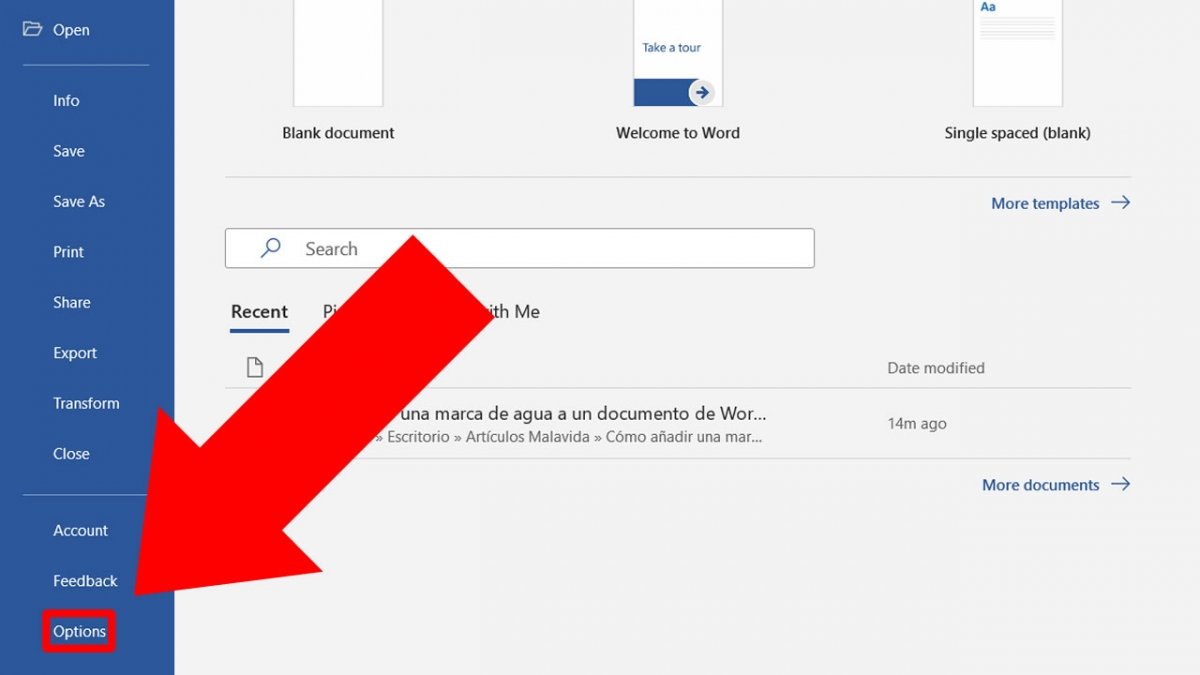 Press Options to change the preferences of your documents
In the new window, a menu appears on the left, click on Advanced.
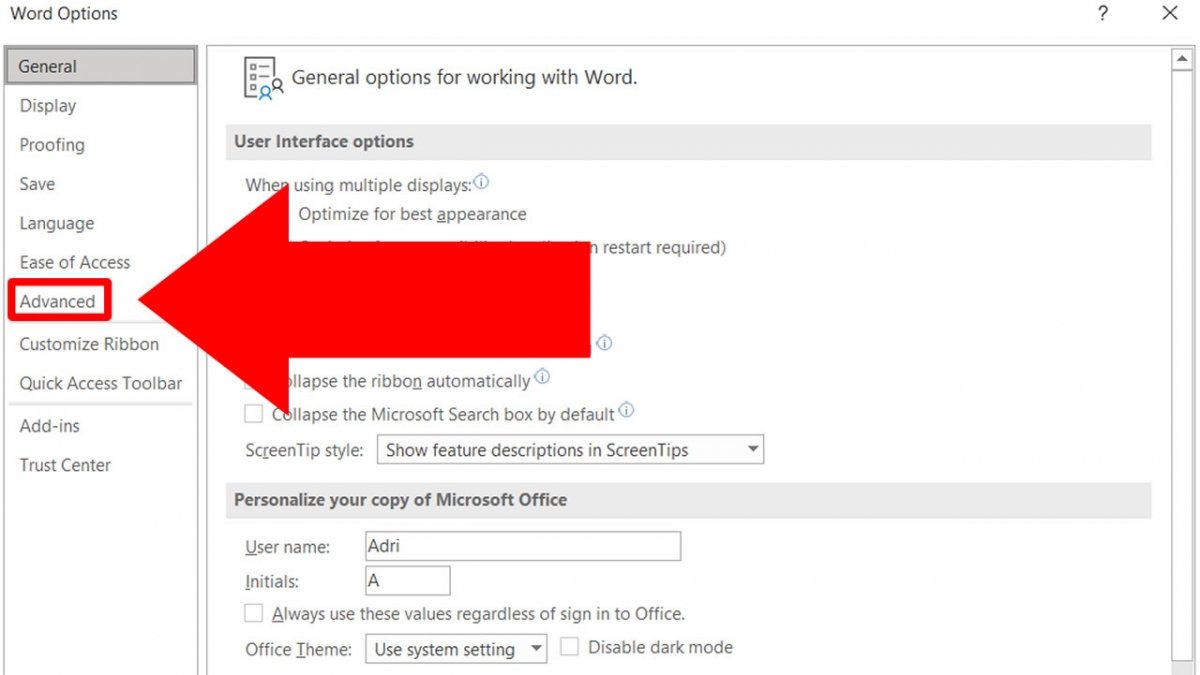 On the left side menu, click on Advanced
In the right margin, scroll down until you find a section called Image Size and Quality.
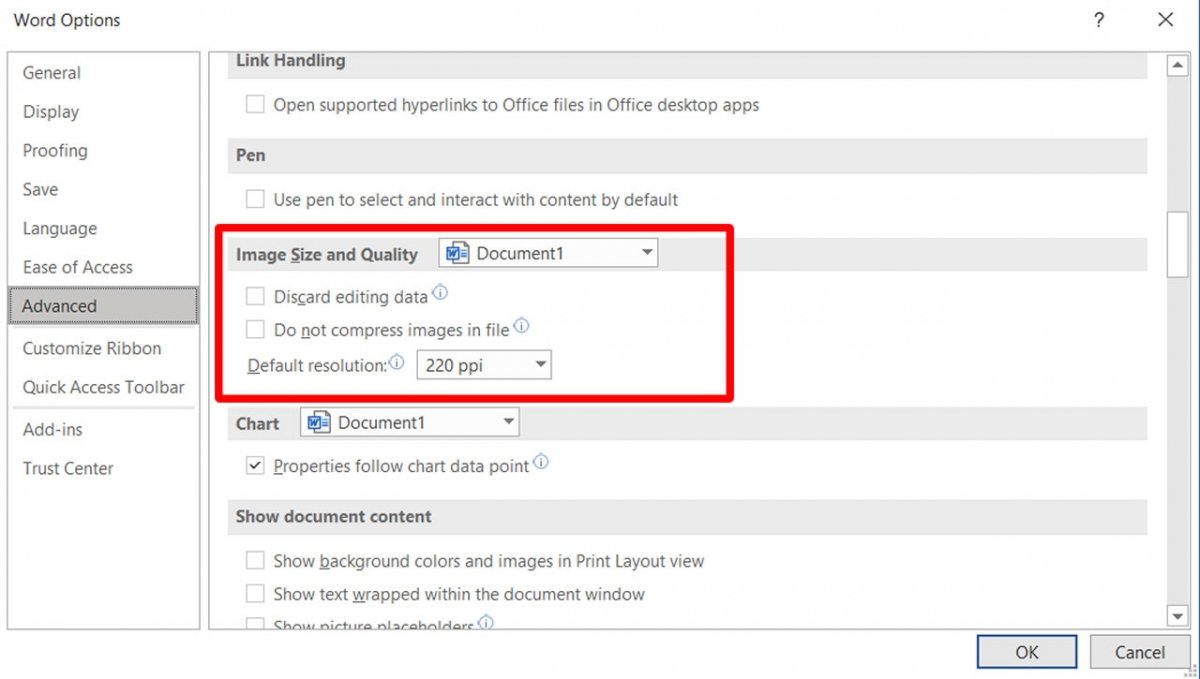 Search for the Image Size and Quality section
If checked, uncheck Do not compress images on file.
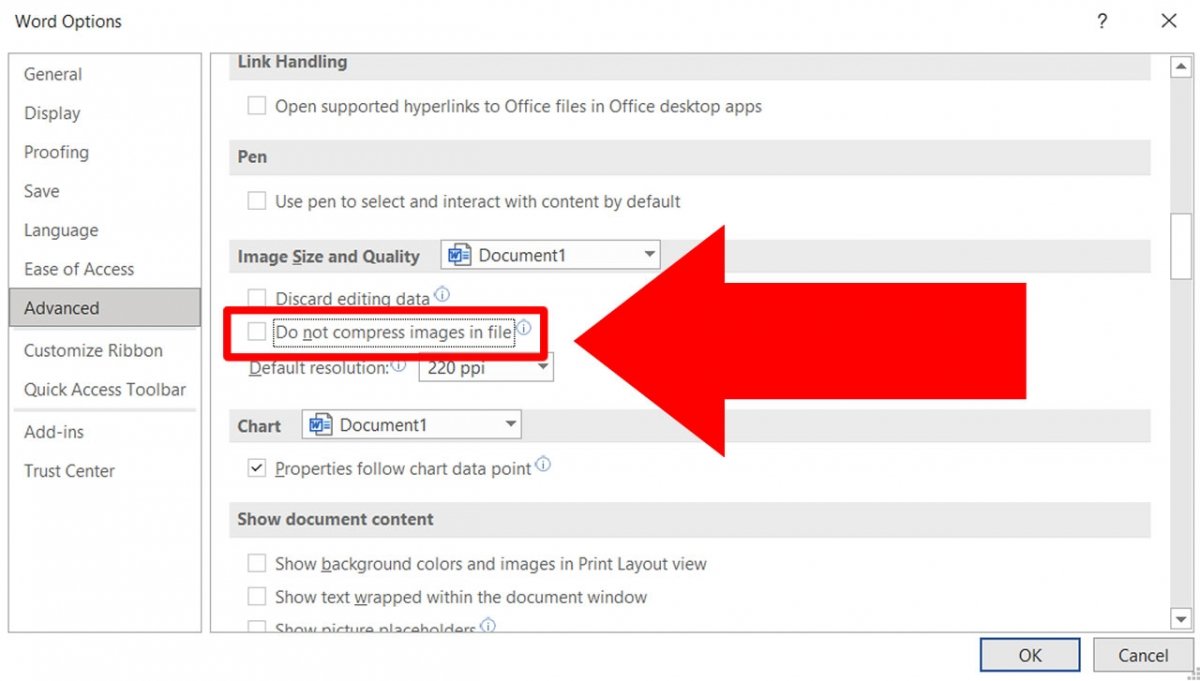 Uncheck the option Do not compress images on file
Click also on Default resolution to reduce the number of pixels per inch (PPI). At 150dpi, the images will still look good, although you can go down to 96dpi and lose a little more quality to save space.
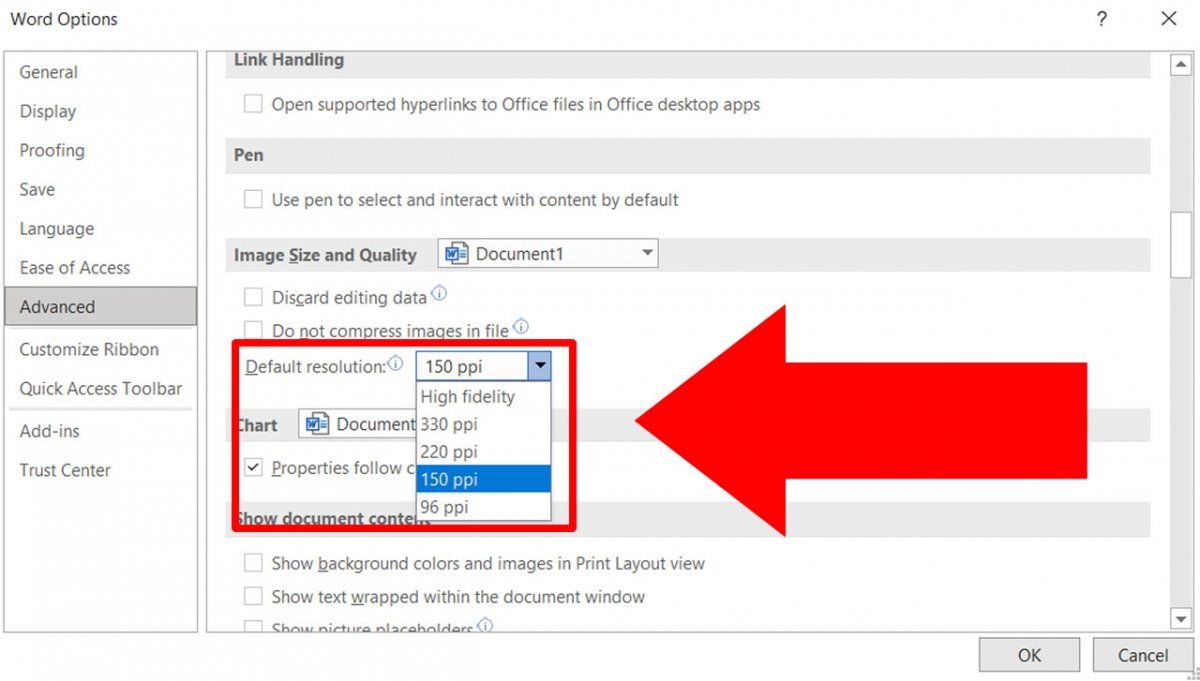 Select a lower resolution than the default
Click OK to apply the changes to the current document and all new documents you create. For previously created documents, you will have to repeat this procedure file by file.
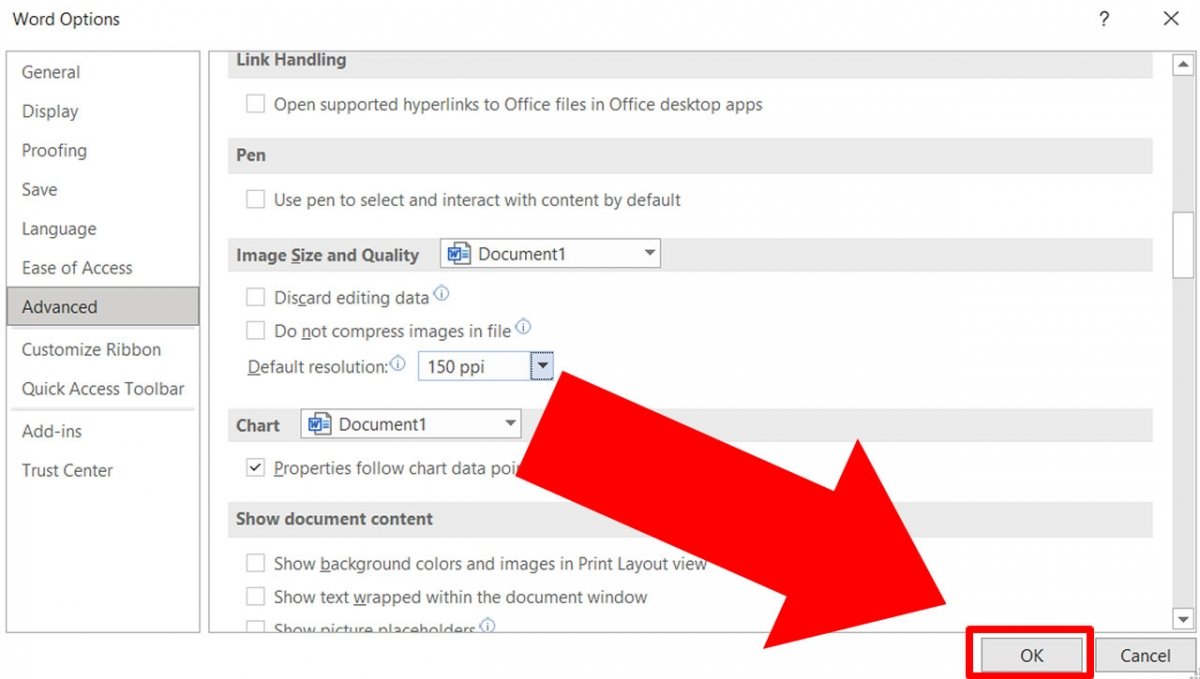 Press OK to save the changes
Reduce size by preventing the embedding of new fonts
Although it is not common, the fonts you use may be embedded in your documents. You usually do not need to do this, unless you are sending it to someone else who does not own the font and you want them to see it exactly the same way. To prevent fonts from being embedded in your documents, click on File.
 Access the File menu
Then, again, click on Options.
 Access the Options menu
In the new window, click on the Save menu.
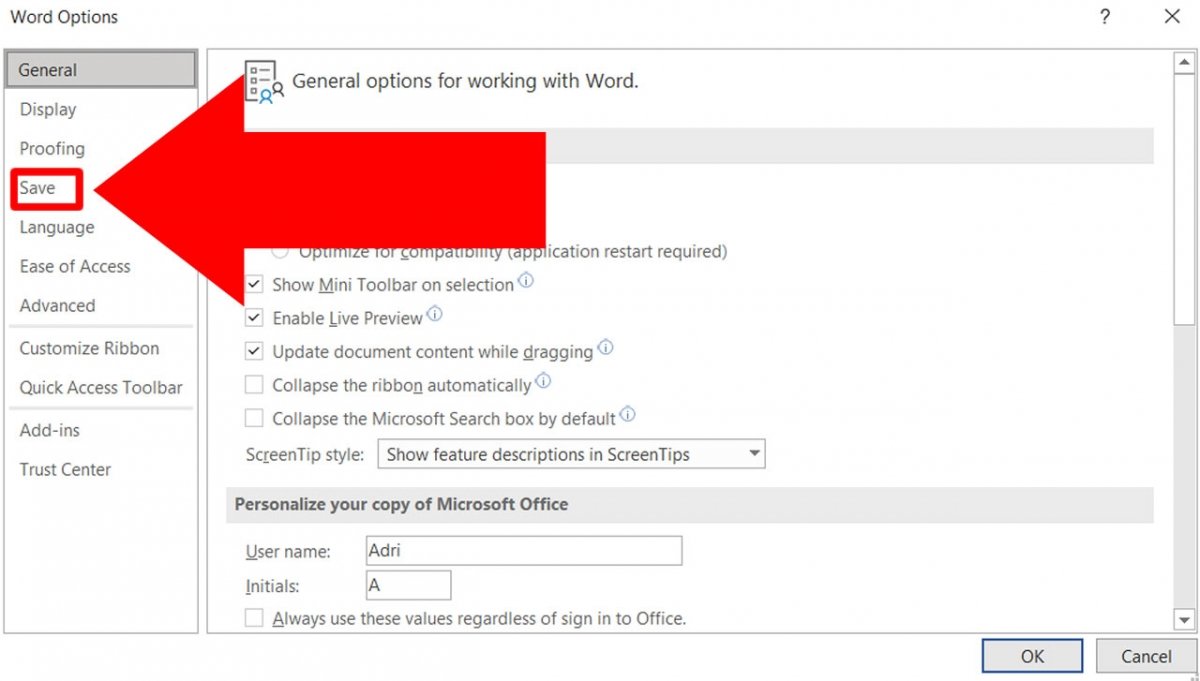 Press the Save menu on the left-hand side of the new window
Look for the Preserve fidelity section when sharing this document. Uncheck the Embed fonts in the file box.
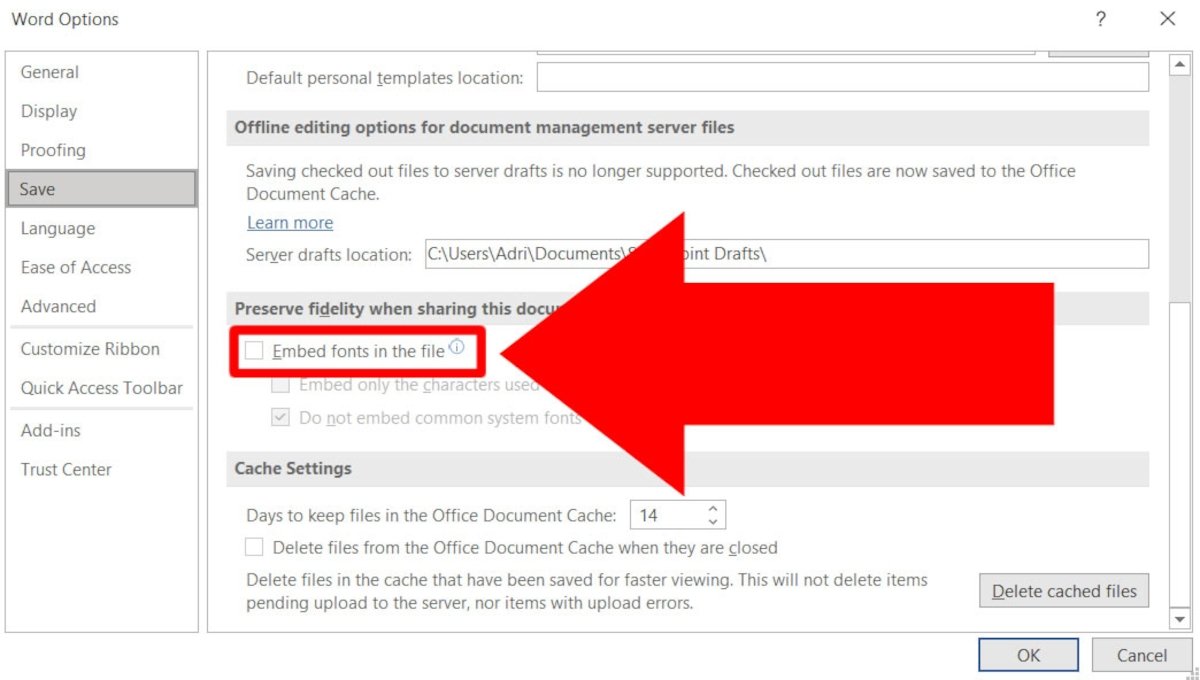 In Preserve fidelity when share this document uncheck Embed fonts in the file
Finally, click on OK.
 Press OK to save all the changes
As with the previous process, this option will be unchecked for the current and subsequent documents.
