

To apply any skin in Minecraft for PC, open the launcher or the game launcher, which is the initial window that serves as a welcome screen and space for settings, updates, and so on. Once there, look for the Skins tab in the menu at the top.
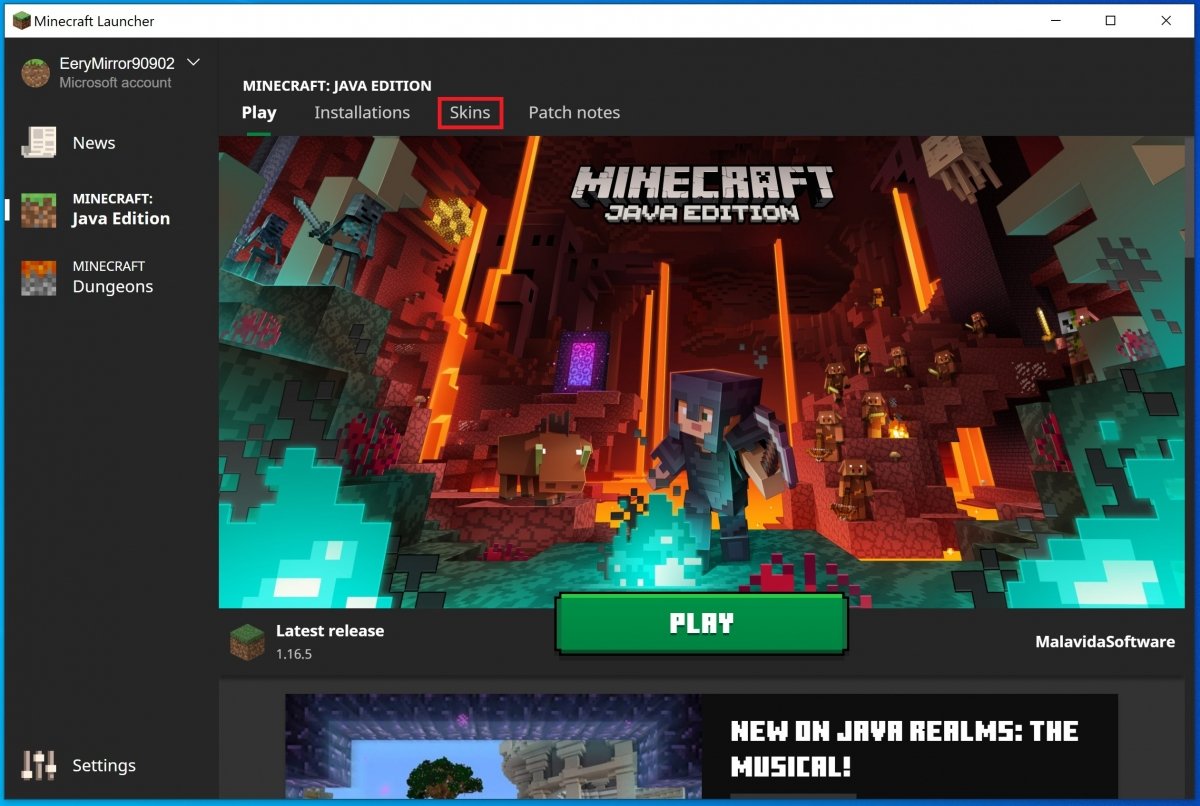 Minecraft’s Skins tab
In this section, you can see the current skin of your character on the left side. On the right side, you can see the available skins. Initially, you have the one of Alex and Steve, but you just have to tap the New skin button to create a new one.
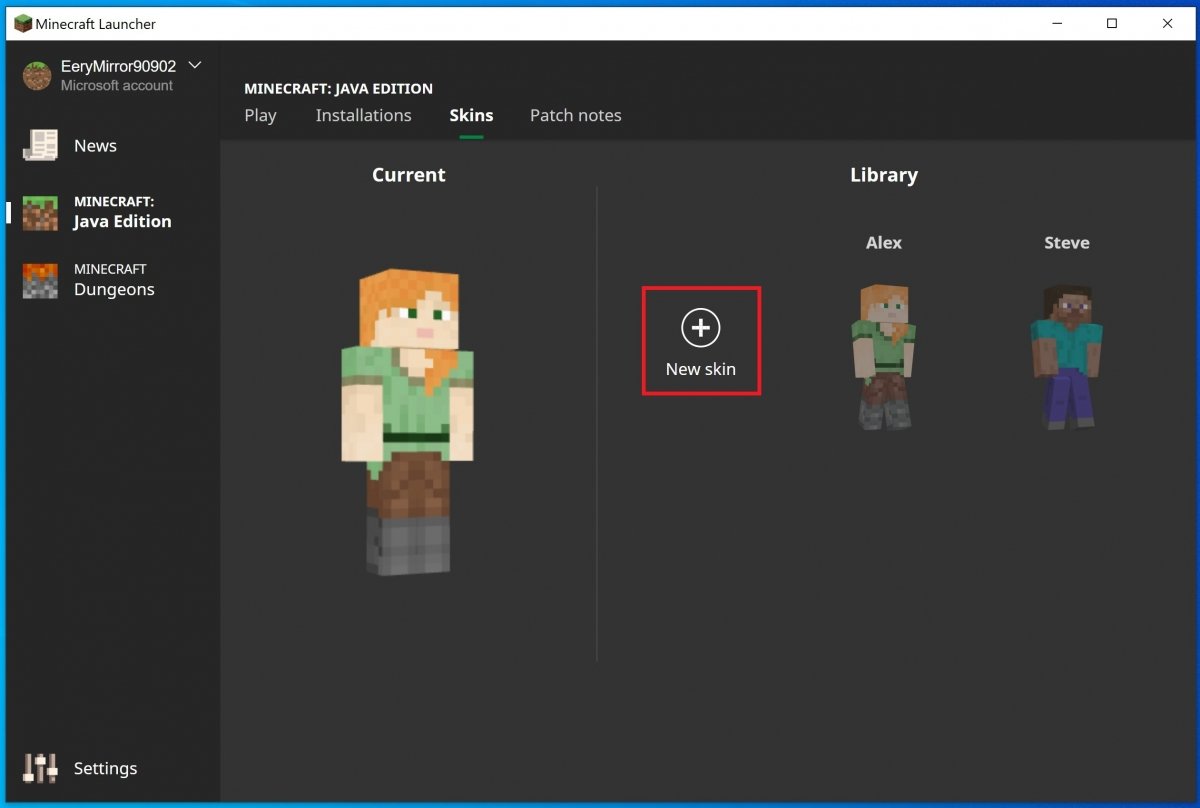 Press New Skin
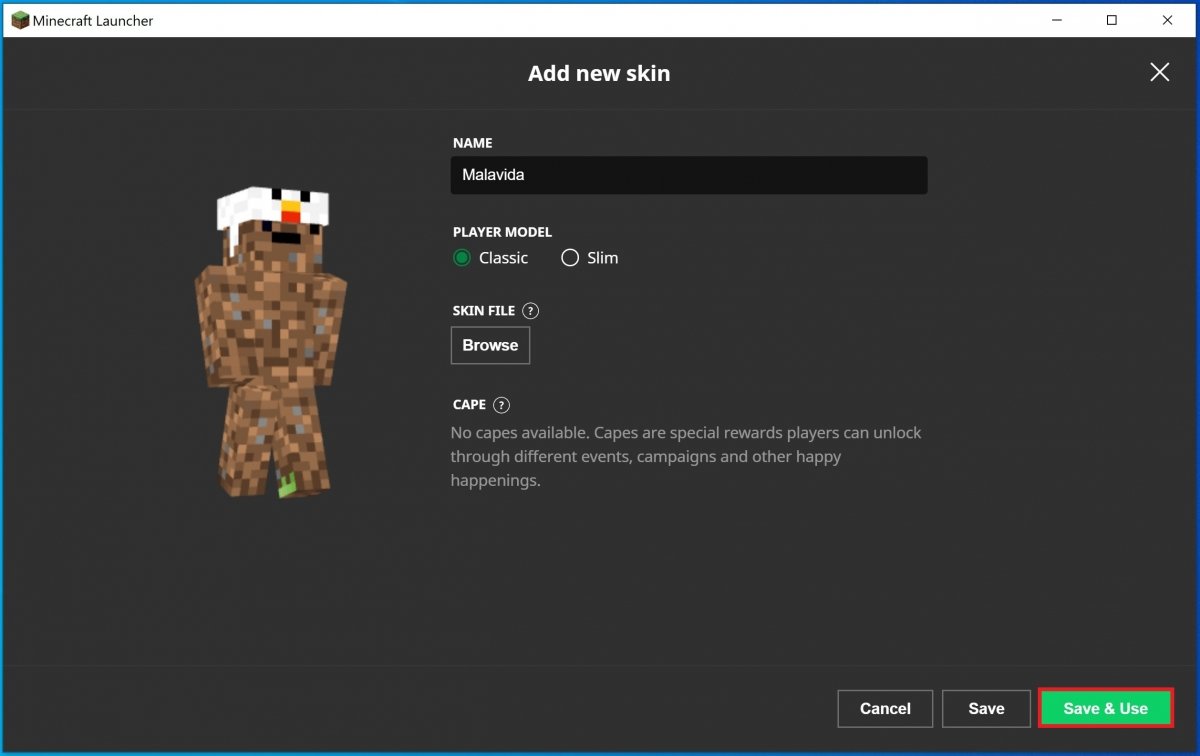
First, select the name of your new skin, then, the player model. Finally, you have the Skin file section that is the important one. Tap on the Browse button to open the file explorer and import a skin from a directory on your PC.
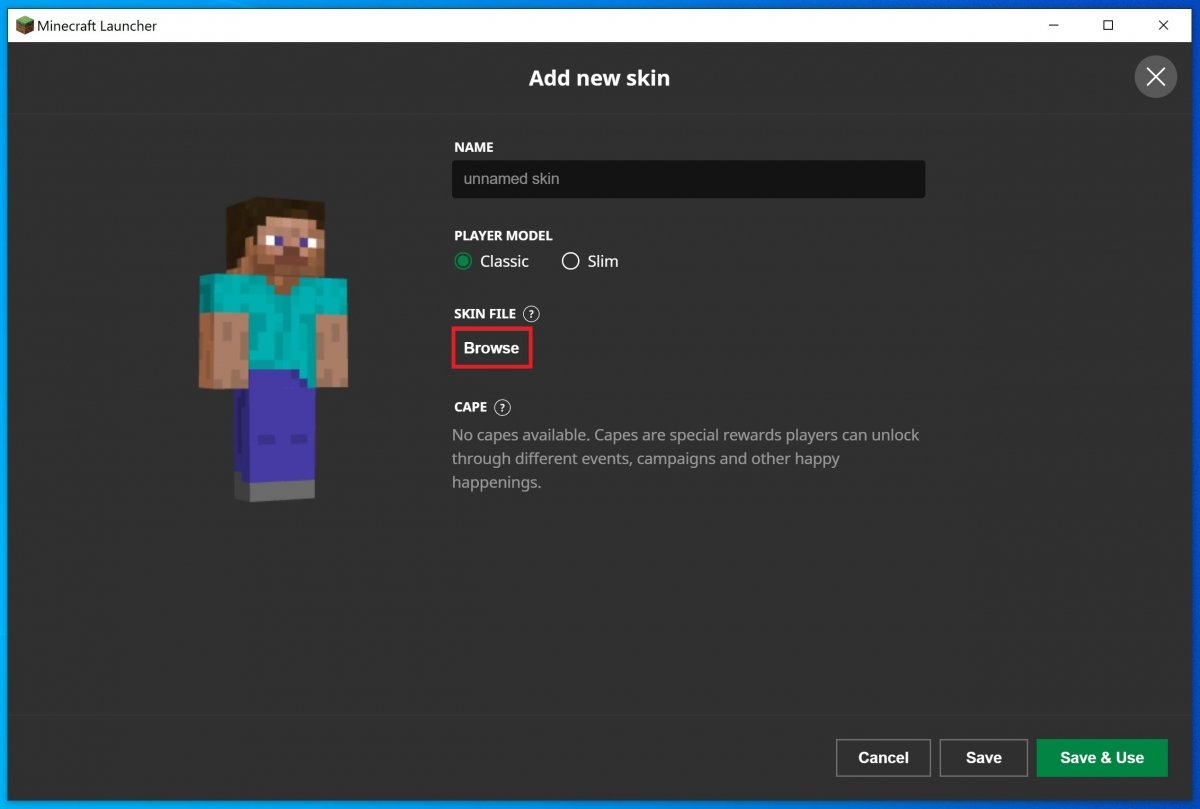 Press Browse to find a PNG skin file
Select the PNG file.
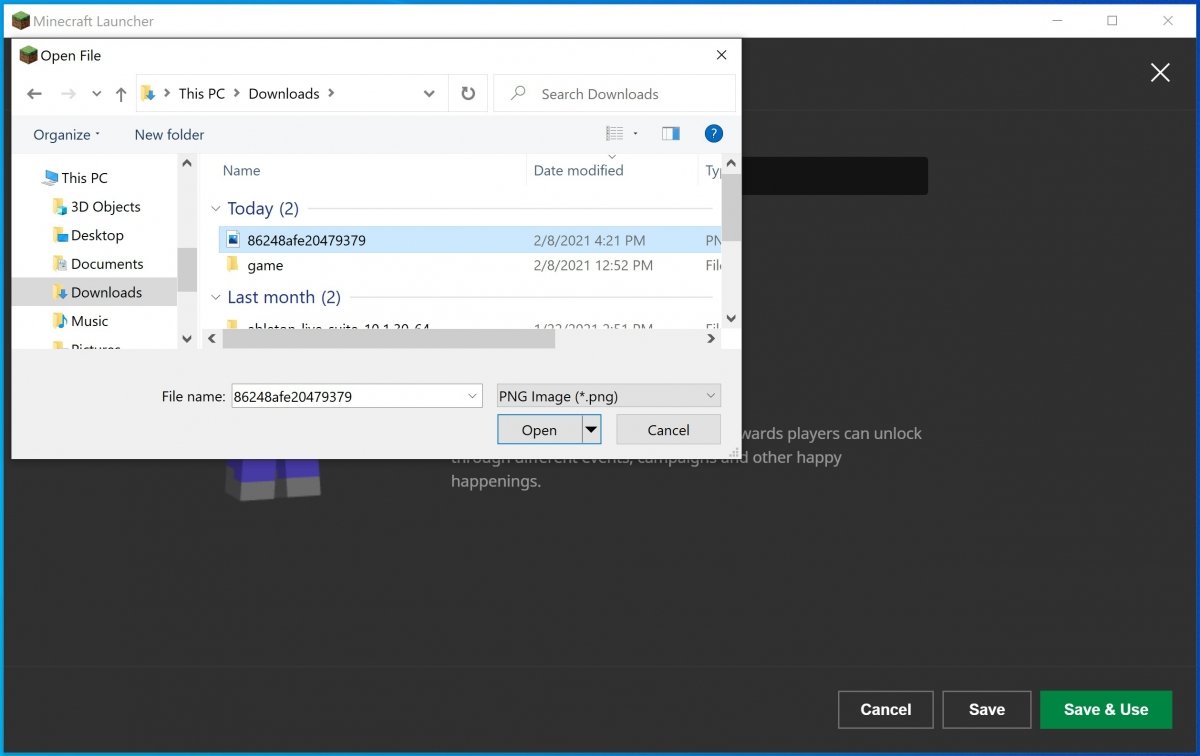 Select the file
You will then be able to preview your new skin and confirm the operation with the Save or Save & Use buttons if you want to apply the skin to your character now.
 New skin preview
The new skin will become available in your in-game skin collection.
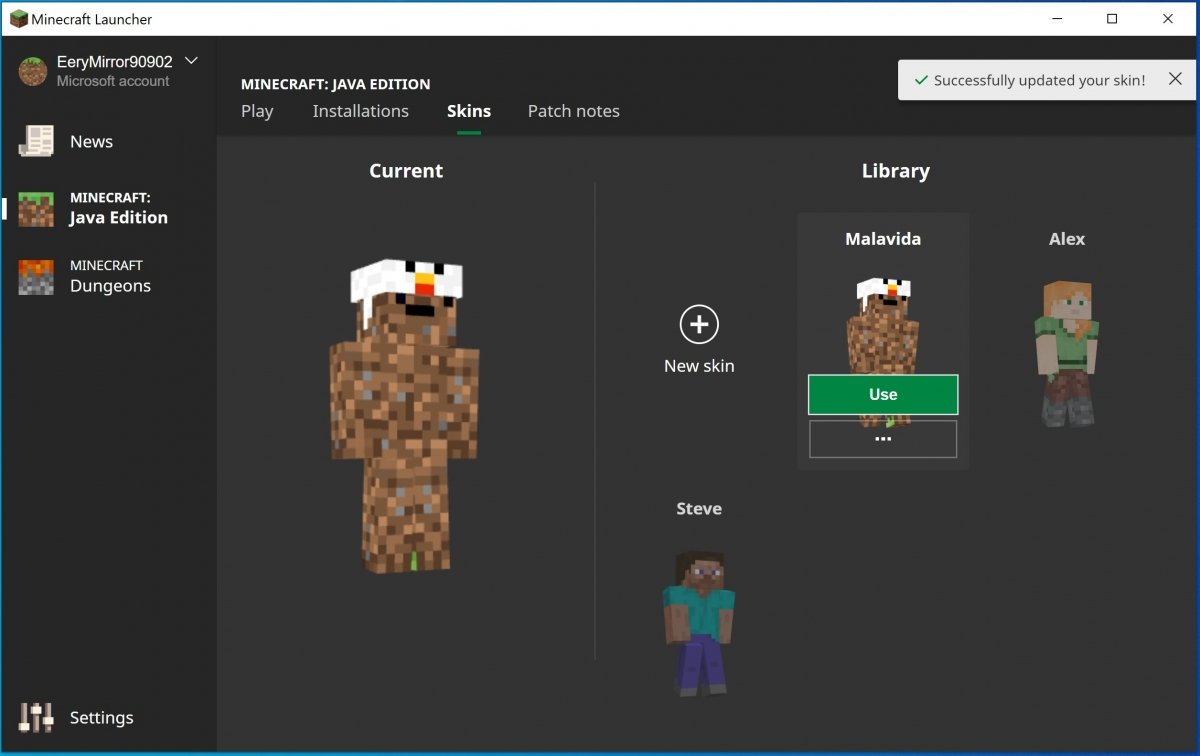 New skin selected
The skins are nothing more than customizations for your avatar in the game, so that you can show off a unique and differentiating aspect concerning the rest of the users. By applying and choosing them, you will be able to modify the appearance of the character. The skins are PNG files that you can download for free on the Internet, or create them yourself. To design and create your own skins, you have several possibilities.
The first alternative would be to use a Minecraft skin editor for Windows. You have at your disposal, for example, MCSkin3D or SkinEdit. Both work as simple graphic editors where you can design the skin to your liking and export it in PNG. Then, all that remains is to load it as we explained at the beginning of this guide.
Another option is to use a mobile app, as there are several editors that you can use to generate the necessary PNG file. Then you will have to import it into your version of Windows through the client as explained above. Here are the two best alternatives:
Some of the most used Minecraft skin editors work in the cloud, so a simple search on the Internet will let you find dedicated pages. All kinds of tools are available to customize colors, clothes, face, hair, and more.
The different skins are stored in the Bin > Minecraft.jar folder, which is where the game is installed. Here, you will have to save both the ones you make and the ones you download made by other users.
The point is that customizing your character with these skins makes it possible to be anything you can imagine: a Martian, a basketball player, the character of a movie, the protagonist of a video game, and such, and to see what you look like, you just have to tap F5 to change the view. Keep in mind that this is also how other players will see you.
