
There are several ways to place one image on top of another in Photoshop. For example, you can use the clipboard. Simply access a compatible application that lets the user copy images, such as File Explorer, Microsoft Word, or the Windows 10 photo viewer.
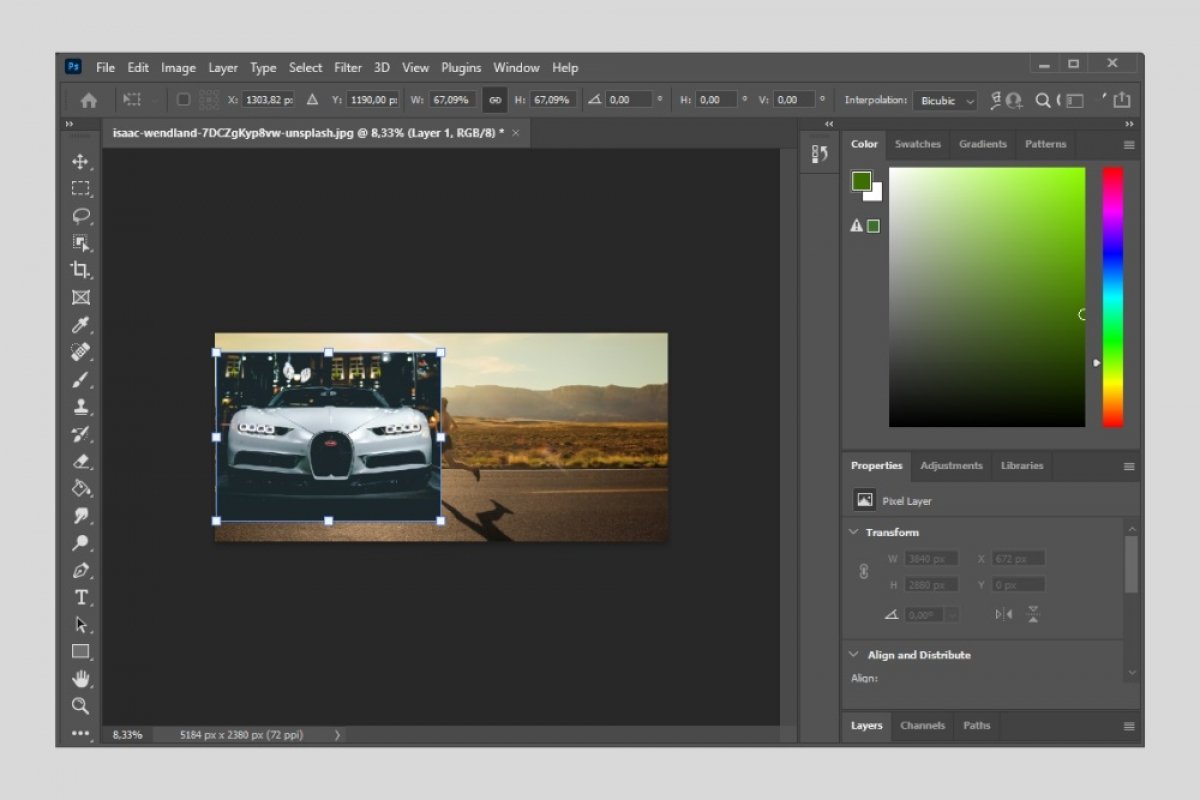
Then, go to the active Photoshop window and press Control + V. Immediately, you will see how the photo you copied appears on the canvas, superimposed on any other content that was already there. Similarly, it is also possible to drag the secondary image into the project so that it is automatically added. You can see the result in the following screenshot.
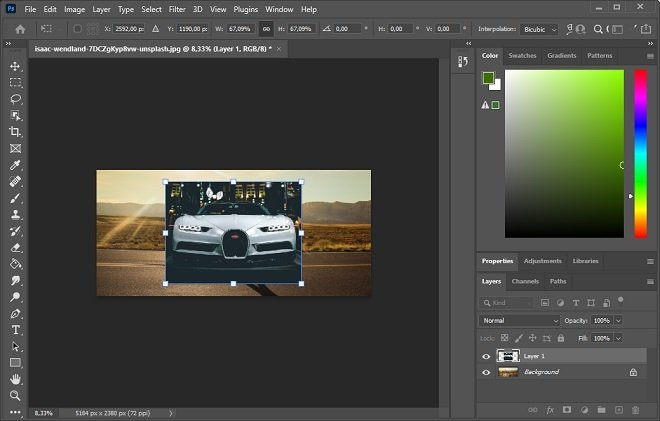 Result of pasting images
Although we have already told you about the fastest way to add images to your project, we should mention that you can also use the Photoshop menus to get an identical result. To do this, go to File. Then, click on Place Embedded.
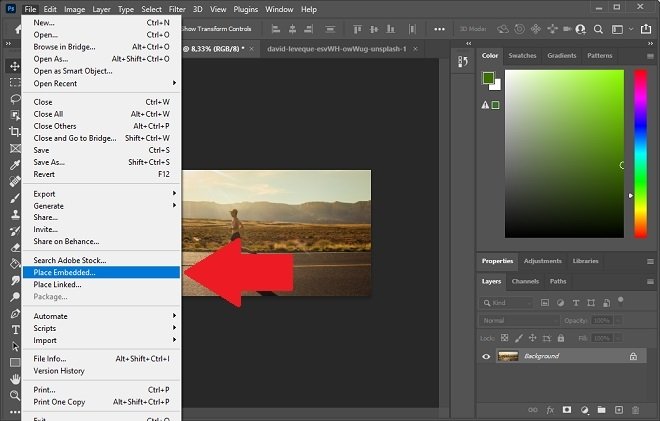 Add a new image to the project
Use the file explorer to locate the image you want to place inside the canvas. To open it, just double-click on it. All files that can be opened with Photoshop are supported.
In the three methods we have mentioned in this article, images are inserted as smart object. This lets the user change its size or aspect ratio, move the picture freely, or delete it quickly. Do not forget that, with each image you add to your project, a new layer will be created.
When you are done, save your photocomposition. If you choose to store it in PSD format, you will be able to edit the project later, adding new images or removing the ones you no longer need. However, if you use the export option, the entire contents of the canvas will be flattened and the possibility of further editing will be lost. In the latter case, it is also important that you use a different name so as not to lose the original photograph.
