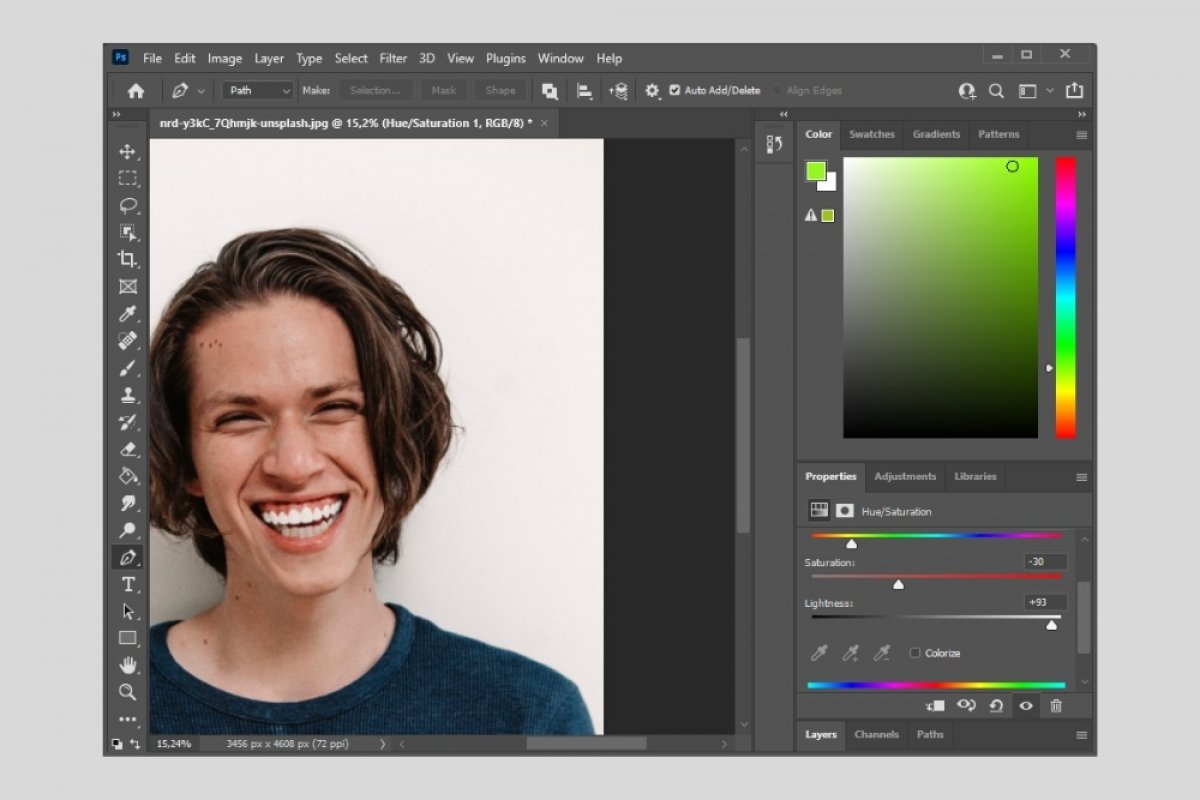

Photoshop is a complete photo editing software. Among its functions, you will find the possibility of whitening the teeth of any person in a photo. You may be wondering how can I whiten a person's teeth in a photo? Well, follow this guide to find it out.
First, activate the pen tool. Then, select the denture accurately. Use the zoom to better visualize the area and use as many nodes as necessary for an accurate selection. In this case, we have selected only the upper teeth to make the changes more evident. However, in your case, select the entire dentition.
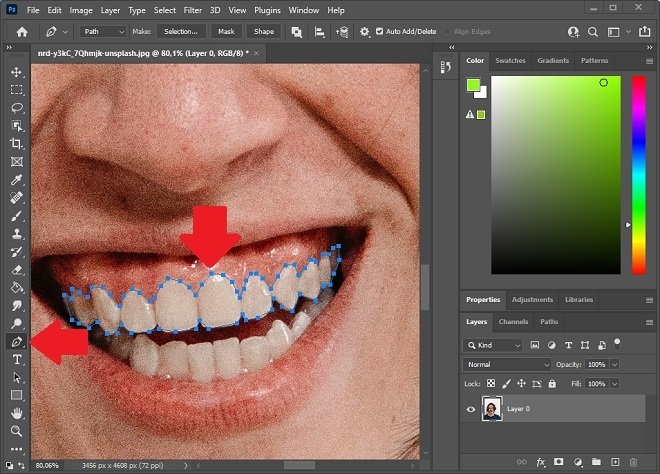 Choose the teeth
Then, click on Selection.
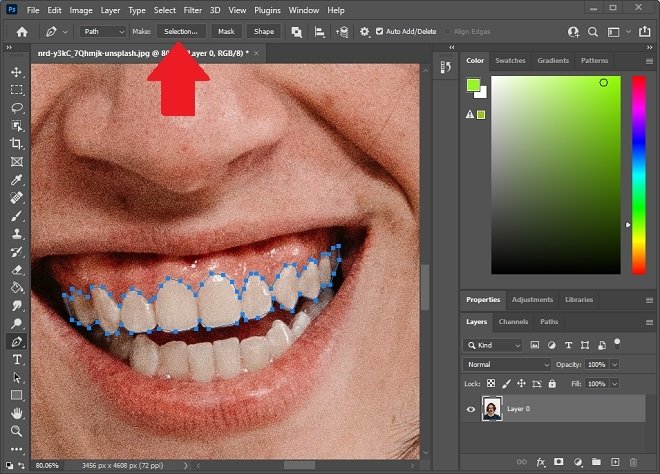 Make a selection
Select the number of pixels to be used to blur the selection. Thus, you get better results.
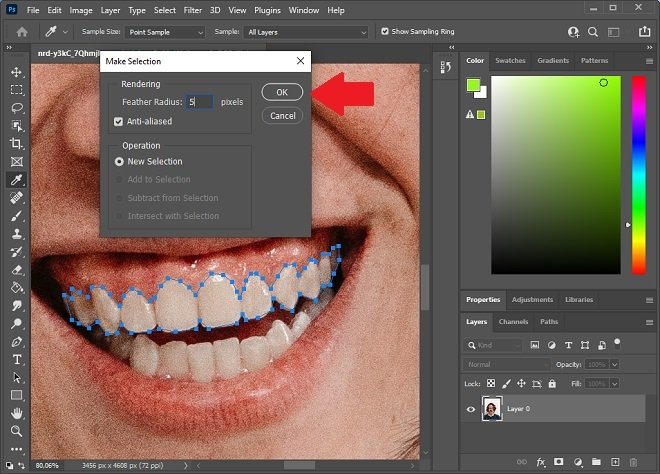 Apply a smoothing
Once you have the selection, add a new hue and saturation mask. You can do this by selecting the Hue/Saturation option.
 Hue and saturation mask
In the Properties section of the mask you have just created, modify the hue, saturation, and lightness. Adjust these parameters to achieve a whitened but realistic denture. As you modify these values, the applied changes will be visible in real-time.
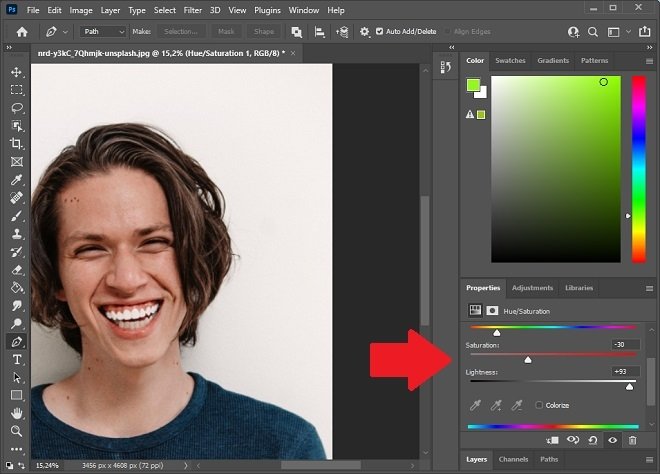 Modify the mask’s values
If you think the result looks unnatural or too forced, you can add other parameters that control the shadows of the mask. Also, we recommend you adjust the opacity. You can do the latter by using the Layers tab. There, you must select the mask and modify the value that you will see next to Opacity.
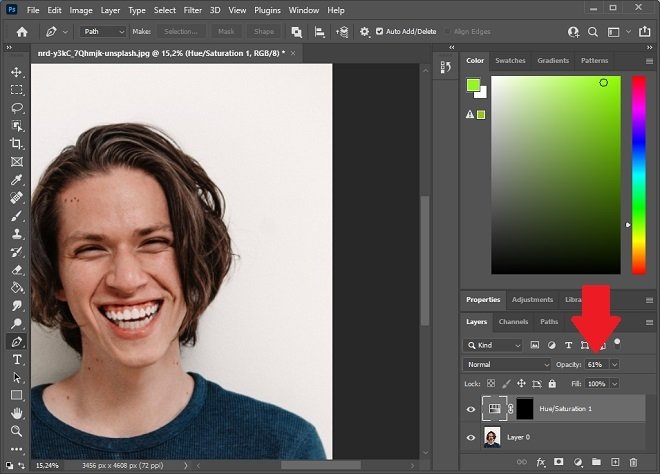 Manage the mask’s opacity
Once you get the desired result, export the file as an image or save it as a PSD file. In the latter case, you will be able to edit the image if necessary.
