
Windows 11 is able to set the date and time automatically. In general, the operating system has no problems in this regard and is usually accurate when it comes to determining the time zone. However, it may sometimes be necessary to set the date and time manually in Windows. Do you know how to do it? Let us tell you about it.
How to change the time and date in Windows 11
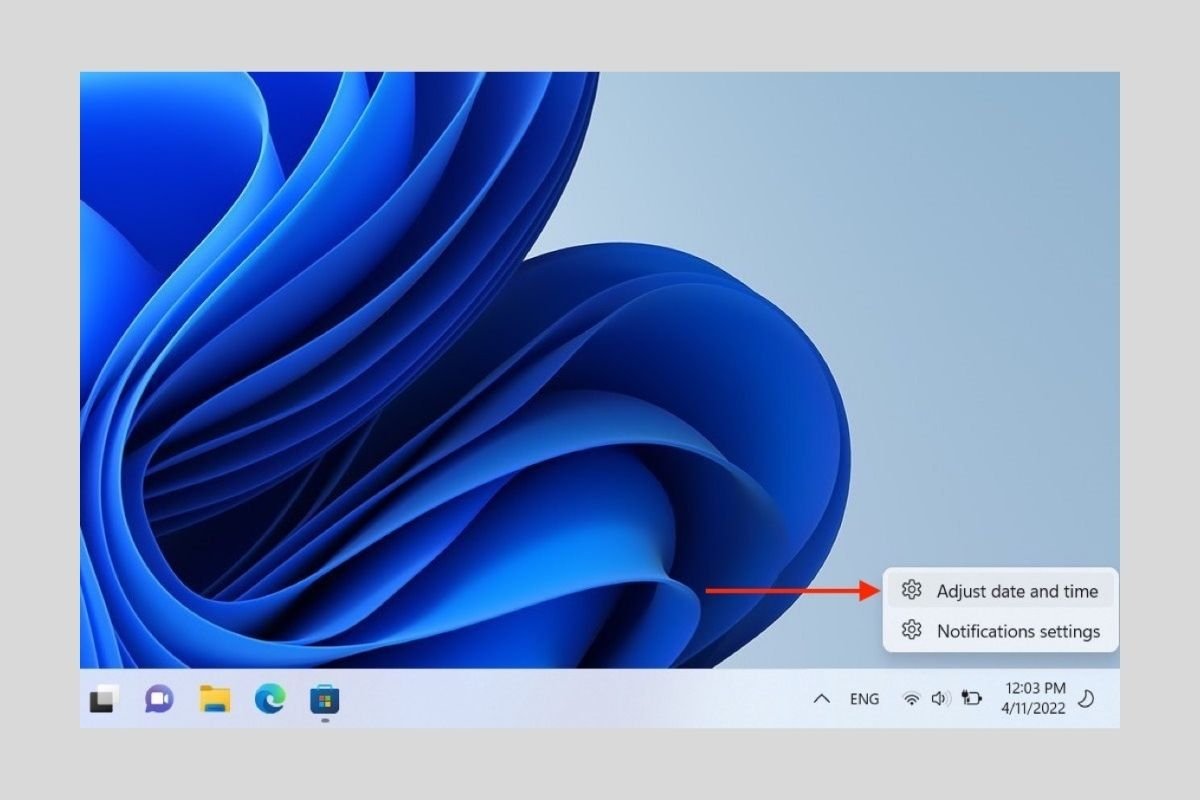
The main method for setting the time and date in Windows 11 is to use the setup application. You can access the corresponding section from the taskbar by right-clicking on the clock. Next, you need to choose Adjust date and time.
 Access the time and date settings
Disable the Set time automatically option at the top of the window. After that, the Change button is enabled. Click on it.
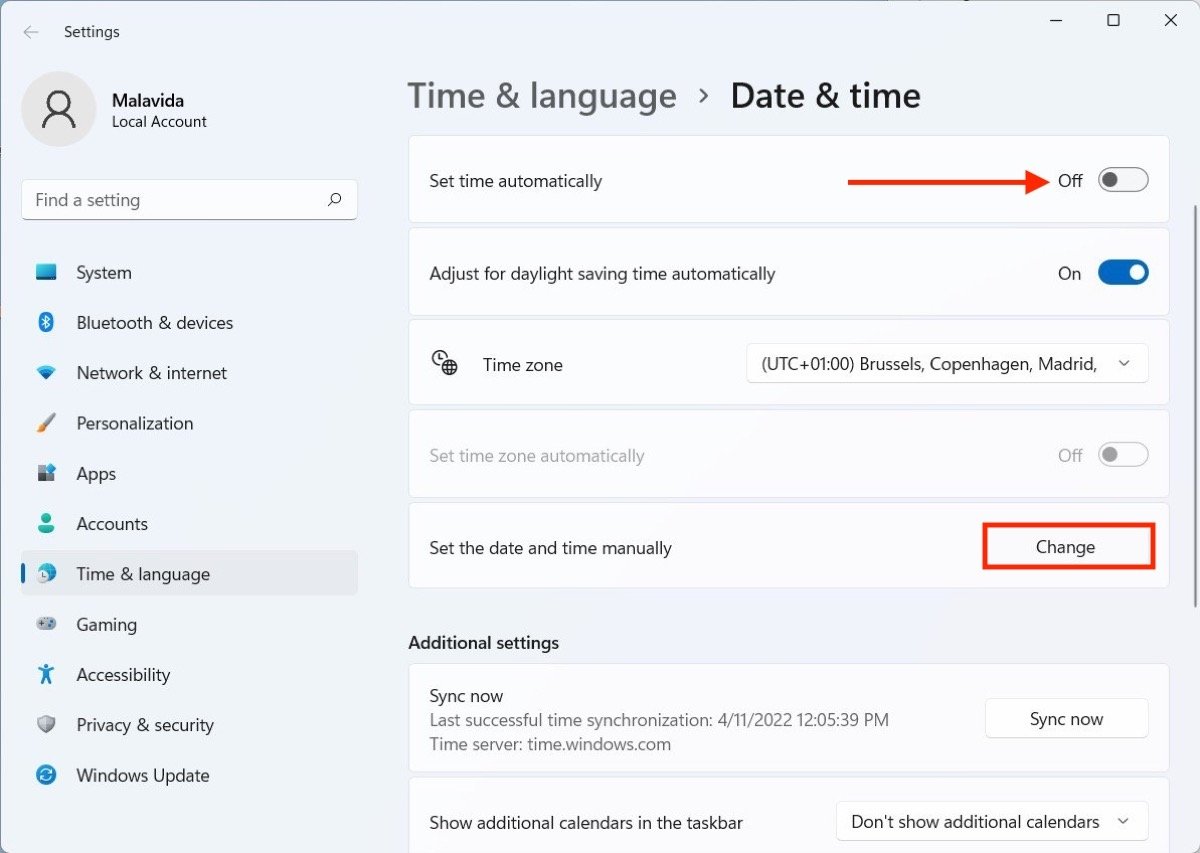 Disable the automatic time and date adjustment
In the pop-up window, set the date and time according to your personal criteria. When you are done, click on the confirmation button.
 Modify the time and date on Windows 11
Then, Windows will immediately modify the date and time with the values you have entered. In short:
- Right-click on the clock in the taskbar.
- Disable Set time automatically and click the Change button.
- Set the time and date and confirm the change.
How to change the time and date in the Control Panel
There is still another option to change the time and date available from the Control Panel. It is located in the Clock and Region section.
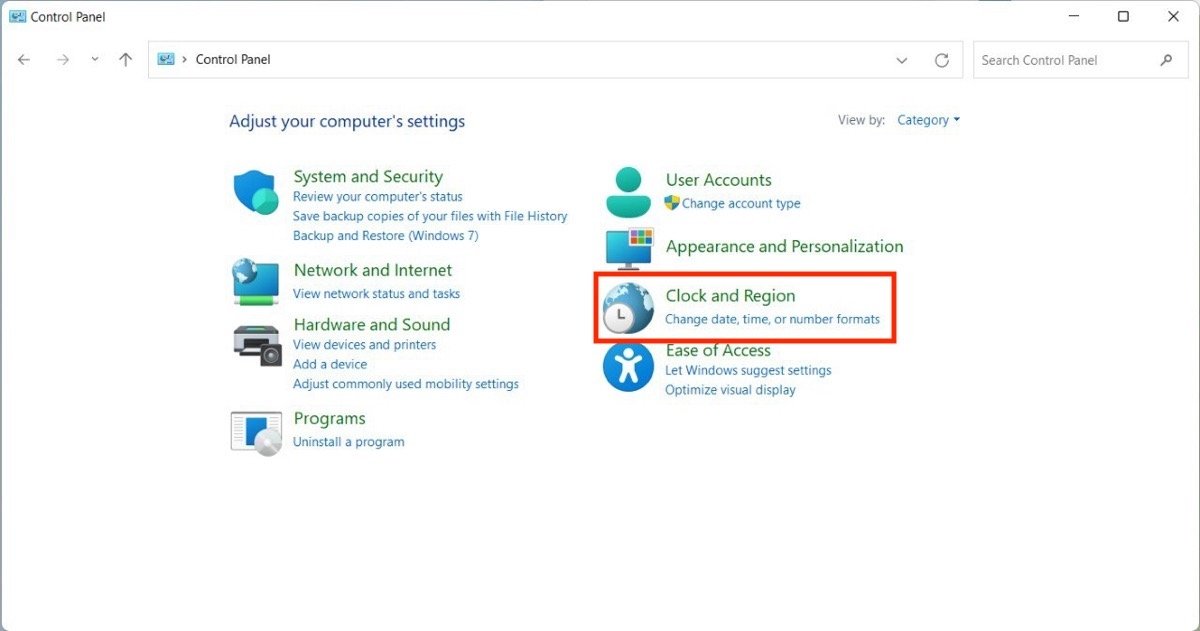 Change the time and date from the control panel
Click on Date and Time, and in the pop-up window, select the Change date and time button. Finally, set the values according to your preferences in the selector that will appear on the screen.
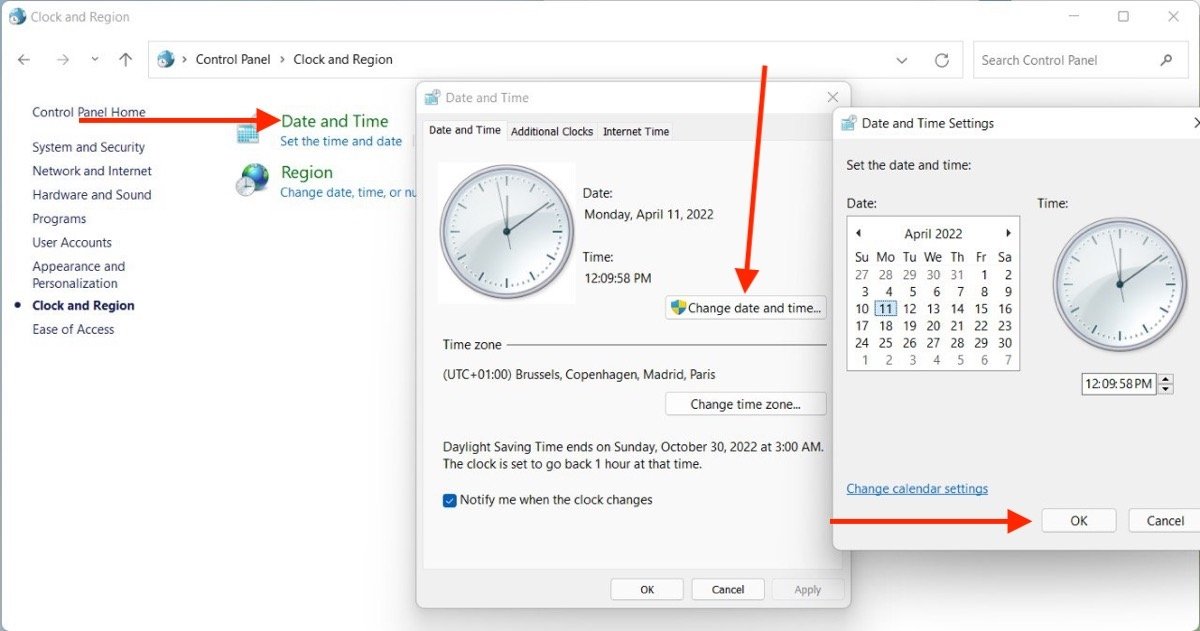 Steps to change the time and date on Windows 11 on the control panel
This method has exactly the same effect as the first one mentioned in this guide. Remember that both can be used and get the same results.
- Go to the Control Panel and find the Clock and Region section.
- Click on Date and Time.
- Click Change date and time and set the time, then, click Ok.
How to change the time and date format in Windows 11
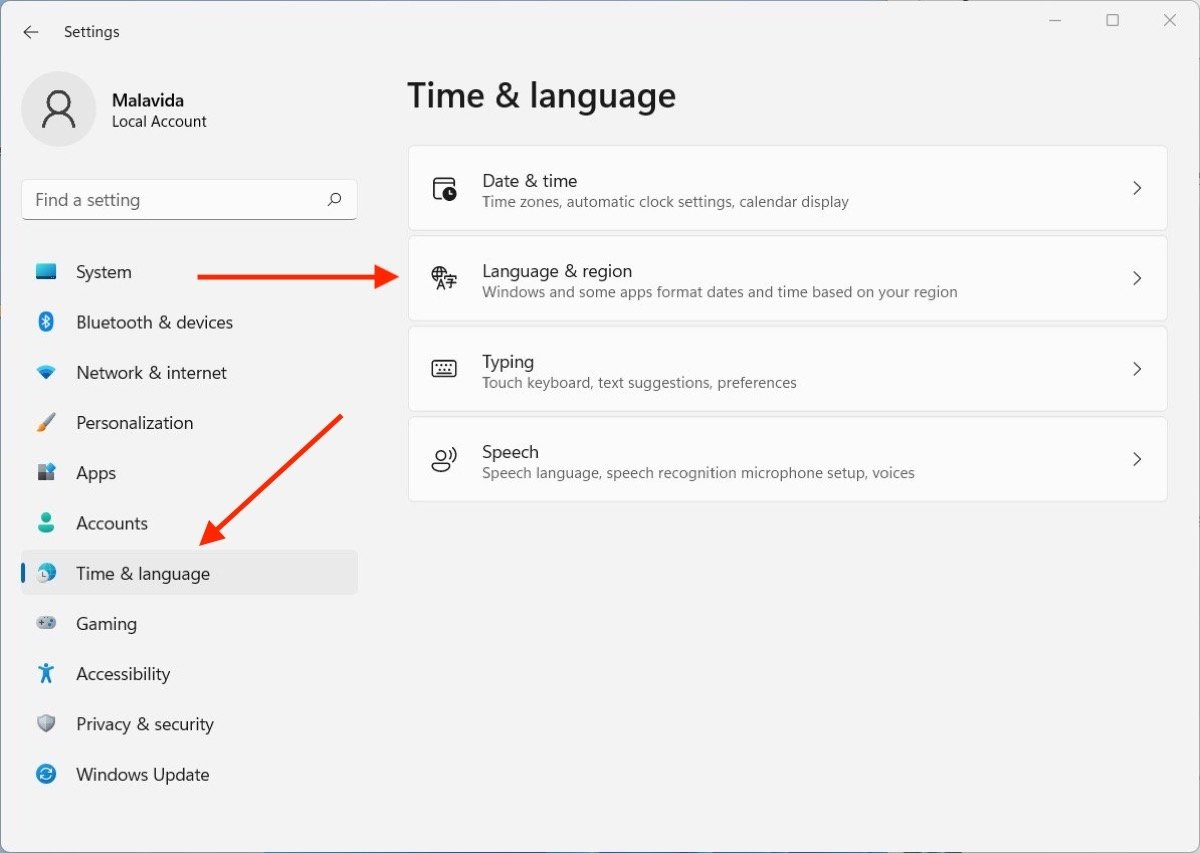
In addition to changing the time, you may need to change the date and time format in Windows 11. Without leaving the configuration interface, open the Time & language section and click on Language & region.
 Change the time and date format
Click on the drop-down menu that you will see in Regional format. Then, select your region for the system to adapt the date and time format.
 Select the region for the time and date format
This parameter can be changed independently of the main system language.
