
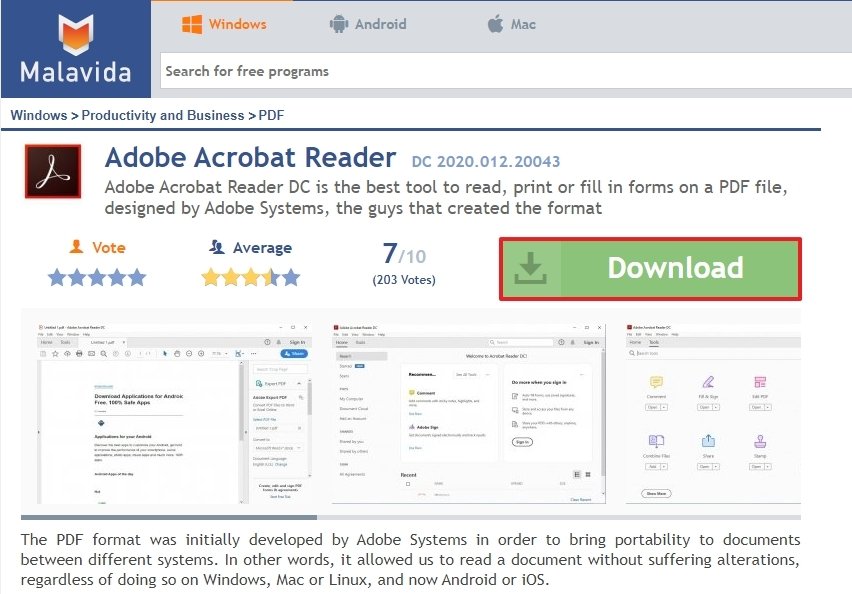
To install Adobe Acrobat Reader on your PC, you must click on the green button that appears at the end of this text. This button will take you to the download access page, where you will have to click on the green button again:
 Access to Adobe Acrobat Reader’s download
This button will take you to the download page where you will have to click on the green button again to start the actual download:
 Downloading Adobe Acrobat Reader
When you have it on your PC, go to the location where you saved the file (in our case the desktop) and double click on it:
 Adobe Acrobat Reader’s installer
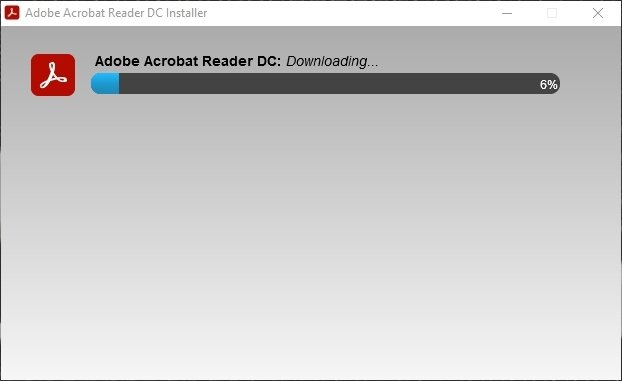
The installation will begin with the download of the necessary files so that Adobe Acrobat Reader can be on your computer (this will take a while, and will depend on the speed of your internet connection):
 Installing Adobe Acrobat Reader
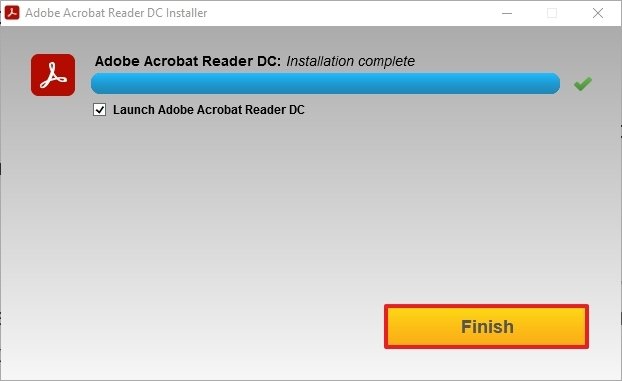
Afterward, the installation will start automatically. When it is finished, the installation program will notify you. If you click on the Finish button, the installation program will end, and Adobe Acrobat Reader will open automatically:
 Adobe Acrobat Reader has been installed
And this is what you will find on the screen when you first open it:
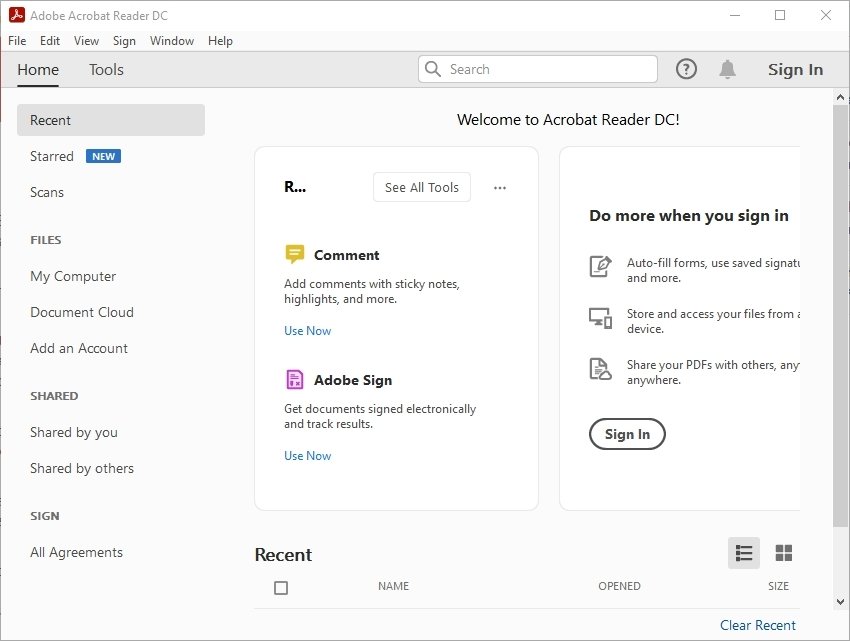 Adobe Acrobat Reader’s main interface
As mentioned above, Adobe Acrobat Reader is one of the most popular PDF file readers. Also, it is one of the most complete: with this program, we can add comments to PDFs, add electronic signatures, create forms to add to the PDF file, edit PDF files, and even combine documents of this type.
As you can see, if you follow the steps we have shown to you, you should have no problem having Adobe Acrobat Reader on your computer.
