
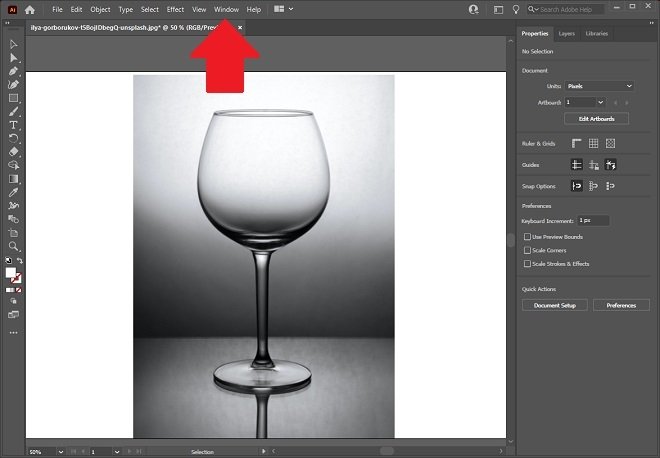
To vectorize an image with Adobe Illustrator, just follow the instructions below. First, open the file you want to vectorize. You can use the File menu, and then, the Open option. Then, simply select your image in the file explorer. You can also drag the file to the work area. In any case, when you have loaded your image into Adobe Illustrator, open the Window menu.
 Window menu
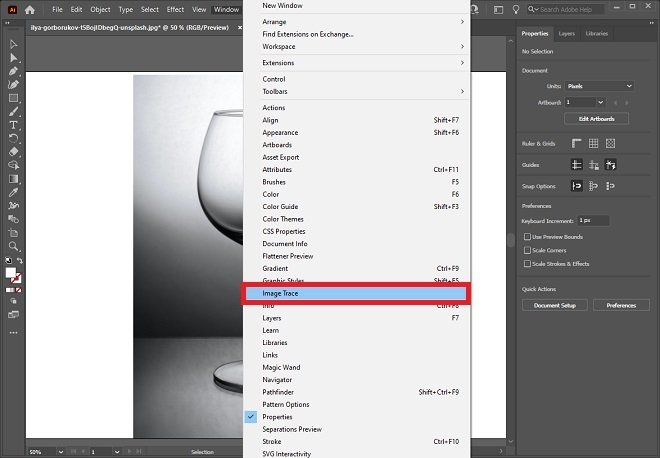
A context menu with a long list of options will appear on the screen. Locate and click on Image Trace to continue.
 Trace an image
In the pop-up window that appears, choose the High Fidelity Photo option in the drop-down next to Preset. Adobe Illustrator will apply the changes in a process that may take a few seconds or a few minutes, depending on the performance of your computer. Wait for it to finish.
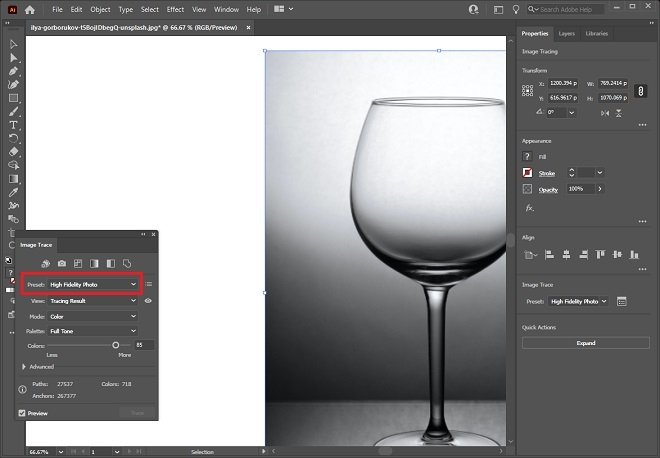 Choose high fidelity photo
Then, open the Object menu and select the Expand option.
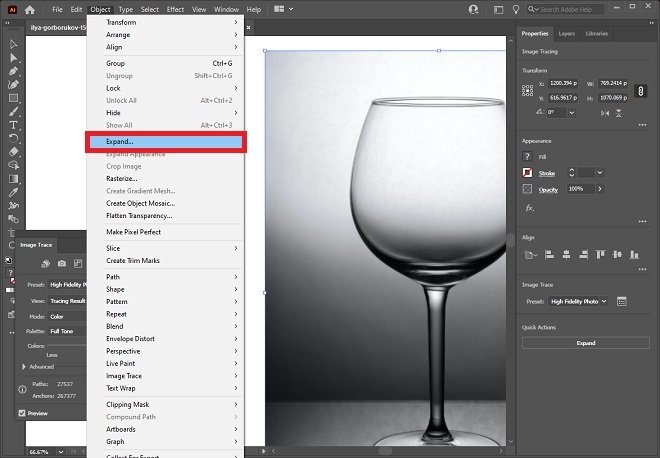 Expand option
In the pop-up window, click Ok to continue.
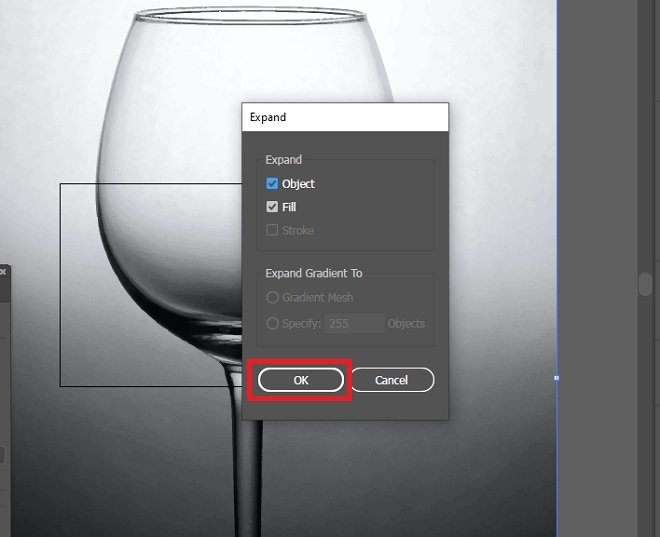 Confirm the expansion
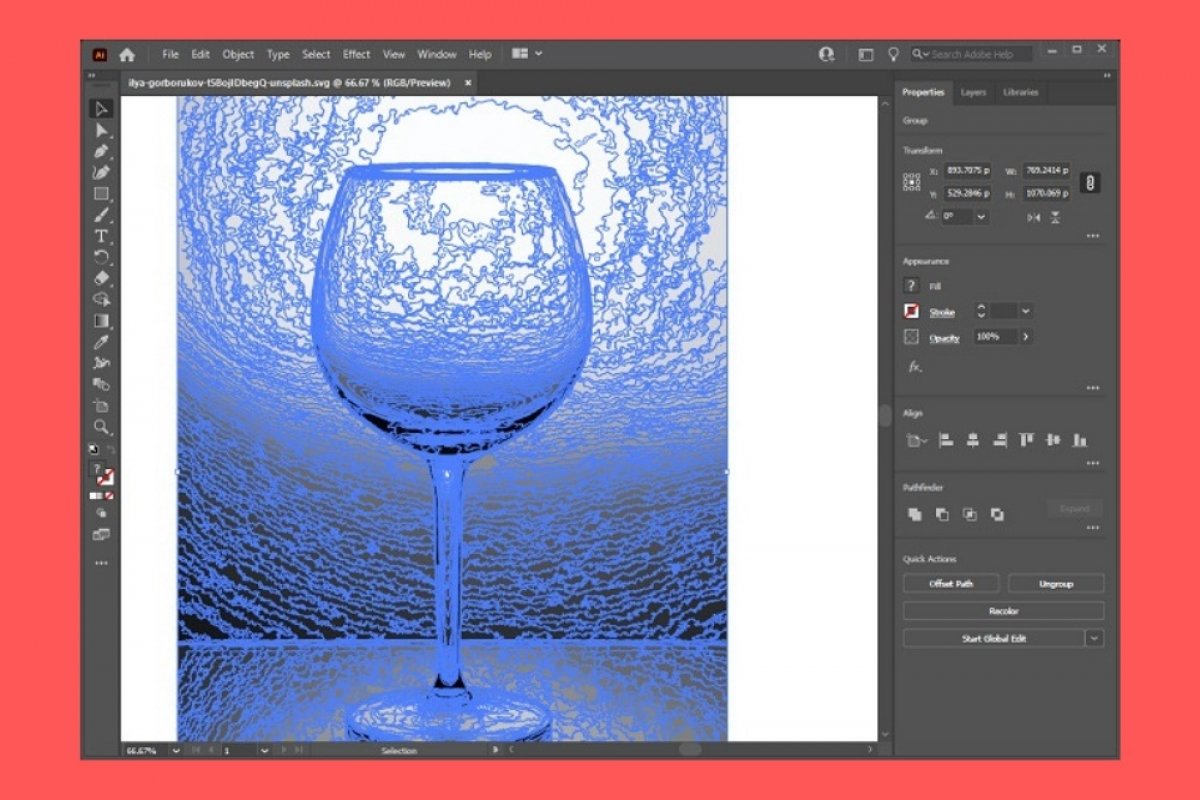
Wait for Adobe Illustrator to vectorize your image. When finished, you will see how all the nodes of the photo you imported have been delimited. Your file should now look like the one you see in the following screenshot.
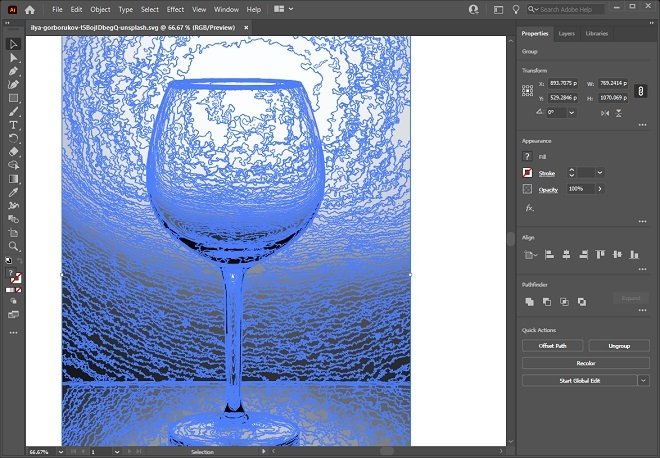 Vectorized image
Finally, export the file to the format that best suits your needs. You can store the image in AI format, compatible only with Adobe Illustrator, or in SVG, a format often used on the web. Generally, it is possible to open a scalable SVG file with a web browser or with online tools designed for that purpose. Also, if you are looking for better compatibility, you can use Adobe Illustrator to export your vector file to PDF.
