
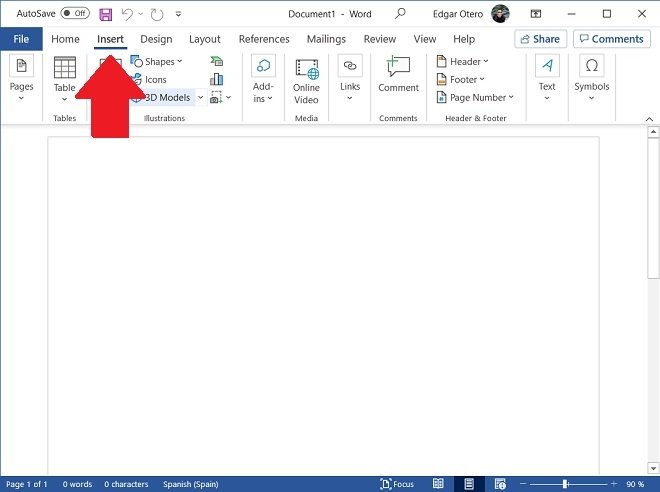
When a document increases in length, one way to improve navigation within it is to add page numbering. In Microsoft Word, this function is very easy to use. Simply go to the Insert section.
 Section to insert content
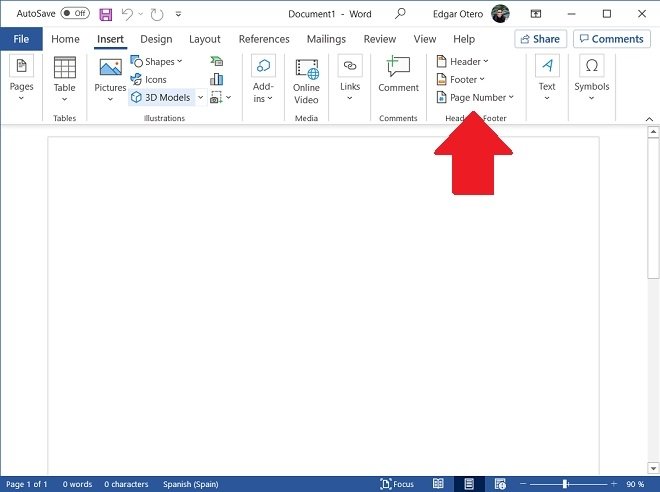
When all the options related to the insertion of elements and content appear, locate the Page Number button.
 Insert a page number
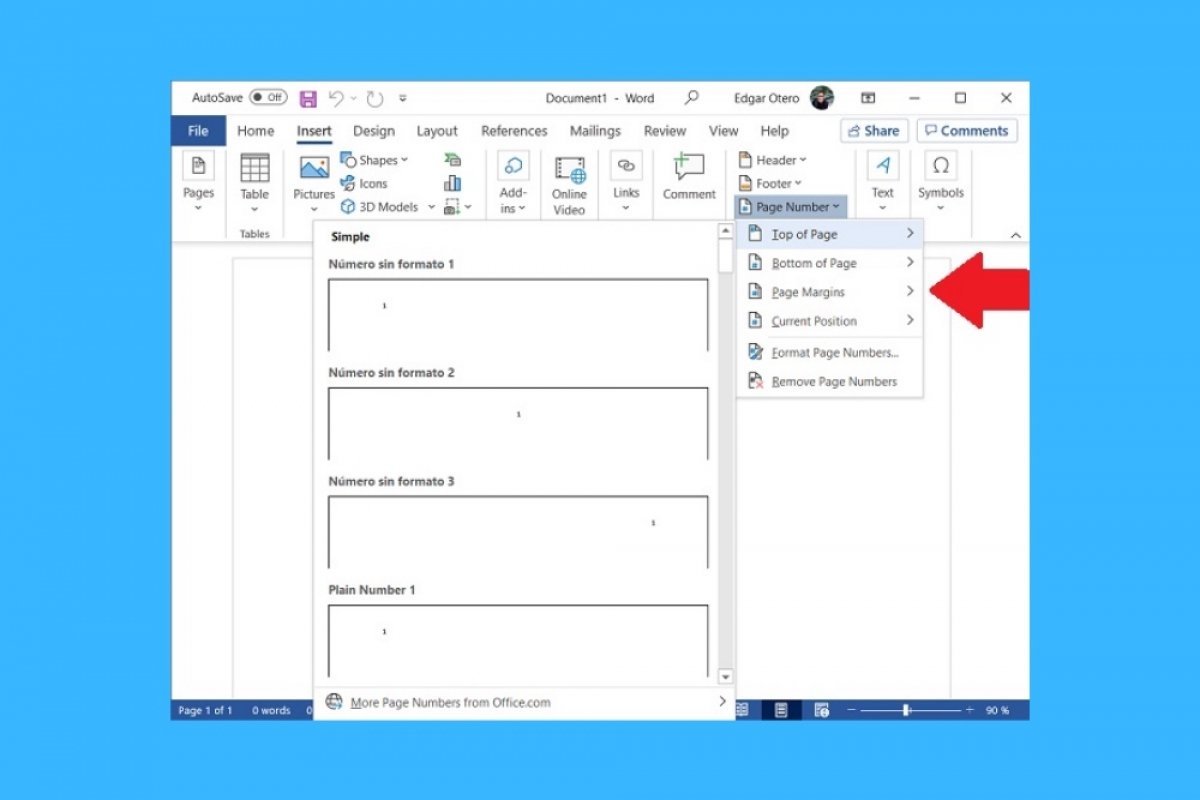
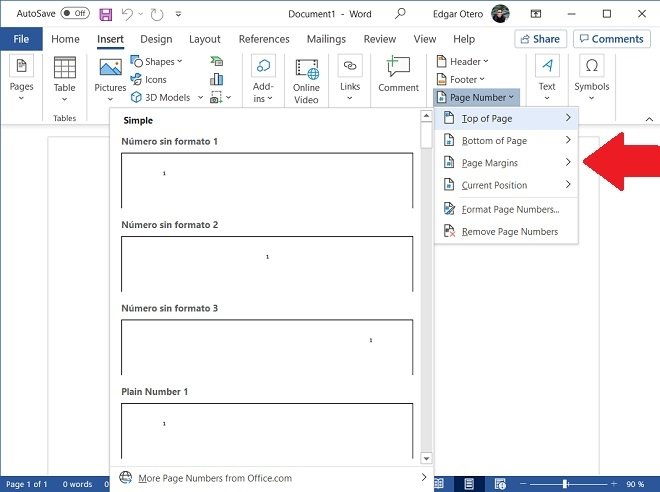
In the pop-up menu, you will see four options:
- Top of Page. Choose it to add numbering to the header of each page.
- Bottom of Page. Use this button to choose designs that insert numbering in the footer.
- Page Margins. This option adds consecutive numbering to the document margins.
- Current Position. This button numbers each page at the current cursor position.
Once you have decided on the most appropriate option for you, choose the predefined design you like best.
 Choose a place for the page number
Once you have taken these steps, all the pages of your document will have been numbered. You can change other parameters related to the page numbers in the menu Page number You will find it in the tab Header & Footer. There, select the option format Page Numbers.
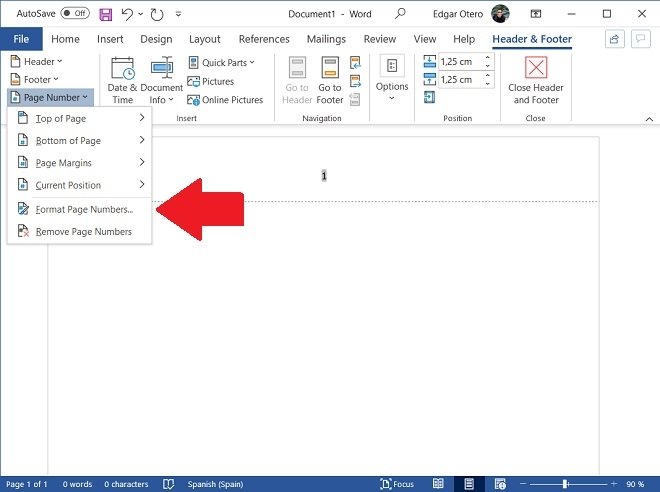 Page number format
In the pop-up window, you have some options available. For example, you can change the format of the numbers, add the chapter number, or start the numbering at a specific digit.
 Page number options
Additionally, it is possible to ask Word not to number the initial page. This option is required when the first page is used as a table of contents or cover page. Go to the tab Header & Footer and click on Options. There, check the box Different First Page.
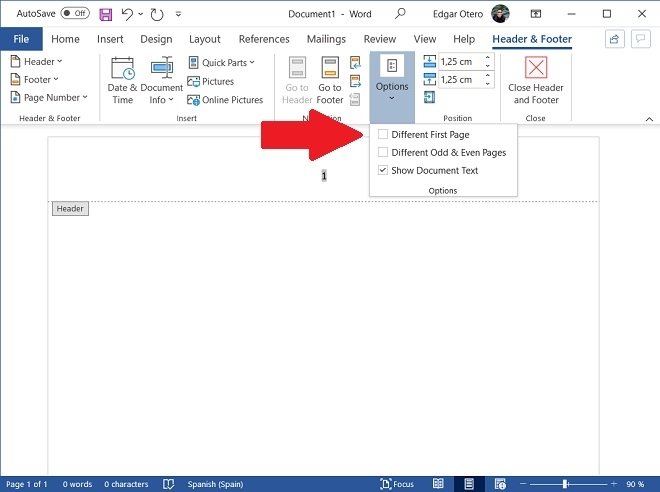 Remove the page number from the first sheet
At this point, Microsoft Word will start numbering from the second page of the document you are currently editing.
