
Microsoft Word includes many options to customize the look of your documents. One of these functions is line spacing. Here, we tell you where this feature is located and how you can use it in your files.
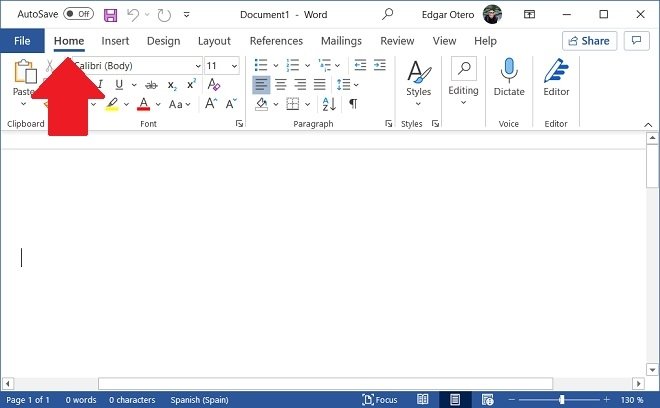
First, we explain how to find the line spacing. Go to the Home tab. This is where the general Word options are located.
 Start section in Word
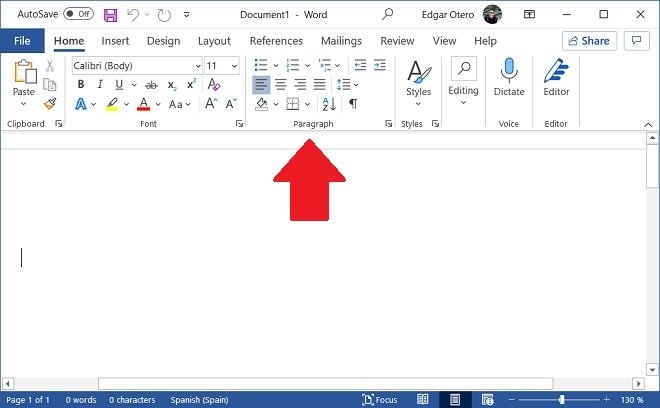
See Paragraph.
 Paragraph section
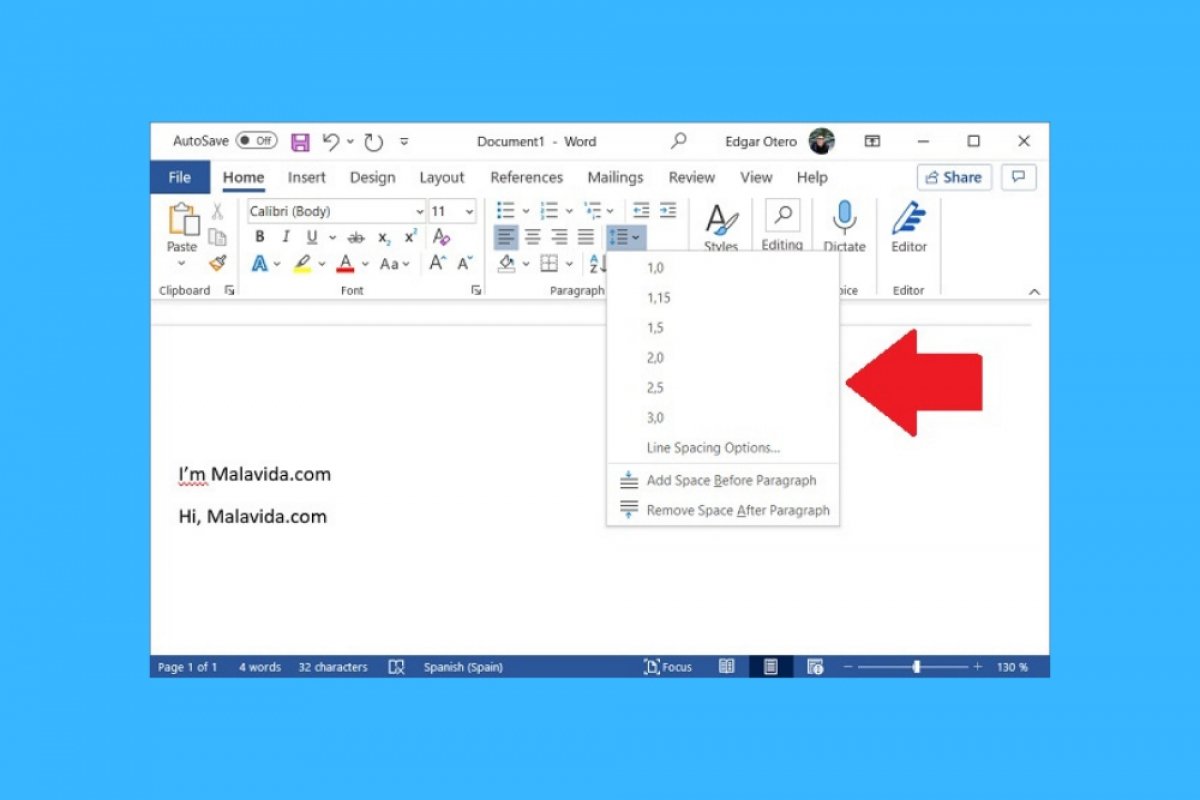
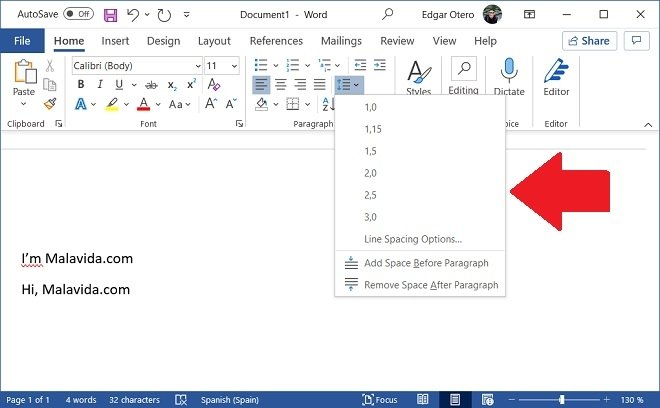
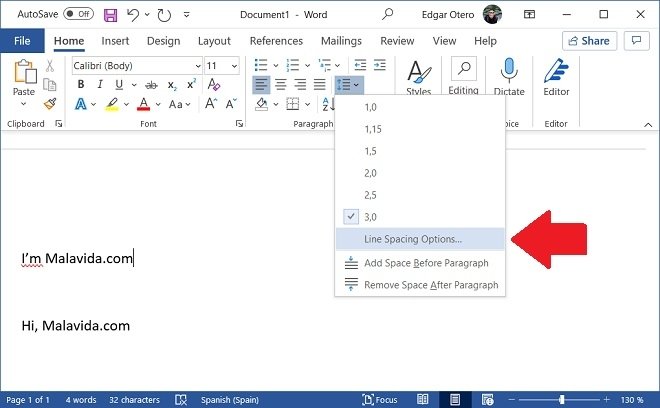
Find the line spacing icon. This includes two arrows pointing in the opposite direction. Four horizontal lines representing the shape of a paragraph are also shown. When you click on it, you will see a pop-up menu appear where you can select some default options.
 Modify the line spacing
As you increase the line spacing, the paragraphs in your documents will be spaced farther apart. In the following image, you can see the line spacing set to 3.0 points.
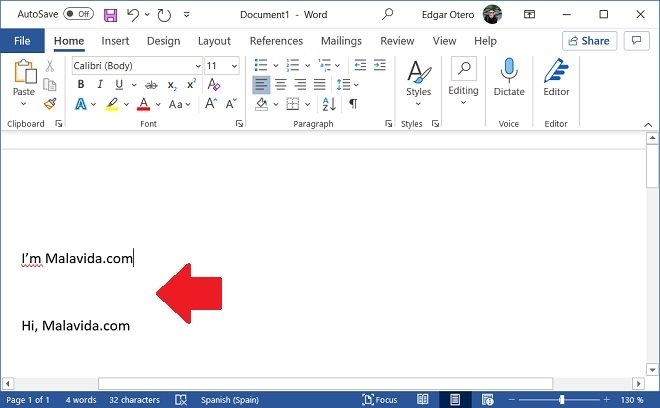 Line spacing effects
If you need some additional options, click on the same button again, but this time, click on Line Spacing Options.
 Other line spacing options
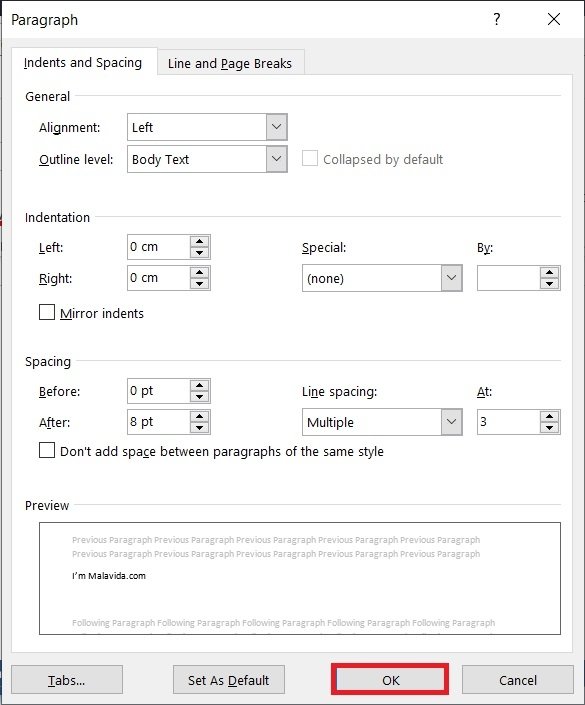
In the new window that will appear on the screen, you will be able to modify other parameters related to the paragraph style. The options related to line spacing are grouped in the Spacing field. Of particular interest is the preview area, located under the Preview heading. With it, you will be able to verify that the changes made are correct before they are applied to the document. When you are done, click Ok to apply the modifications.
 Line spacing options window
All these settings apply only to the current document. Therefore, you do not have to worry about the rest of your files, as they will keep their original appearance. Microsoft Word will also not use the spacing you have specified in new documents. Rather, each file saves its own line spacing settings.
