
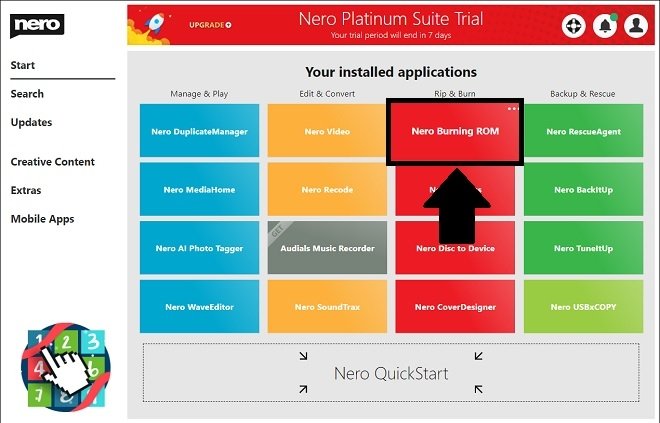
Creating a disk image or an ISO file with Nero is very simple. Just open the Nero Burning ROM tool. It is located in the Rip & Burn column of the Nero Start application.
 Run Nero Burning ROM from Nero Start
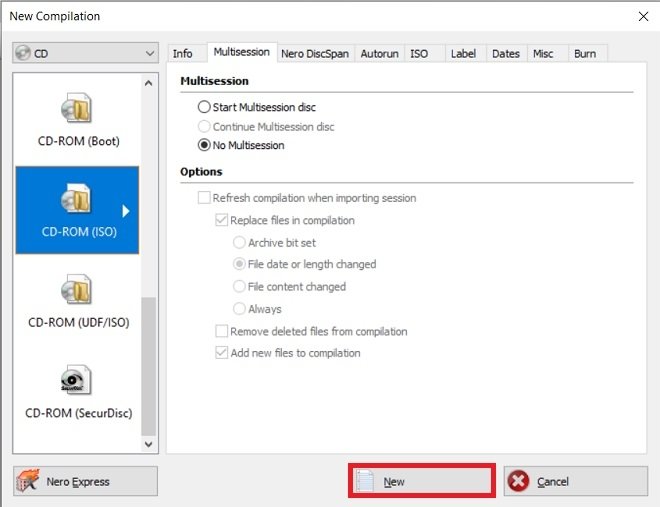
When you open it, the wizard for creating new compilations will be launched automatically. Depending on the amount of data you want to include in your ISO, use the CD or DVD option. Now, click on CD-ROM (ISO). Then, select New to start a new project.
 New project
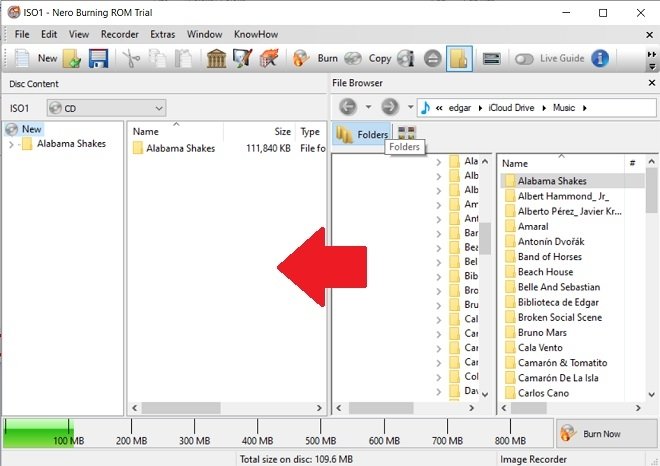
Using the file browser on the right side of the window, drag documents, music, or videos you want to add to your disc image to Disc Content. Remember that you can check how much space you have consumed with the lower green bar.
 Add new files to the ISO
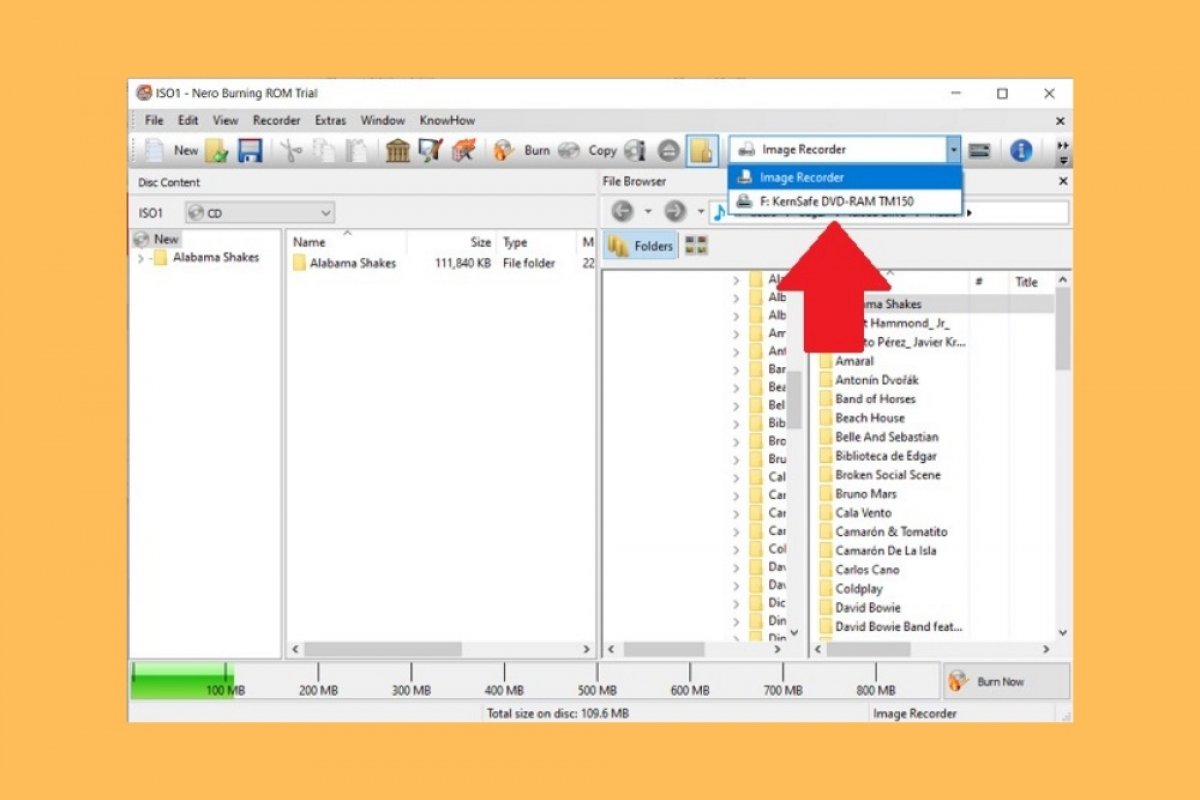
When you have finished including your files to the ISO, select the virtual Image Recorder drive. You must do so using the drop-down menu located on the toolbar. If you cannot see it, maximize the window.
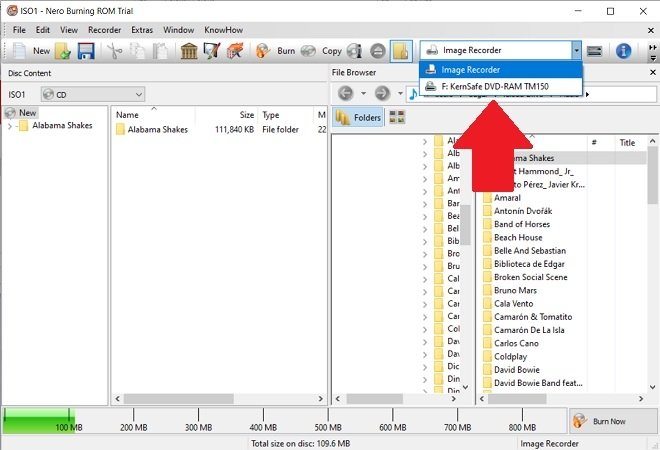 Choose the virtual burner
Start the burning process by clicking on Burn Now.
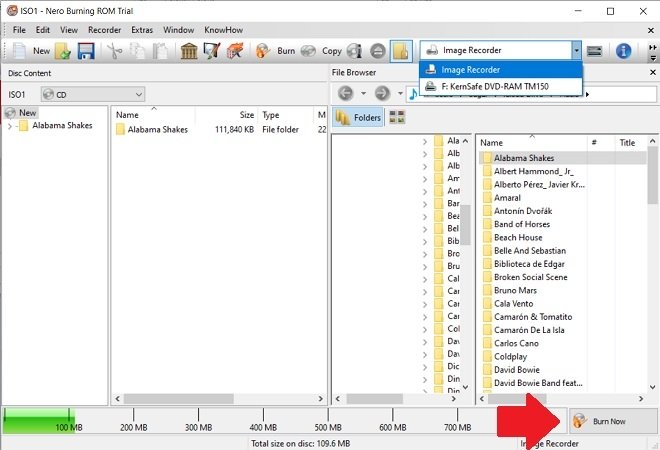 Start burning
Then, Nero will ask you to choose where you want to save the image. Browse until you find the desired folder. Modify the image format, which by default is NRG, to ISO, using the drop-down menu next to Save as type.
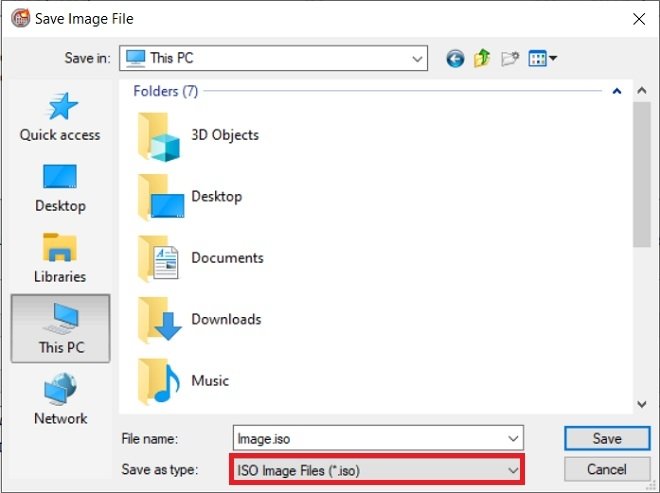 Choose the ISO format when saving
To finish, click on Save.
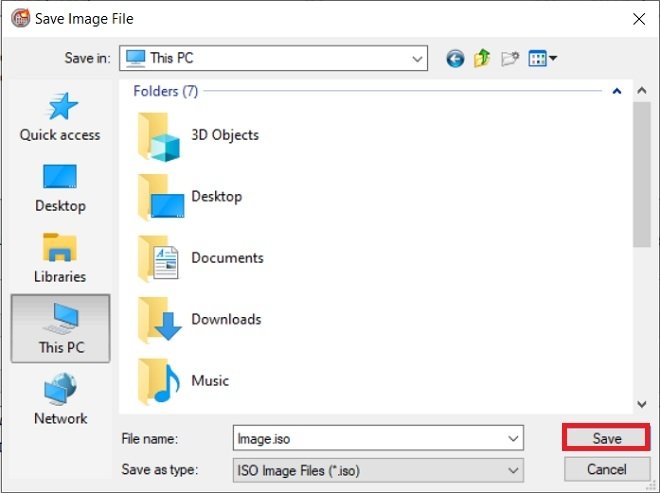 Save the ISO to a folder
At the end of the process, your ISO will have been created and stored in the destination you chose. You can use this method to back up your data and easily burn it to a CD or DVD. Of course, you can also copy the image to an external hard drive or upload it to the cloud.
