
There are several options for mounting ISO images. Possibly, Daemon Tools offers the easiest way to mount an ISO image thanks to the good development made by the company Disc Soft. Next, we will show you the ways to do it.
The long option is from the main window
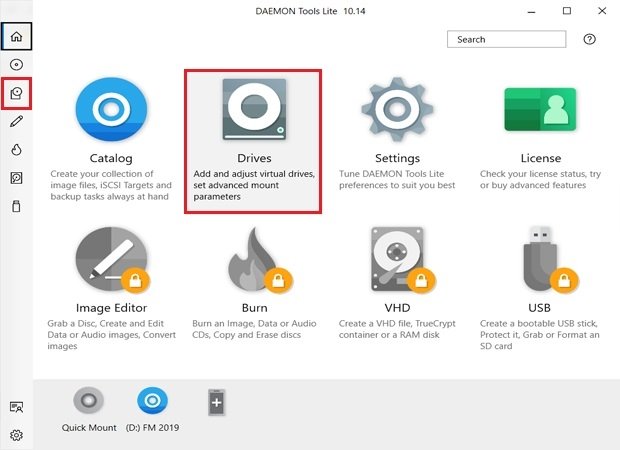
From the Home or main window of the program, we select the option Drives, also from the right side menu:
 Choose Drives from the Home screen
The section will open, and we will have to click on the Add Drives option:
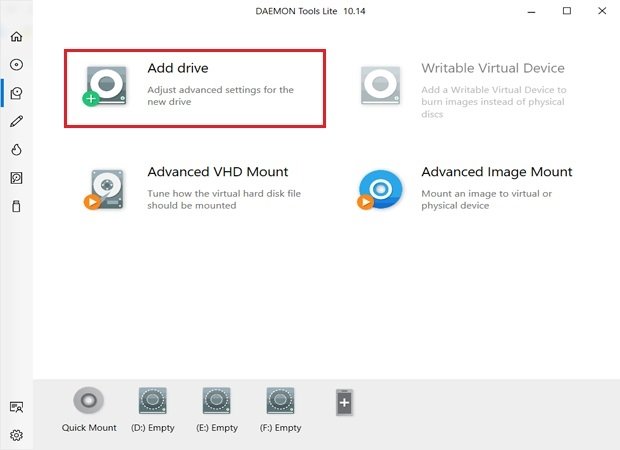 Press Add Drive in the Drives section
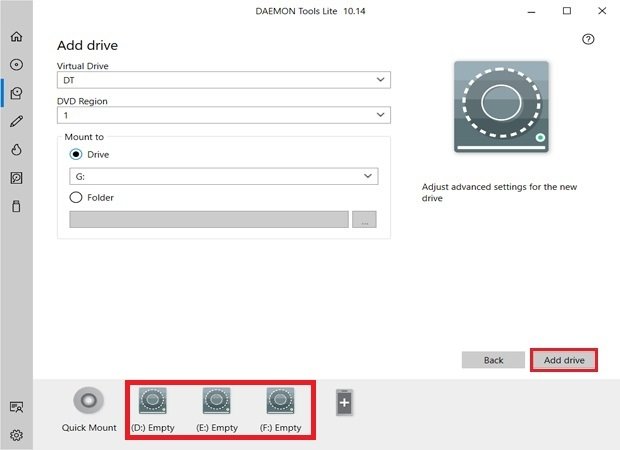
A configuration window will open, once configured, click on the Add Drives button at the bottom right and check how a new virtual disk has been added at the bottom of the interface.
 In the Add Drives section, confirm your choice pressing the button
Now, just click on any of the virtual disks created, a Windows Explorer window will open where we will look for our images. Double-click on the loaded icon to open the program.
From the shortcut
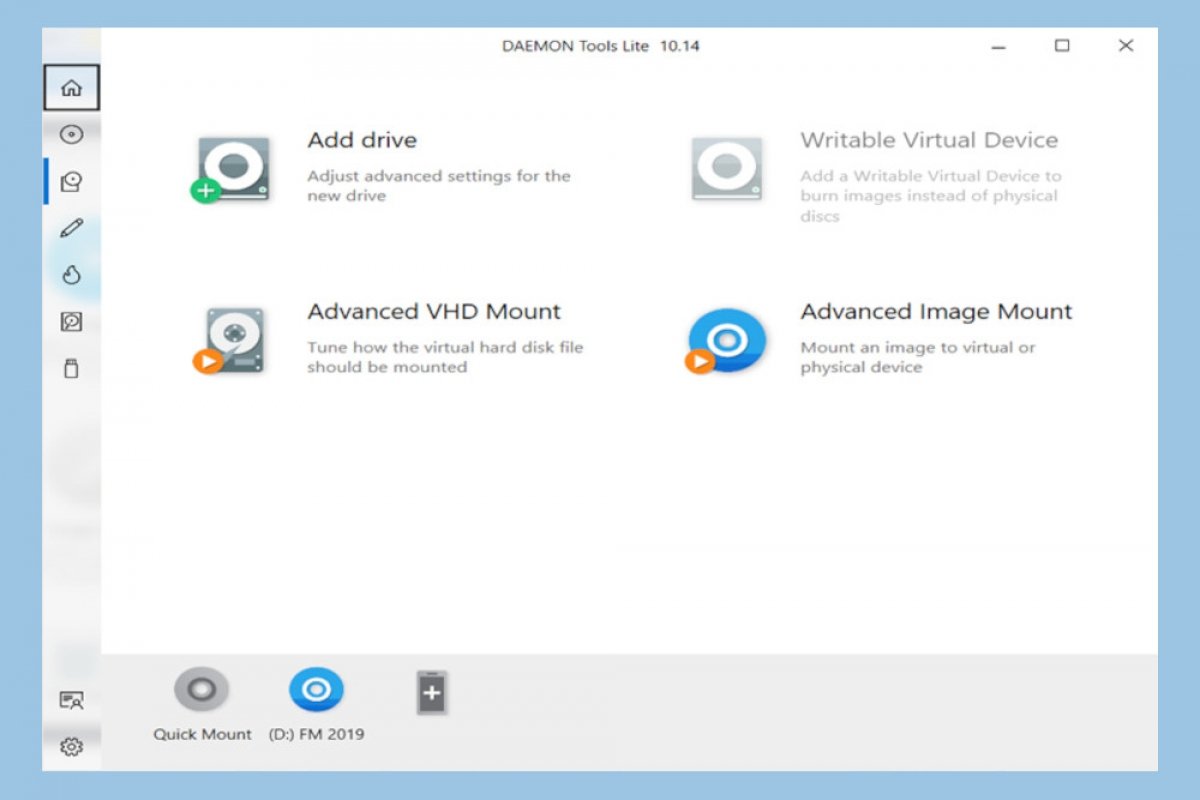
A simple way is from a permanent shortcut at the bottom left called Quick Mount.
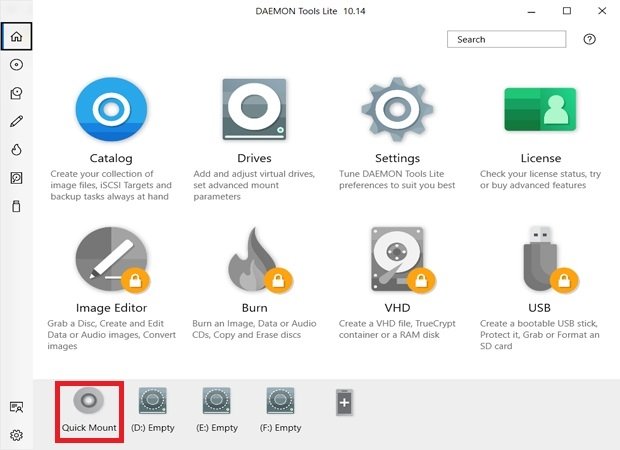 Quick Mount option from the main window
Clicking on the shortcut will open a Windows file explorer window for you to select the ISO image you want to mount, so you have to locate it and then click on Open. Once selected, it will be displayed at the bottom right together with the available virtual disks.
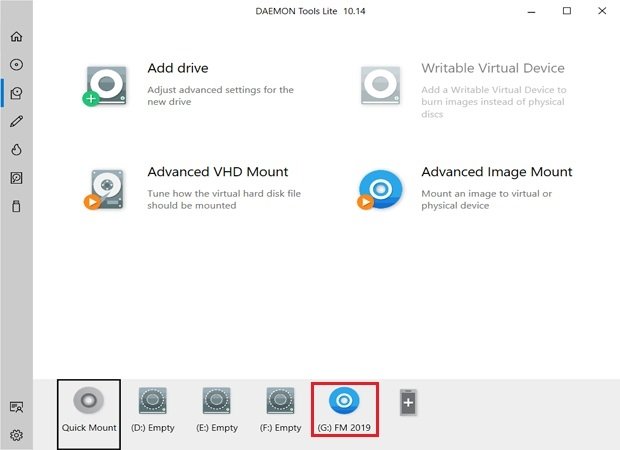 Image mounted from Quick Mount
From the toolbar
There is another way and that is from the Windows toolbar. Look for the Daemon Tools icon on the toolbar and right-click on it.
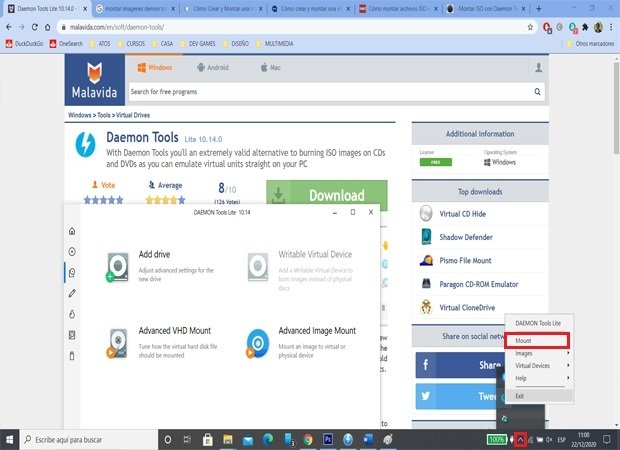 Mount the image from the toolbar
The Windows Explorer window will open, where we will select the ISO image. The unit will then be ready, just double click on the icon in the software interface or through our file browser.
Dismounting ISO images
Daemon Tools has developed what is undoubtedly one of the easiest ways to dismount images. Just move the cursor over the mounted image and a small yellow icon will be displayed, when you click on it, the image will be automatically unmounted from our PC.
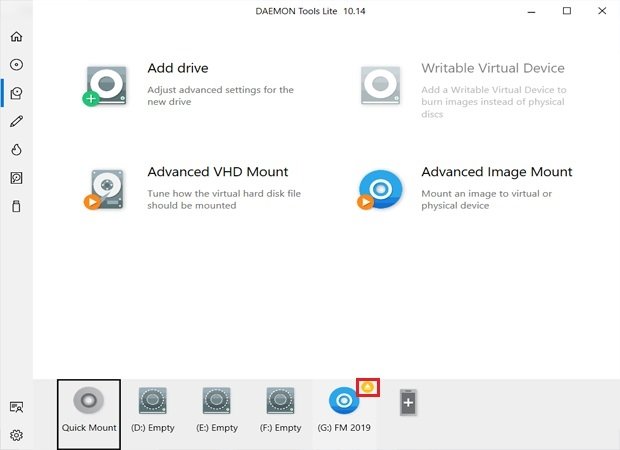 Unmount images from the shortcut
Whatever method is used to mount images, they will always appear as shortcuts in the main interface, so we can easily work with the images we have. Remember that in the Lite version, we can only have a maximum of 4 images simultaneously. But as we have seen, there are several options to mount images.
