
Screenshots are the ideal way to show anyone what is going on on your screen. As the saying goes, a picture is worth more than a thousand words. However, you may also want to extract the contents of your computer to save information or part of a web page. Whether you want to capture the screen for one reason or another, the following sections tell you how to do it with Windows 11 tools, third-party applications, and the web browser.
How to capture the screen with a keyboard shortcut
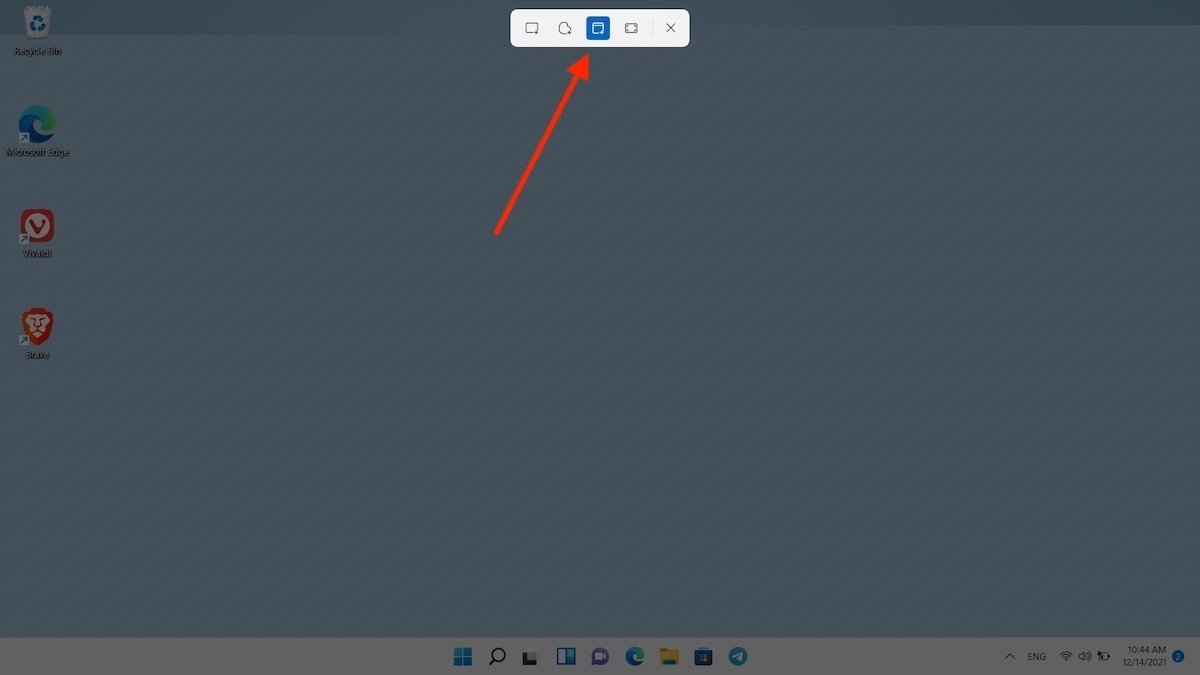
Capturing the screen in Windows 11 with a simple keyboard shortcut is very convenient. The key combination in question is Windows + Shift + S. When using this shortcut, you will see the snipping tool appear on the screen. You can choose to capture the entire screen, a rectangular section, a free section, or a window.
 Take a screenshot with a quick shortcut
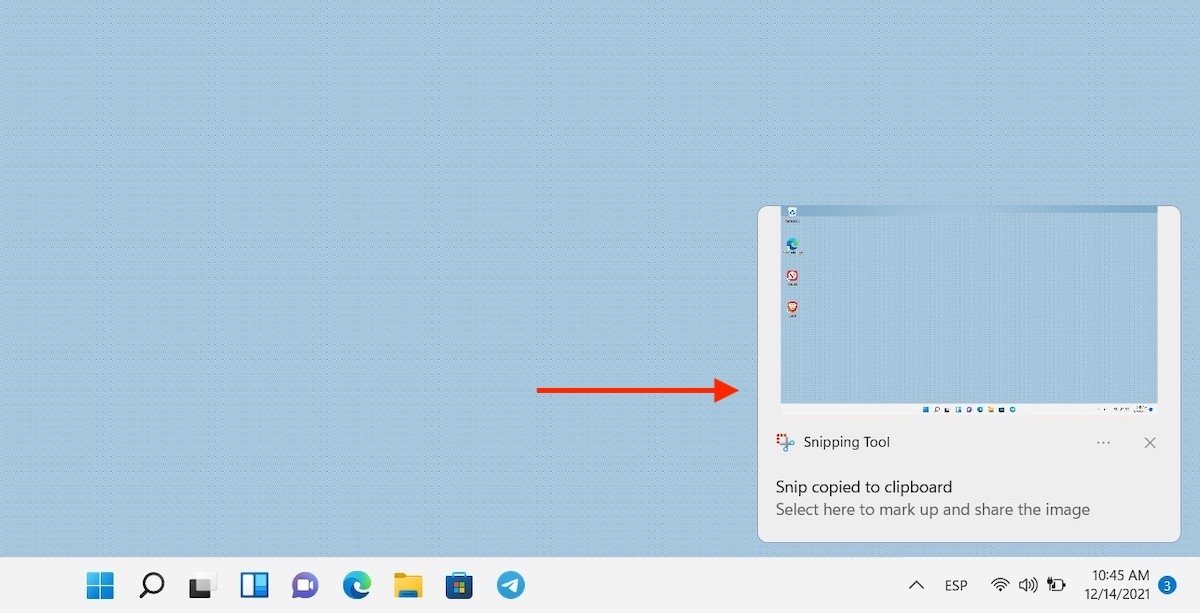
When you make your capture, a notification will appear that you must click to edit the image. Remember that the capture will have been copied to the clipboard. So you can paste it directly into a compatible application, such as Microsoft Word or email.
 Screenshot notification
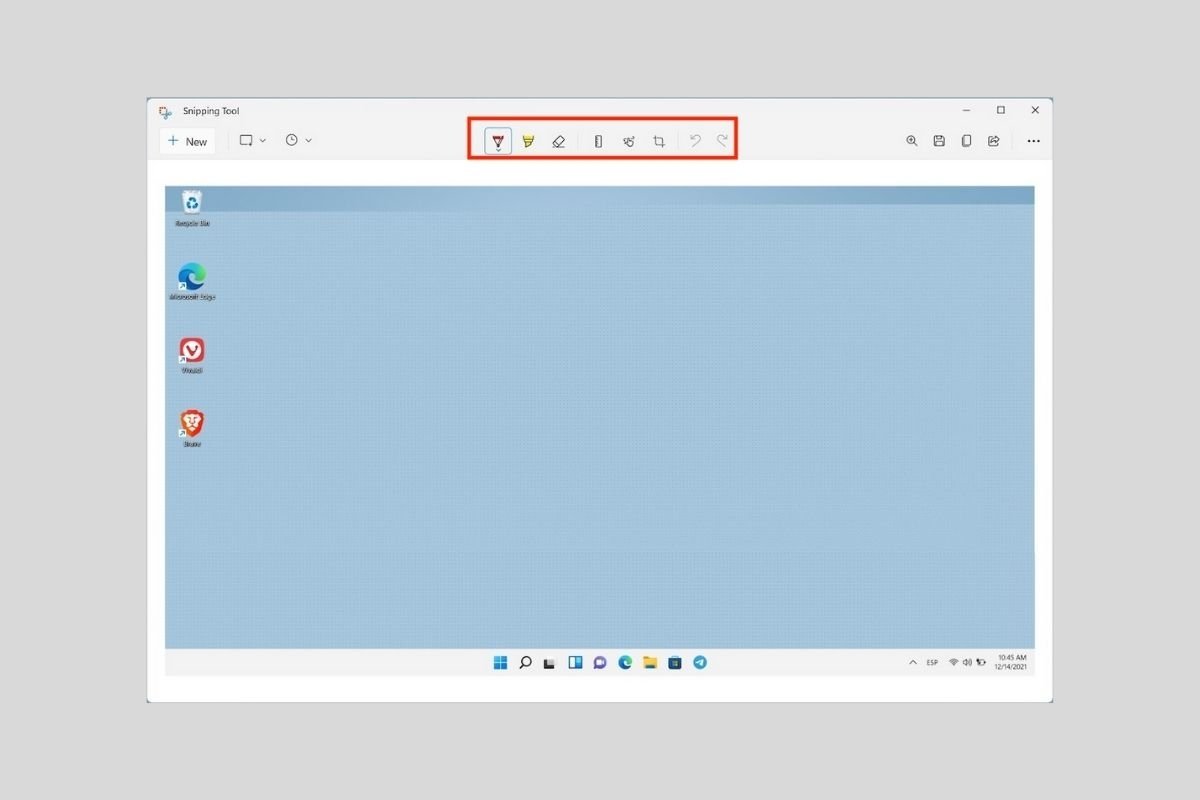
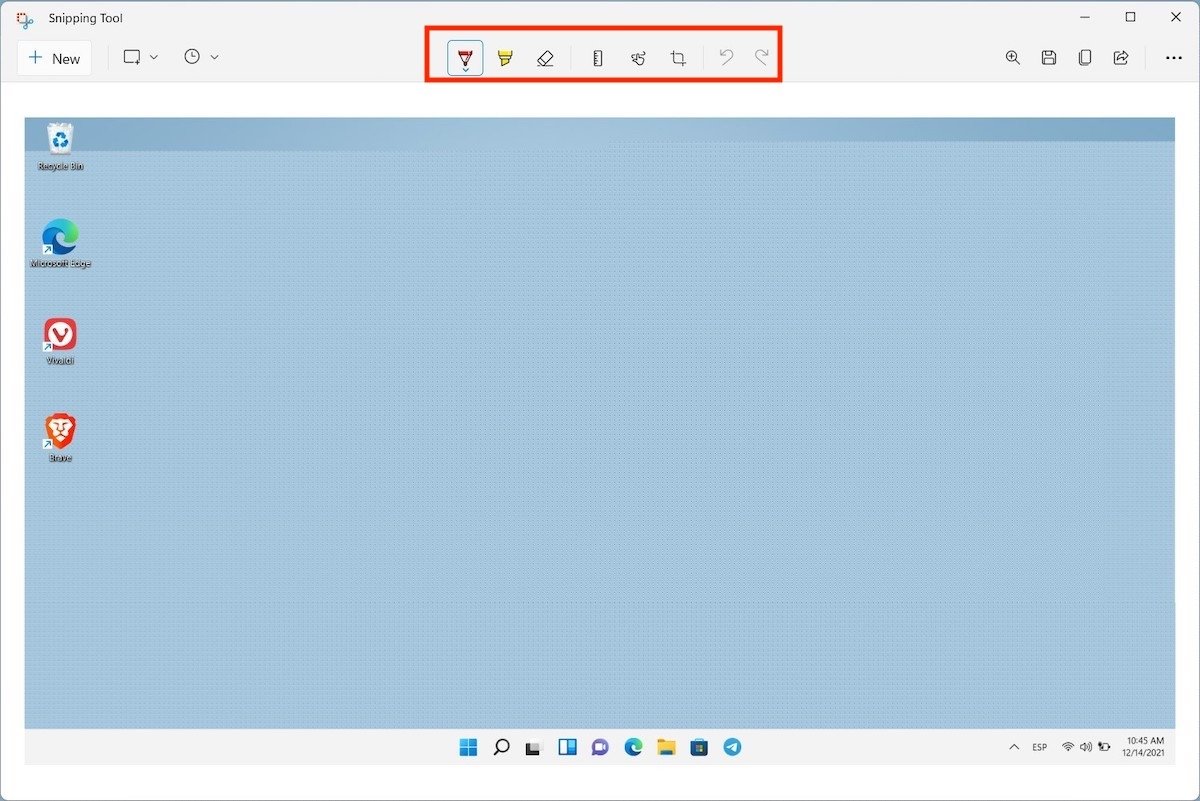
If you opt for editing, you have all the tools at the top of the window.
 Edit the screenshot
Use the buttons to add notes, crop the image, or underline text.
How to capture the screen with the snipping tool
In case the options available with the above keyboard shortcut are not enough for you, you have the snipping tool at your disposal. Locate it quickly with Windows search.
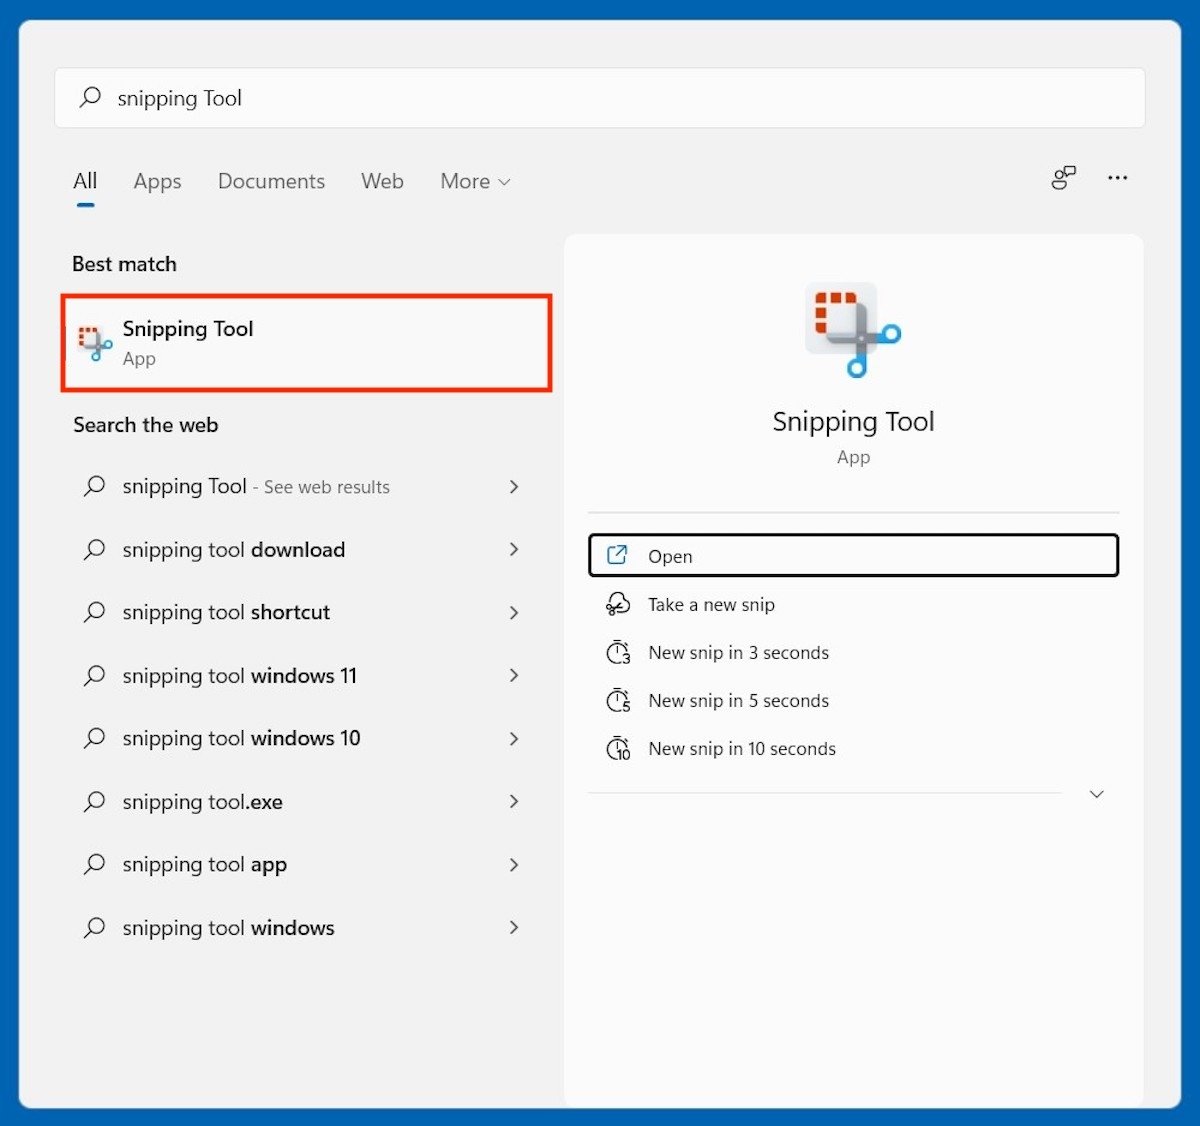 Open the cropping tool
Click on New to take a new snapshot.
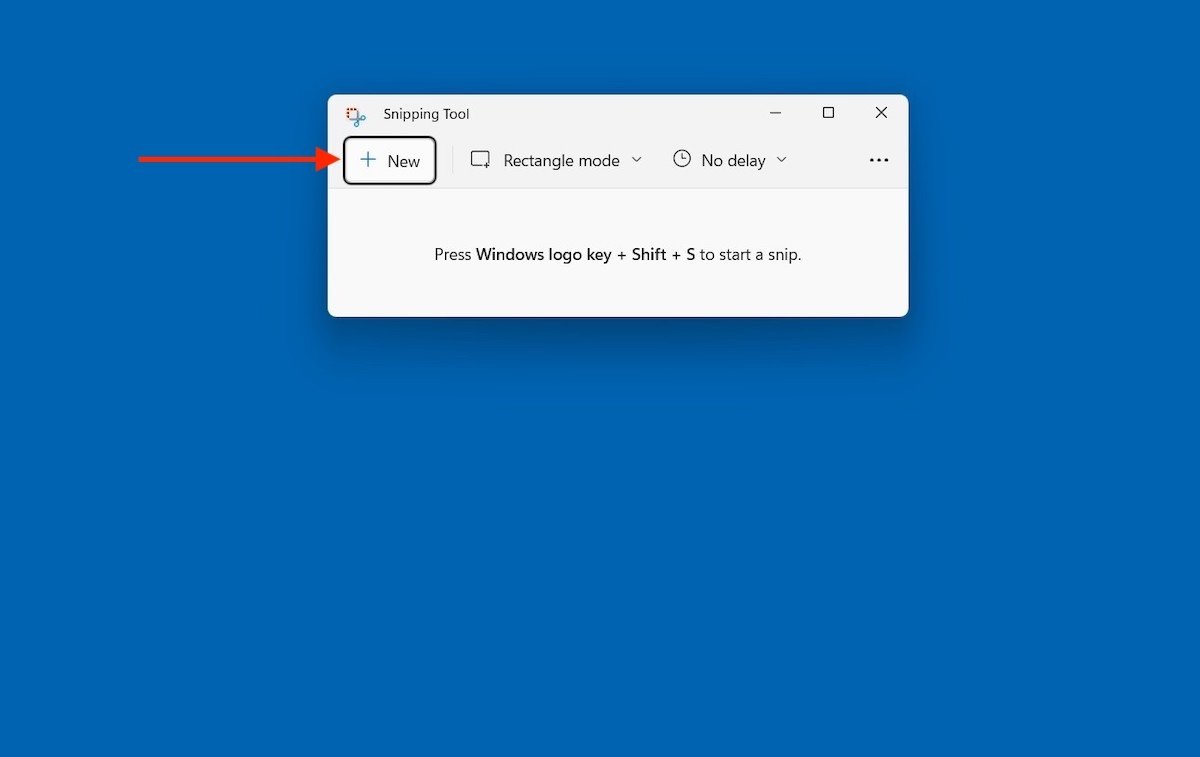 Start taking a new screenshot
Likewise, it is possible to choose the type of capture you want to take. The options are the same as those reviewed in the previous section.
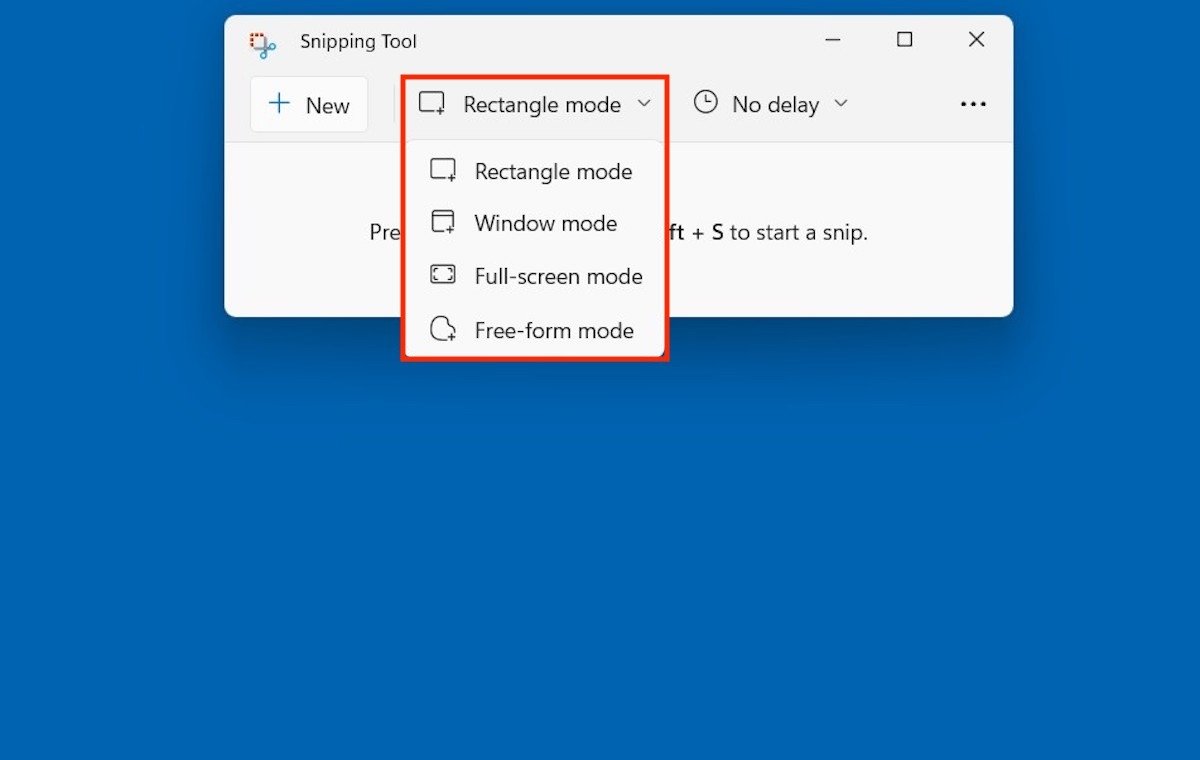 Modes available in the cropping application
This utility even lets you delay the capture for a few seconds.
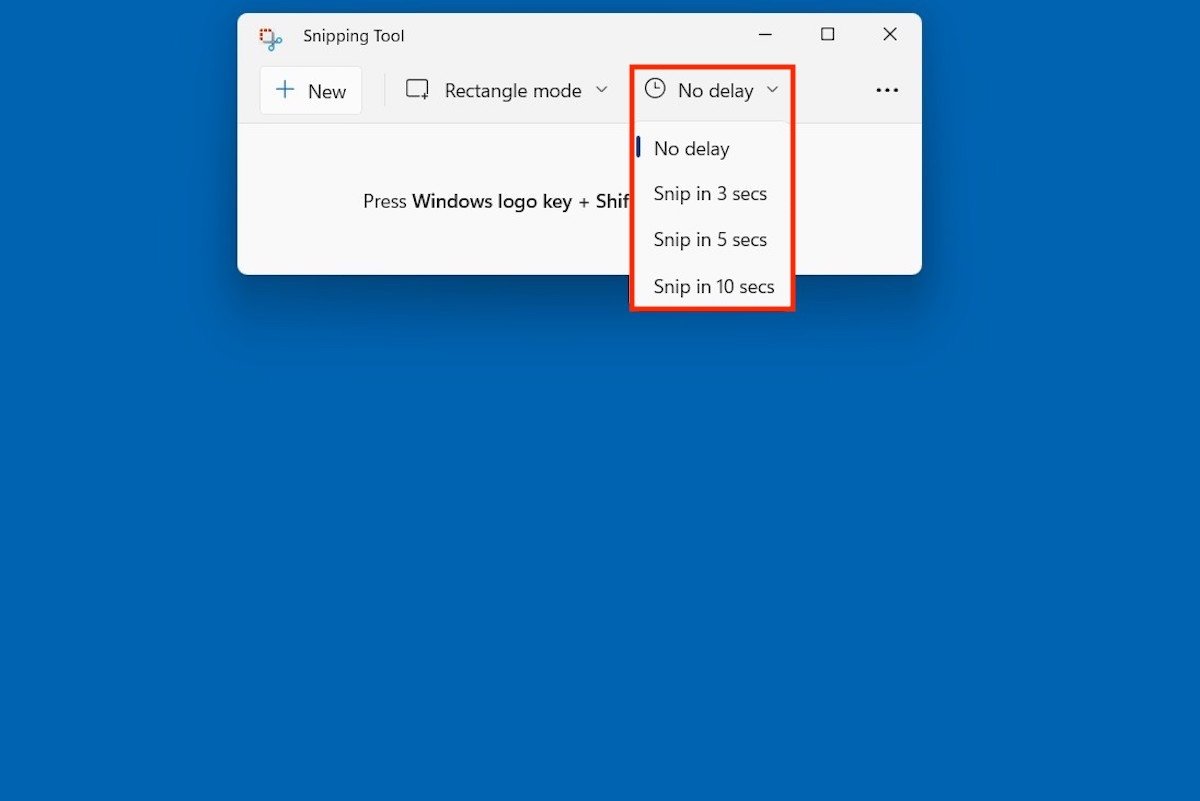 Delays available for the screenshot
And if you have already captured the screen and want to edit the resulting image, use the three dots to discover the Open option.
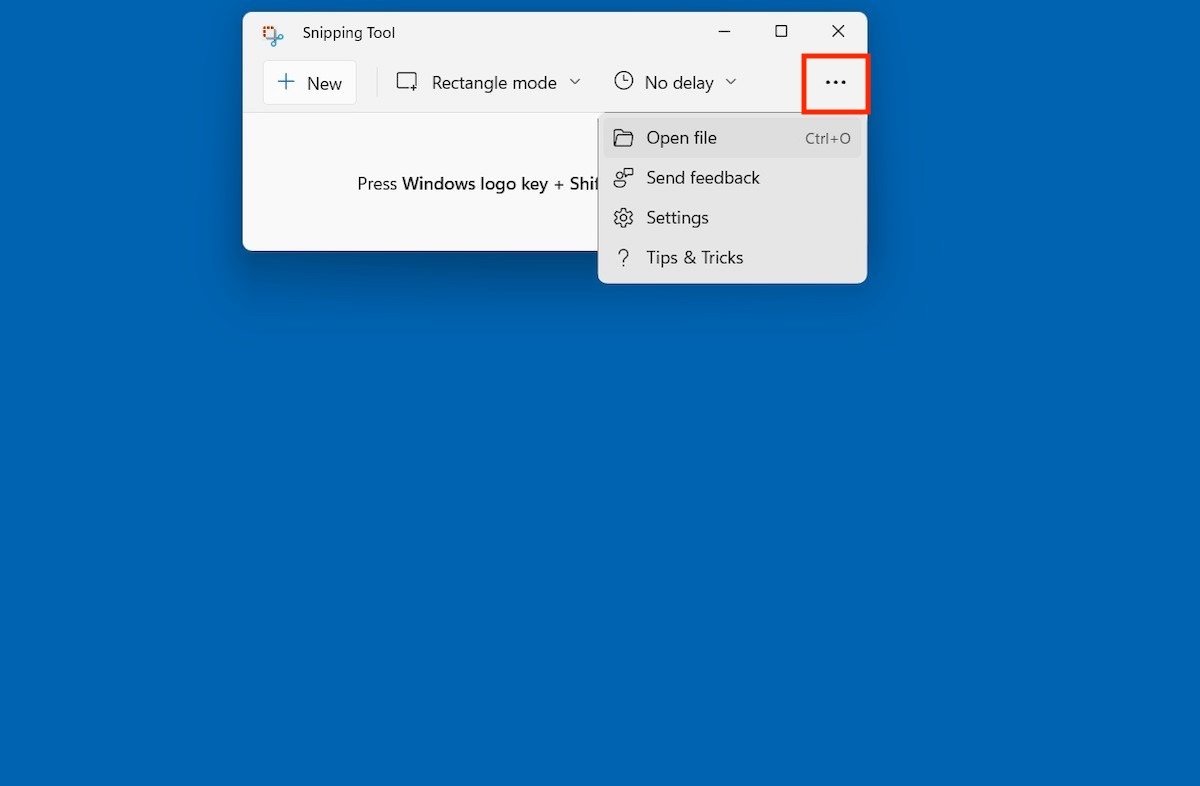 Open a file to edit from the tool
The editing functions are the same as those obtained when capturing the screen with the shortcut Windows + Shift + S.
The best third-party applications for screen capture
Alternatively, you have a long list of applications that will capture your screen and also offer you some additional functions. Here are two examples:
Screenpresso
With Screenpresso, it is possible to capture the screen by simply clicking a button. Simply press Capture or press the Print Screen key on your keyboard.
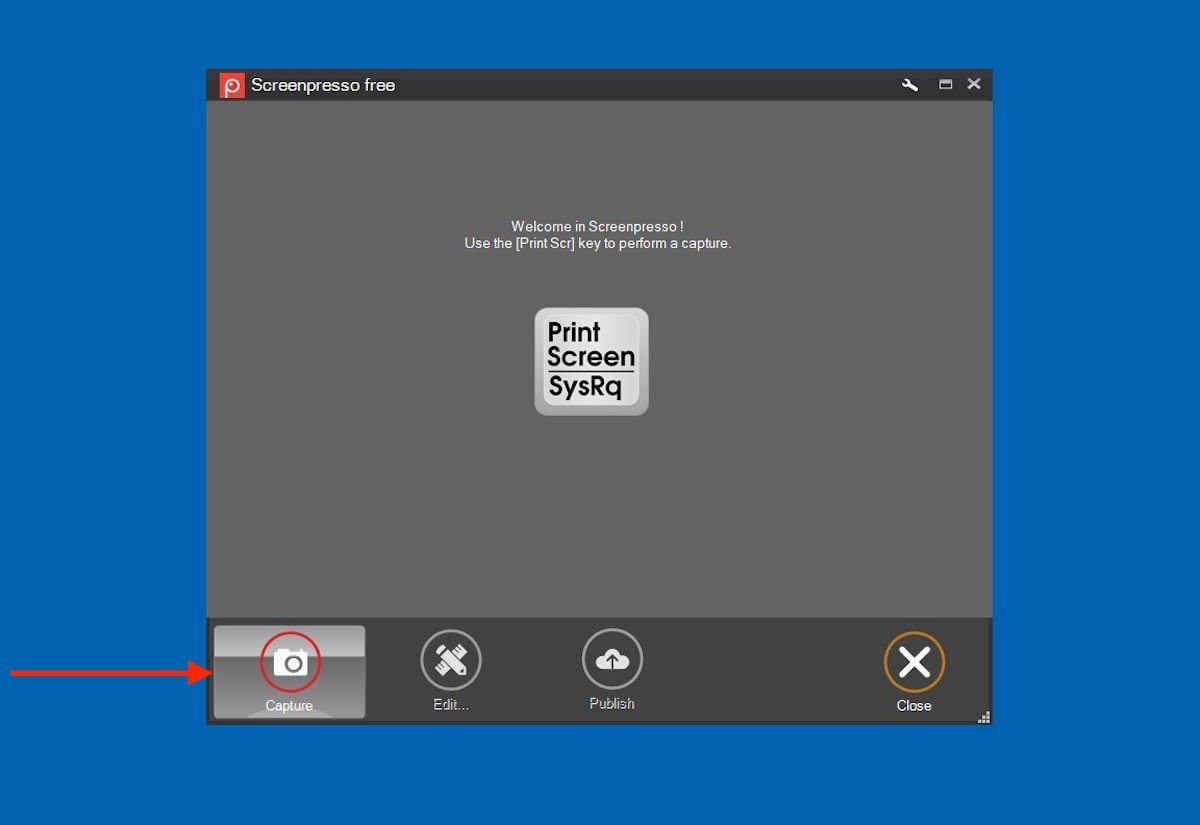 Start taking a screenshot with Screenpresso
The capture options offered by this application are varied. This tool is capable of capturing a region, the entire desktop, or a scrolling section. You can even extract text thanks to OCR recognition.
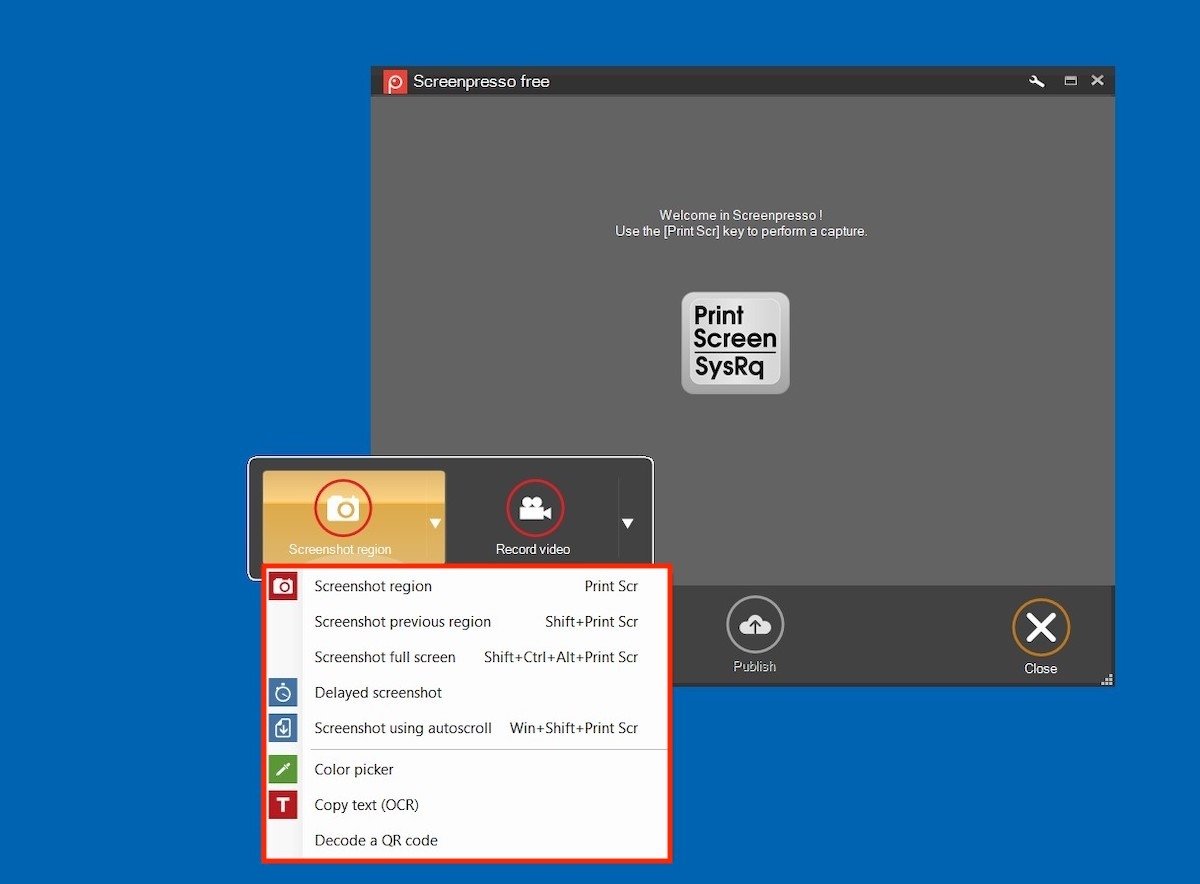 Select the type of screenshot
The screenshots you take with Screenpresso are displayed from its application. When you select it, the Edit option will appear below it.
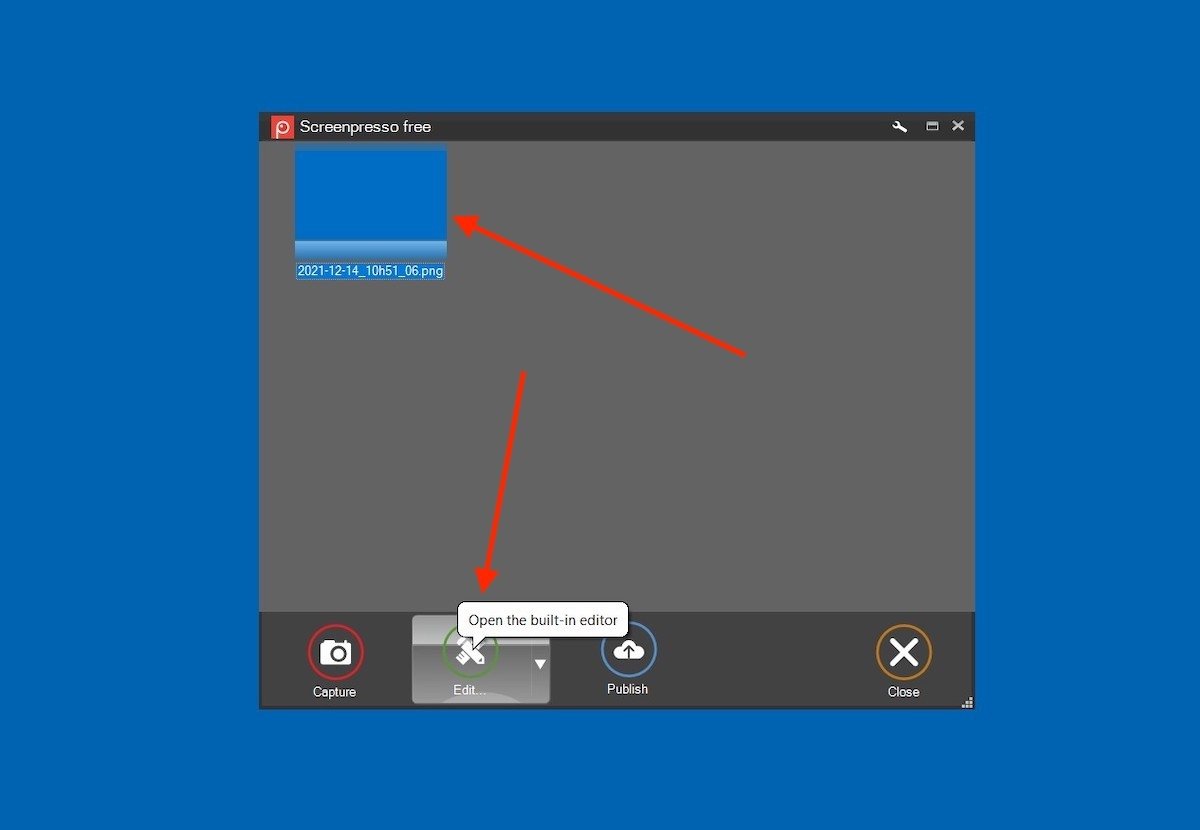 Edit the screenshot with Screenpresso
As shown in the following screenshot, the editing options are very extensive.
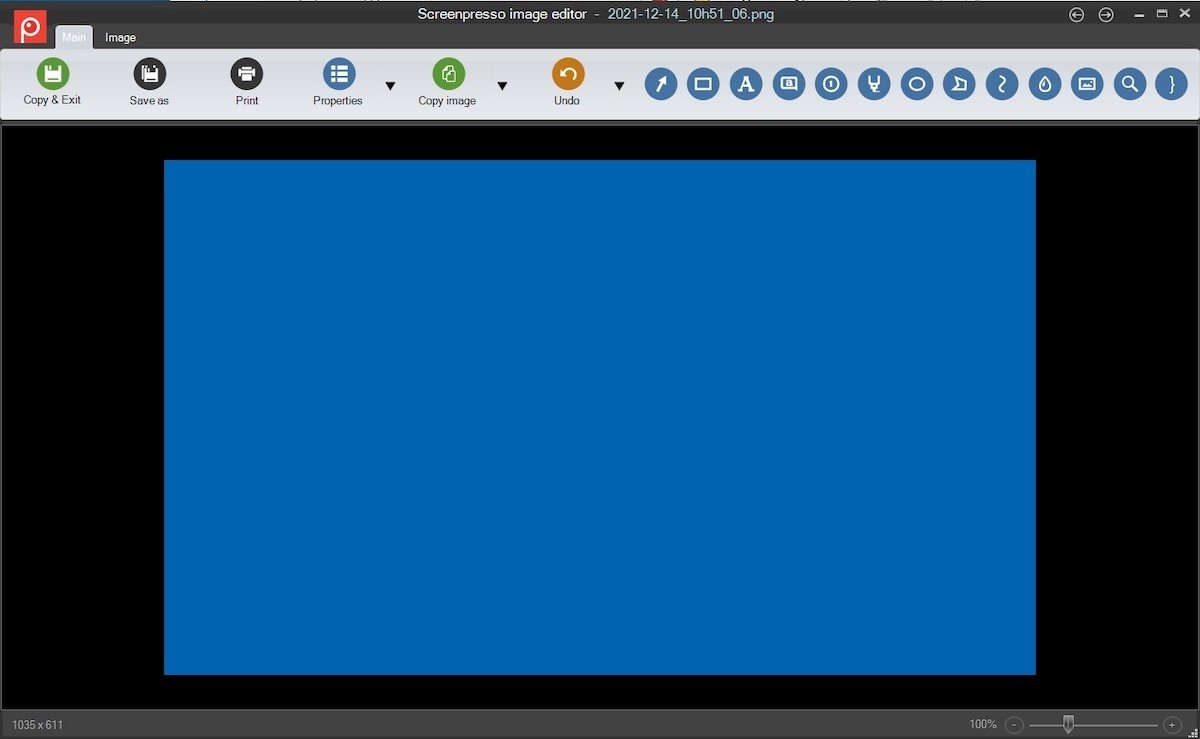 Screenpresso’s full editor
Use Screenpresso to add text, geometric elements, and more to your screenshots.
Lightshot
Lightshot is another reliable alternative for capturing your computer screen. If you wish to use it, you must press the Print Screen button and click on its icon in the system tray.
 Open Lightshot
Then, select a specific area of the screen.
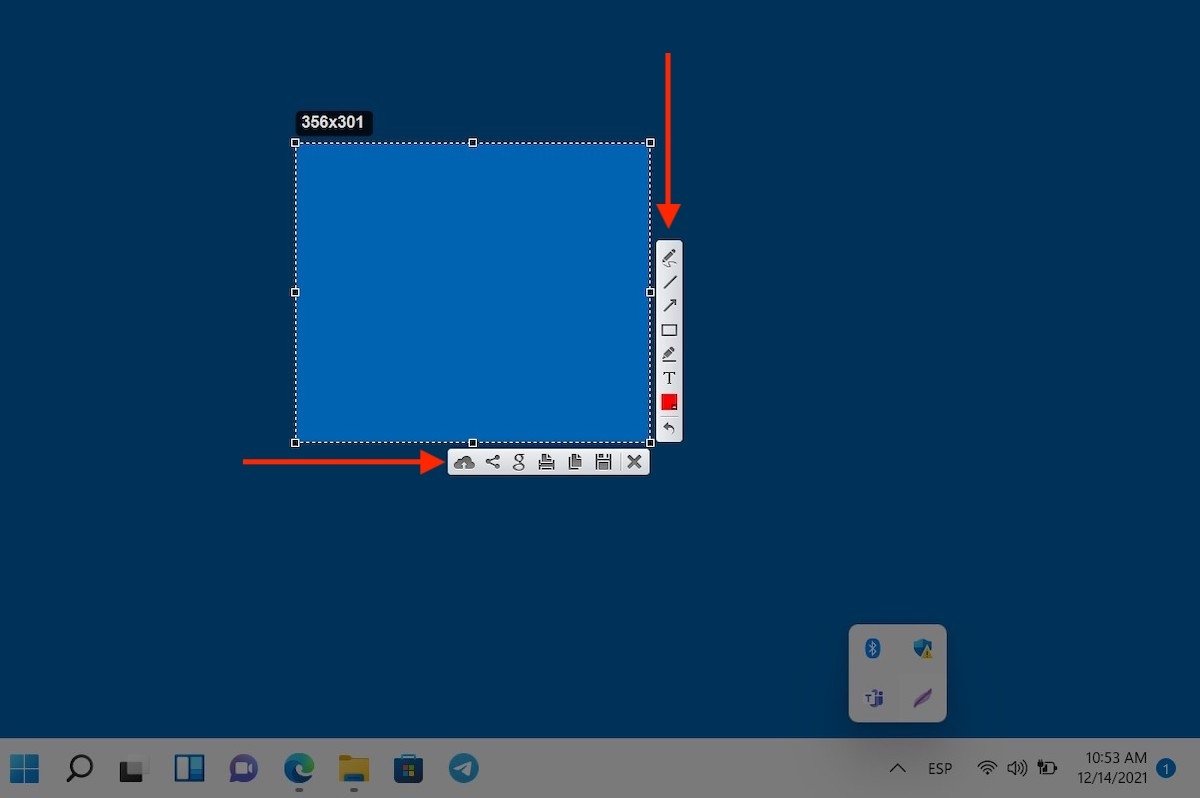 Select a screenshot region
In the right side area, you will find several editing options. On the other hand, at the bottom are located the commands for saving, copying, or uploading the capture to the cloud.
How to capture screen with Microsoft Edge
We close this guide by telling you about Microsoft Edge. The web capture feature comes integrated with the system because this is the default browser in Windows 11. When you are on a website, right-click on a space and click on Web capture.
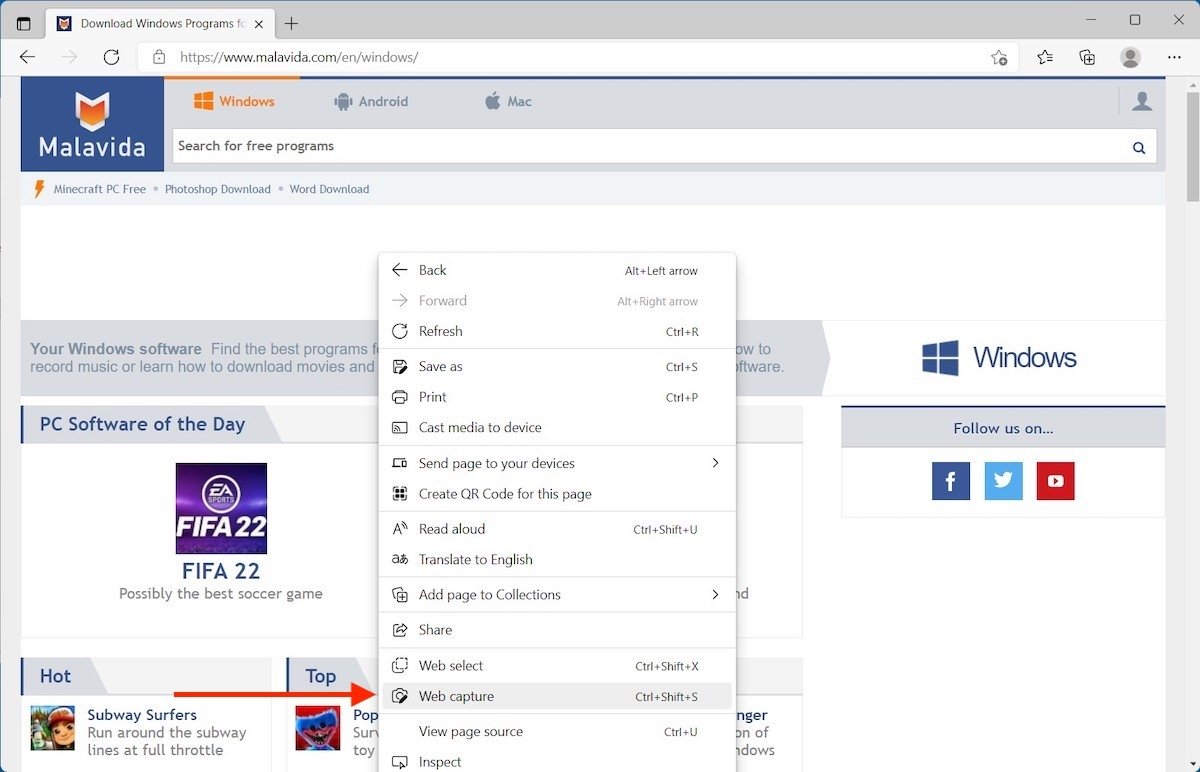 Take a screenshot of a region of a web
Choose the area of the web you want to capture.
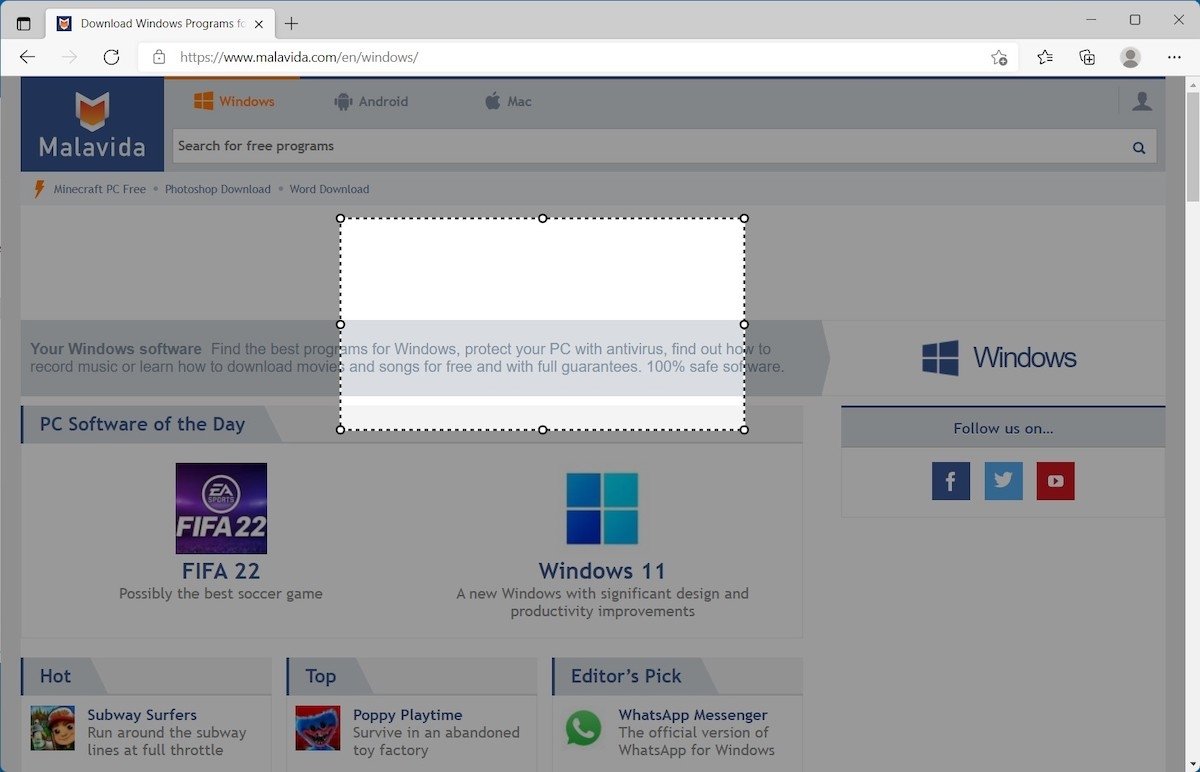 Select a specific region
Ask Edge to copy it to the clipboard or edit it if necessary.
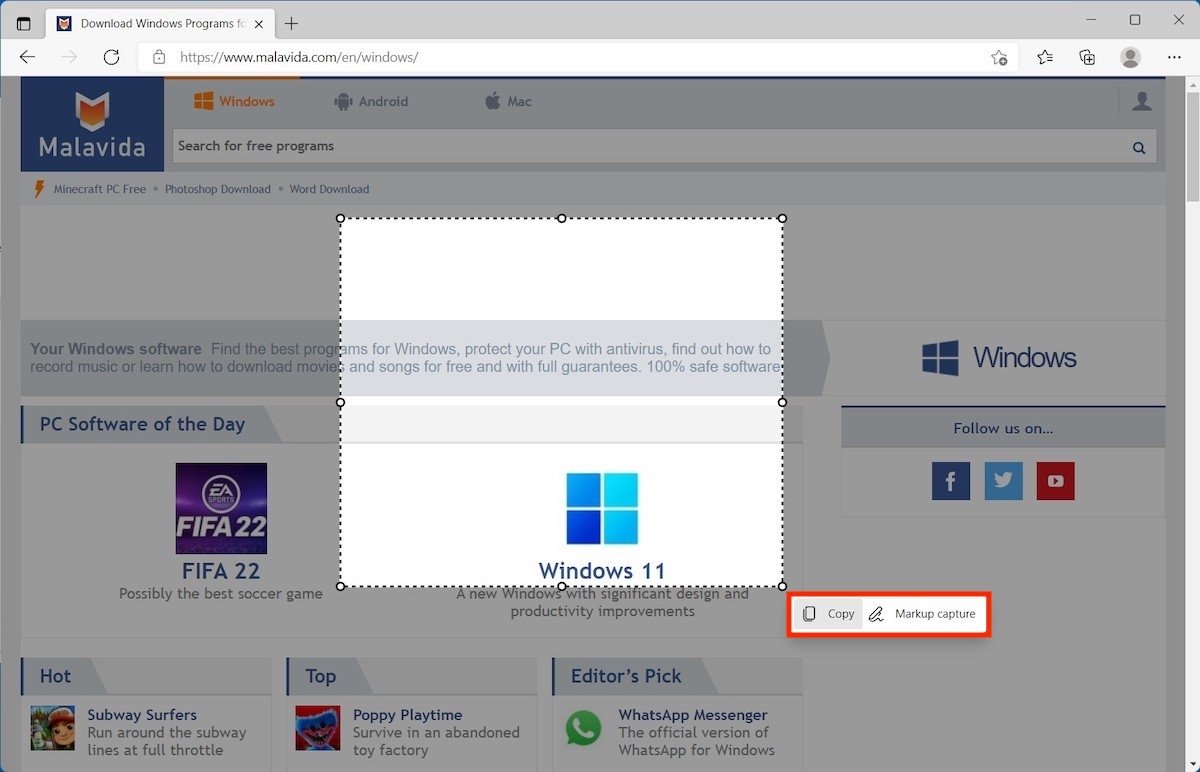 Copy or mark the screenshot of the web
About this function, we should clarify a few things, for example, that it is designed to capture an entire website if necessary, including areas that are not visible on the screen. However, the capture is limited to the website itself. Therefore, this is not a system for extracting content from other applications or the desktop.
There is no lack of alternatives, choose one, and taking screenshots will be easy for you.
