

Exporting to video is one of the most outstanding features of PowerPoint. With it, it is possible to convert any PPTX file, preserving the animations and transitions, to a video file, without using any additional software.
To start the process, first, design your presentation and apply the most convenient format. When you are finished, click on File.
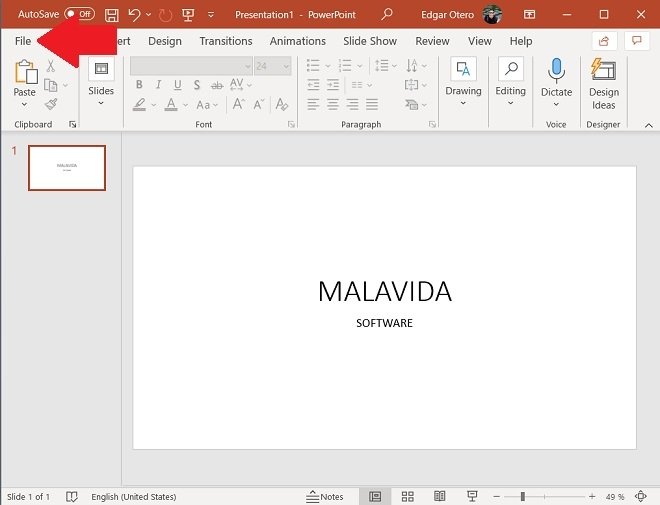 Open the File menu
Open the Export section and click on Create a Video.
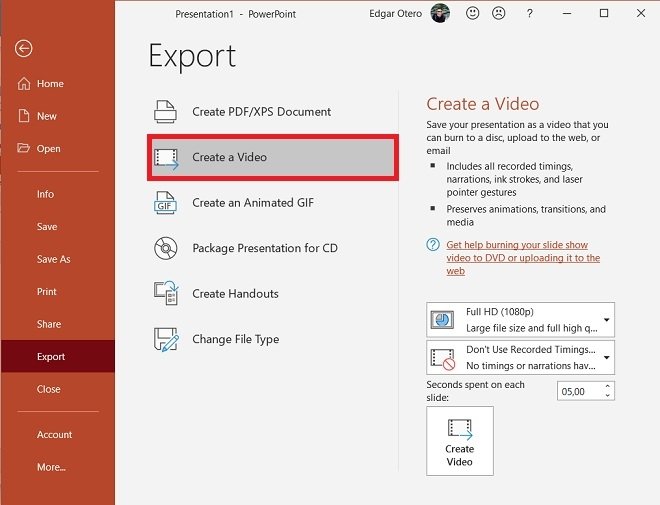 Export as a video
In the right part of the window, some interesting options will appear. One of them is resolution selection. It is possible to choose from Ultra HD, Full HD, HD, or Standard. Each corresponds to 4K, 1080p, 720p and 480p, respectively. Remember that the size of the exported file will be larger if you select the higher resolution options.
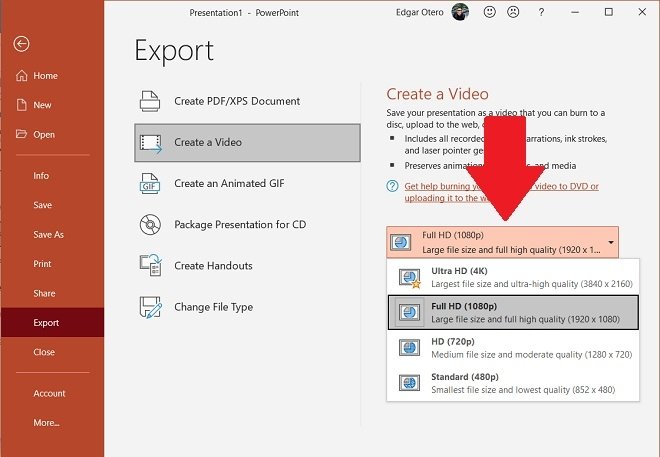 Quality and resolution settings
Another option available is narrative tracking. If you have included it, PowerPoint will use it as a guide to creating the video.
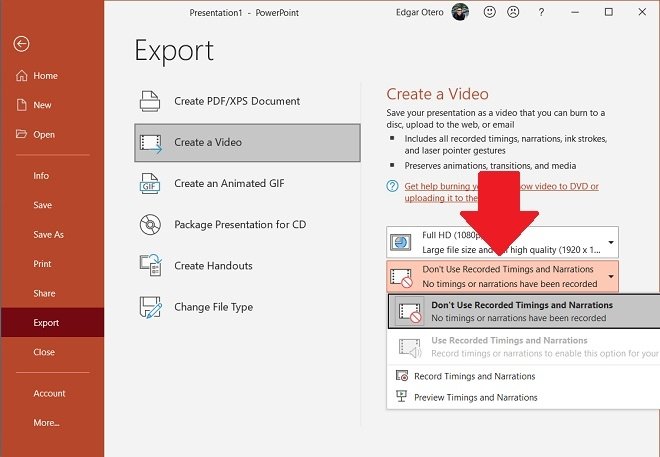 Use narration times
Before exporting your video, select the time interval to be applied between slides.
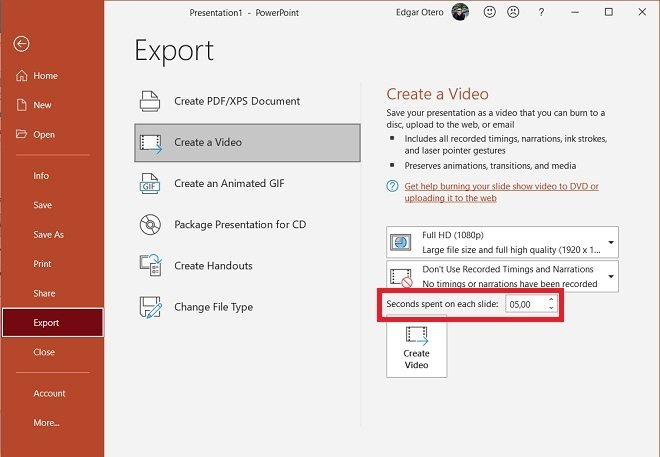 Slide time
To finish, click on Create video.
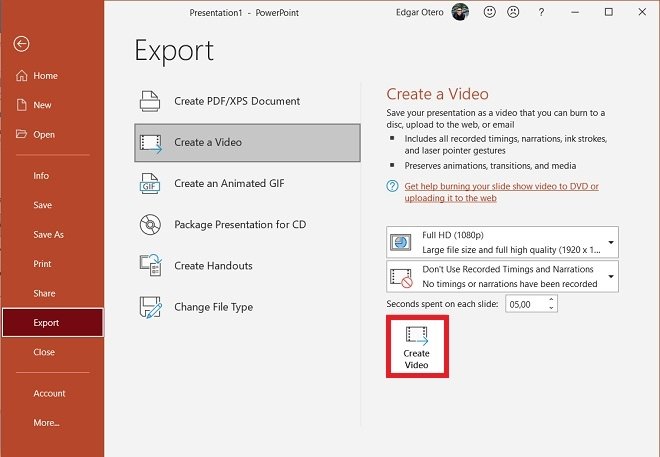 Create the video
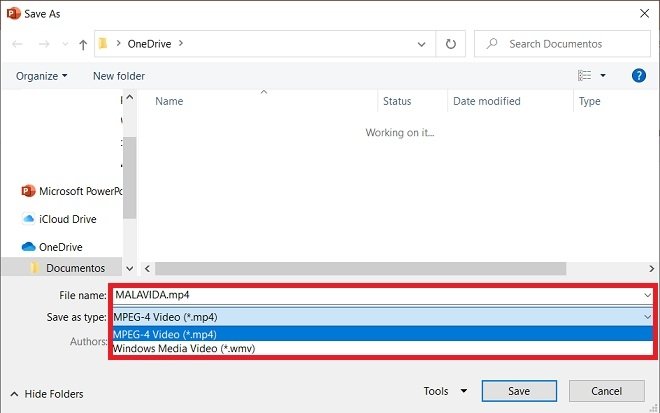
Use the file explorer window to locate the video in the directory of your choice. If you open the drop-down next to Save as type, you can select the format of the resulting file.
 Final export format
PowerPoint presentations can be exported to MP4 or WMV video files. Although both extensions are widely recognized and enjoy good compatibility, if you do not want to have problems when playing and sharing the content, the best option is MP4.
The method shown in this article will help you to send, upload, or burn your presentation to the Internet or CD more comfortably and simply.
