
Guide to install and uninstall Chrome in Windows, with detailed step by step explanations so that there are no mistakes or errors.
How to install Chrome on Windows
Installing Google Chrome on Windows is very simple, you must follow the same procedure you follow to install any other software. However, it's essential to have an internet connection, for both downloading the executable file and completing the installation. That being said, start off by downloading Google Chrome’s EXE file by means of the green Download button.
 Green Download button to download Chrome’s installer
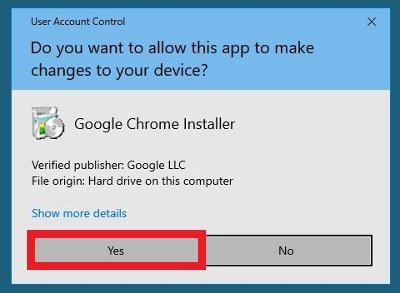
Once the download has finished, double click on the file wherever you have downloaded it. If the operating system asks if you would like to allow this app to make changes, hit yes.
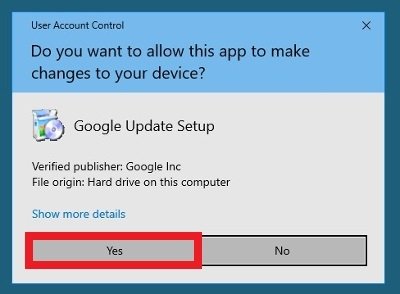 Grant permissions to the EXE file to make changes on your computer
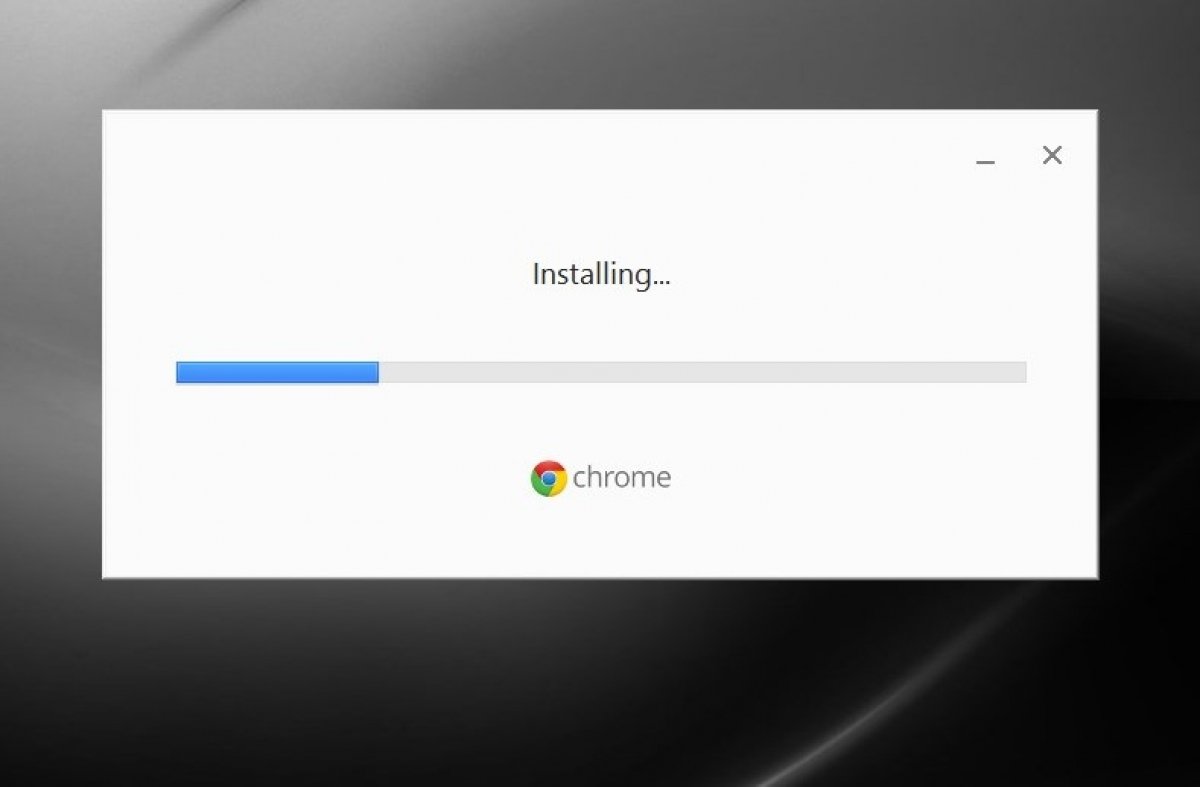
You will see the classic loading screen while all the necessary files to complete the installation are downloaded.
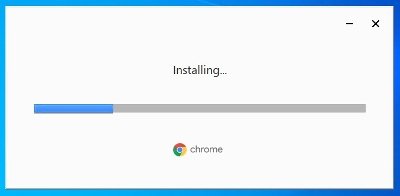 The installer’s loading window
That's it, you don’t have to do anything else when the software is installed, it will run automatically, creating a shortcut on the desktop.
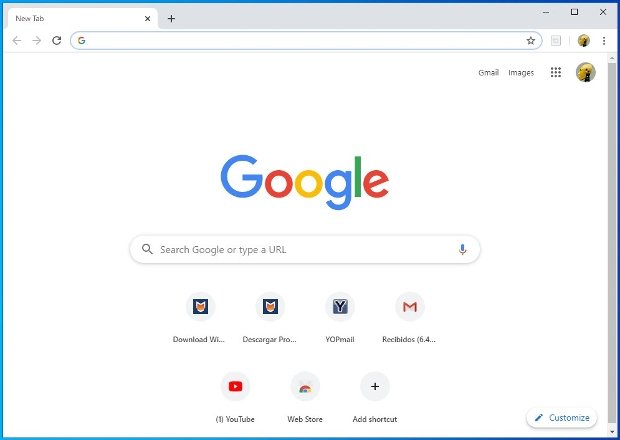 Chrome boots automatically after completing the installation
When you install the software, it is also pertinent to learn about the minimum requirements of the system:
- Windows 7 or higher operating system.
- Intel Pentium 4 or higher processor with SSE2 support.
- As to servers, it requires Windows Server 2008 R2, Windows Server 2012, Windows Server 2012 R2 or Windows Server 2016.
How to uninstall Chrome from Windows
If you would like to get rid of Google Chrome, you can uninstall it easily, as you would with any other software. Close all the tabs and windows and go to the Start menu of Windows and then enter Settings by clicking on the gear icon that's in the left part.
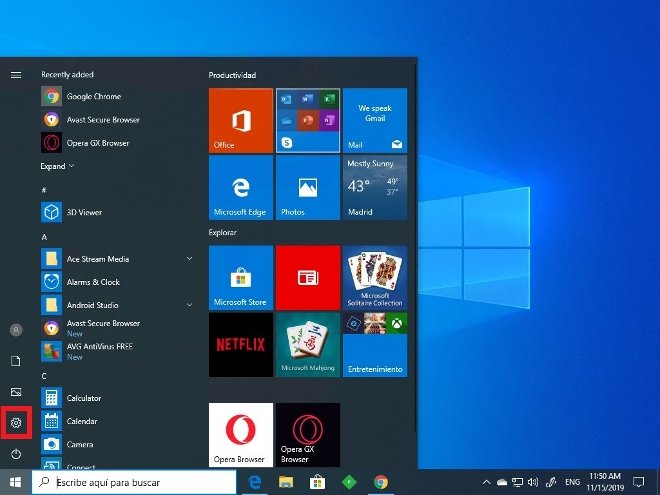 Access to the Windows configuration menu
Click on Applications.
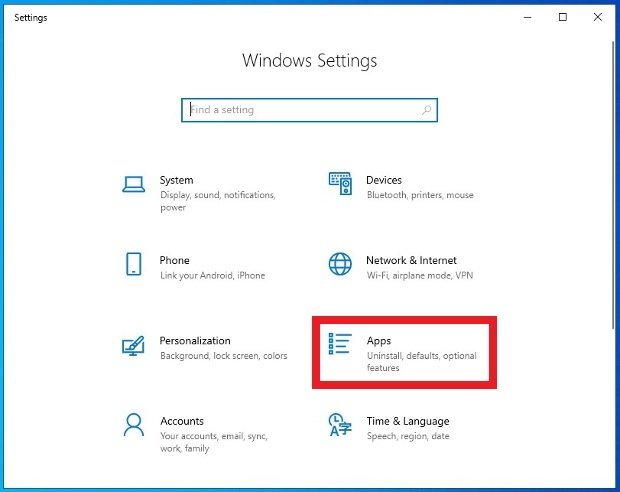 Access to the menu of installed apps
You will see the applications that are installed on the device; search for Google Chrome and click on it. Then click on Uninstall and confirm.
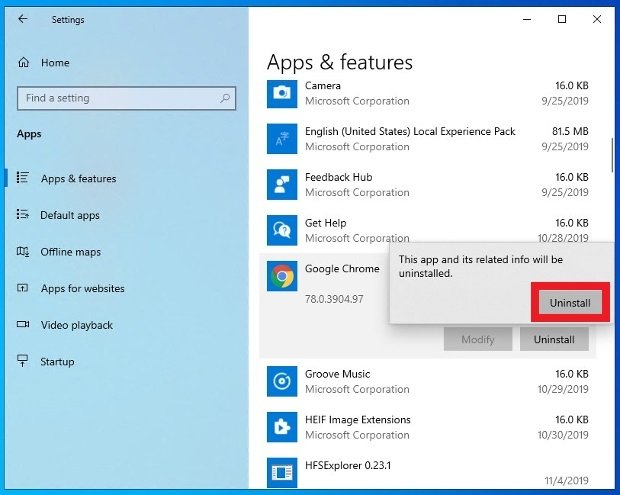 Confirm you want to uninstall Chrome
There’s a third confirmation window. There, alternatively, you can delete your history and the browsing data. Press Uninstall.
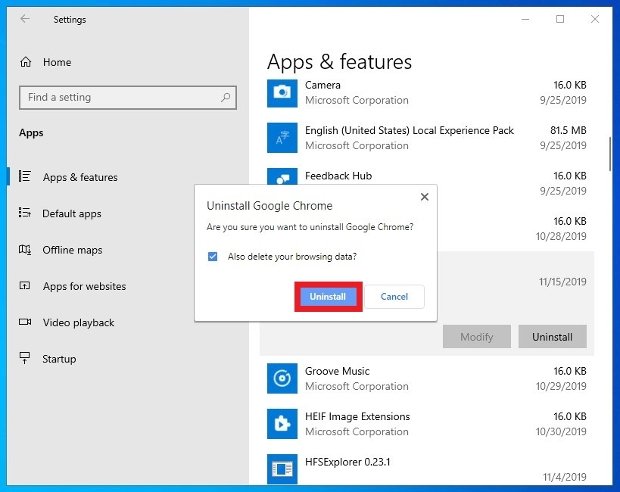 Press the Uninstall button and confirm the process
If the operating system requires permissions to allow Chrome to make changes, grant them without any worries.
 Allow Chrome to make changes to the system to complete the uninstallation process
In just a few seconds, you’ll have uninstalled Chrome completely from your computer. The operating system itself will assign a new default browser in the system’s settings by choosing one of those installed on our PC.
