


Google's app and game store for Android devices
Google Play Store APK is Google's official app store and one of the go-to apps for Android users. Previously known as Android Market, Google's digital content distribution platform allows you to download apps, games, and other digital content on compatible devices. Therefore, if you don't already have it on your Android smartphone, you should download Google Play Store Android.
The leading app store for Android devices
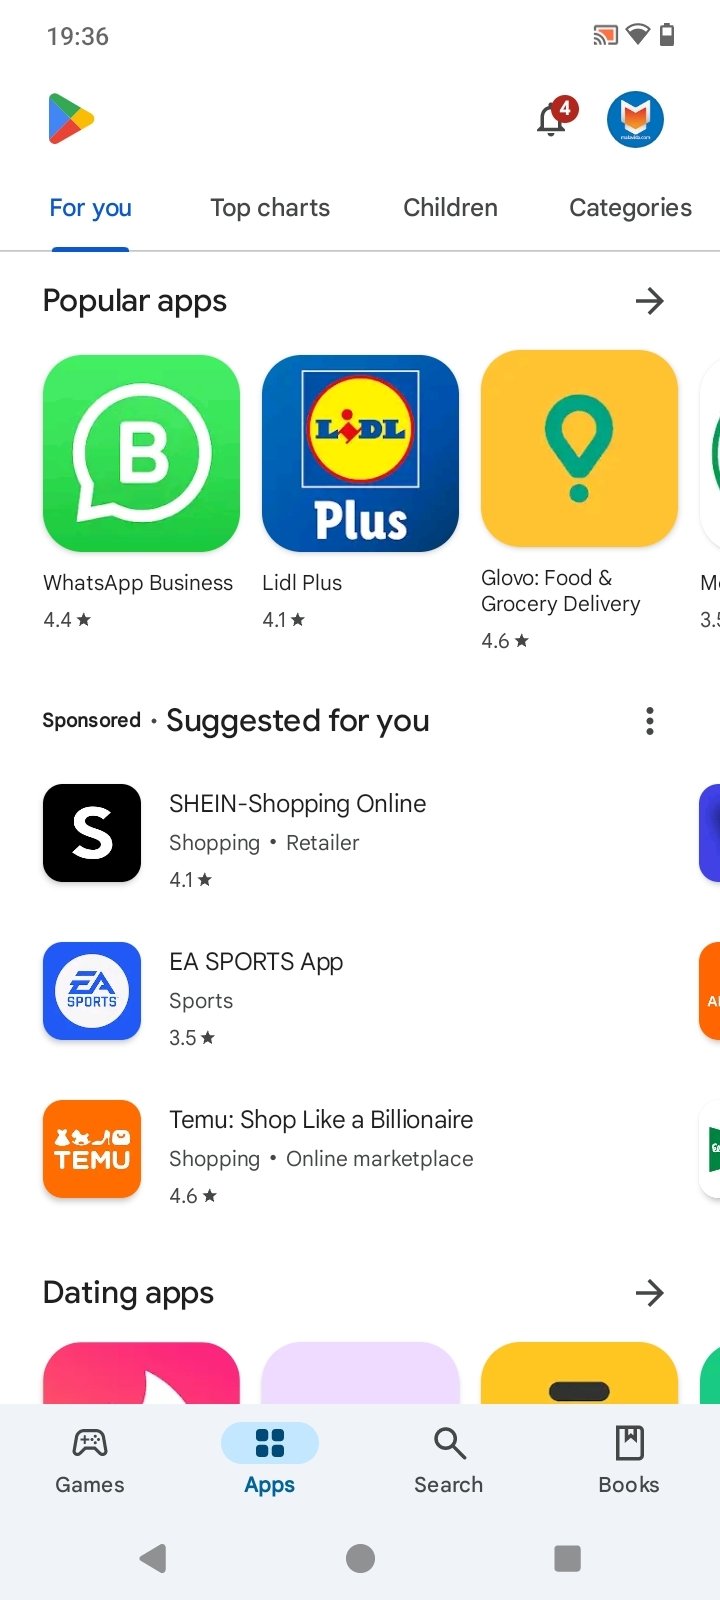
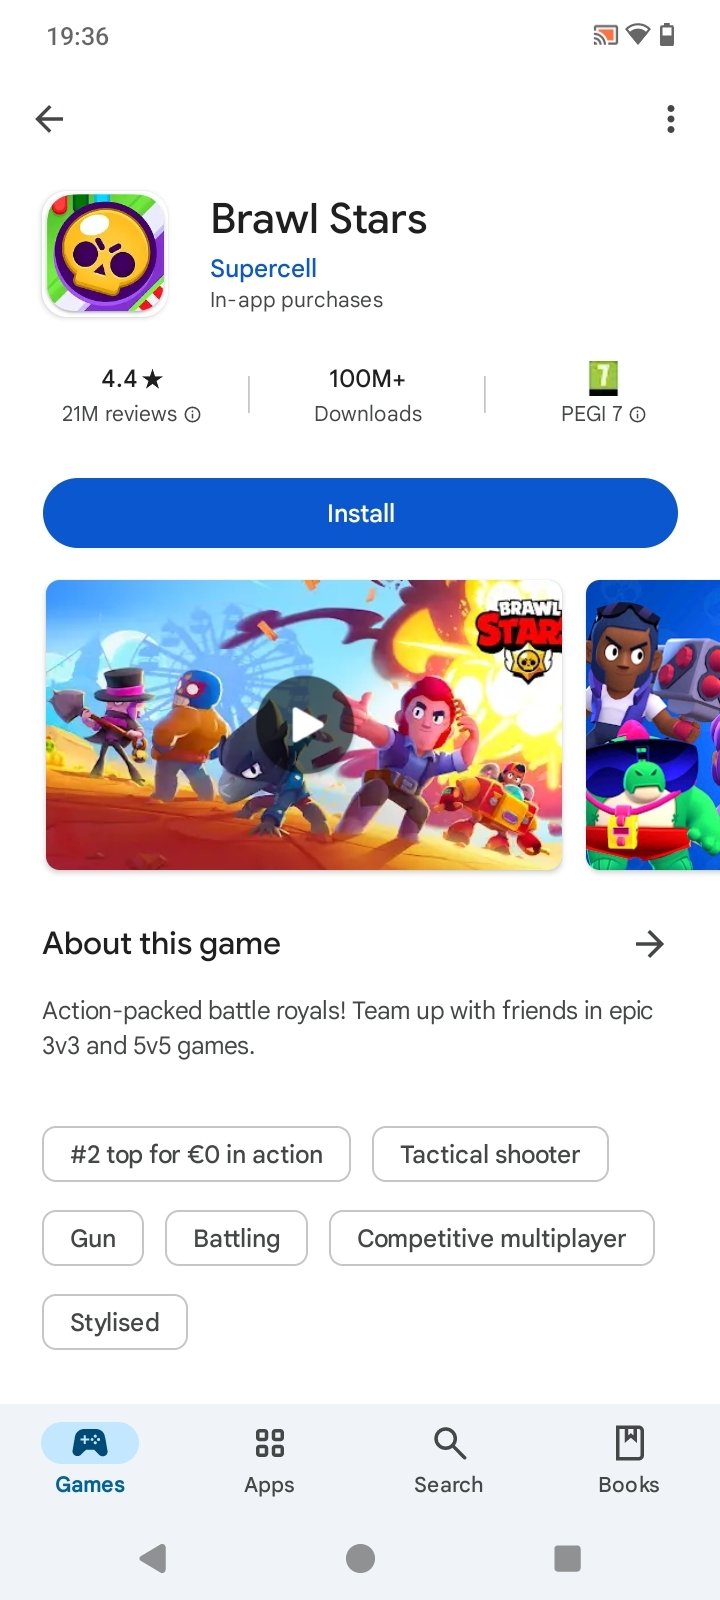
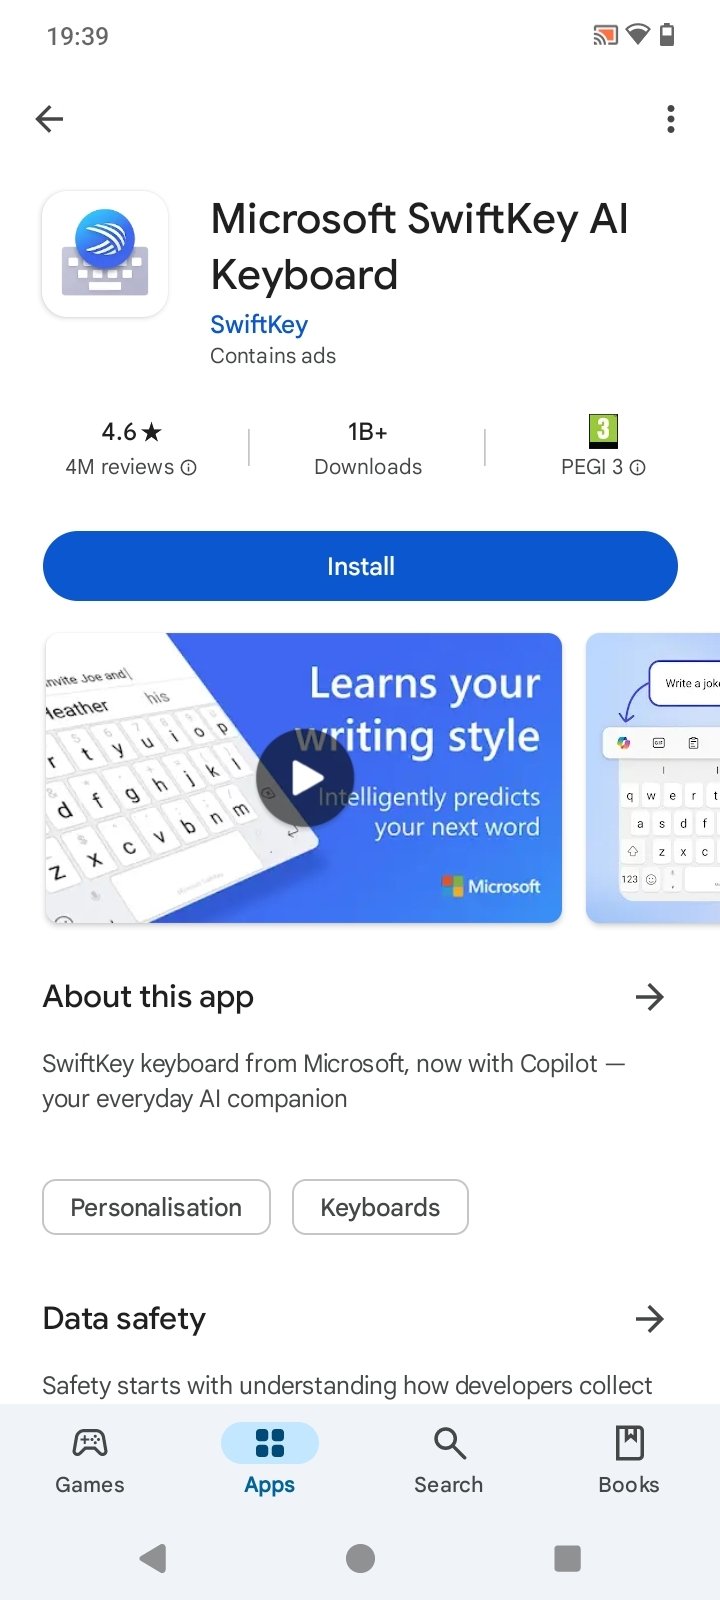
The most distinctive feature of Google Play Store APK is the distribution of applications. Google Play Store's app catalog consists of over two million apps and games, both free and paid.
On the platform, you will find apps and games of all kinds organized by categories: music and audio, entertainment, productivity, dating, utilities, adventures, action, shooting... Users can search manually or see the latest releases, explore editor-curated lists, check out the most popular ones, or get suggestions based on usage.
Enjoy millions of apps, games, music, movies, books, magazines, and more on your Android device.
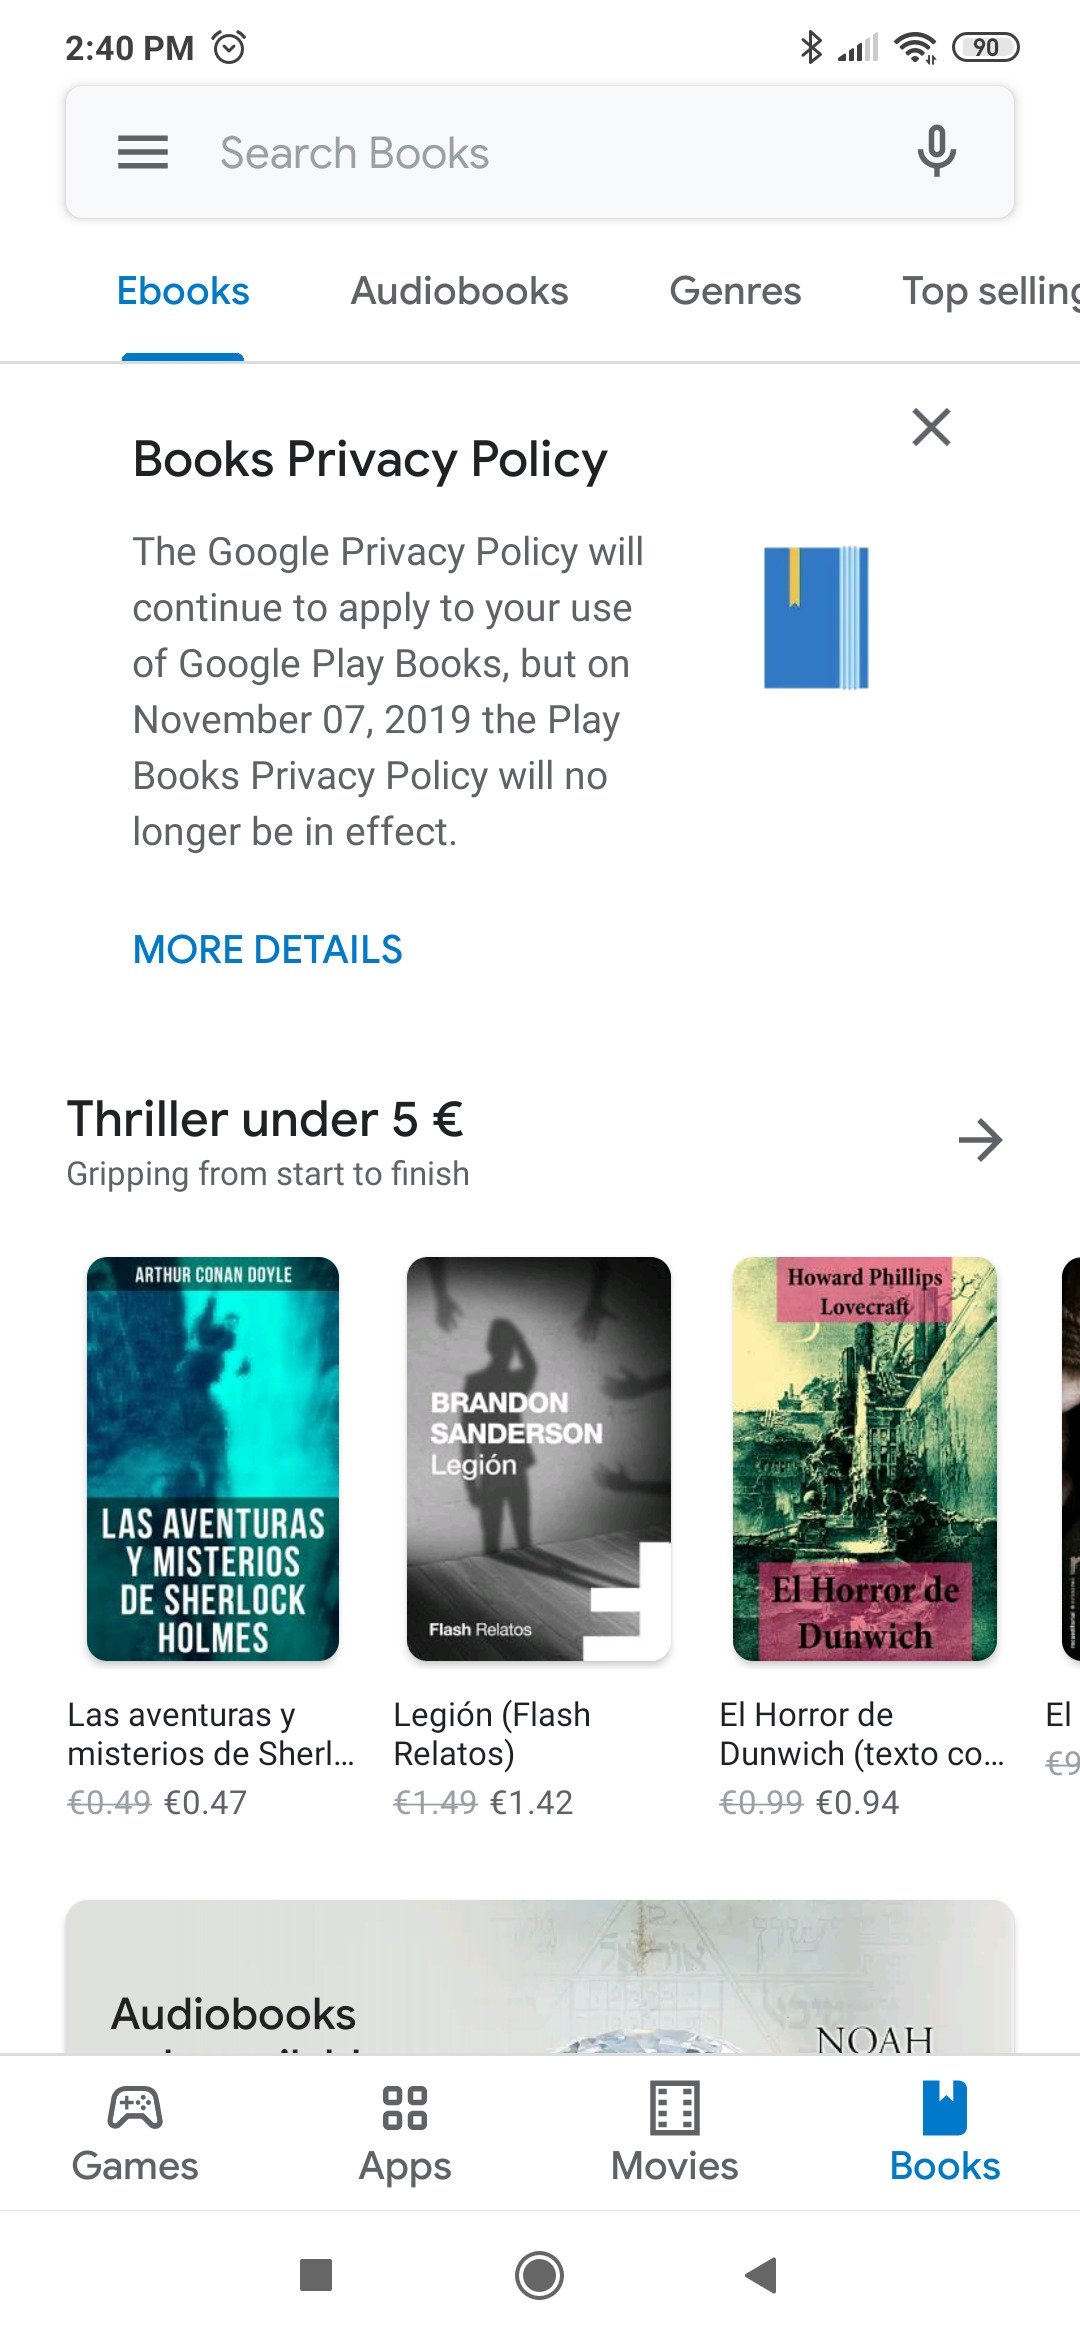
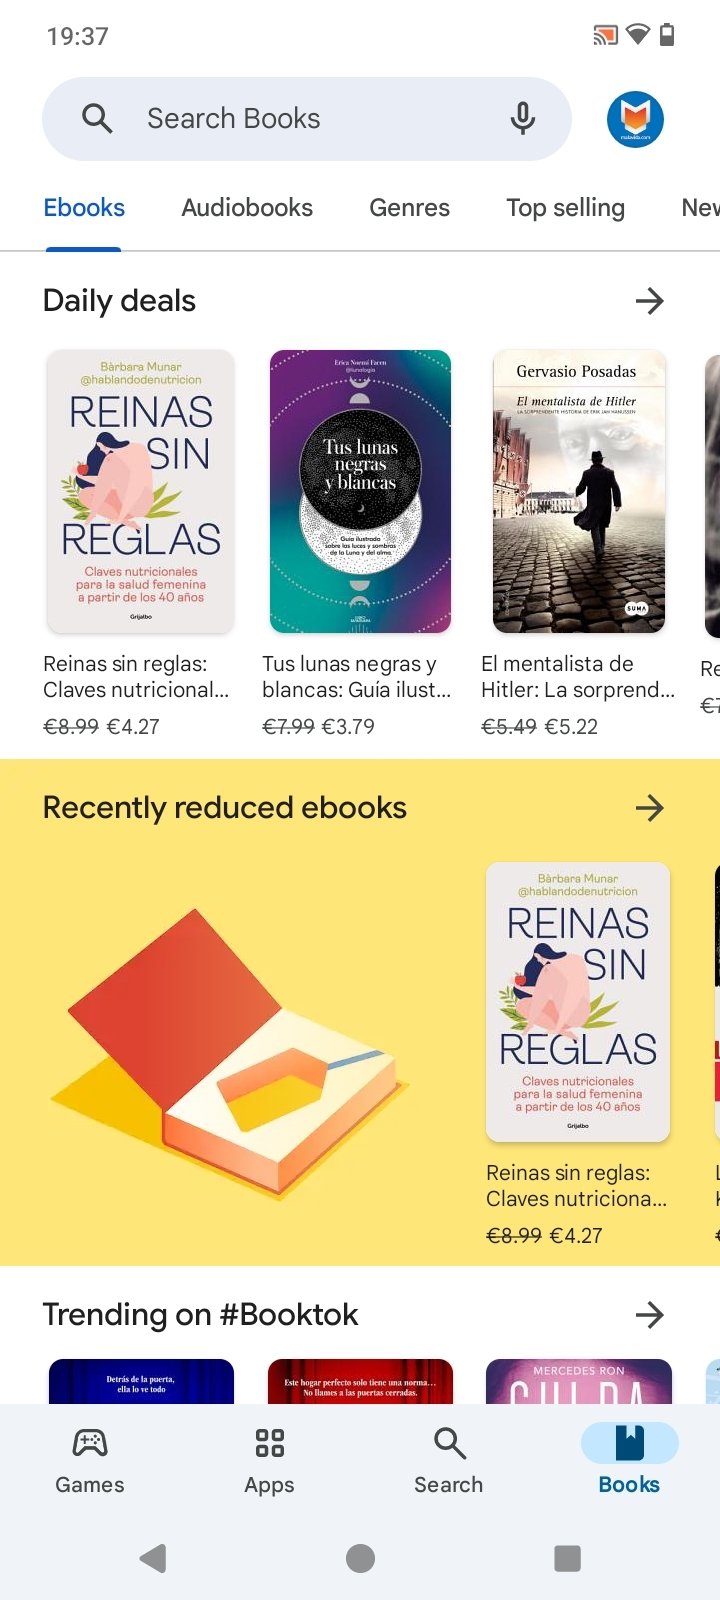
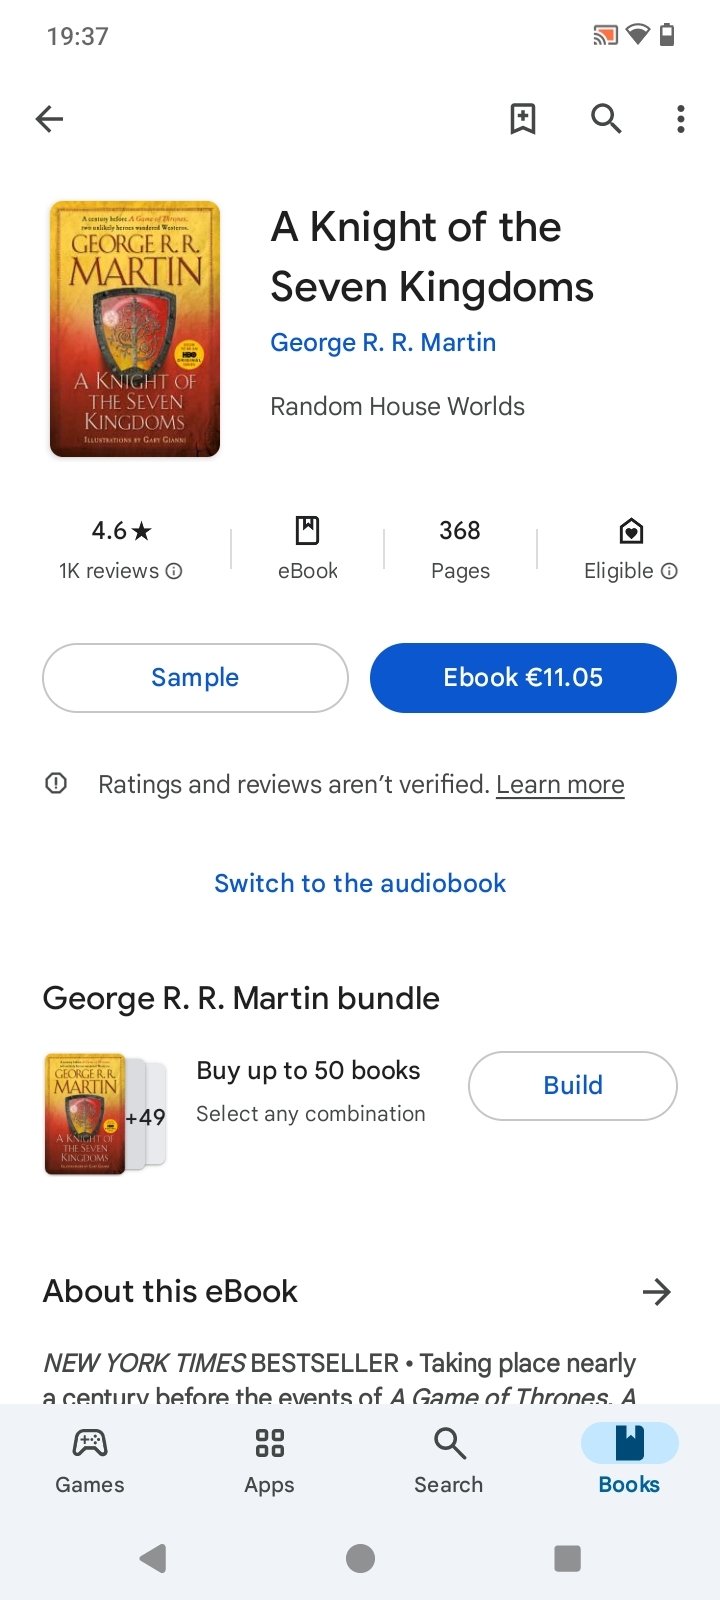
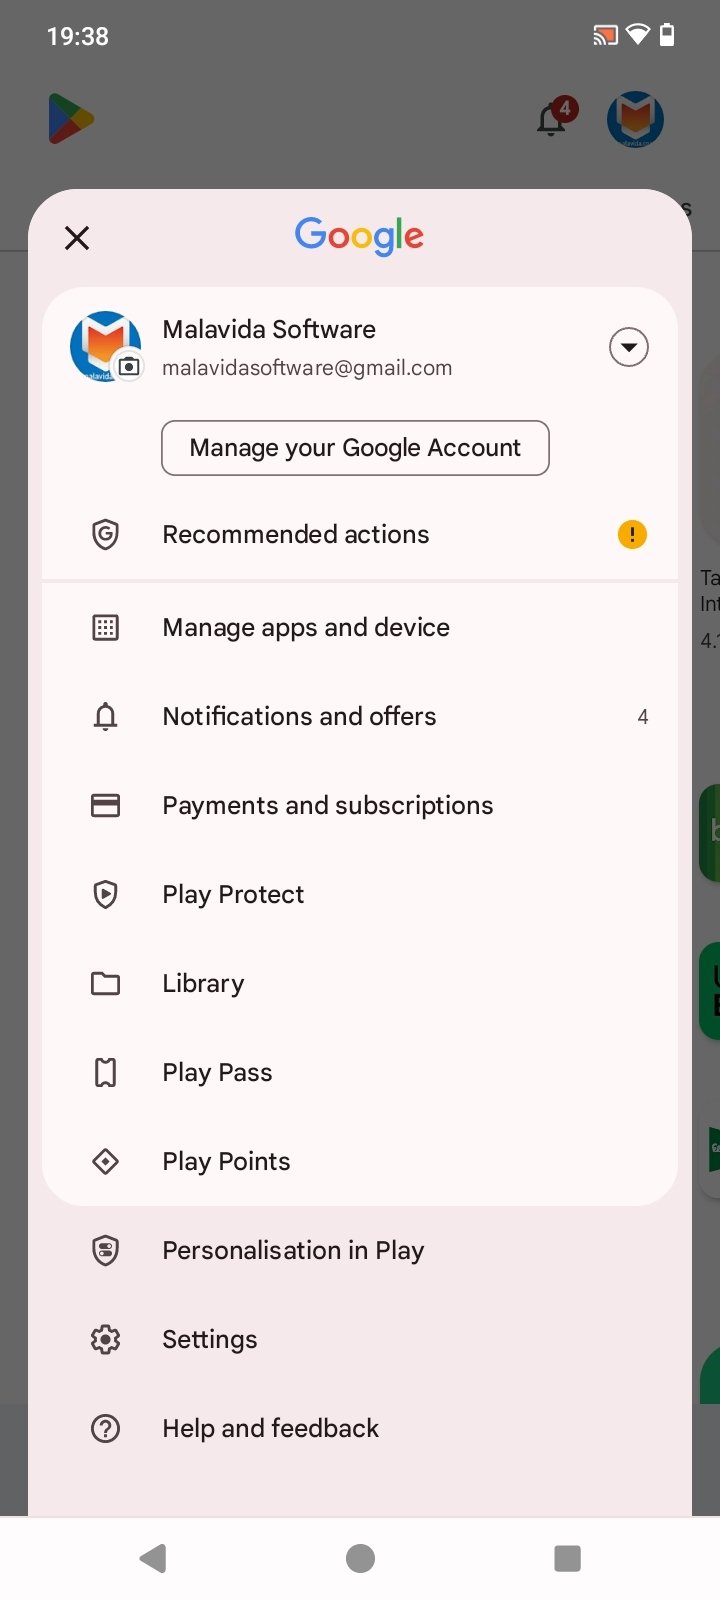
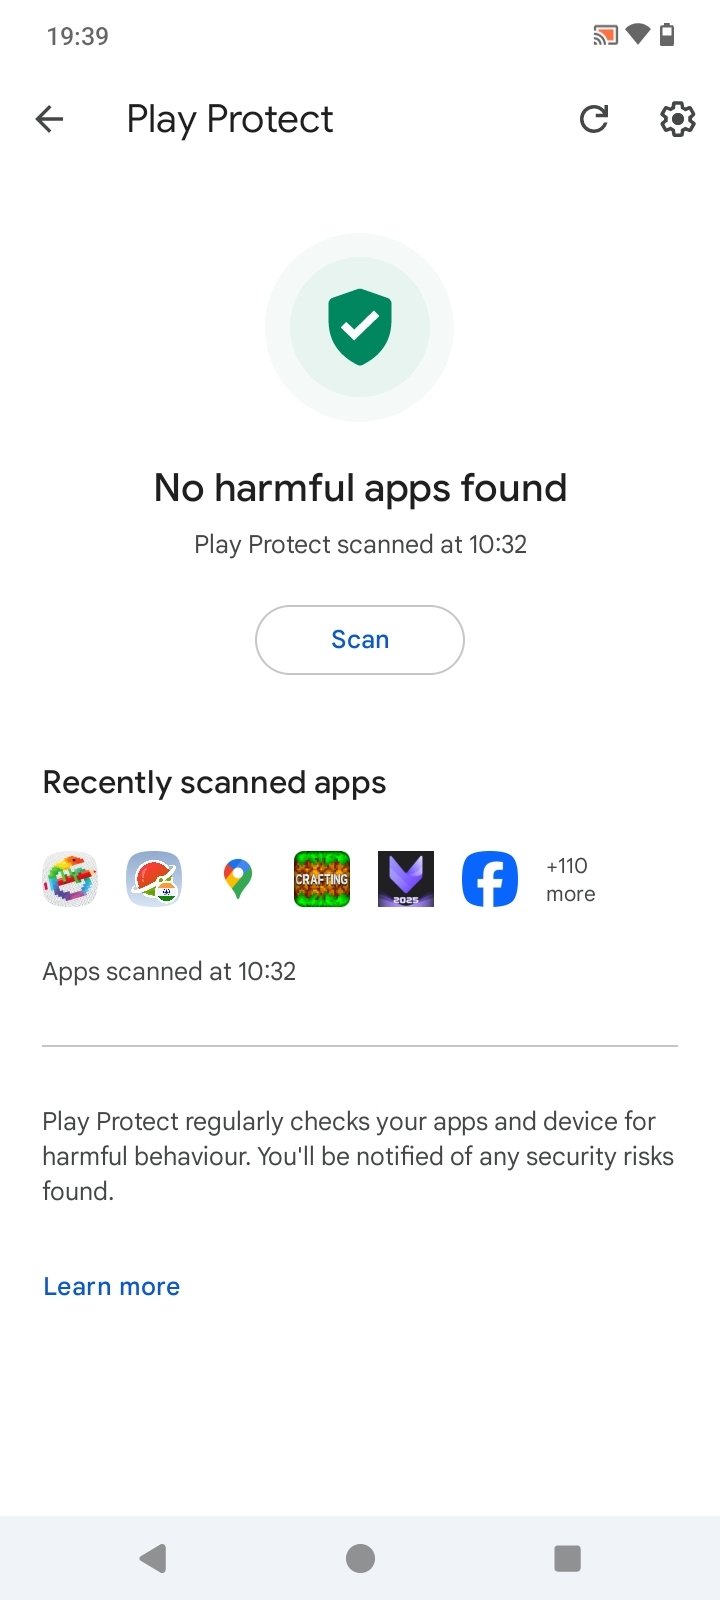
But that's not all, this app also offers a wide collection of ebooks and audiobooks that you can purchase directly (although there are also free resources). However, the movie purchase feature is no longer available. In addition to the fact that you can download the Google Play Store for free, it also lets you manage the apps installed on your device and use Google Play Protect to reinforce your device's security, among other things.
Main features of the Google Play Store
- Official Google app store for Android devices.
- The catalog offers apps, games, ebooks, and audiobooks.
- Genre-sorted collections.
- Powerful search engine.
- App recommendations based on user usage.
- Google Play Protect feature.
- Payment and subscription system.
- Ability to configure automatic updates.
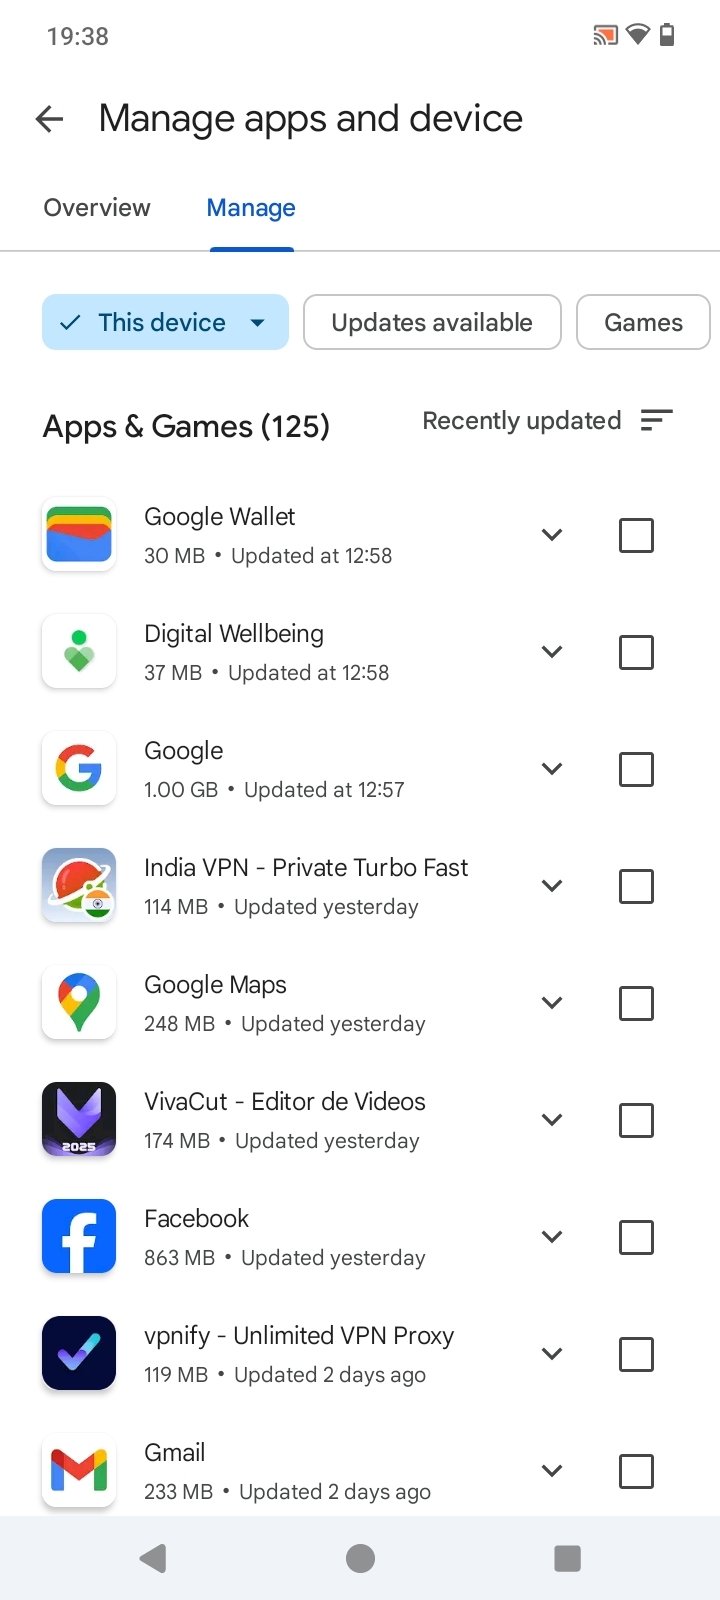
- Management of applications and device storage.
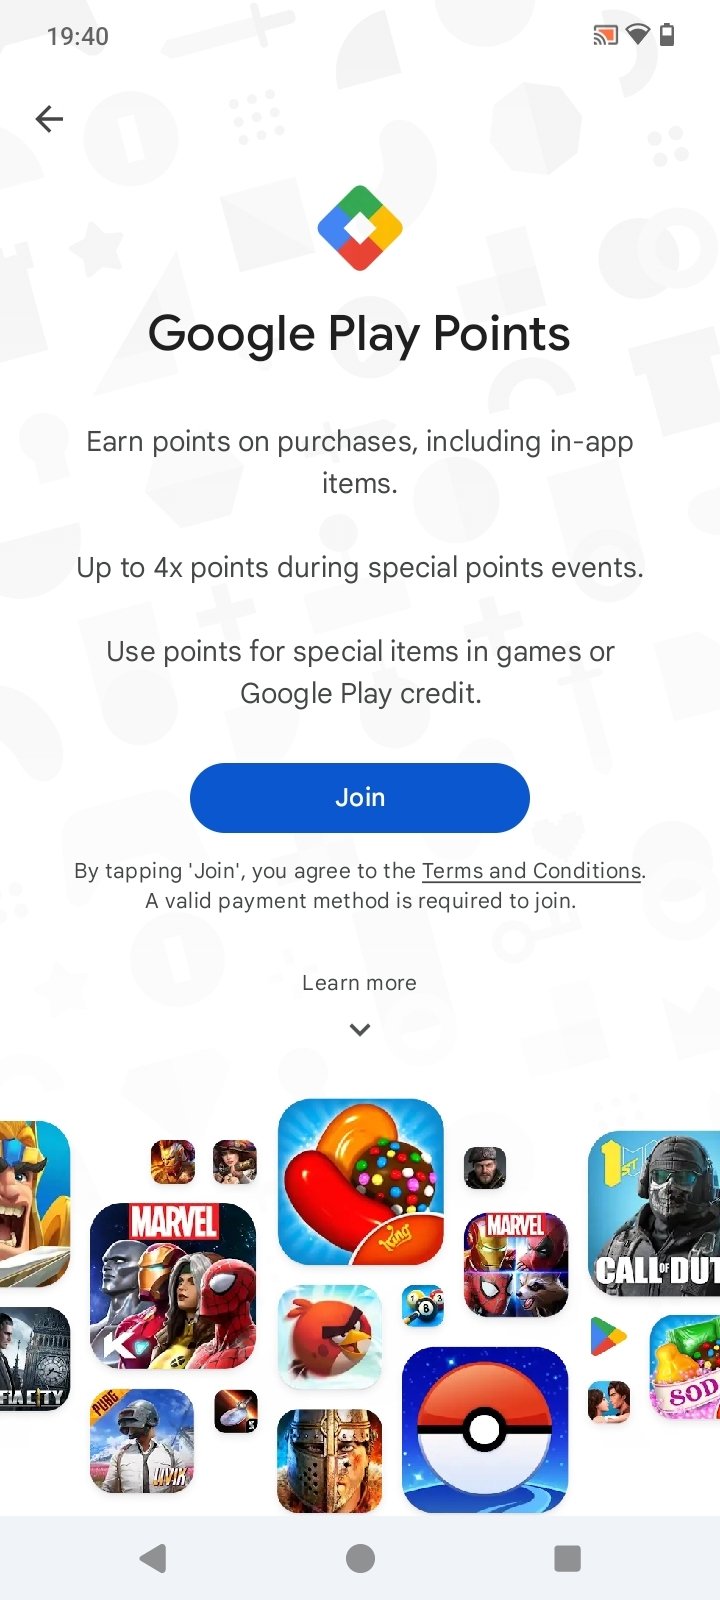
- Play Points program that gives weekly rewards to users redeemable for in-app and game purchases.
- Management of Google Play Pass.
- User comments and ratings on all content.
Most likely, you already have this app installed on your Android device. However, we still offer you the option to download Google Play Store Android for free, because it is possible that this app wasn't pre-installed on your device or that it has been deleted for some reason.
Requirements and additional information:
- Minimum operating system requirements: Android 6.0
- The installation of the app by means of the APK file requires the activation of the "Unknown sources" option within Settings>Applications.
 Almudena Galán
With a degree in Law and Journalism, I specialized in criminology and cultural journalism. Mobile apps, especially Android apps, are one of my great passions. I have been testing dozens of apps every day for over six years now, discovering all...

Manuel Sánchez
Google Play Store Tips & Tricks