
Windows identifies each connected drive and disk partition with a letter. This method also applies to CD and DVD players, external hard disks, and even pens and memory cards. Although the letter assigned depends on the criteria of the system and is given automatically, Windows lets you customize it. To do this you must use the control panel. To access it, open the Windows search and type control panel.
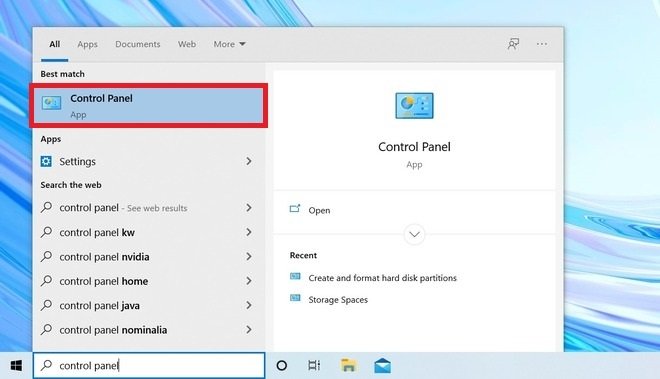 Open the control panel
Then, find the System and Security settings section.
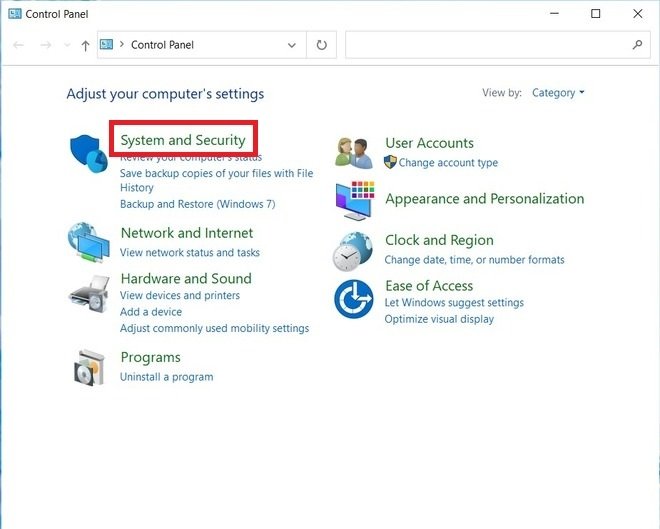 Open the system’s options
In the following list, choose Create and format hard disk partition. Remember that you must have administrator privileges on your account to gain access.
 Open the disk manager
Choose the device or partition you want to change the letter to. Then, right-click and open the Change Drive Letter and Paths option.
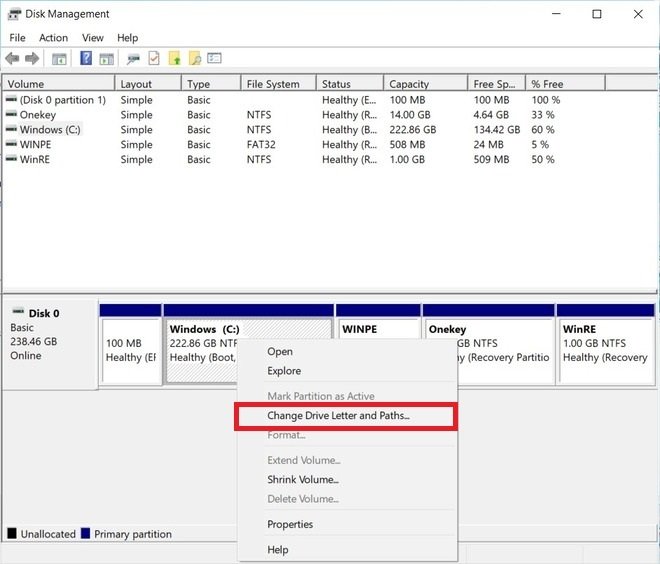 Change the drive’s letter
In the pop-up dialog, select the unit to which you want to assign a new letter and click Change.
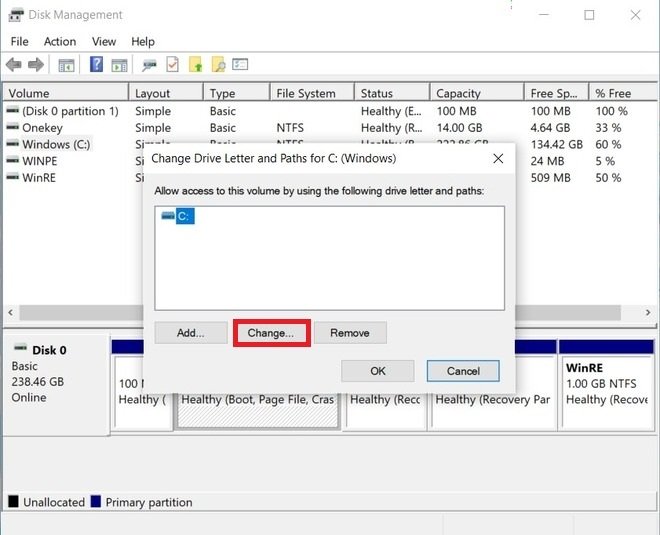 Choose the drive
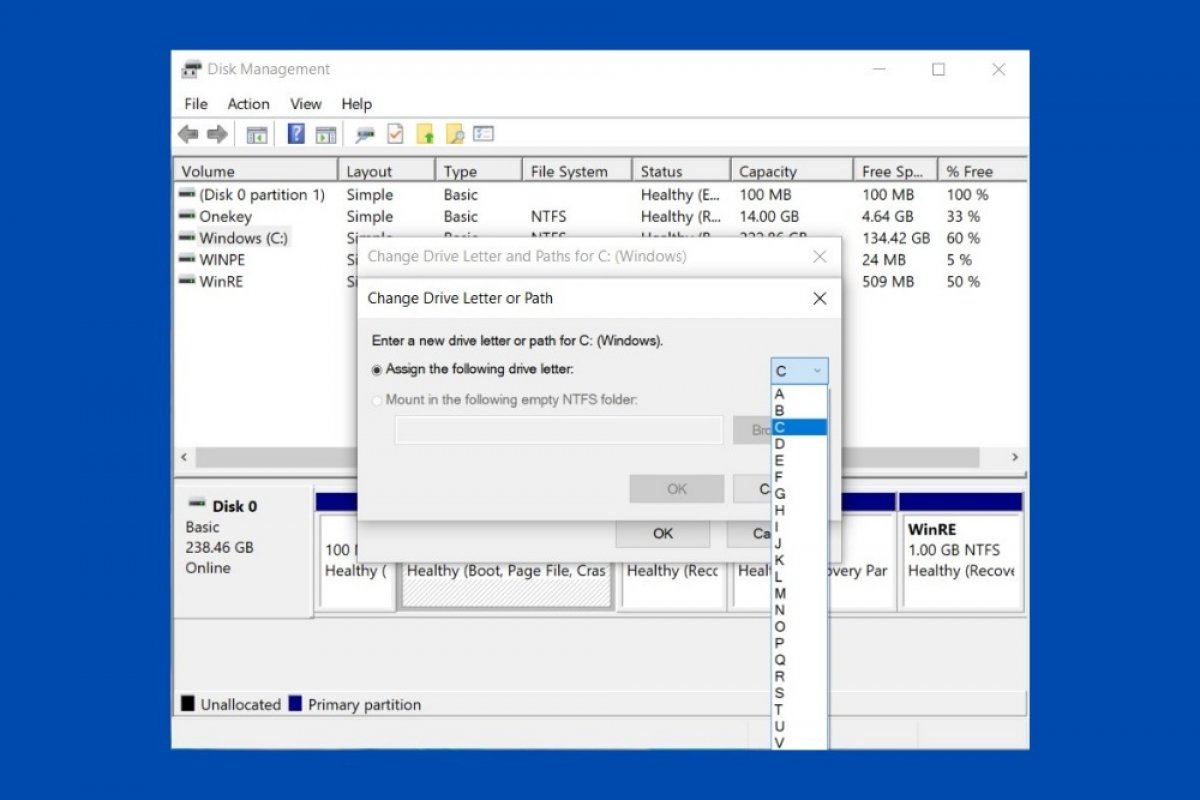
Open the drop-down menu next to Assign the following drive letter. Select the letter you want to assign to the selected drive or partition.
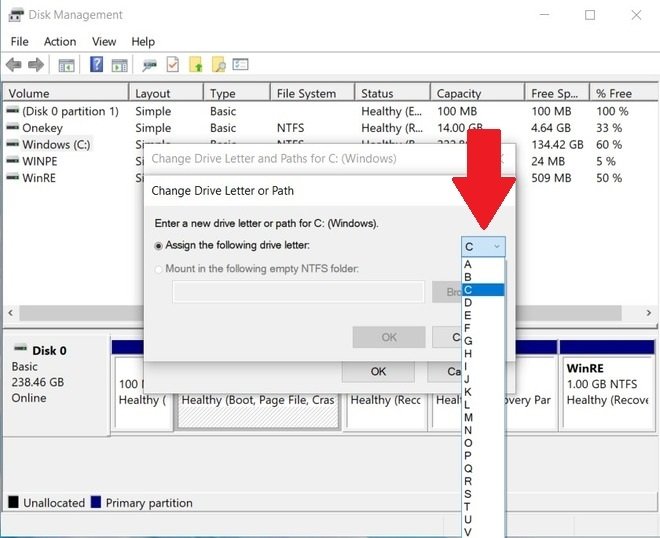 Choose the drive’s letter
To save the changes, click OK.
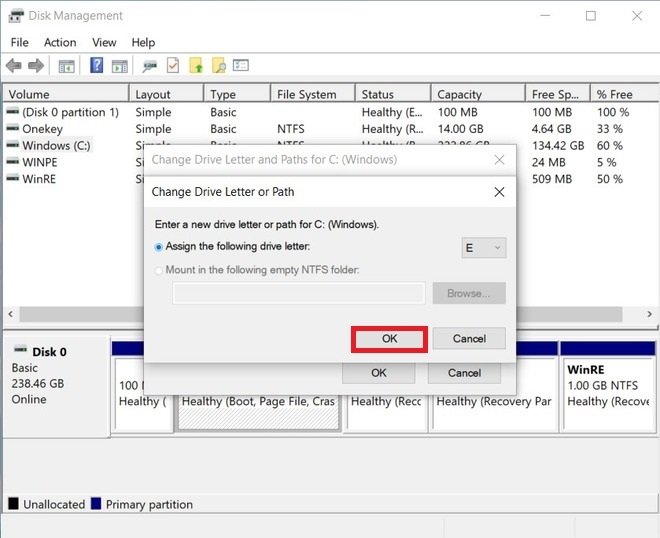 Confirm the change
From that moment on, the partition or device identification letter will have changed. If you have used this method to change the letter on an external hard drive or memory stick, it will be retained each time you connect it to your computer. Avoid changing the letter assigned to the system partition, as this can cause serious errors on your computer. Make sure you only apply this process to external storage devices or secondary partitions.
