

Voice assistants are already a part of our lives. Whether we use them from our phone, through a connected speaker, or on our smartwatch, the truth is that they are becoming more and more useful. However, even when there are tons of companies trying to get their piece of the pie, the voice assistants that stand out from the rest are Alexa and Google Assistant.
In Windows 10, we have Cortana, which according to the newest information, might not be reaching the large quotas of use that Microsoft expected. That is why many users wonder how to uninstall Cortana from Windows. If you are one of them, take the next steps to do so. First, look for PowerShell in the Start menu.
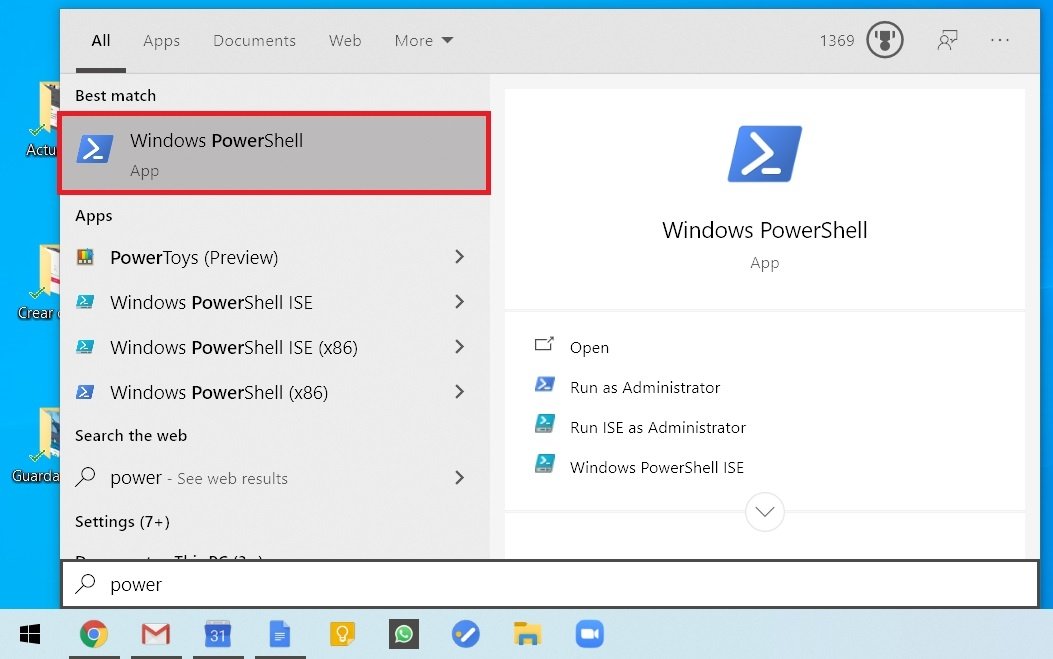 Search for Powershell
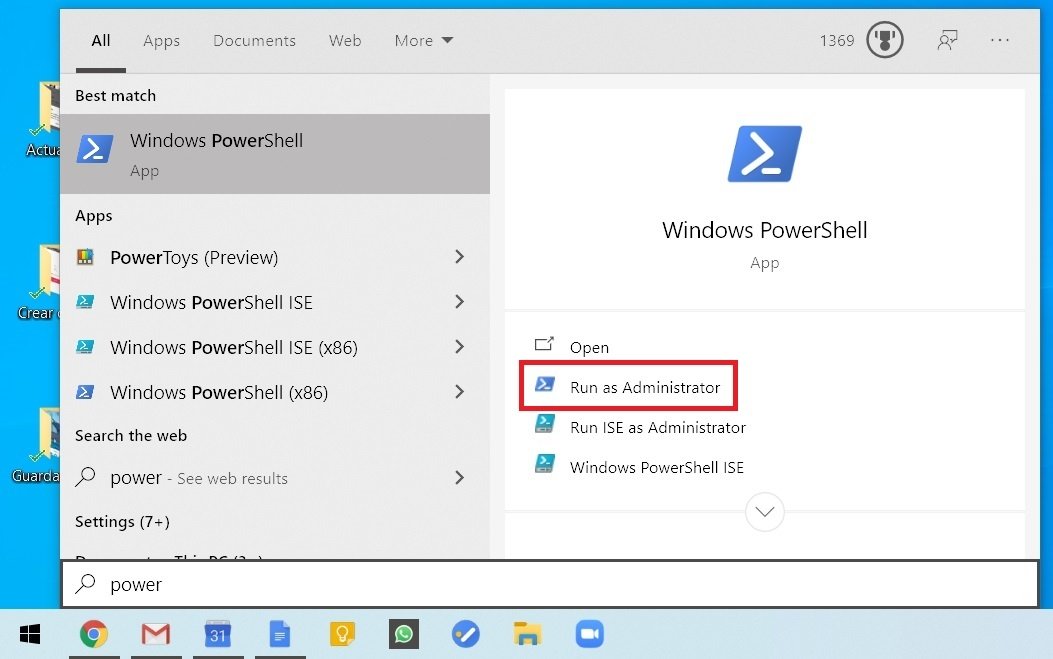
Click on Run as Administrator.
 Run as admin
In the window that just opened, type Get-AppxPackage -allusers Microsoft.549981C3F5F10 | Remove-AppxPackage, and press Enter.
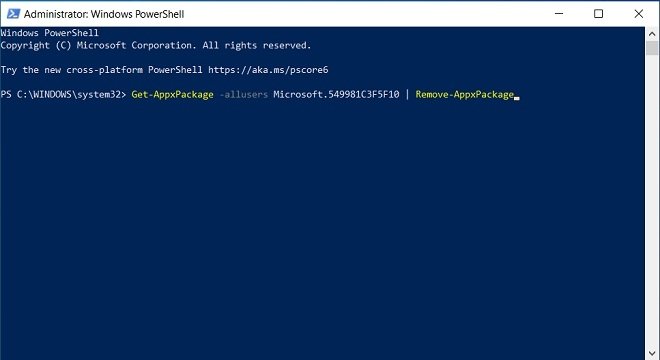 Command to remove Cortana
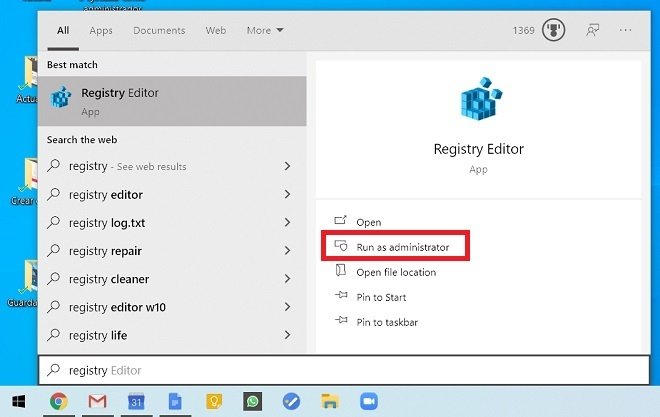
Once this is done, Cortana will have disappeared from our computer. At least in appearance. However, we need to take some additional steps to completely delete Cortana from Windows 10. To do this, find the registry editor in the start menu.
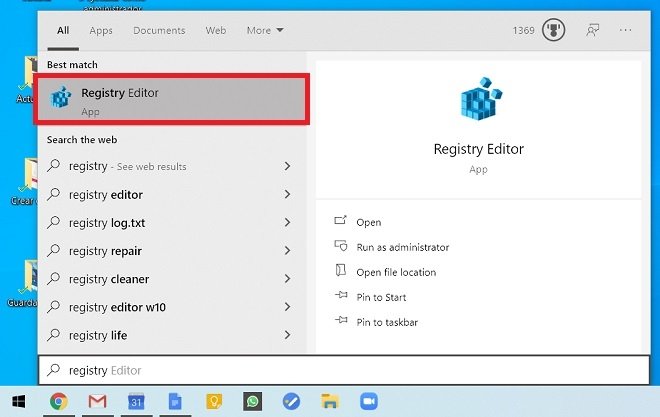 Search for the registry editor
Then, click on Run as administrator.
 Run regedit as admin
Thanks to the sidebar, you can navigate between the different registers. Follow the route HKEYLOCALMACHINE SOFTWARE Microsoft Policy WindowsWcmSvc.
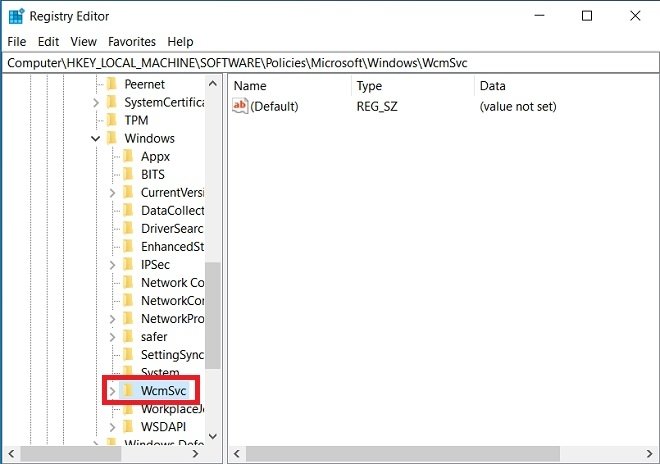 Search in Windows registry
Inside WcmSvc, we must create a new folder called WindowsSearch. To perform this process, right-click on WcmSvc, and in New, select Key.
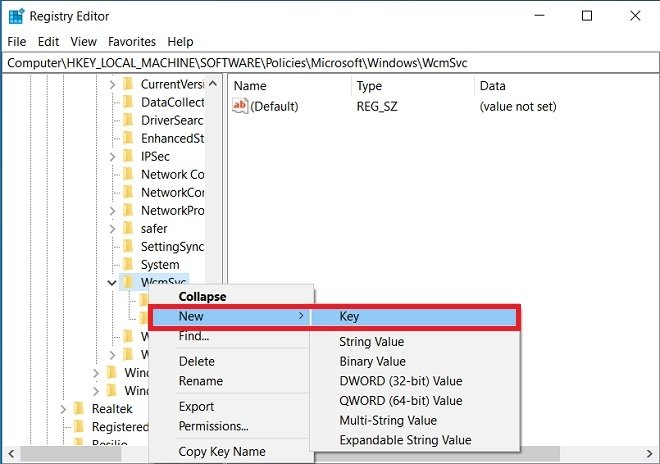 Add a new folder to the registry
Once created, within that folder, we must add a new register. So right-click on it, and under New, select DWORD (32-bit) Value.
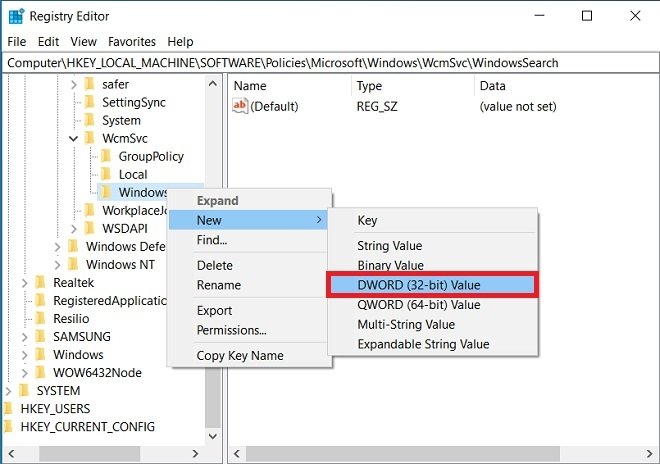 Add a new value
Assign the name AllowCortana, and then, double-click on the register. In the pop-up window, set the value 0 in the Value data field.
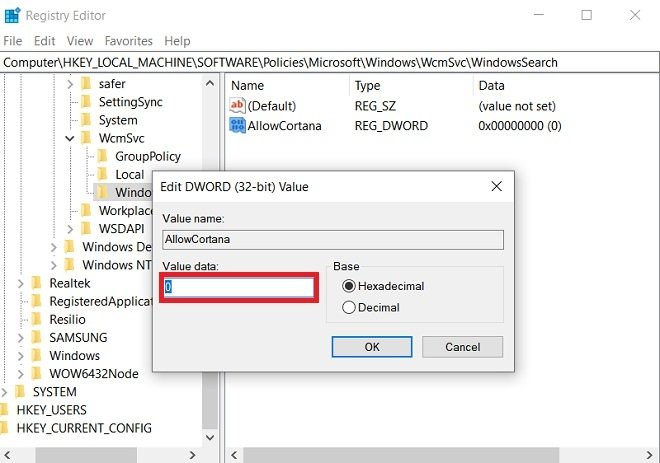 Assign a value to the new entry
Once this is done, reboot your PC and Cortana will be gone.
