

Instagram filters use virtual reality to add elements to the image captured by the cellphone camera. Currently, the platform offers a huge library of filters available to users. But did you know that you can create your own completely customized ones? In this article, we tell you how to do it.
- How to create Instagram filters
- Download and install Spark AR Studio
- Create a project with templates
- Create a blank project
- Export Instagram filter
- Post filter on Instagram stories
How to make an Instagram filter from scratch
Instagram filters use augmented reality. We show you, in this tutorial, how you can create your own filters by applying your own effects. First, let's take a look at what you need, and then you can explore the endless options on your own.
1. Download and install Spark AR Studio
The software you are going to need to generate your own Instagram filters is Spark AR Studio. It is an official tool developed by Facebook and is available for Windows and macOS. Therefore, you will not be able to carry out this process from your cellphone and you will have to switch to your PC. The following steps are based on the application for the Microsoft system. First, download the Spark AR Studio installer from Malavida.
Double-click on it when it has been saved to the internal storage and, on the main screen of the wizard, click Next.
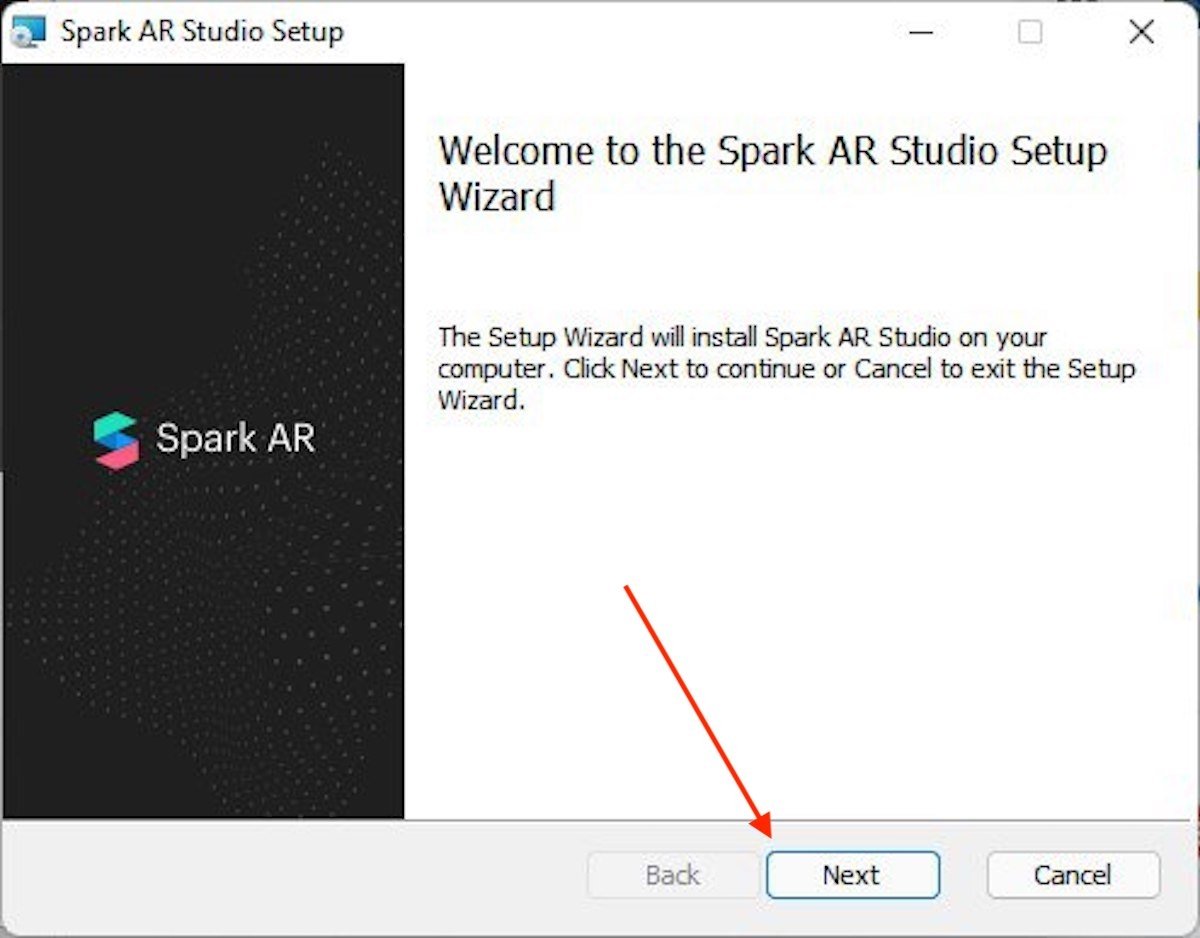 Start installing Spark AR Studio
As you can imagine, to continue, you must read and accept the terms and conditions of the software. Otherwise, you will not be able to use it on your cellphone.
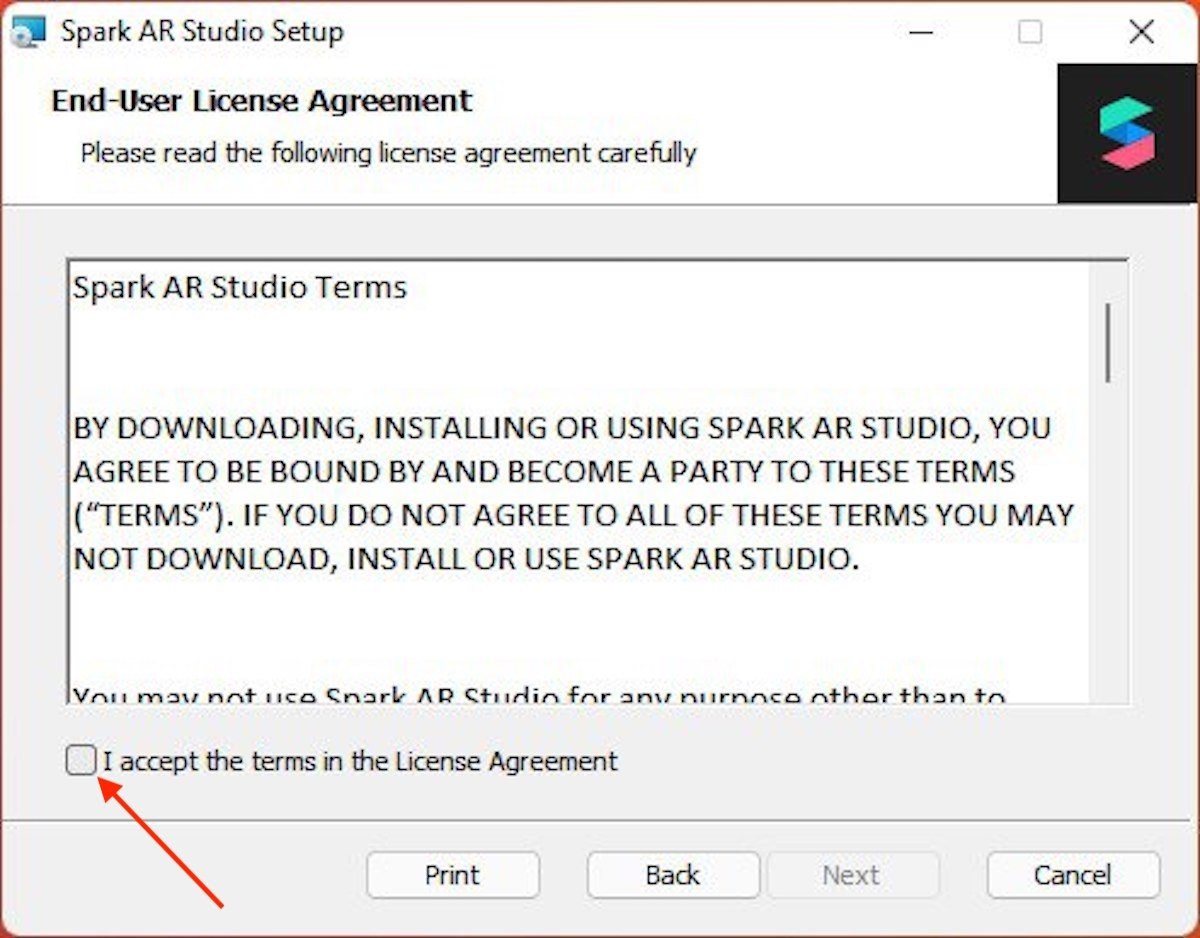 Accept the terms and conditions
If you want to test the filters on your iOS phone, the installation wizard reminds you to install iTunes. Follow the steps on the screen and click on Next when you are done. In case your cellphone is Android, following these instructions will not be necessary.
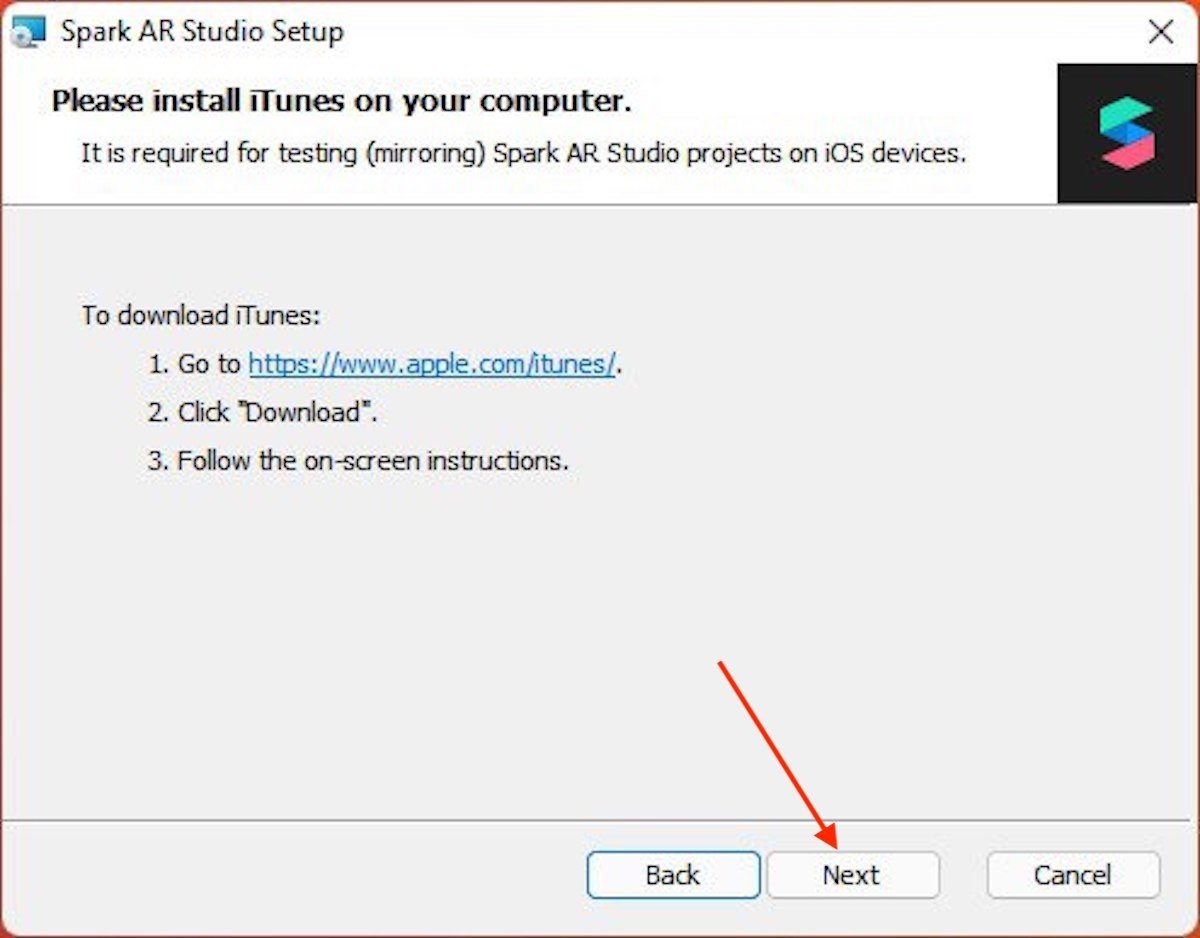 Install iTunes if you want to use an iPhone
Define the directory where you want to install Spark AR Studio. If you are satisfied with the default path, continue by clicking Next.
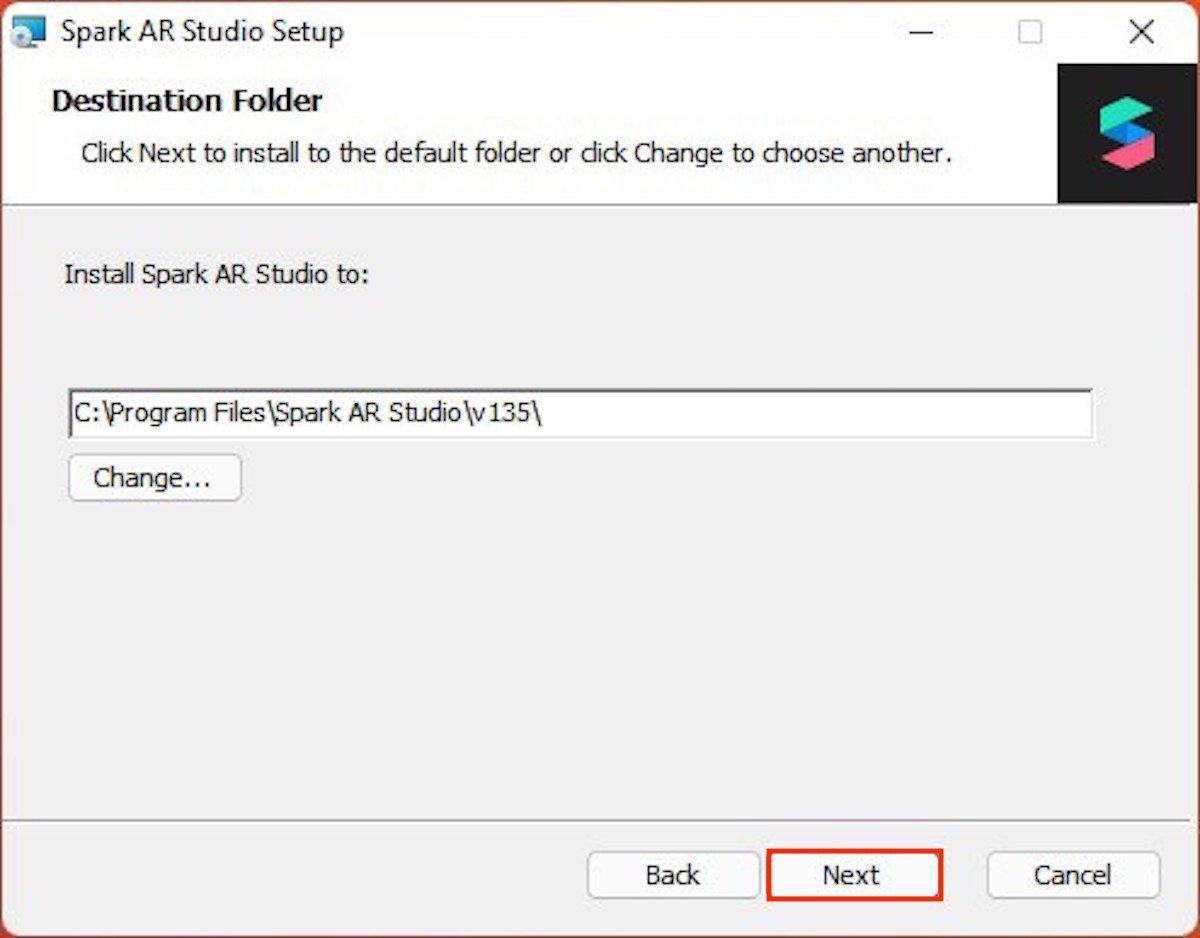 Specify the installation path
Finally, click on the Install button to start the installation process.
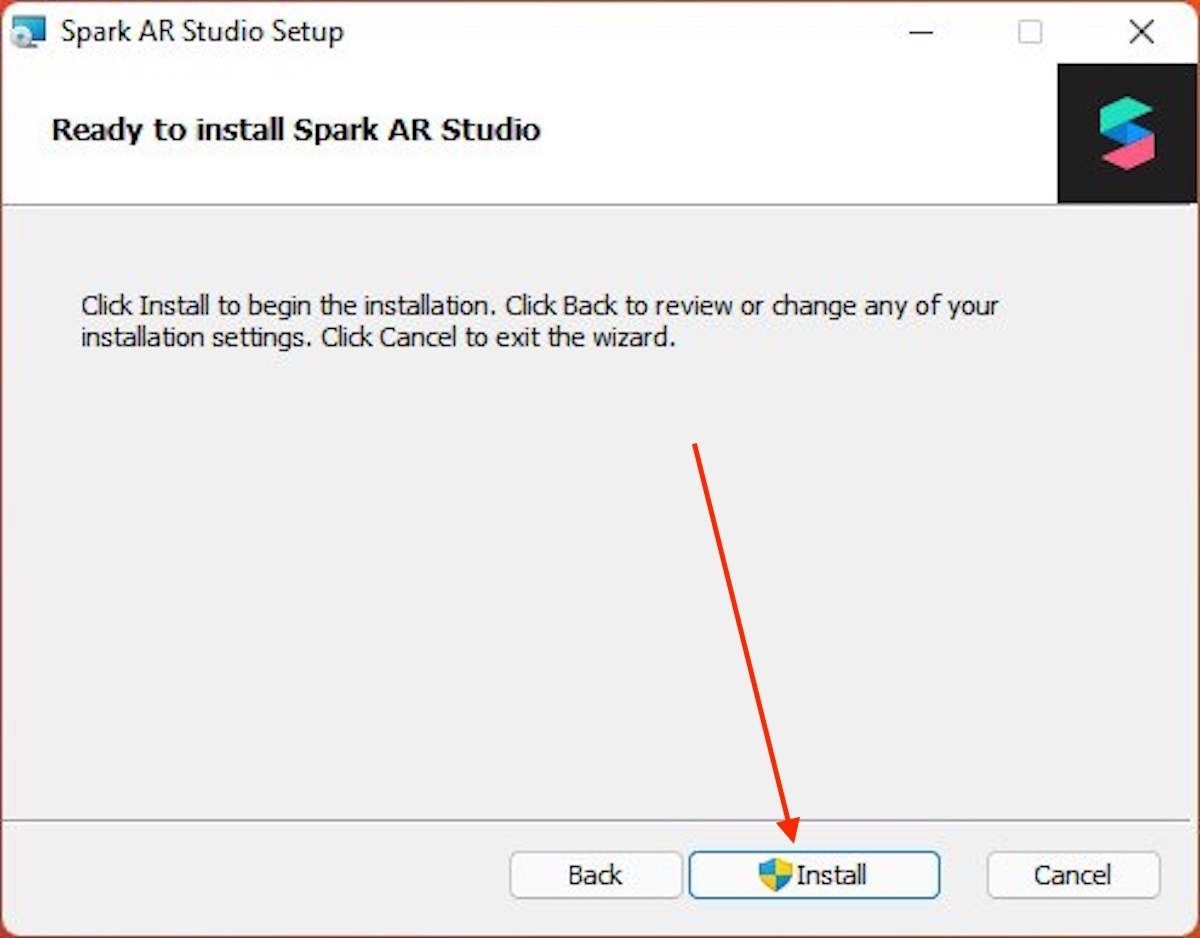 Install Spark AR Studio
Wait until it is completed. You should bear in mind that it is a somewhat heavy tool and, therefore, it is normal that the installation will take your device a few minutes to complete.
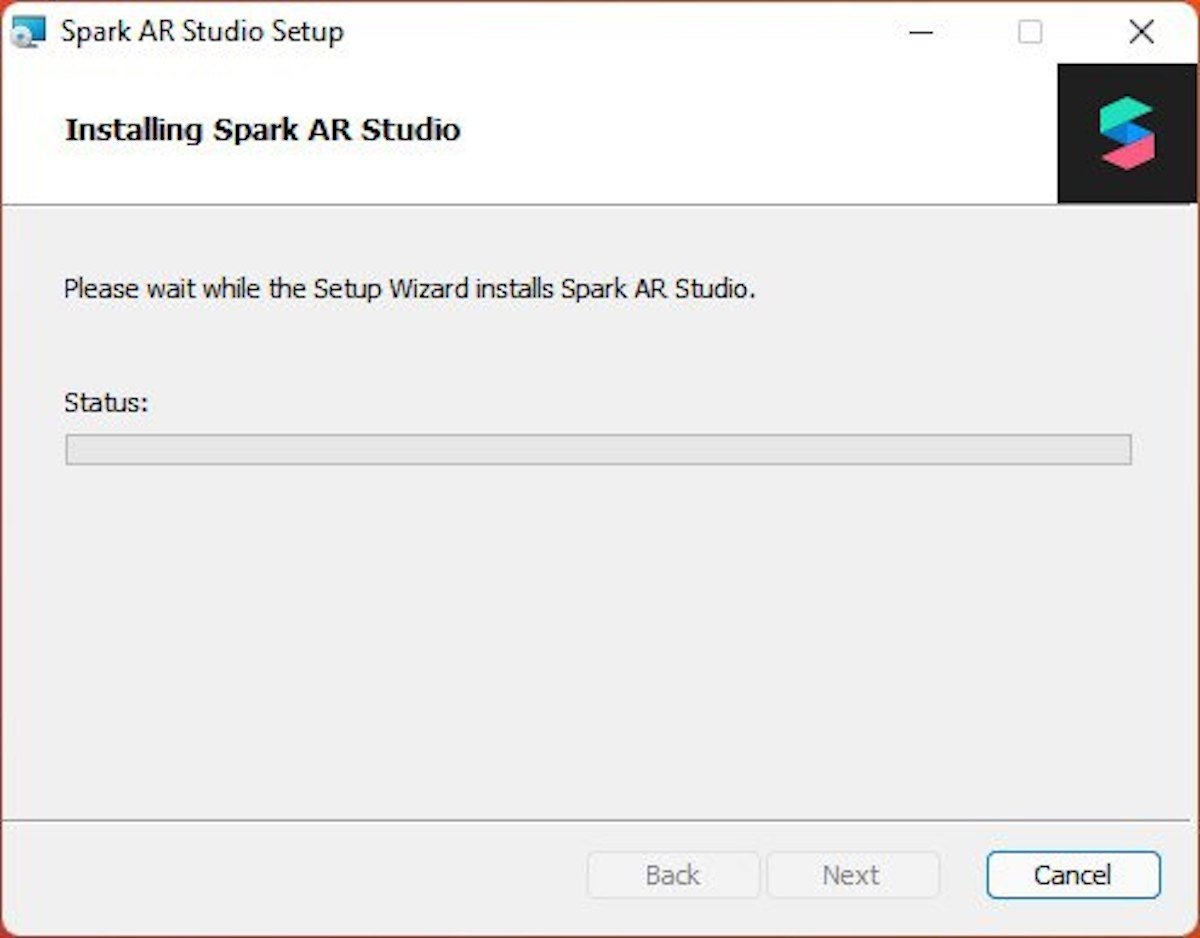 Wait for the installation to complete
When the message you see in the following screenshot appears on the screen, click on Finish to exit.
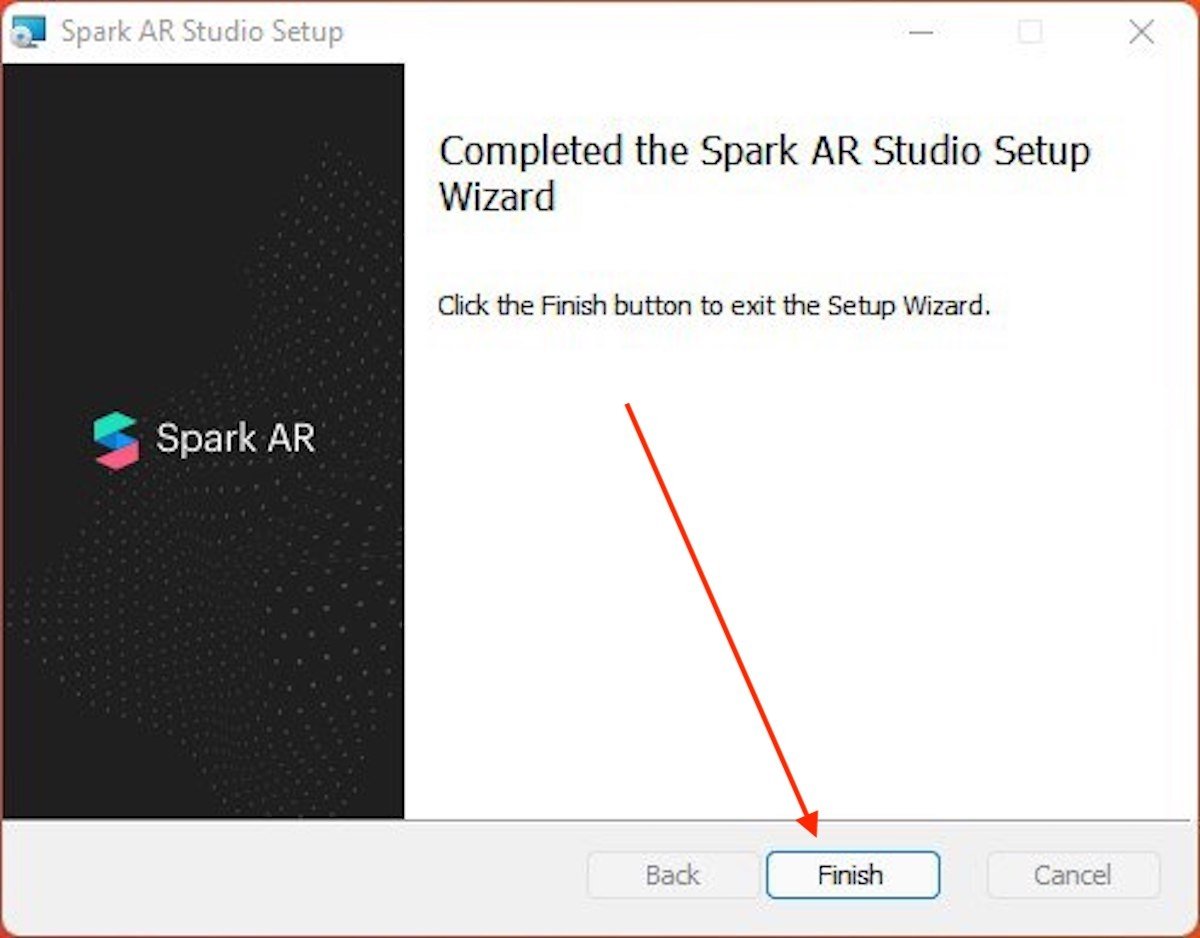 End the installation process
Find Spark AR Studio in the start menu and click on its icon. You will see the login screen appear, where you must enter your Facebook account credentials.
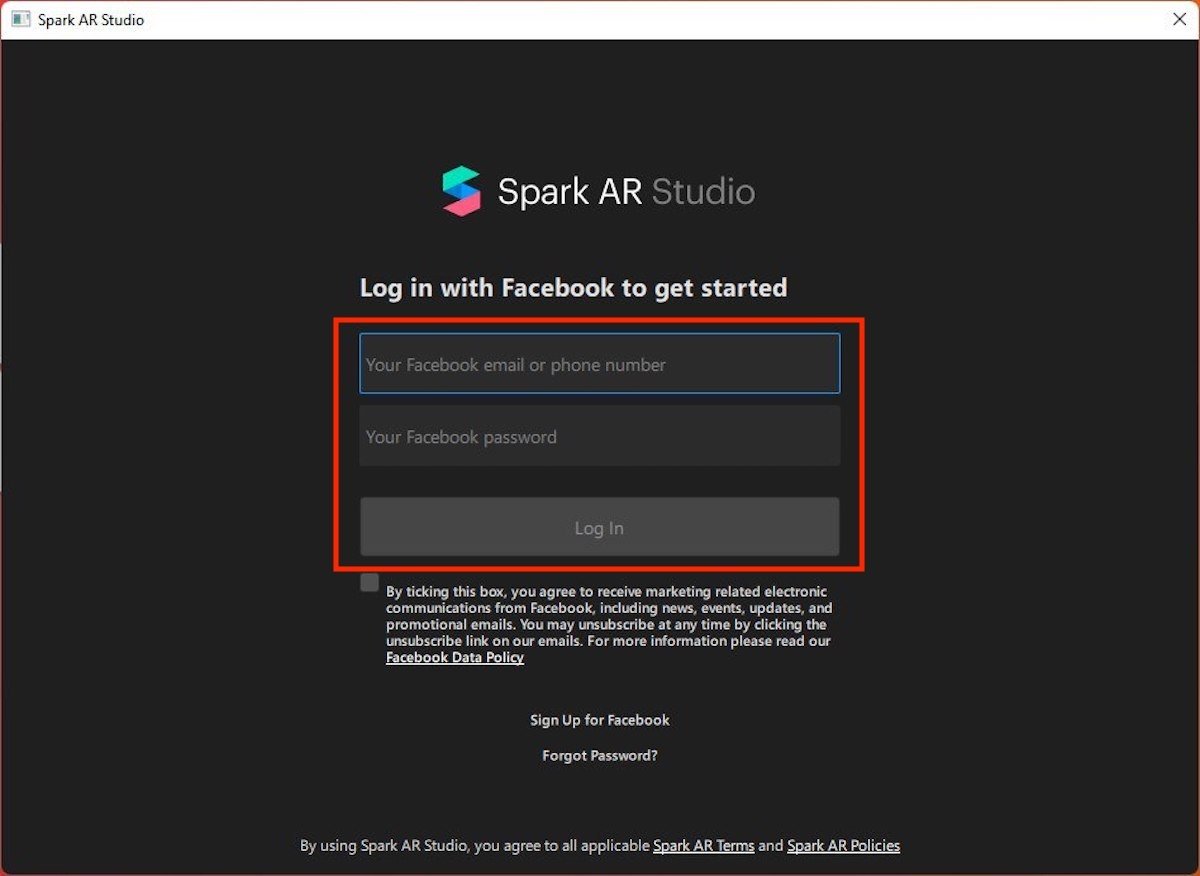 Log in with your Facebook account
If you have made it this far, you have the software you need to design your own Instagram filters. How should you proceed from now on? Let's see.
2. Creating a new project with templates
Now, it is time to learn about the process of creating a custom filter for Instagram. However, first, let us make a small clarification. Both this section and the next one show you methods to design and upload a filter to the Facebook database. All in all, Spark AR Studio is a very complex tool that requires time and effort to get to know it thoroughly. The following steps are simple examples that are intended to guide you through the entire process.
Having made the appropriate clarifications, it is time to proceed. One of the ways you can go about generating an Instagram filter is to take advantage of the multiple templates offered by the app. We will select Face Mask, which lets us create virtual masks.
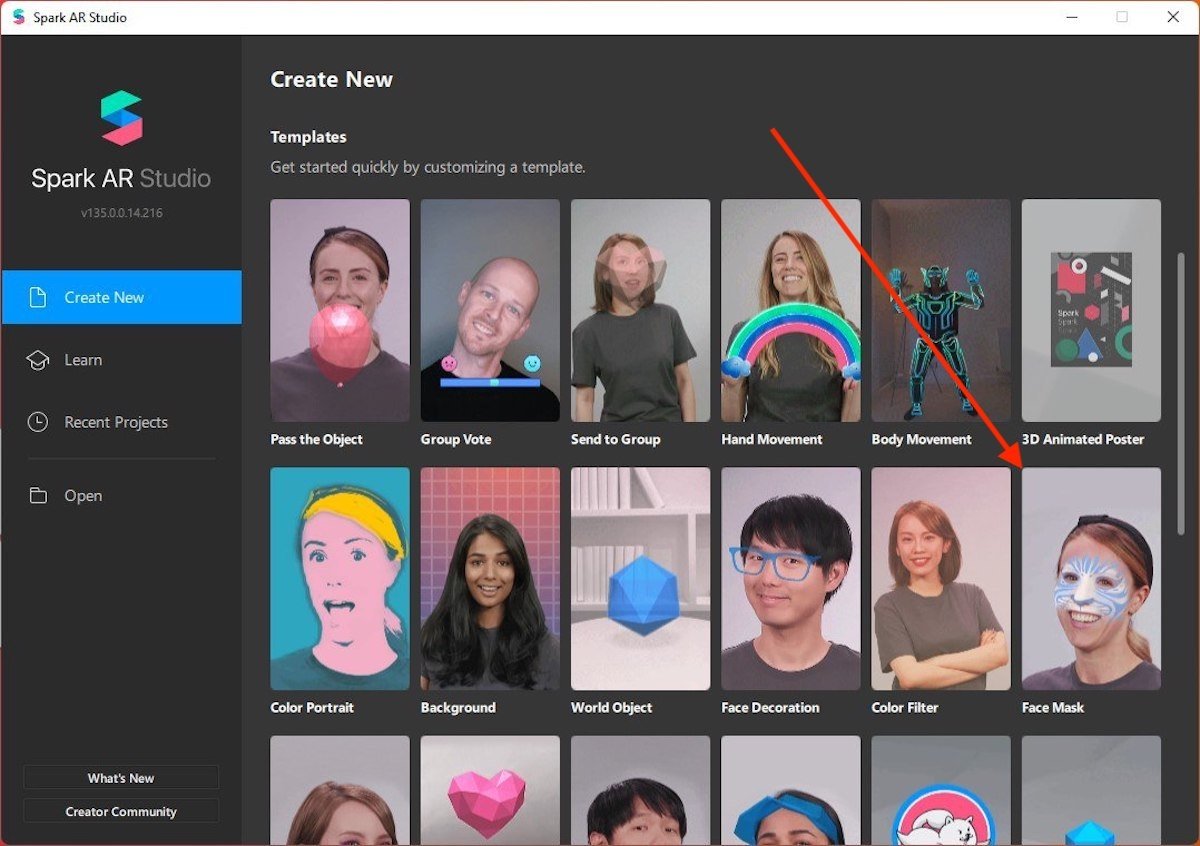 Start a project using a template
The following image shows what the working area of this software looks like. In our case, we right-clicked on Device, opened the Add object section, and added a Face Mesh.
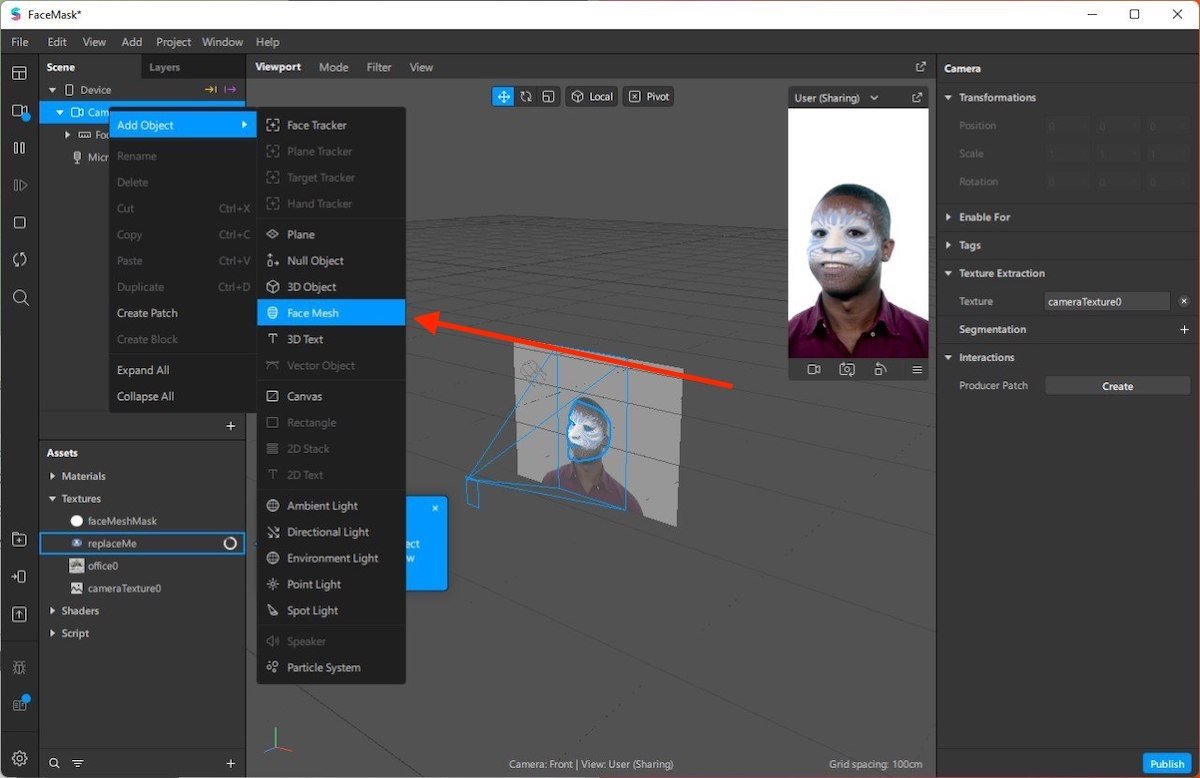 Add a face mask
Download a mask in PNG format from the Internet and drag it to the Assets area. Then, we right-clicked on it to assign it the Use As A Face Mask action. Quickly, in the video, the mask was applied to the user.
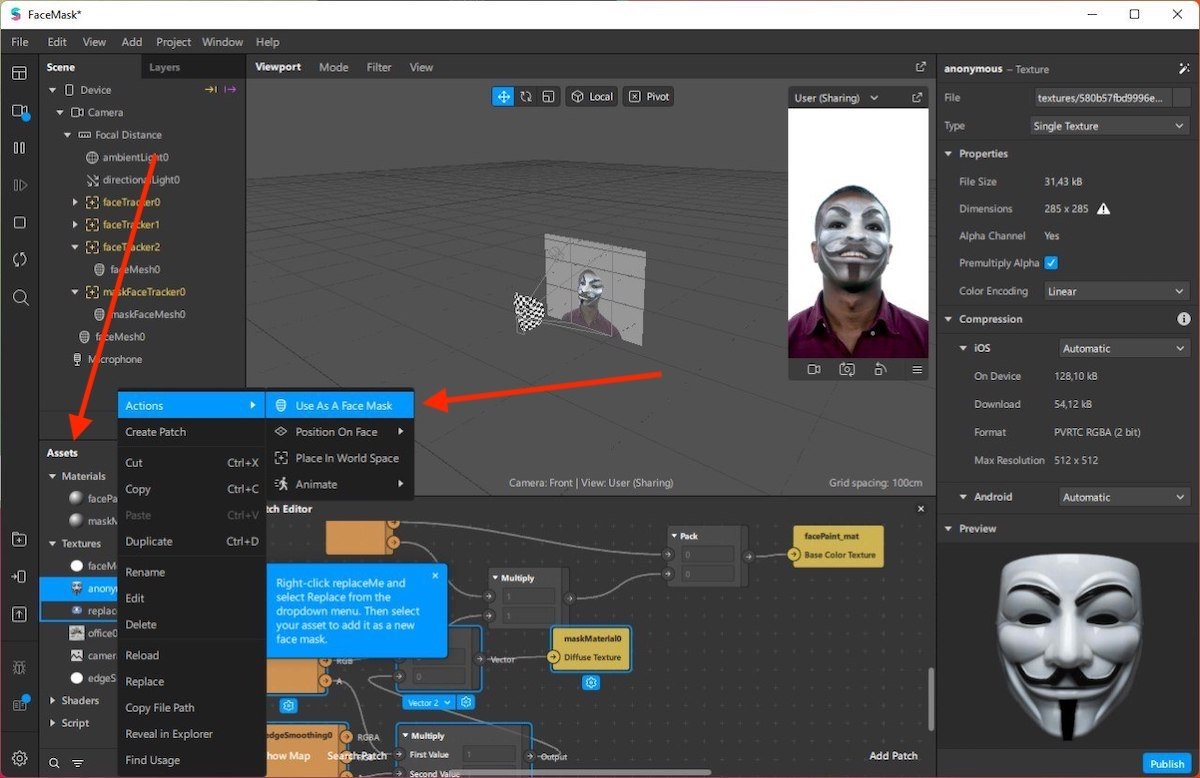 Copy the image to attachments and use it as a mask
Add as many elements as you consider necessary and customize them with the different parameters included on the right side of the window.
3. Create a blank project
In addition to using templates to create filters, it is possible to start a blank project. Simply click on Blank Project.
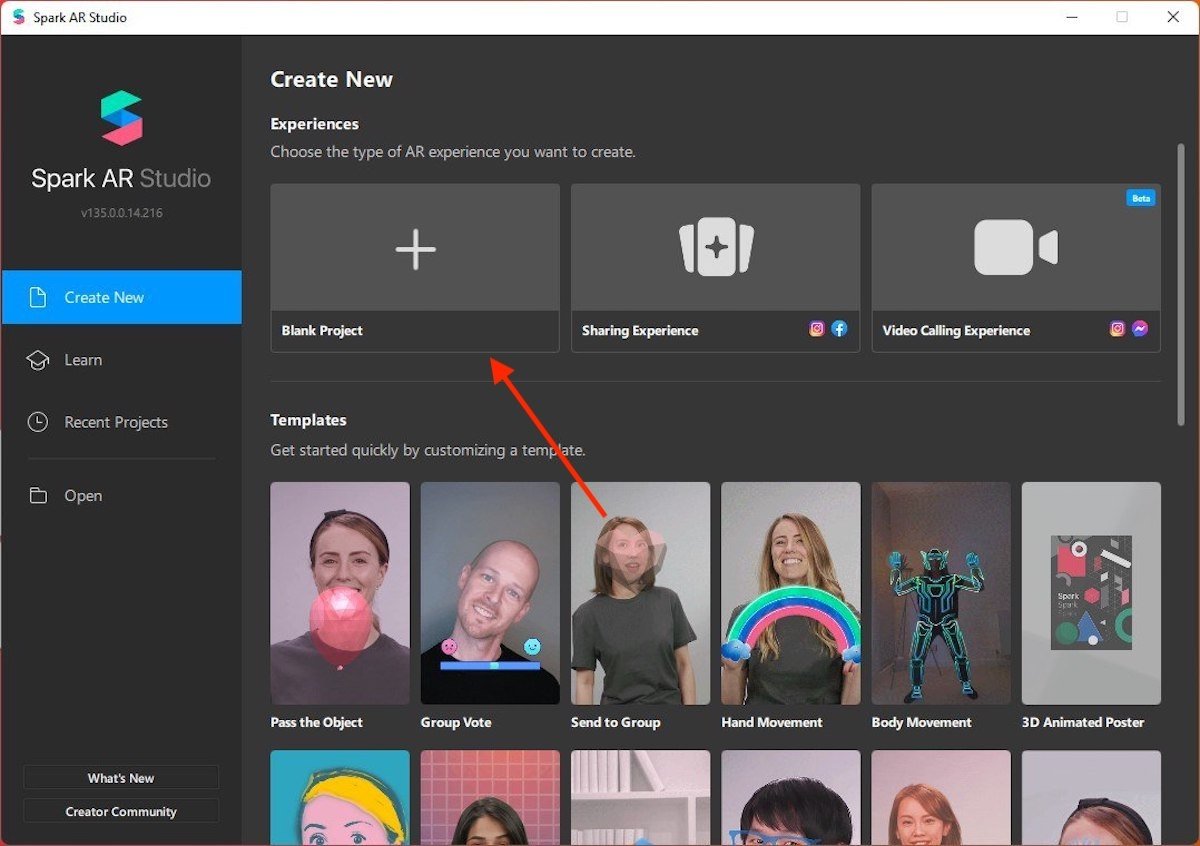 Create a new blank project
Adds an object to the canvas. In our case, we are going to choose a text in three dimensions.
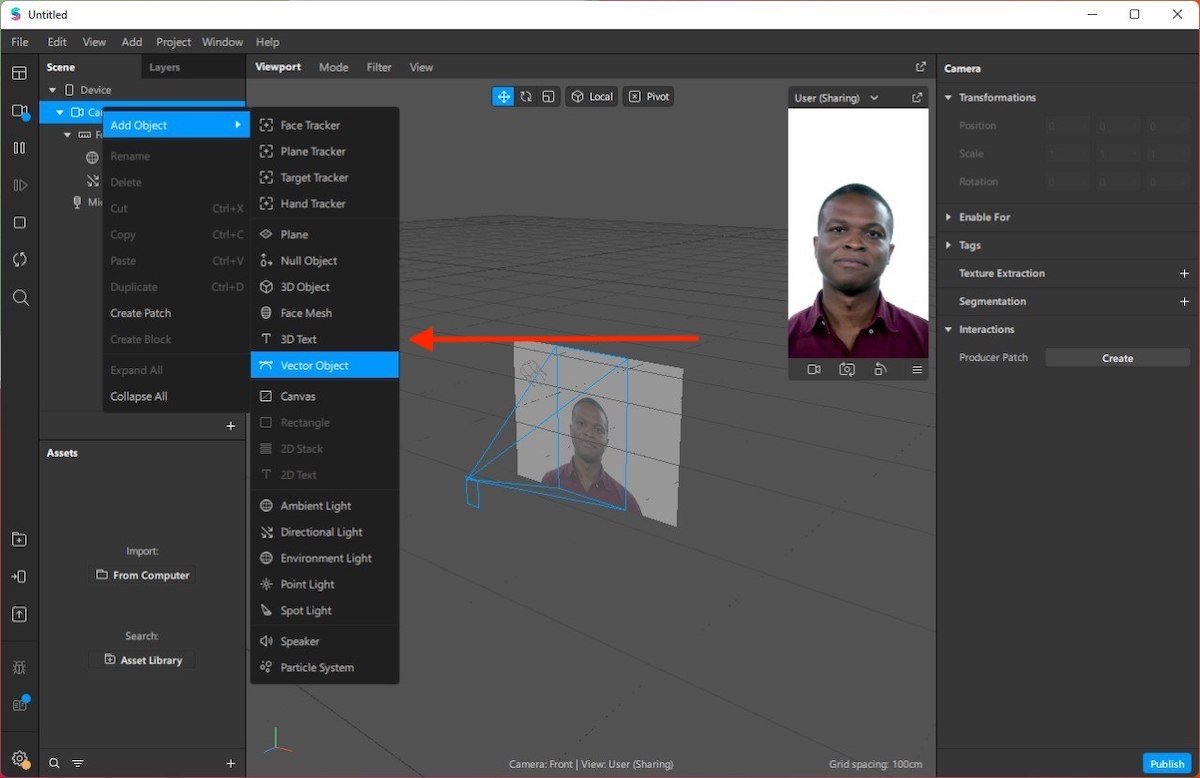 Add a new object
Use the parameters that you will see on the right side of the screen. Change the position of the text, content, or typography. It is even possible to add variables, such as the current temperature or the day of the week.
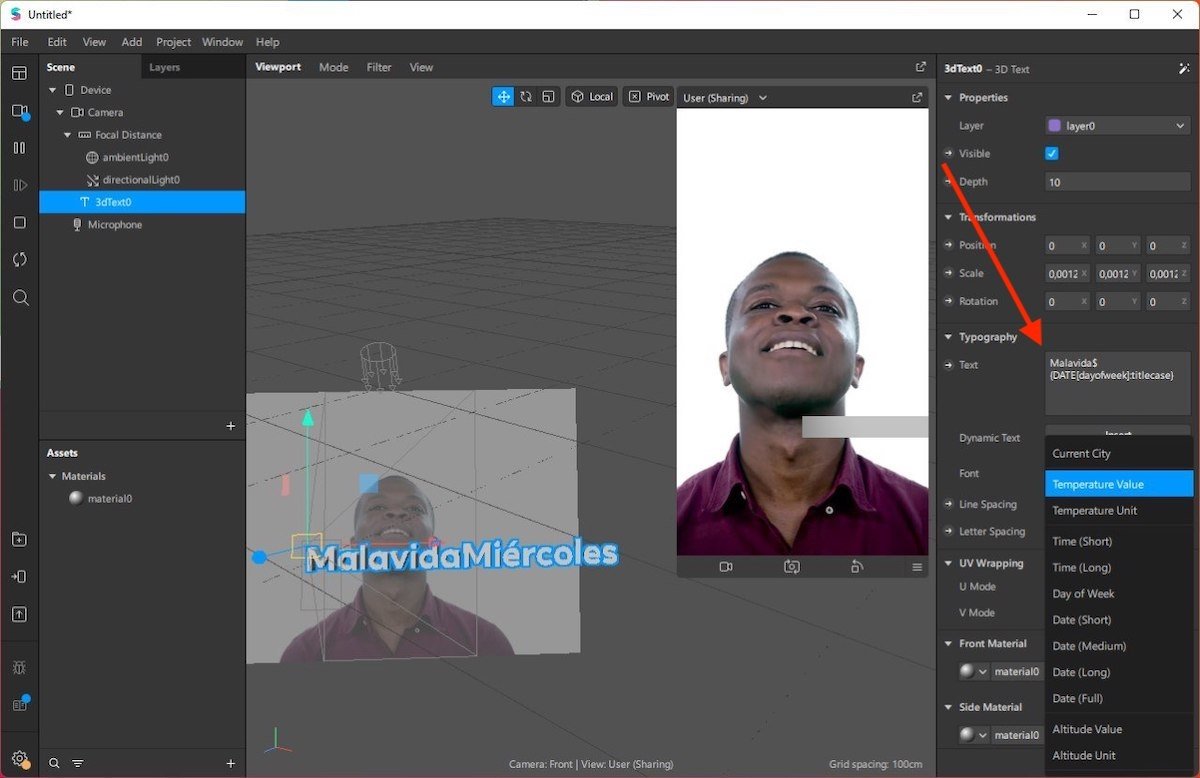 Modify the text’s aspect
In addition to customizing the text, you have options to anchor it to the face of the user or add actions to it. We are going to place the element on the nose of the person, opening the contextual menu, accessing Actions, and choosing the Nose option within Position On Face.
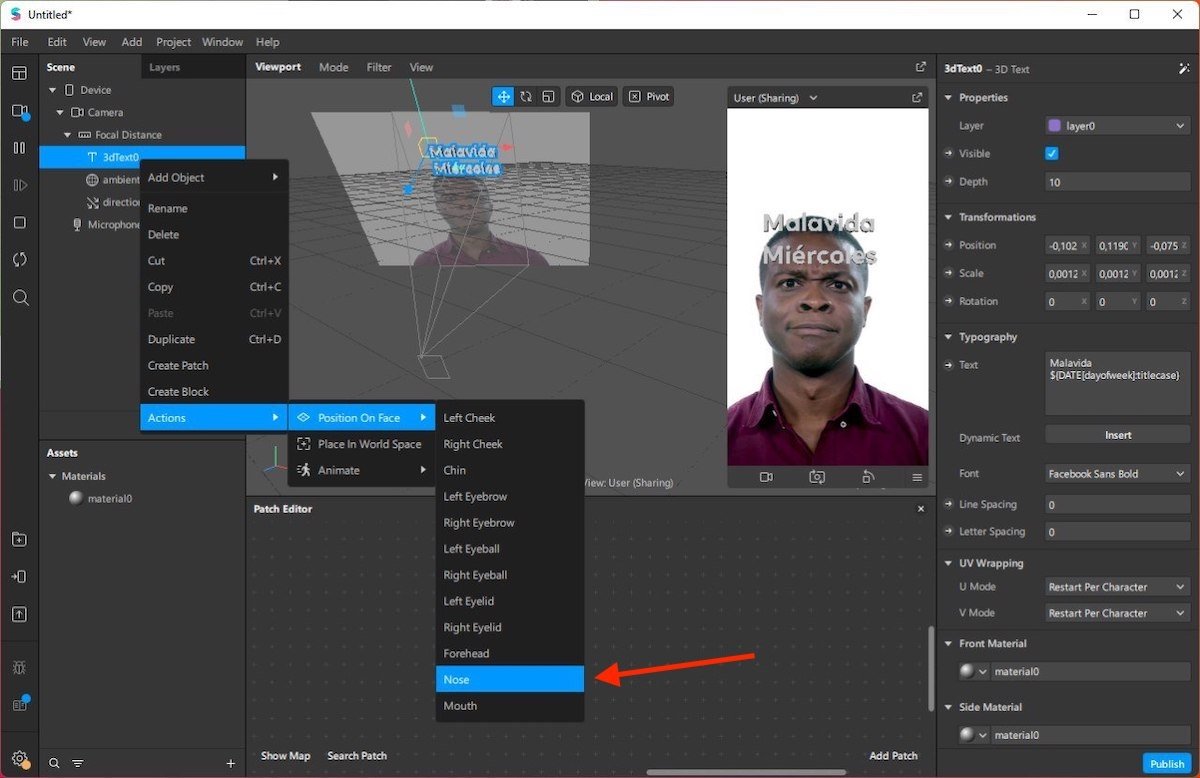 Place the text on the user’s nose
From then on, the movement of the text will be coordinated with the position of the nose of the user.
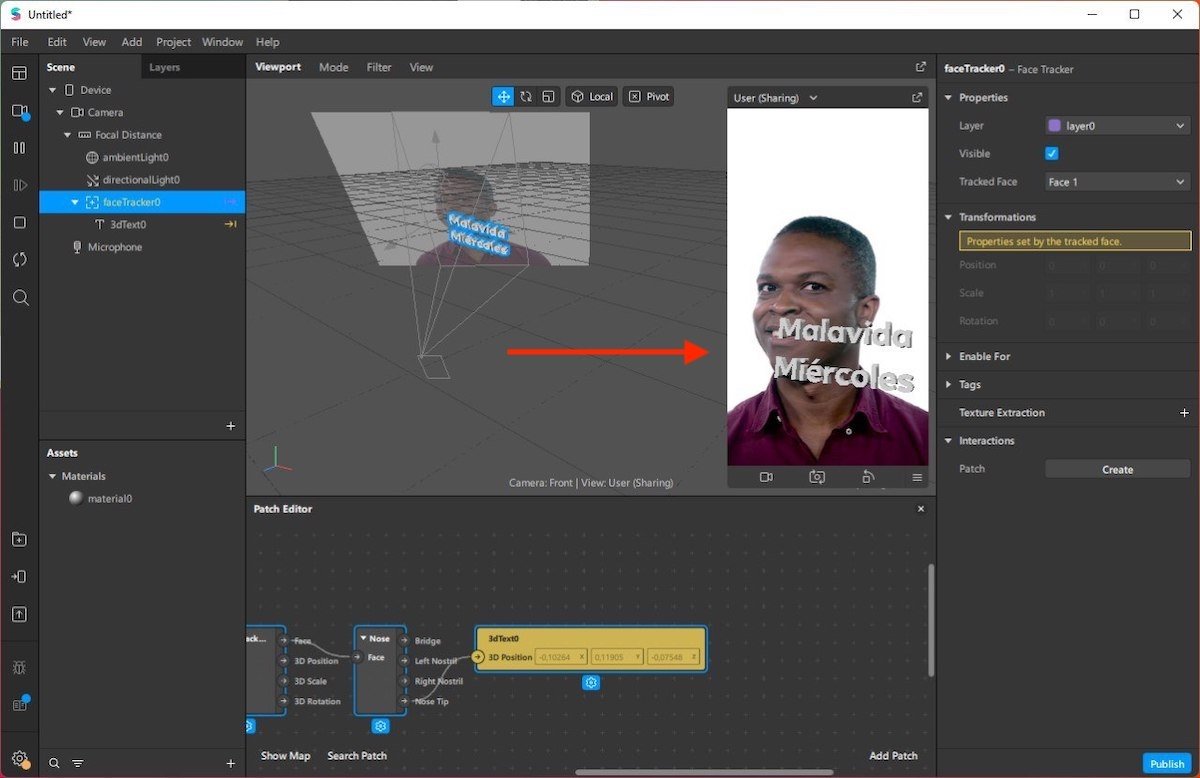 Text moving with the user
Follow the steps mentioned in the previous section to publish your filter when you are done. We recommend that you spend some time familiarizing yourself with the options included in this application to get the most out of it.
4. Export Instagram filter
When you are done, go to File and click on Publish. In the pop-up window, click on Upload.
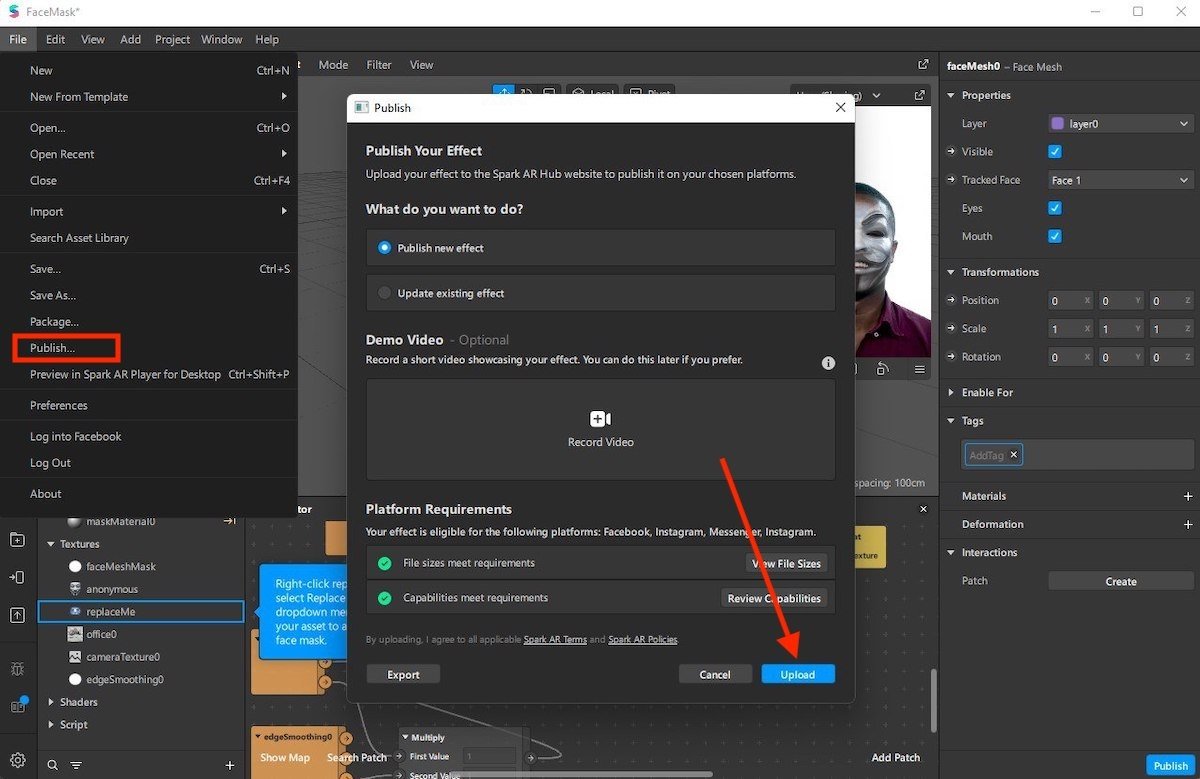 Post the project on the Internet
At this point, the filter has been uploaded to the Facebook servers. However, it is not yet ready for publication. The browser will showcase Spark AR Hub, the filter publishing hub of the company. There, you must assign a name and select the platforms on which it will be available.
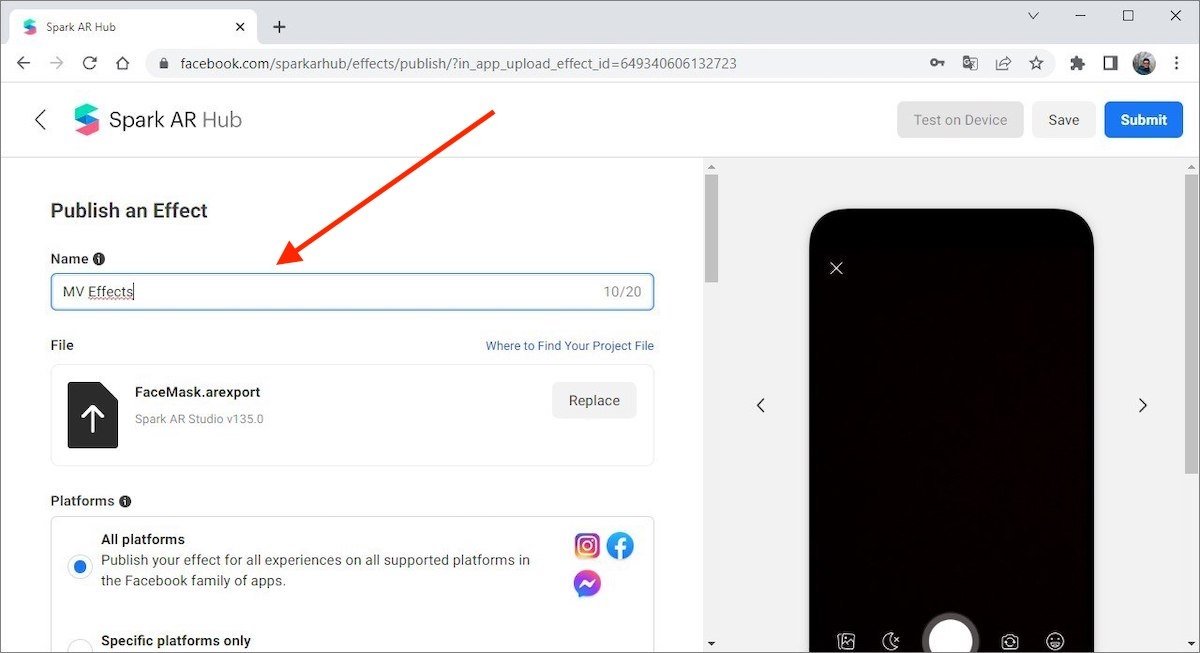 Give the filter a name
Similarly, it is necessary to indicate the categories related to the filter.
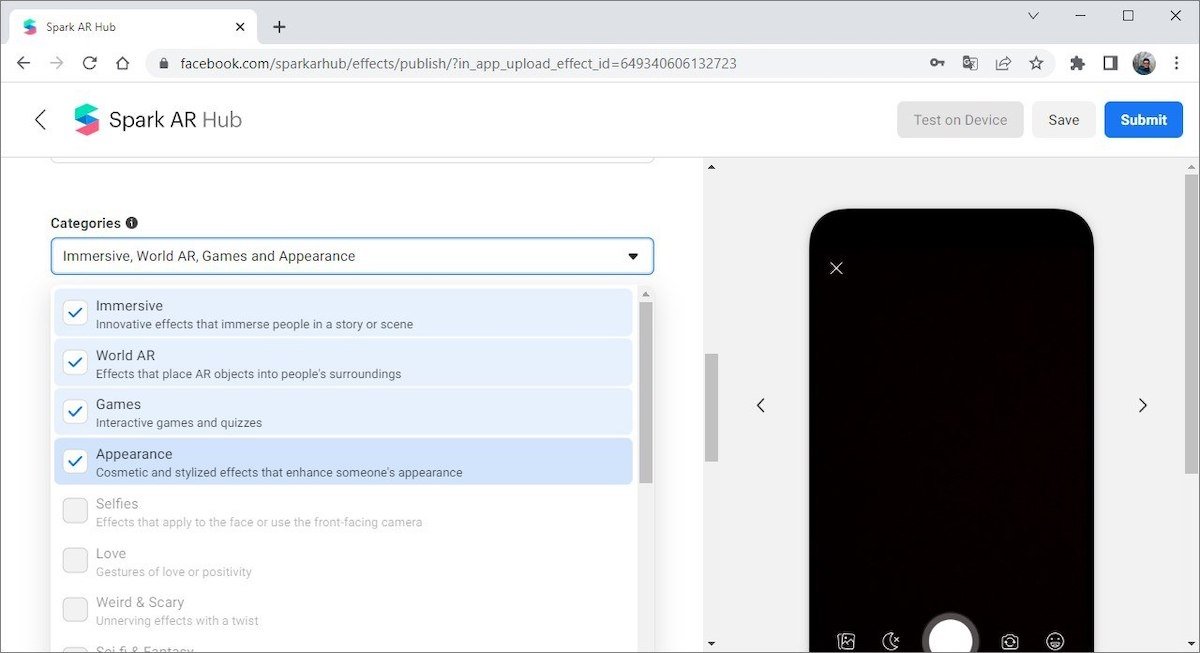 Add the categories
Upload an icon representing the filter. You must also upload a sample video that will let users preview the effect you have created. It must meet these requirements:
- Be a representation of the use of the filter and that it was captured from Instagram, Facebook, or Spark AR Studio camera.
- Not edited.
- Be recorded in portrait orientation.
- Be no longer than 15 seconds.
- Not exceeding 32 MB.
- Be uploaded in MOV, MP4, or WEBM file format.
When you have everything ready, click on the Submit button at the bottom of the page.
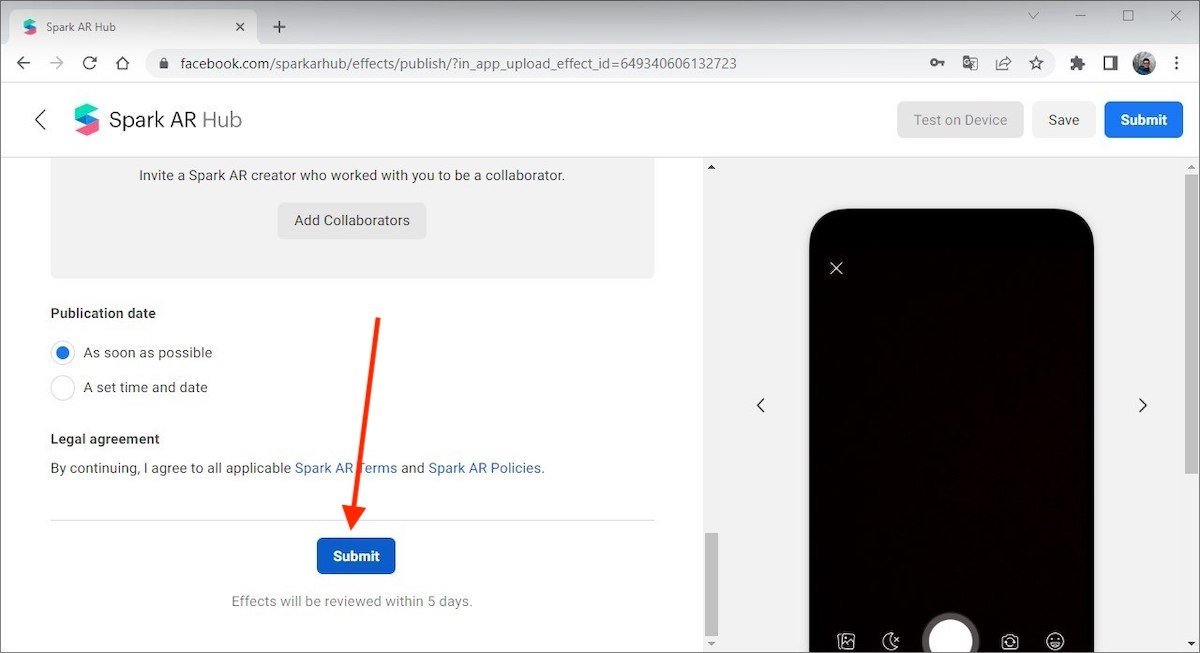 Send the effect to be published
Facebook moderators will review the project, and if it complies with the policies of Instagram, it will be published in a maximum of 5 days.
5. Post filter on Instagram stories
Now, you just need to test your new filter by posting it in one of your Instagram stories and start sharing it with all your friends, acquaintances, and followers. Once your filter is accepted, just search for it in the Instagram filter library. You will be able to apply it when recording videos, in memory videos, reels, boomerangs, and photos, among others. The possibilities are endless!
How to make your own Instagram filter, step by step
- Download and install Spark AR Studio
- Create a new project using templates
- Or create a blank project
- Export Instagram filter and upload it to the Internet for Meta to review
- Post the filter in your stories and share it among followers
