


The preferred social network for photography
What started as an app in which to share photos to which you could apply different touch-ups and filters, ended up becoming one of the most powerful and influential social networks on the planet and today remains as such. We are talking, of course, about Instagram APK, a network from which you can meet people, send messages to other users and feed a profile where you can share images, videos, stories or reels, as well as follow all kinds of influencers, brands, stores and celebrities. Once you download Instagram Android, you'll have access to the fifth most used social platform worldwide, only behind giants such as Facebook, YouTube, WhatsApp and FB Messenger with more than 1.2 billion active users. It is the window used by many of them to show their lives on a personal level, but also to show themselves as a brand, increase the visibility of companies and humanize them with valuable content.
Thus, users, brands and influencers can create a bidirectional relationship focused on showing interesting content for the first ones that ends up bringing interests through sales and visibility to the other two groups. Celebrities, fitness, fashionistas, gamers, tourists, foodies... Whatever the user's interests, they will discover thousands of accounts with which to entertain, learn or consume.
We bring you closer to the people and things that matter to you.
Key features of Instagram APK
Download Instagram Android will grant you access to the following functions and features:
- Post photos and videos that will be displayed on your profile as a grid.
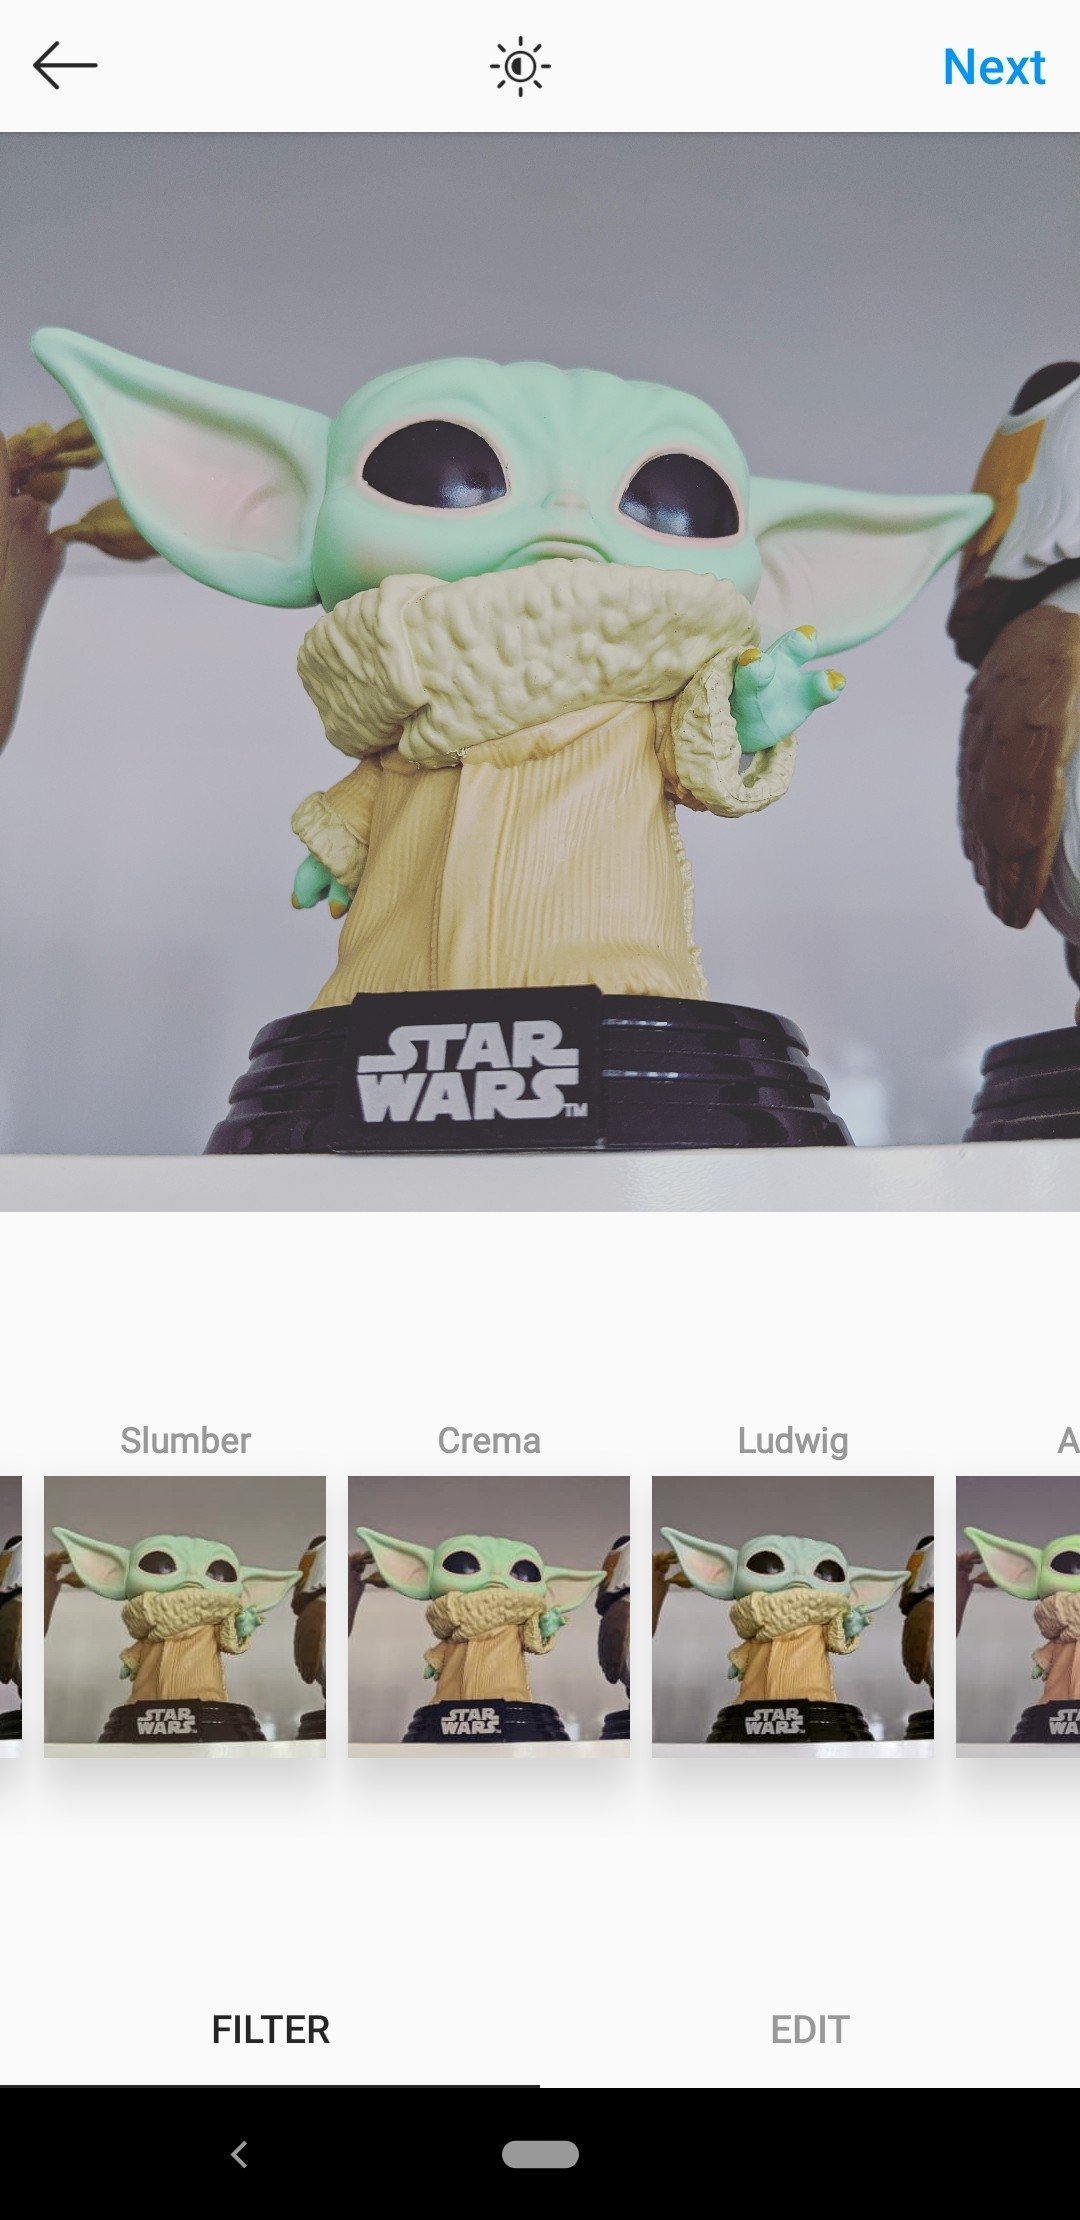
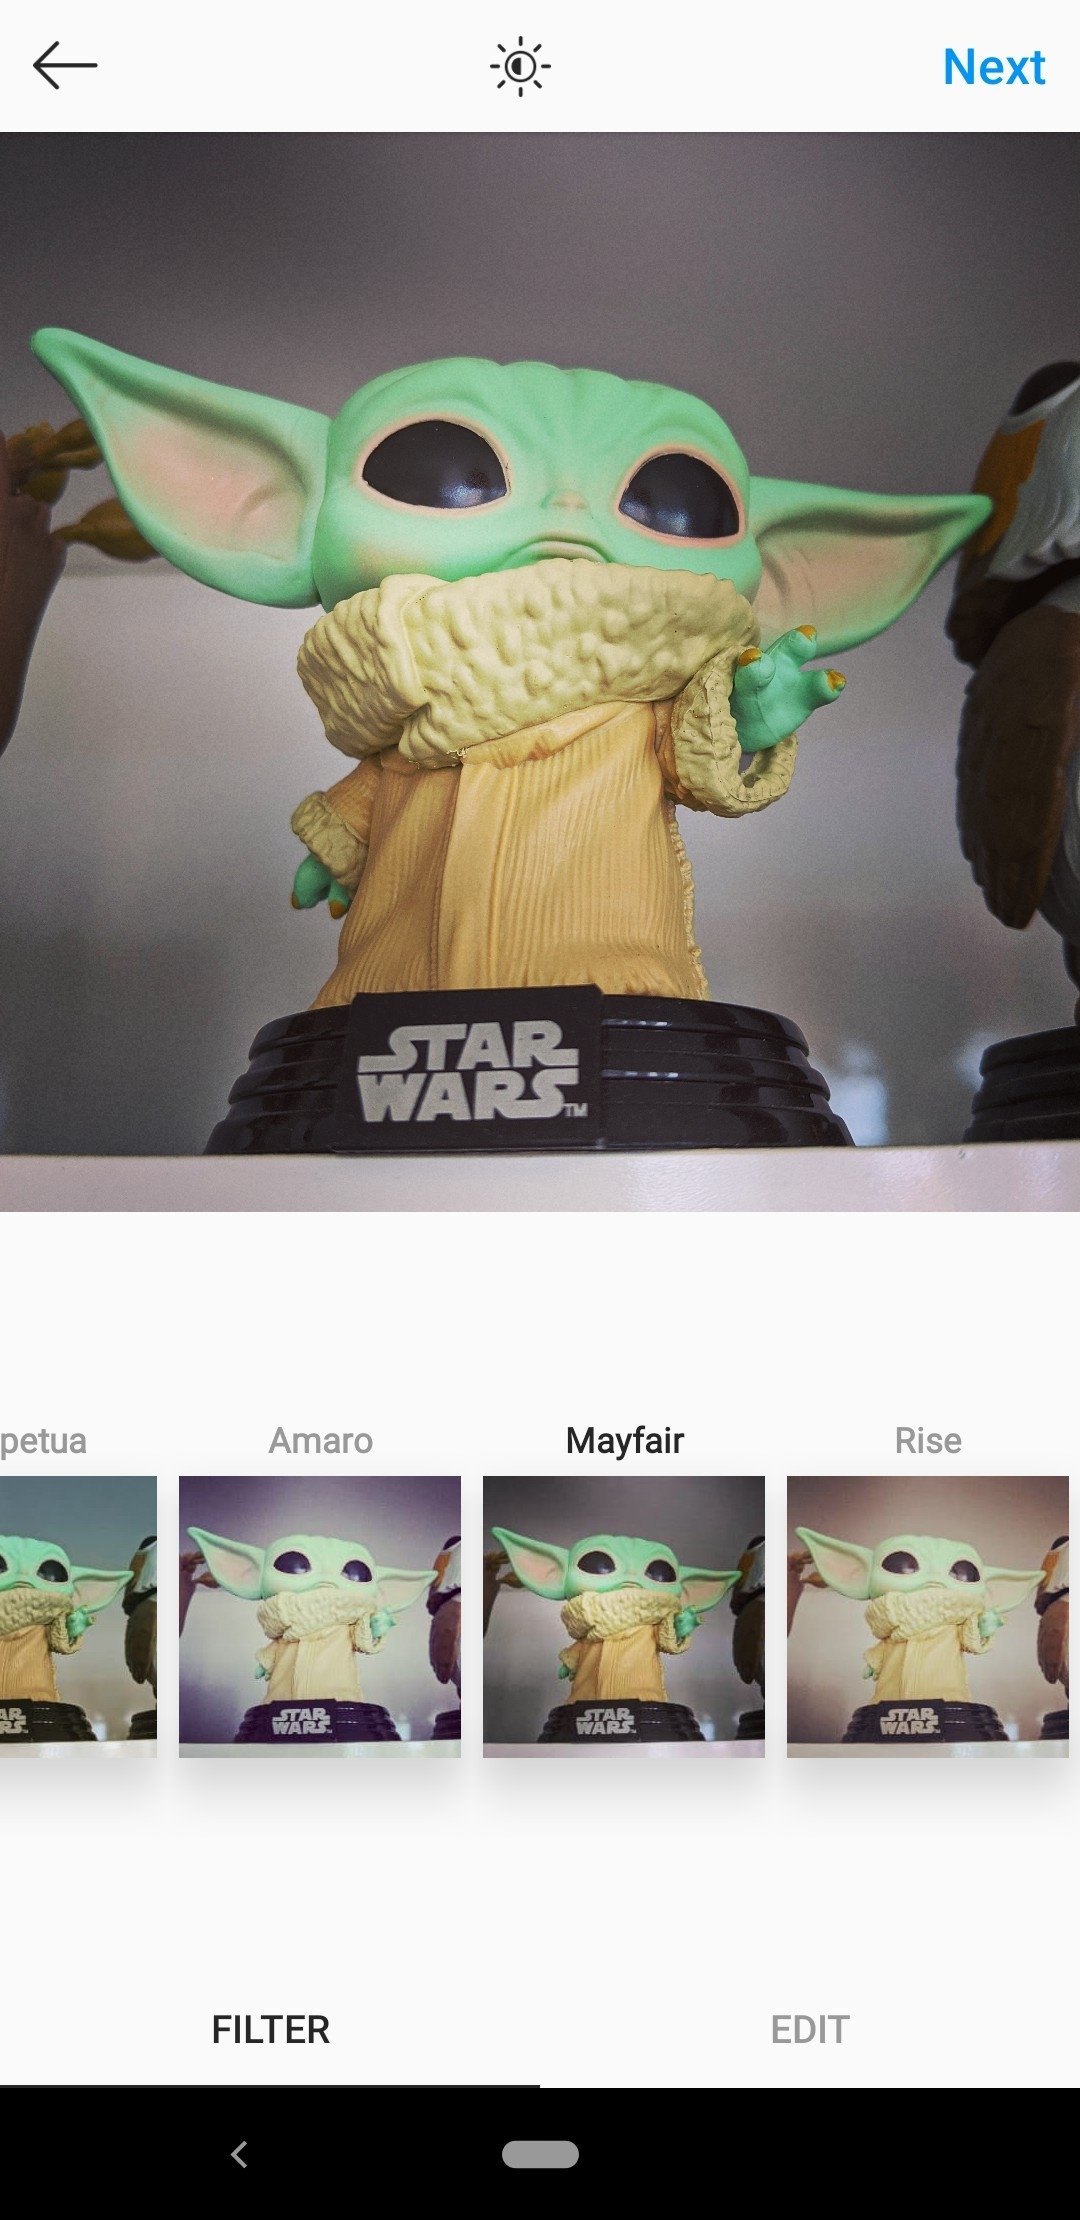
- Creative editing and filter implementation tools.
- Combine multiple video clips into one.
- Share your stories by adding text or using the drawing tools.
- Share with the Stories mode posts that disappear after 24 hours with and use its fun and creative tools.
- Live stream online videos that disappear after the broadcast is over.
- Send temporary videos and photos, text messages or posts from your news feed to groups and friends using the Direct feature.
- Follow the stories and posts of the people you follow and interact with them by commenting or Like.
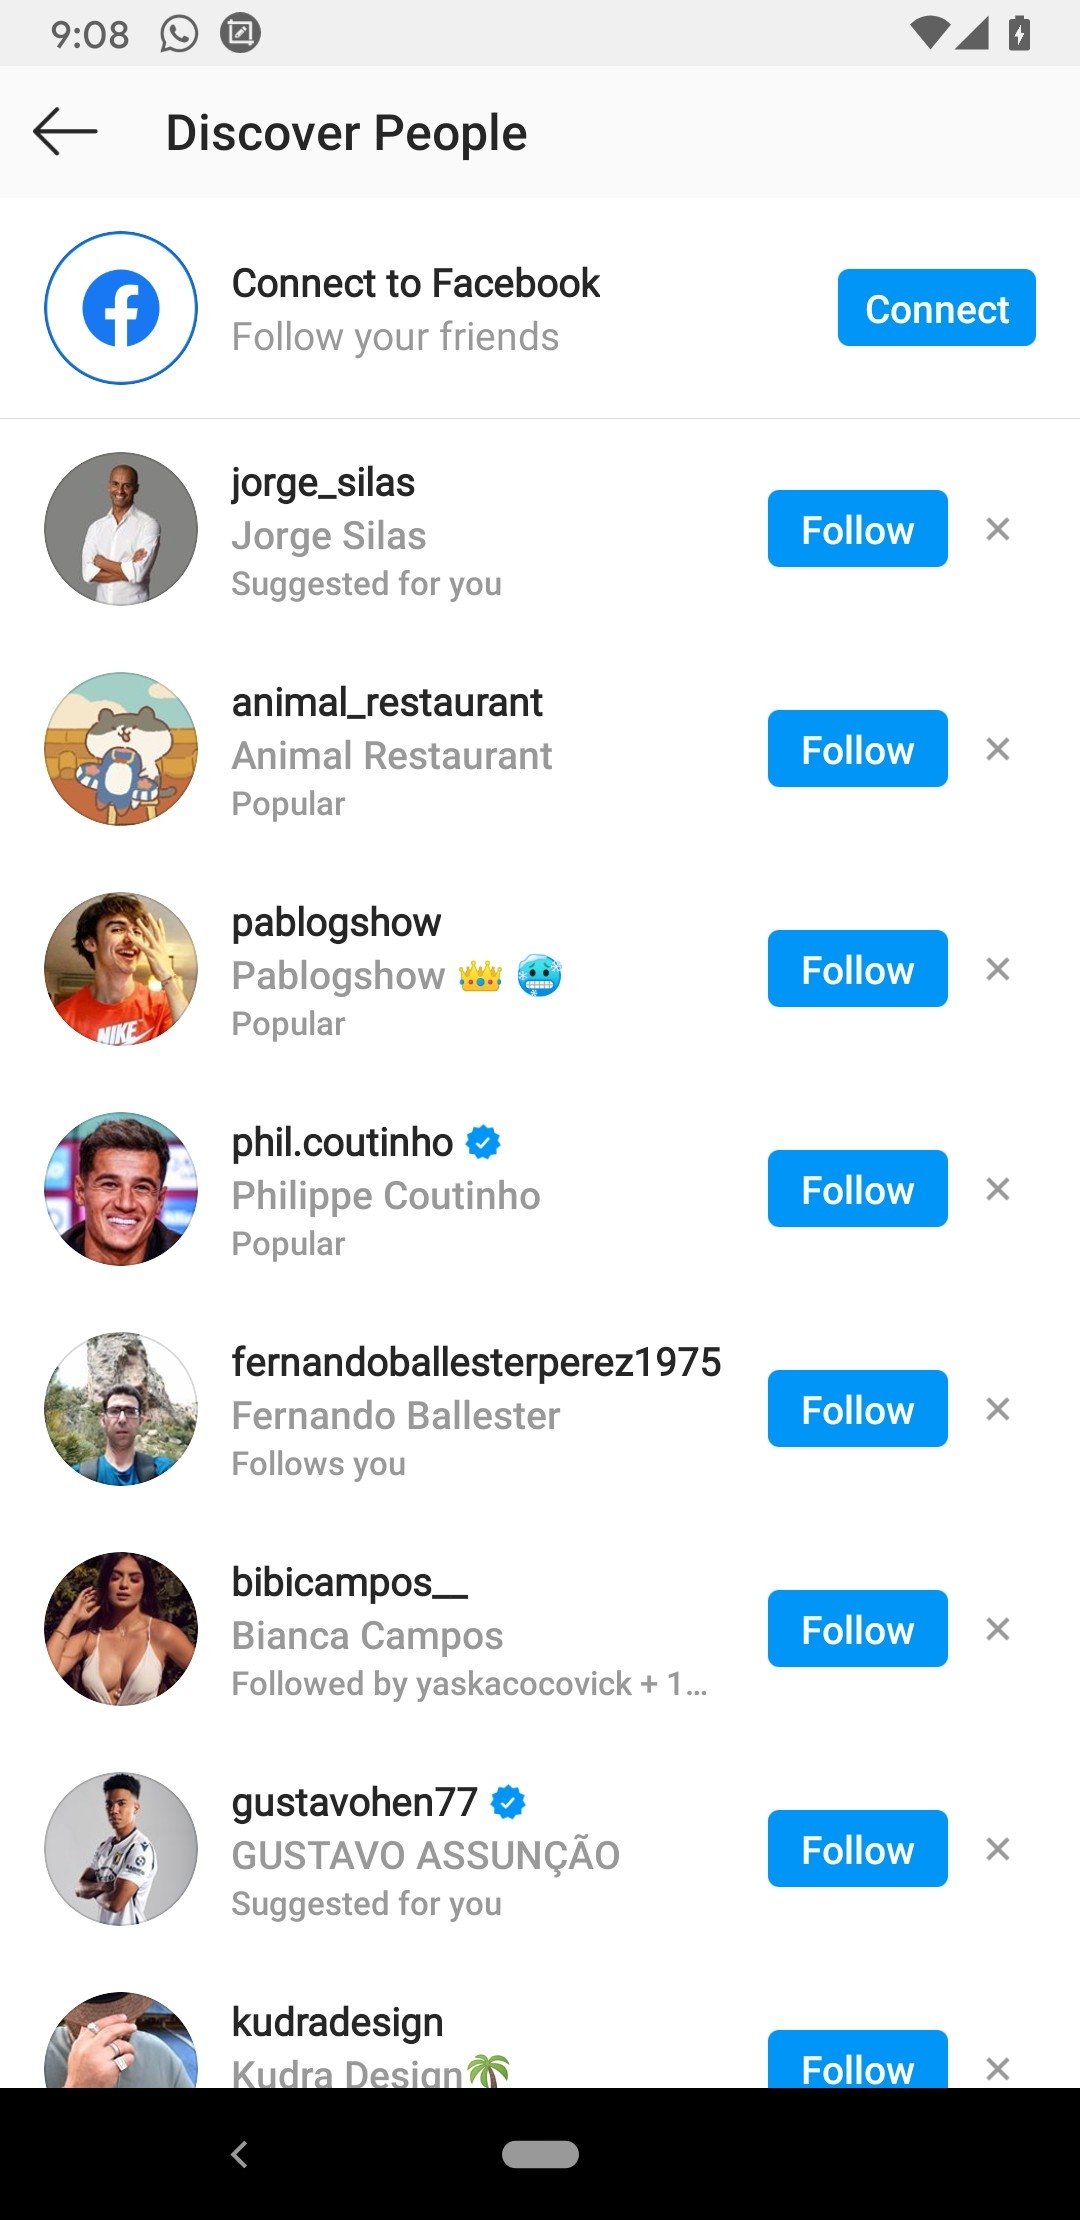
- Discover new users and their stories with the Explore feature.
- Access Reels to watch longer videos from your favorite creators.
- In addition to personal and influencer accounts, this social network includes profiles of brands and small businesses to buy products from.
Express yourself and connect with friends.
From Instagram you can connect with friends, share everything you do with the rest of the world and check all the news of acquaintances, celebrities, and influencers. This social network is chosen by millions of users to share every highlight of their lives.
Requirements and additional information:
- Minimum operating system requirements: Android 9.0.
- Offers in-app purchases.
 Antony Peel
A Telecommunications Engineer, chance led me to the translation industry, where after a few years, I discovered another side of the world of technology while translating what others were writing about mobile applications and software. That...

Shay O’Toole
Instagram Tips & Tricks