


Google's official email
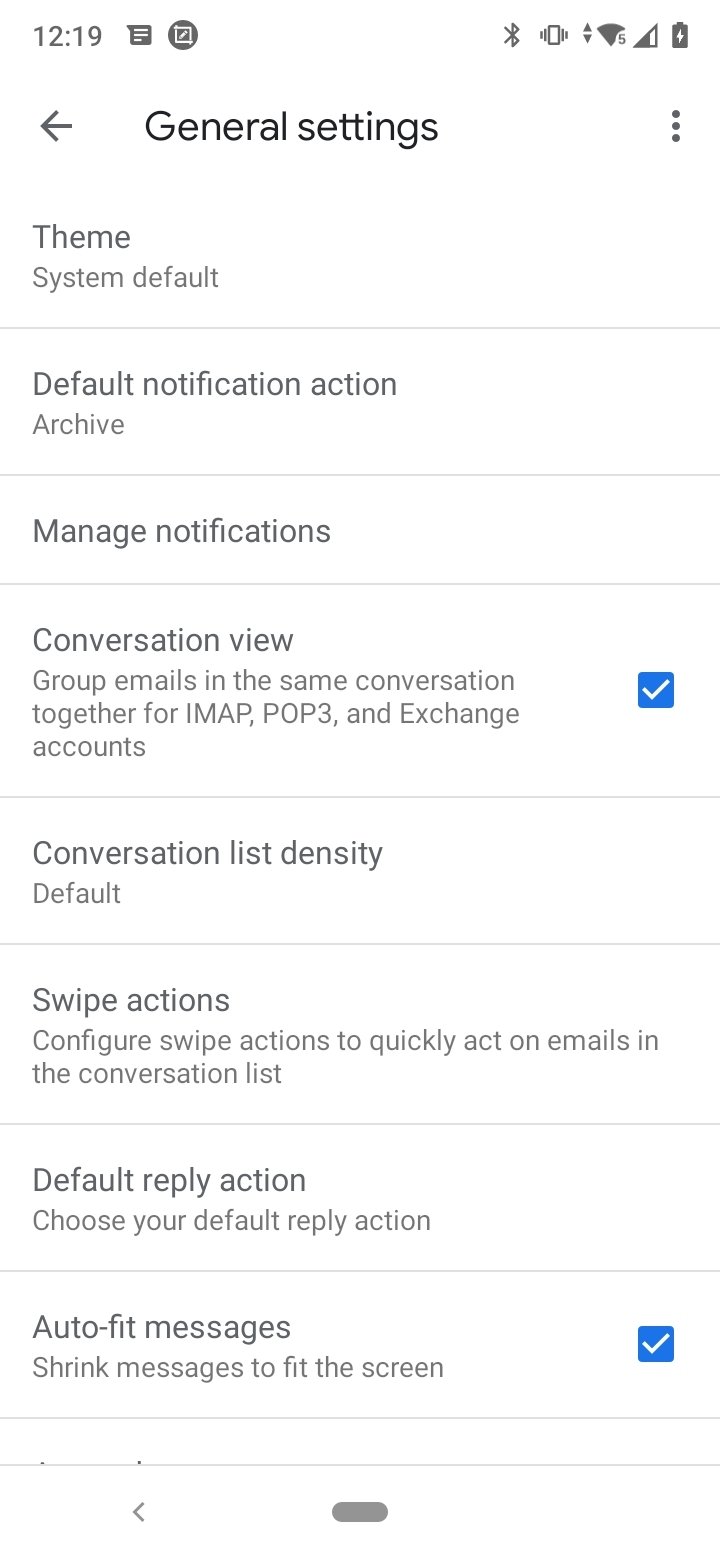
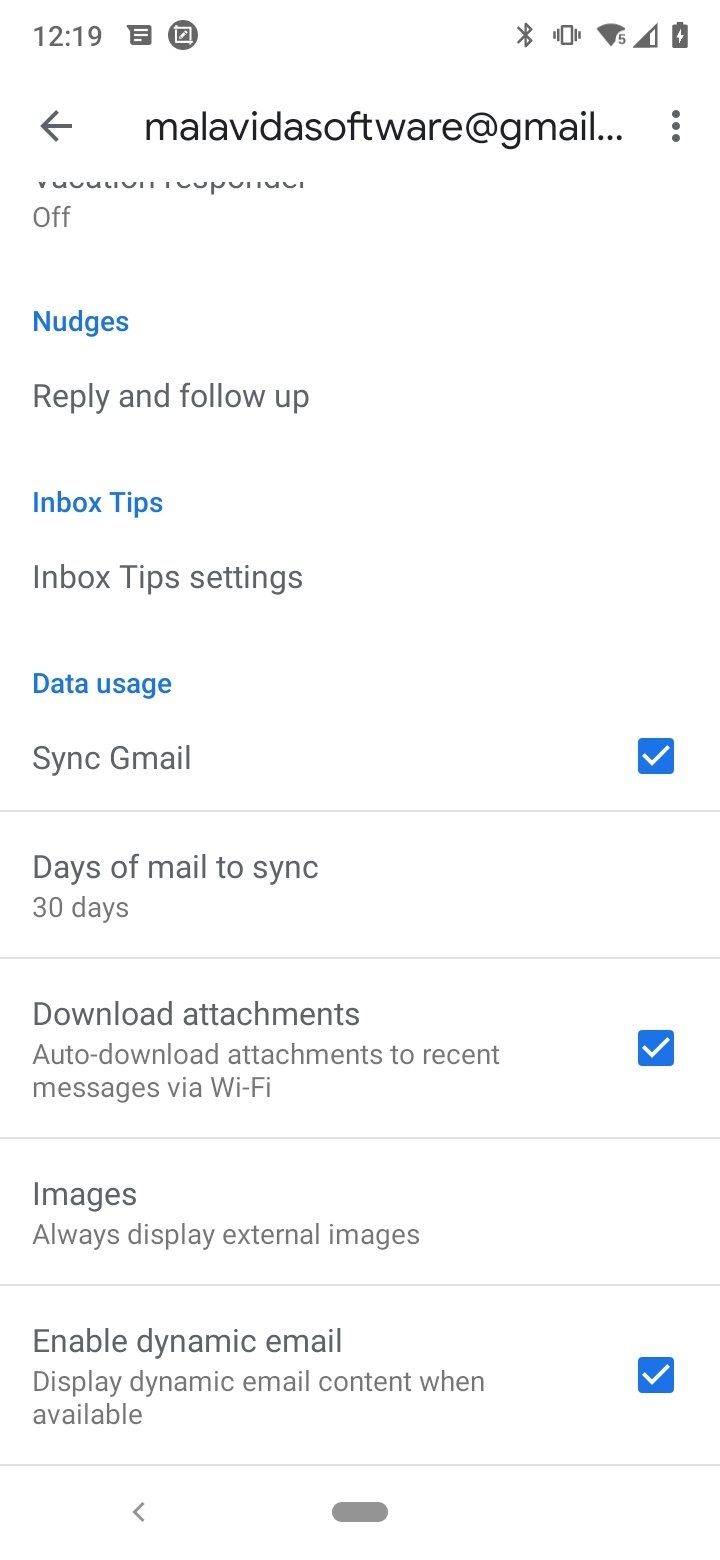
Gmail APK, Google's Android mail app, is an extremely easy-to-use service that protects users, their data, and the content of their emails. From the app, users can access their account from a view that has been optimized for their device to receive, read, and reply to all messages in the most efficient way possible. Once you download Gmail Android, you'll have a clean view of the account content. Emails are organized by categories and tha app lets you manage them with simple gestural movements. At the same time, its configuration options allow you to manage all messages easily. Here are its main features.
Receive your messages instantly with push notifications, read, and reply.
Main features of Gmail APK
Download Gmail Android to access the following features and functions:
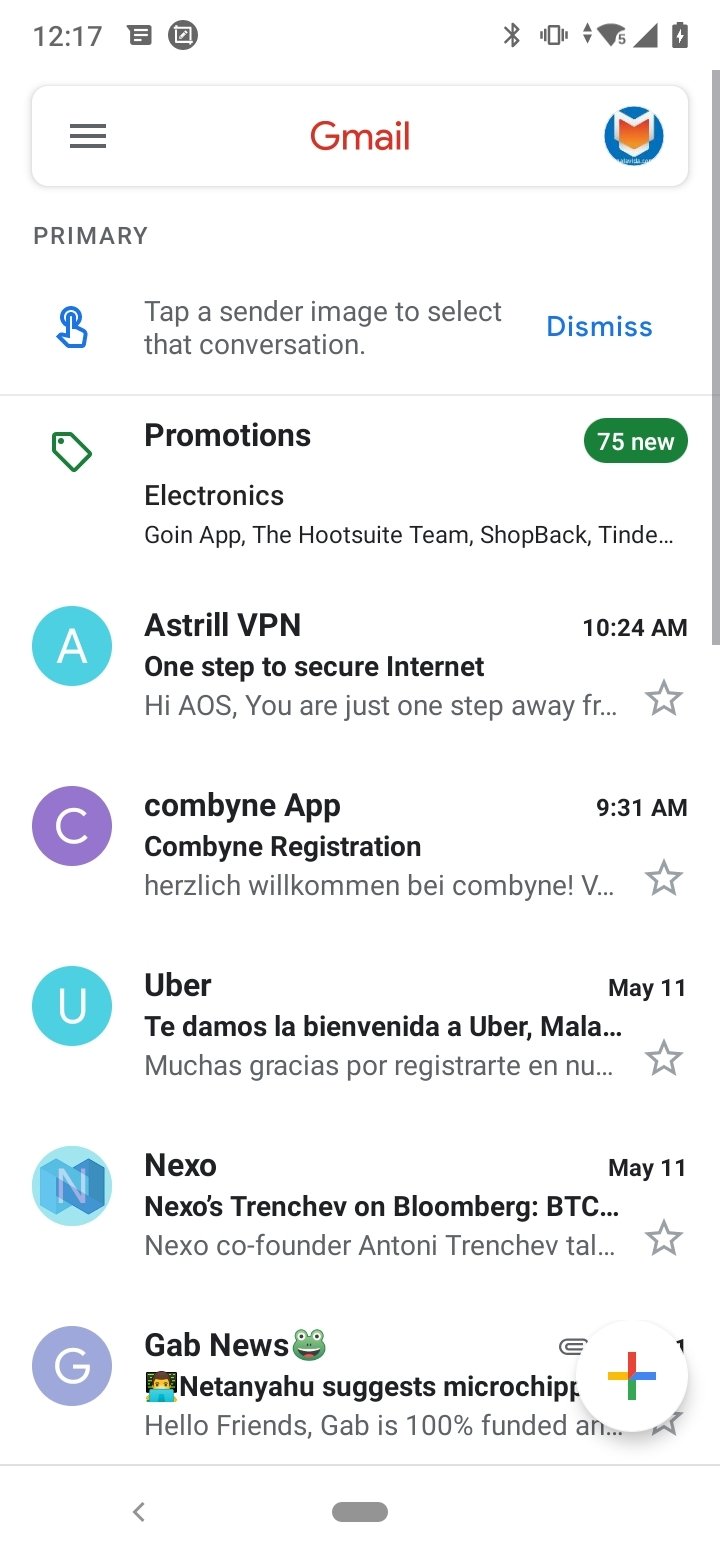
- Tidy inbox with messages organized in different categories based on their type and origin.
- Advanced spam filter.
- 15 GB of free storage space.
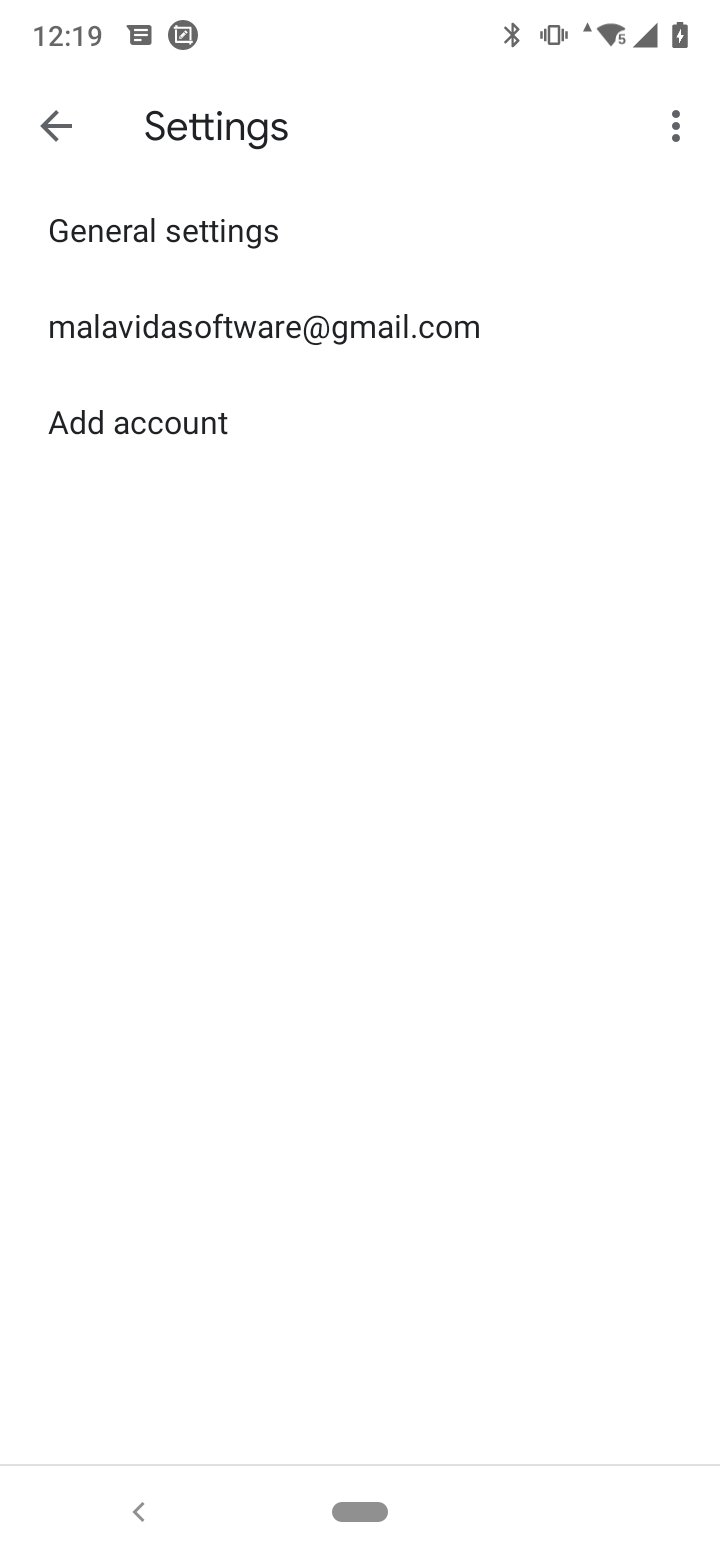
- Support for multiple accounts.
- Compatibility with different accounts: you can use Gmail addresses from other providers such as Outlook.com, Yahoo Mail, and other mail using IMAP/POP protocol.
- Push notifications.
- You have 5 seconds to undo when you send an email by mistake.
- It includes a chat to talk directly with contacts individually or in groups.
- High-quality video calls.
- Smart response suggestions when users compose an email.
- Integrated email search engine.
- Multiple accounts can be set up and accessed from the same client.
- Users can install Gmail and access their accounts across all their devices.
- Gmail accounts also provide the credentials to access the rest of the Google ecosystem of services and applications such as Maps, YouTube, Google Drive, Google Chrome, Google Calendar, Google Images, etc.
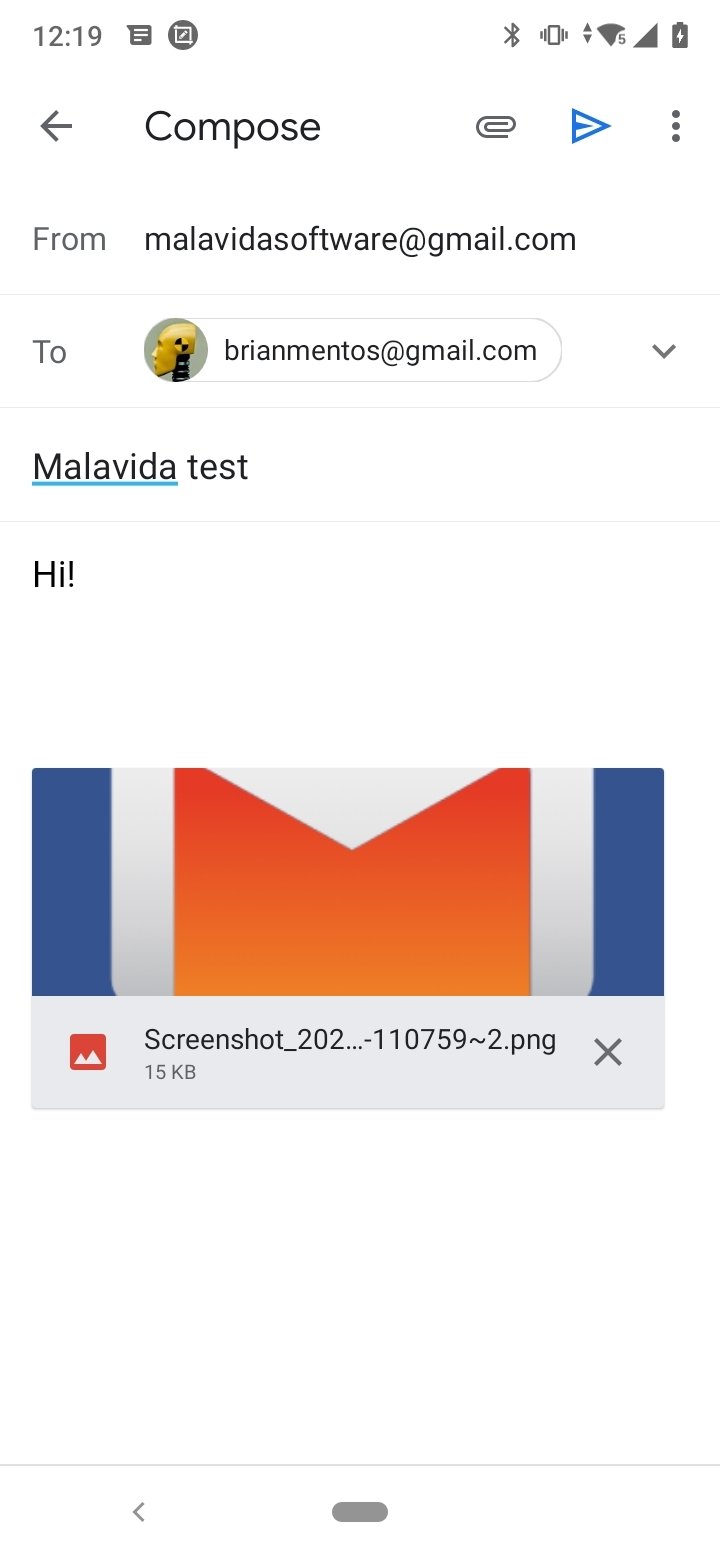
Not to mention that users can perform the basic actions: compose mails, read, archive, reply, forward, mark unread, mark as starred, add custom labels, and send to the spam folder.
What's new in the latest version
- No changelog available for the latest version.
Requirements and additional information:
- Minimum operating system requirements: Android 6.0.
 Elies Guzmán
With a degree in History, and later, in Documentation, I have over a decade of experience testing and writing about apps: reviews, guides, articles, news, tricks, and more. They have been countless, especially on Android, an operating system...

Susana Arjona
Gmail Tips & Tricks