
Among the administration utilities of Windows 10, we find the disk manager. This complete tool will help you manage your computer storage without many complications. In this article, we focus on creating partitions and explain how to create one to divide your hard disk into several drives.
The first step is to access the disk manager. To do this, click on the Windows key and type create and format hard disk partitions. Choose the first result.
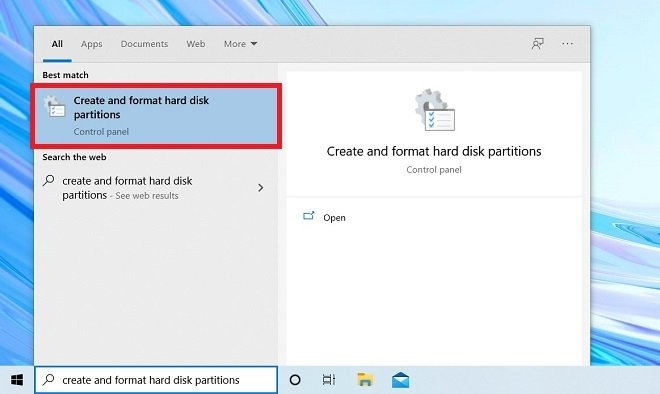 Open the disk manager
In the list of disks and partitions, choose the partition you want to divide. In this case, we will use the system unit. Right-click on it and select Shrink Volume.
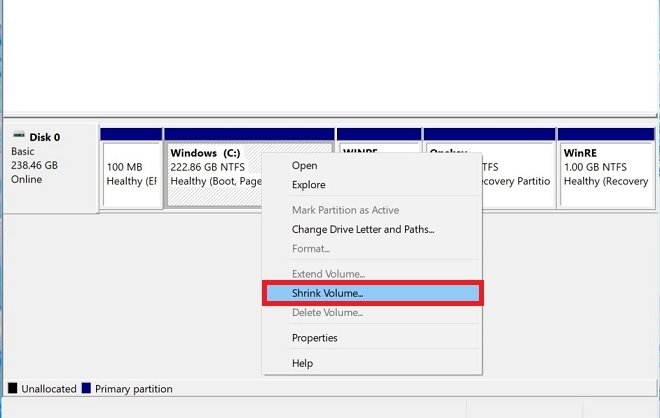 Reduce the volume
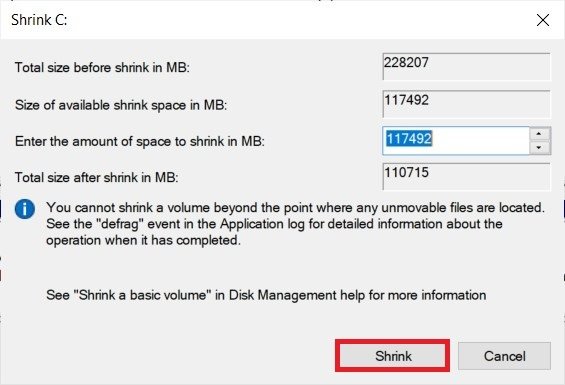
In the numeric field, specify the capacity of the new unit. By default, Windows lets you separate the maximum space without compromising the files already in the original partition. Once you have defined the total size of the new partition, click on Shrink.
 Space to reduce
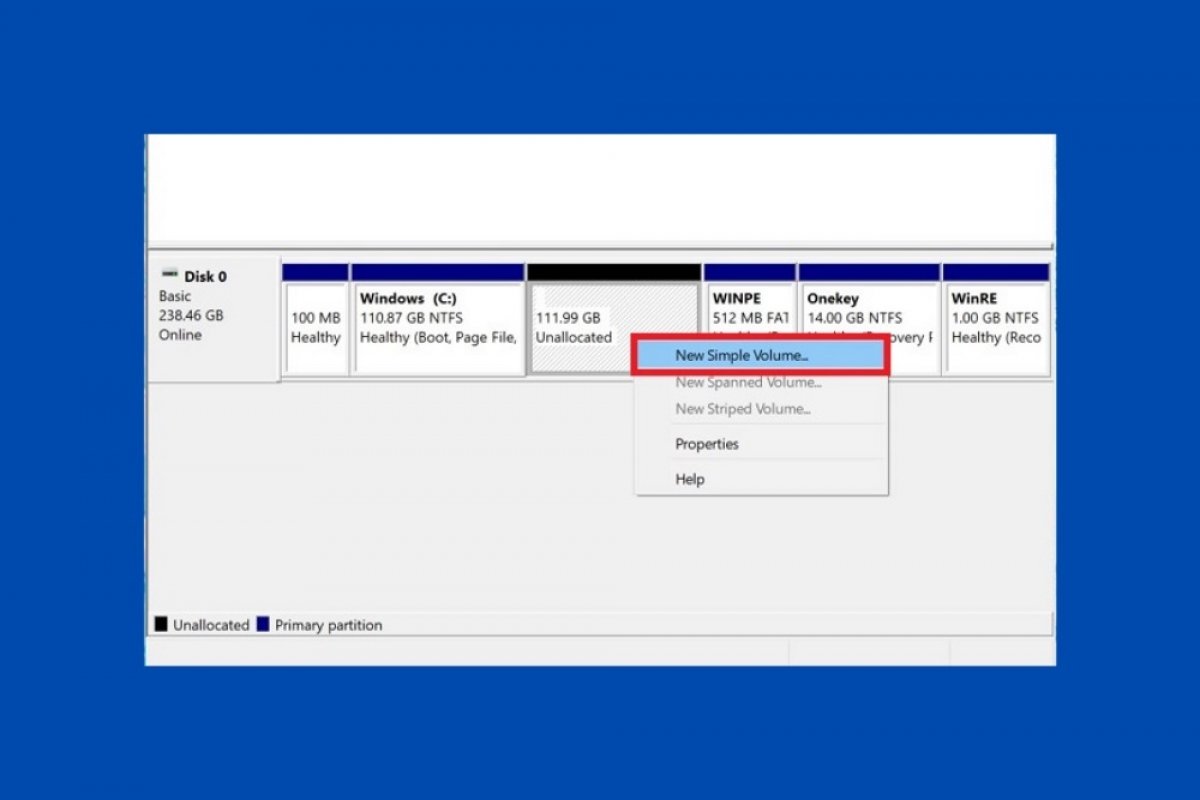
Now, you will have unformatted space on the disk that you can use to create a new partition. This space is identified by the label Unallocated and is black. With the right mouse button, open the options menu and click on New Simple Volume.
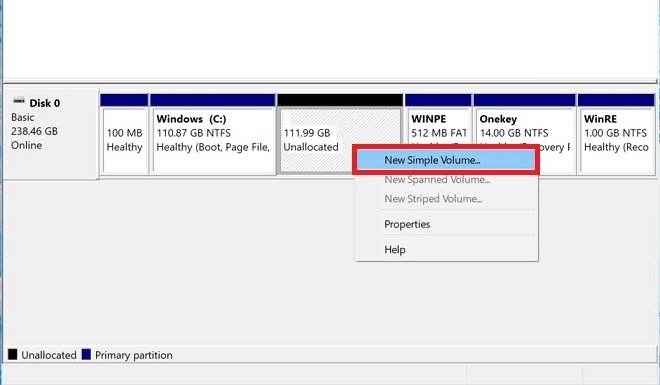 Create a new partition
Use the wizard to create a new partition. First, choose the size of the new unit. Click Next to continue.
 Choose the size of the new partition
Assign a letter to the new partition to serve as an identifier. Use Next to continue.
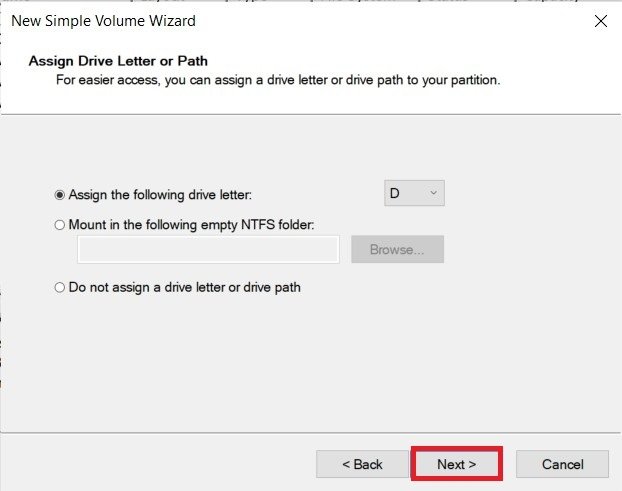 Assign a new letter to the drive
Finally, select the file system and assign a name. Click on Next to continue.
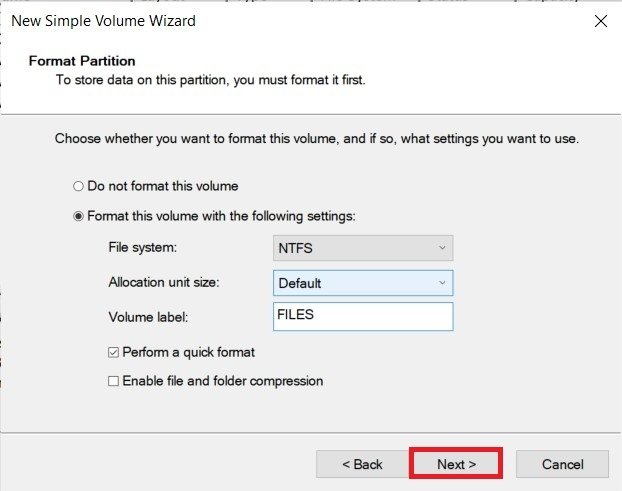 Name of the new unit
After the process is complete, go to the file browser and check that the changes have been applied correctly.
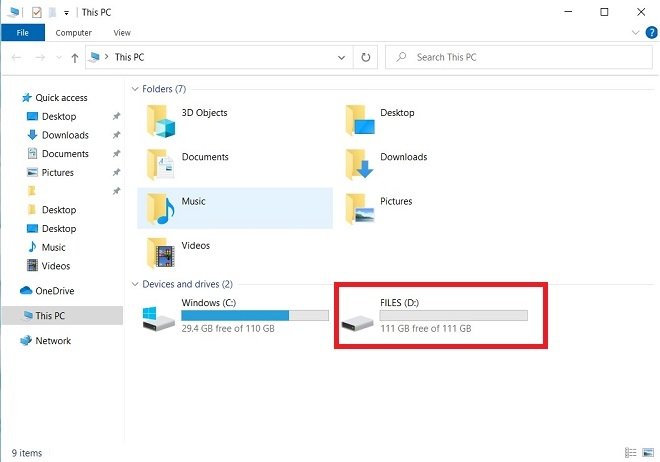 New unit in This PC
From this point on, you can use each partition for different purposes, such as installing applications or storing your important documents.
