
Usually, each Windows user has their own password. However, in some specific cases, it may be practical to eliminate this authentication method for faster start-up. The easiest method to achieve this is explained below.
First, access, using the shortcut you have in the start menu, the system configuration.
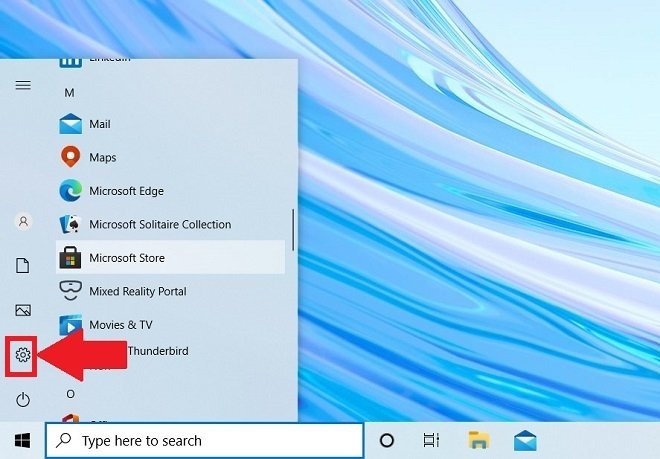 Access the system’s settings
Then, select Accounts to open the account settings.
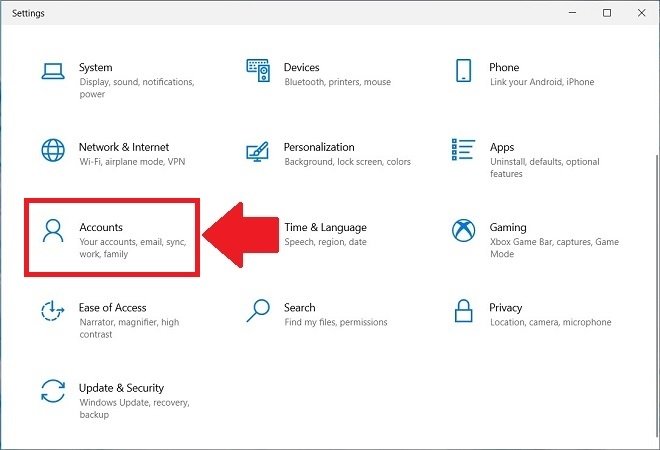 Account configuration
Now, open the Sign-in options section and click on Password. When this is done, a button called Change will be displayed. Use it to change your password.
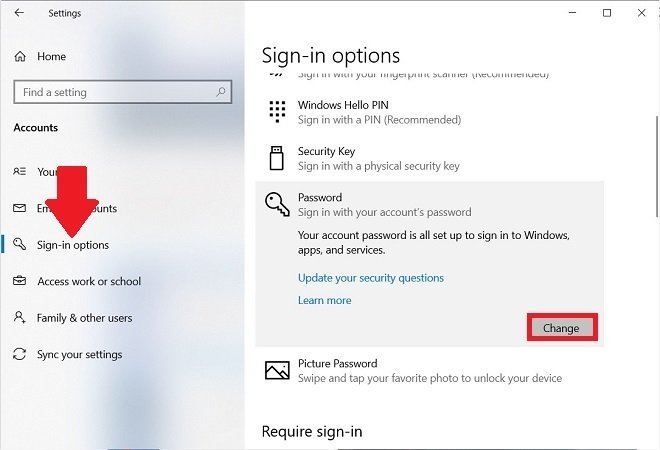 Login settings
In the window that will appear, enter your current password. To continue, click on Next.
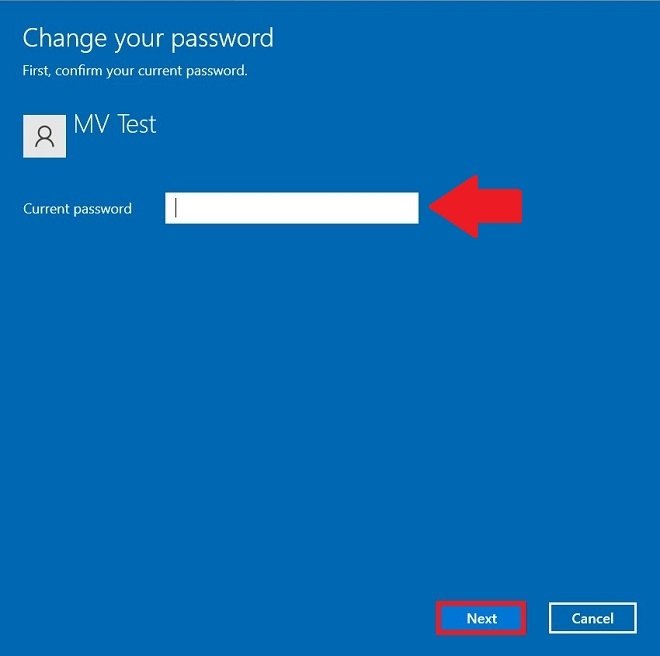 Type in your current password
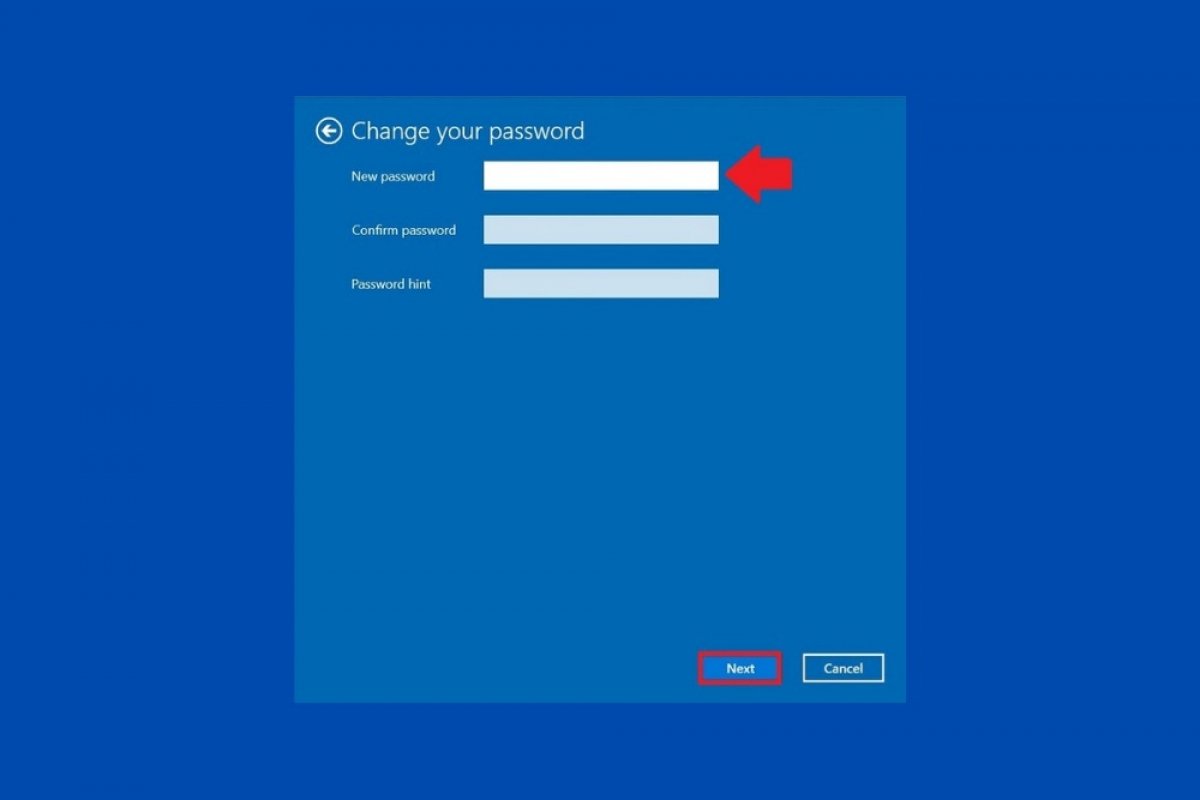
Now, it is time to remove your password. Windows will ask you to enter your new password. Leave all text fields blank and click Next.
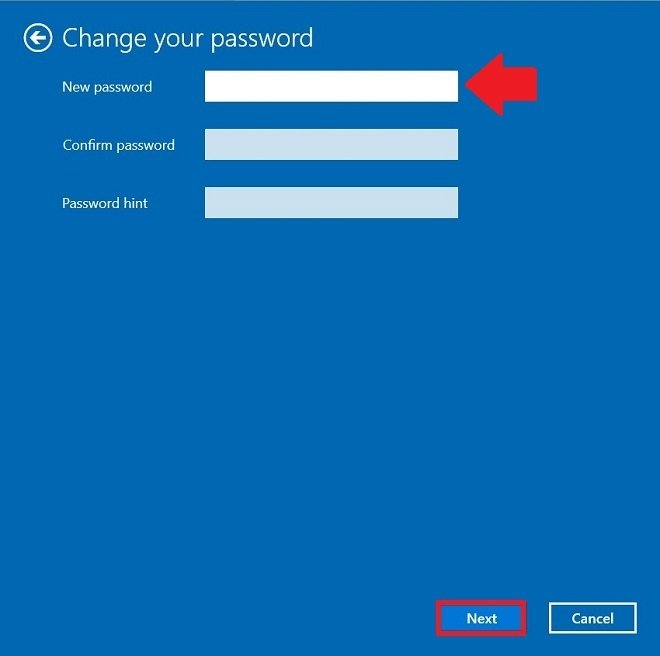 Leave the new password blank
Confirm the changes and close the wizard with the Finish button.
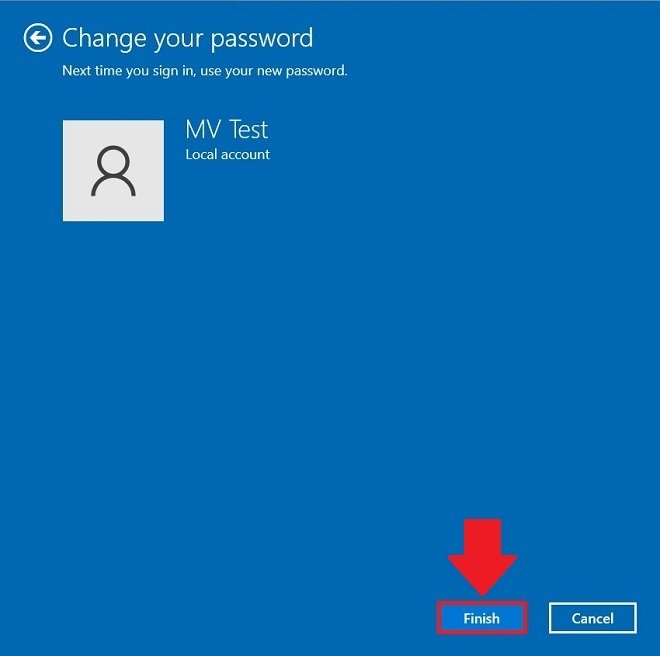 Confirm the new password
From now on, your user will no longer be protected by a password. If there are no more users on the computer, Windows will log on automatically. This is a drastic solution, and therefore, we recommend that you only apply it if you are sure that nobody can access your computer or if it is a test equipment.
However, if you want an intermediate solution, you can ask Windows not to ask for the user password when it is activated after being suspended. To do this, access the configuration again, and in the section Sign-in options, scroll through the list of options until you find Require sign-in. Set the value of the drop-down list to Never.
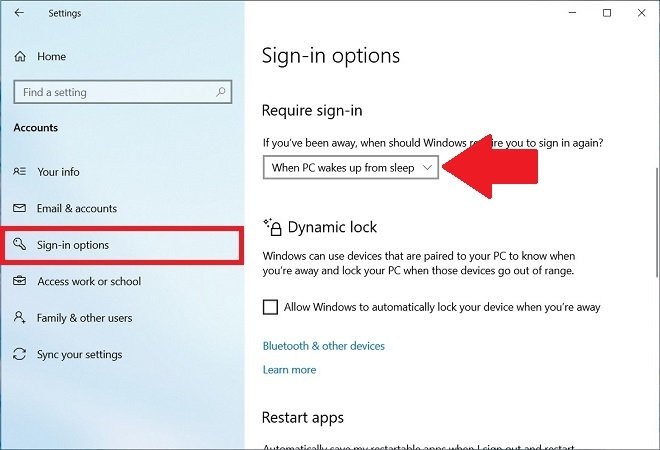 Disable the password after suspension
This way, you will be able to keep the password of your account, and at the same time, that Windows does not ask for it. Remember to suspend your computer instead of turning it off.
