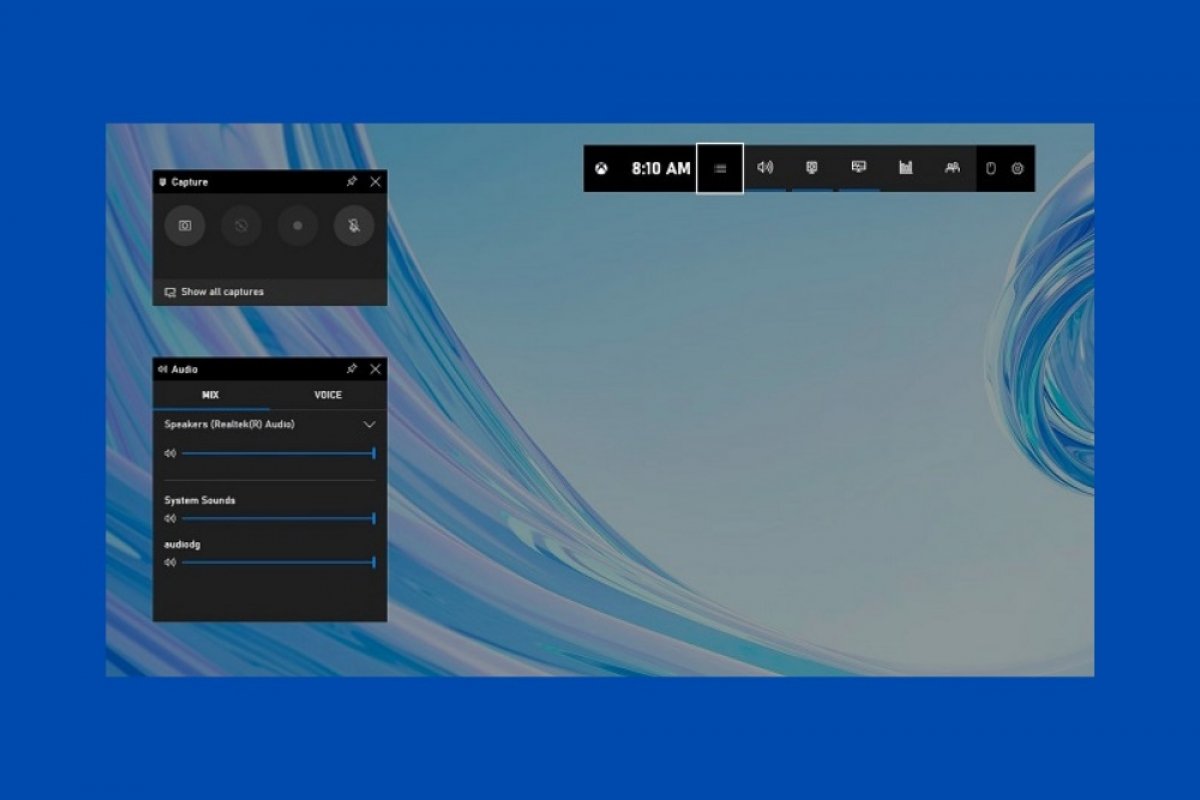

Windows 10 incorporates a native screen recorder that will help you record on video everything that happens on your screen. Although it is a tool focused on the world of video games, it can be used for any other purpose, such as the creation of educational content. To run it, just use the keyboard combination Windows + G. Immediately, a series of windows will appear that house different utilities inside.
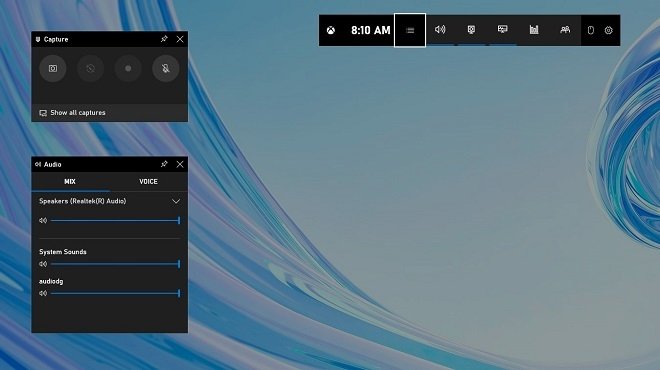 Windows 10 gaming bar
To open the screen recording tool, click on the Capture button in the Main Utility Bar. To identify it, look for the clock.
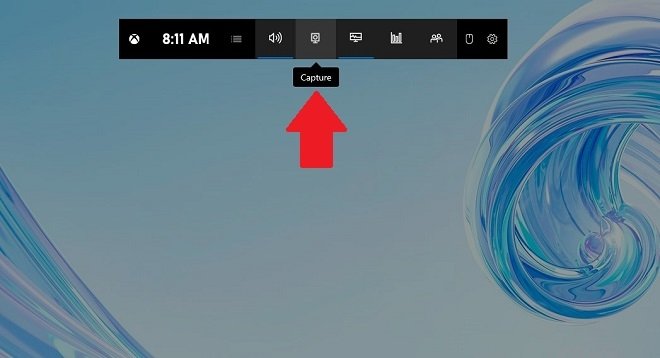 Open the screenshot tool
Then, click on the record button to start the capture.
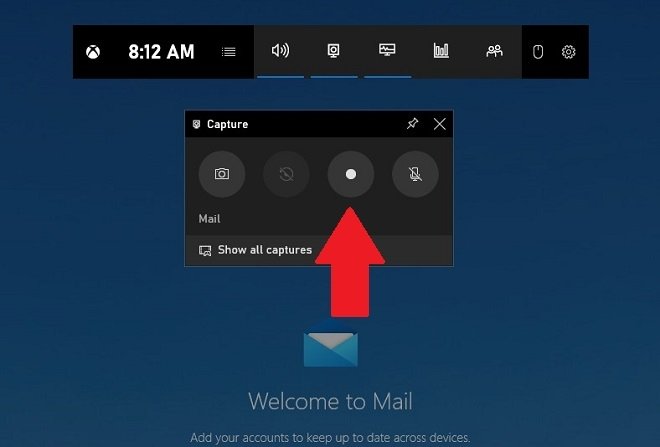 Start recording
Immediately, all the tools on the game bar will disappear from the screen. Only a small window with the necessary controls for recording will be visible. From there, you can stop the capture and activate or deactivate the microphone.
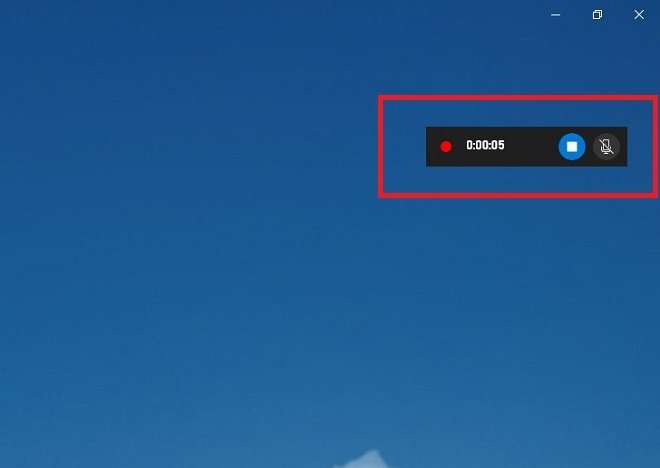 Recording controls
Once the recording is finished, go to the Videos folder. There, you will find a directory called Captures. Access it to find the video file resulting from the screen recording. You can open it with any compatible media player, such as VLC.
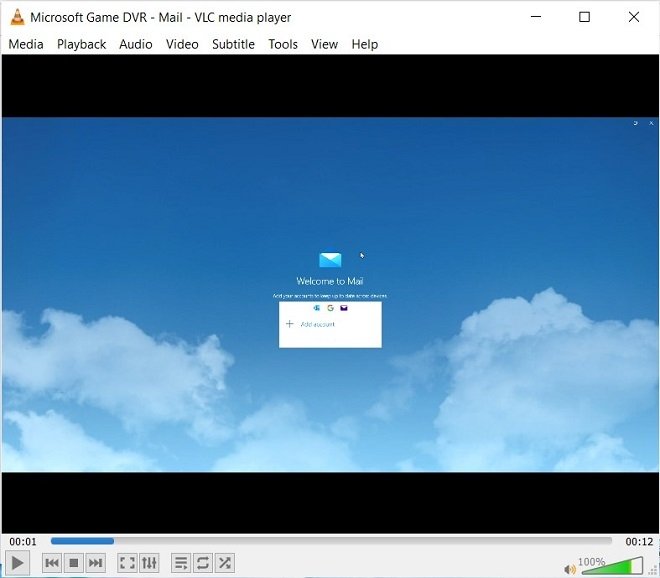 Playing the recorded screen in VLC
When you want to record the content of your screen, there are some details you should take into account. For example, although you can use this trick with any application, the Windows playbar does not allow recording from the file browser or the desktop.
It is also possible to start a quick recording without displaying all the game bar controls. You can do it with the keyboard shortcut Windows + Alt + R. This way, the recording will start immediately and only the essential recording controls will be displayed.
