

Share your life experiences on the social network
Social networks have existed even before the creation of the Internet. What happens is that with the irruption of social networks in schools and workplaces first, and in homes later, they have been developing in the online world to the point where we know them today. Most of the responsibility lies with Mark Zuckerberg and the company he runs from Menlo Park, in Silicon Valley: it is none other than Facebook APK, a social network that has become an ecosystem in its own right within the web, capable of taking on a giant like Google in terms of information management. You can download Facebook Android for free to access this ecosystem straight from your phone or tablet.
The window to the Internet for millions of users
It has become one of the ways users from all over the world access the Internet: all the content they consume is served to them through this social network, where they can keep in touch with their friends and family, read the news, watch videos, or get the weather forecast.
Now, it is faster and easier than ever to stay in touch with your friends.
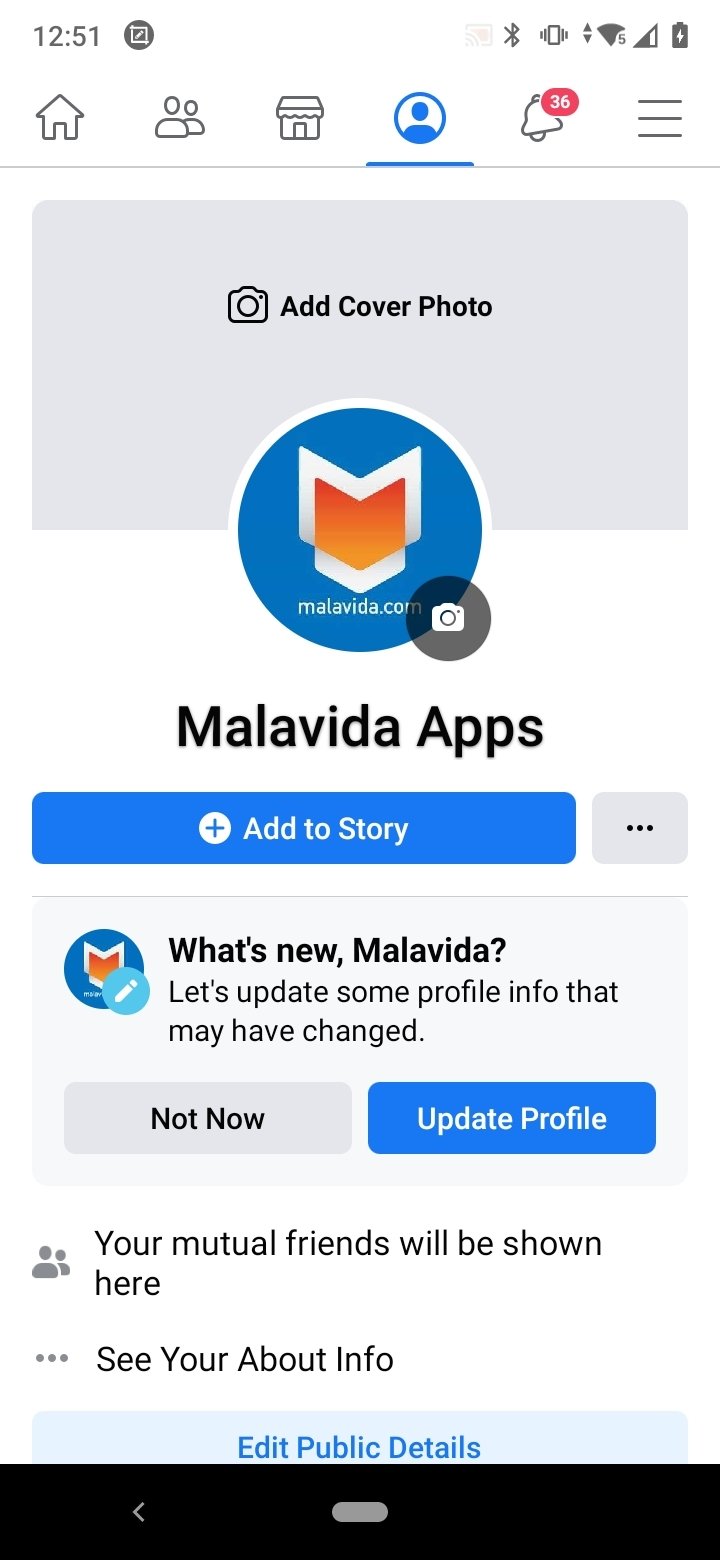
Main features
Once you download Facebook Android, you can make the most of all these features and functions:
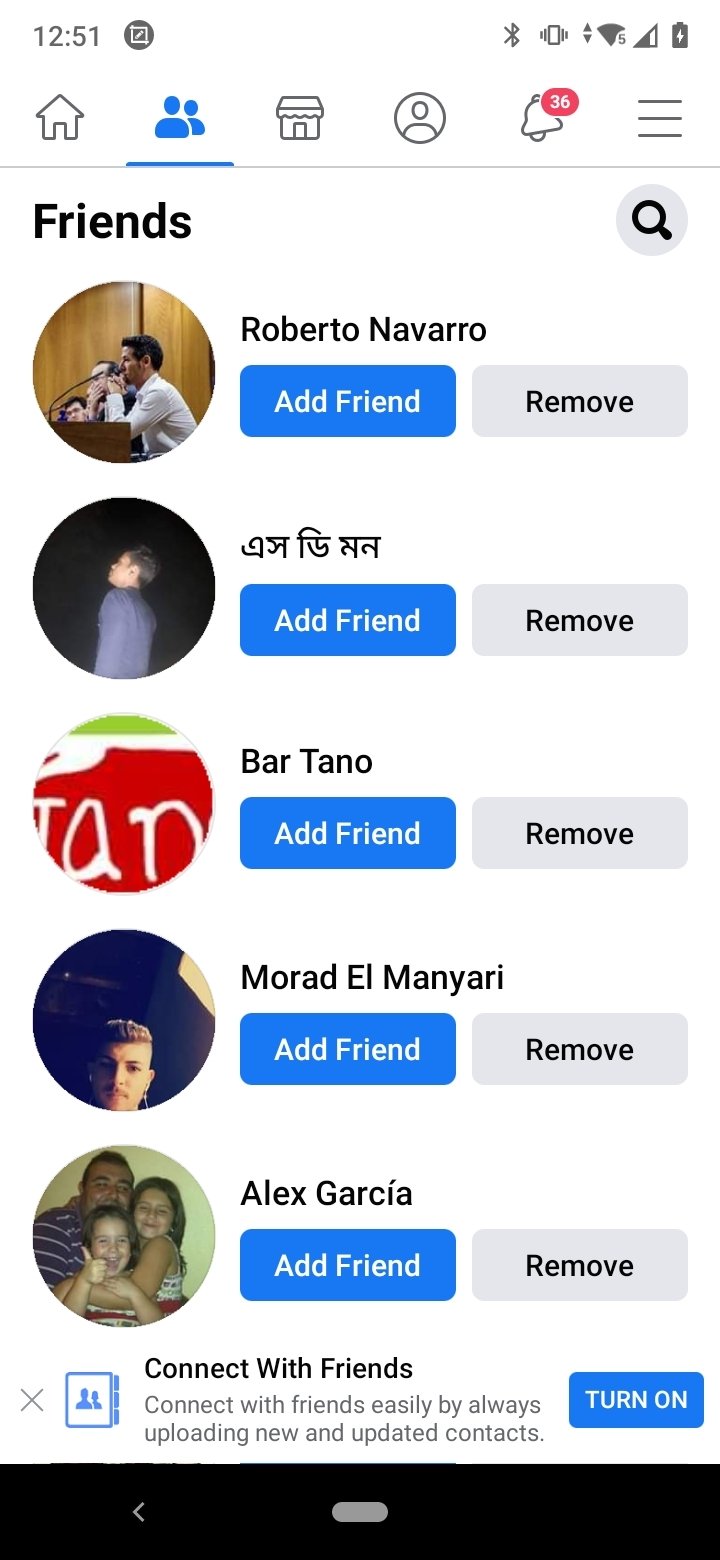
- It lets you check the activity of friends and family and meet new people.
- The user can update its status and communicate using emoticons.
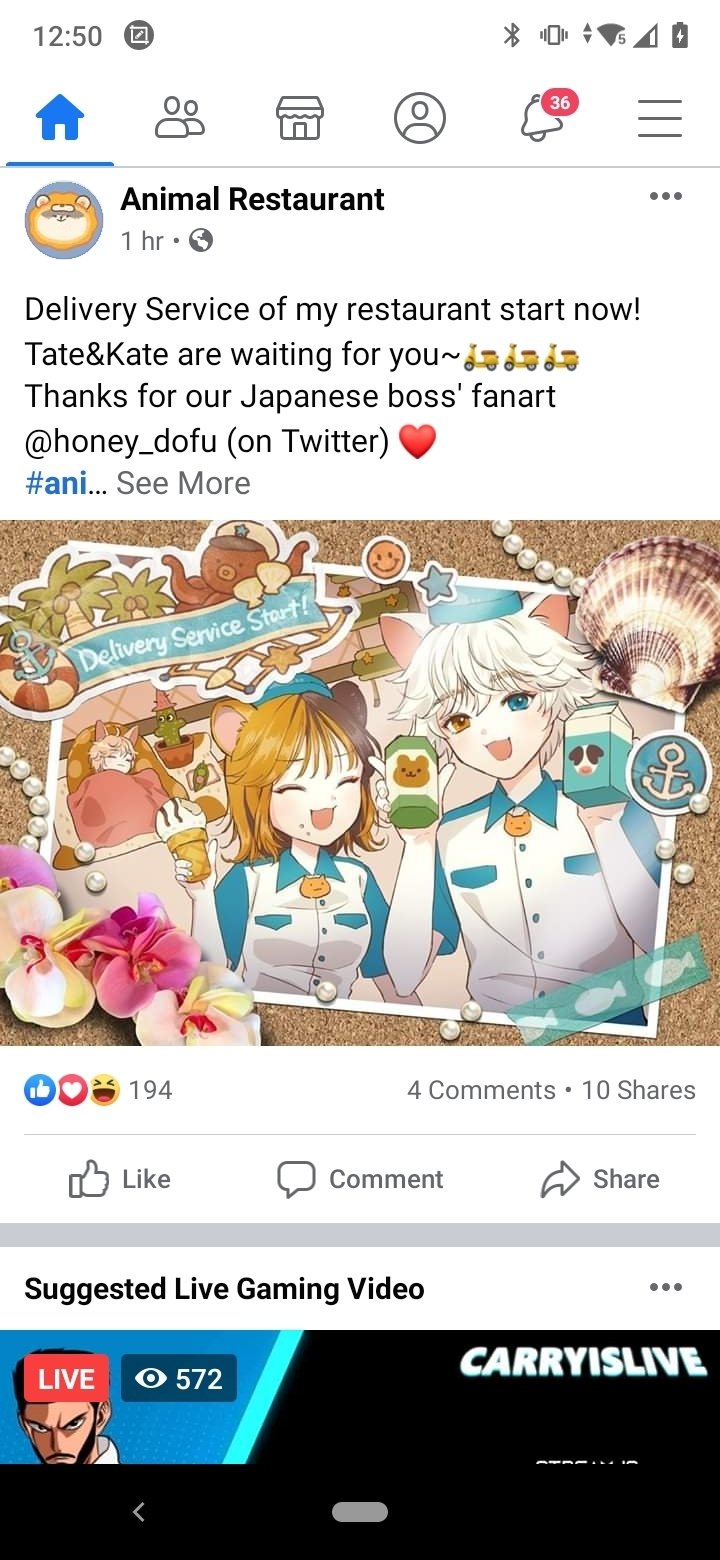
- You can share photos, videos, documents, or the best memories that the social network shows the user from previous years.
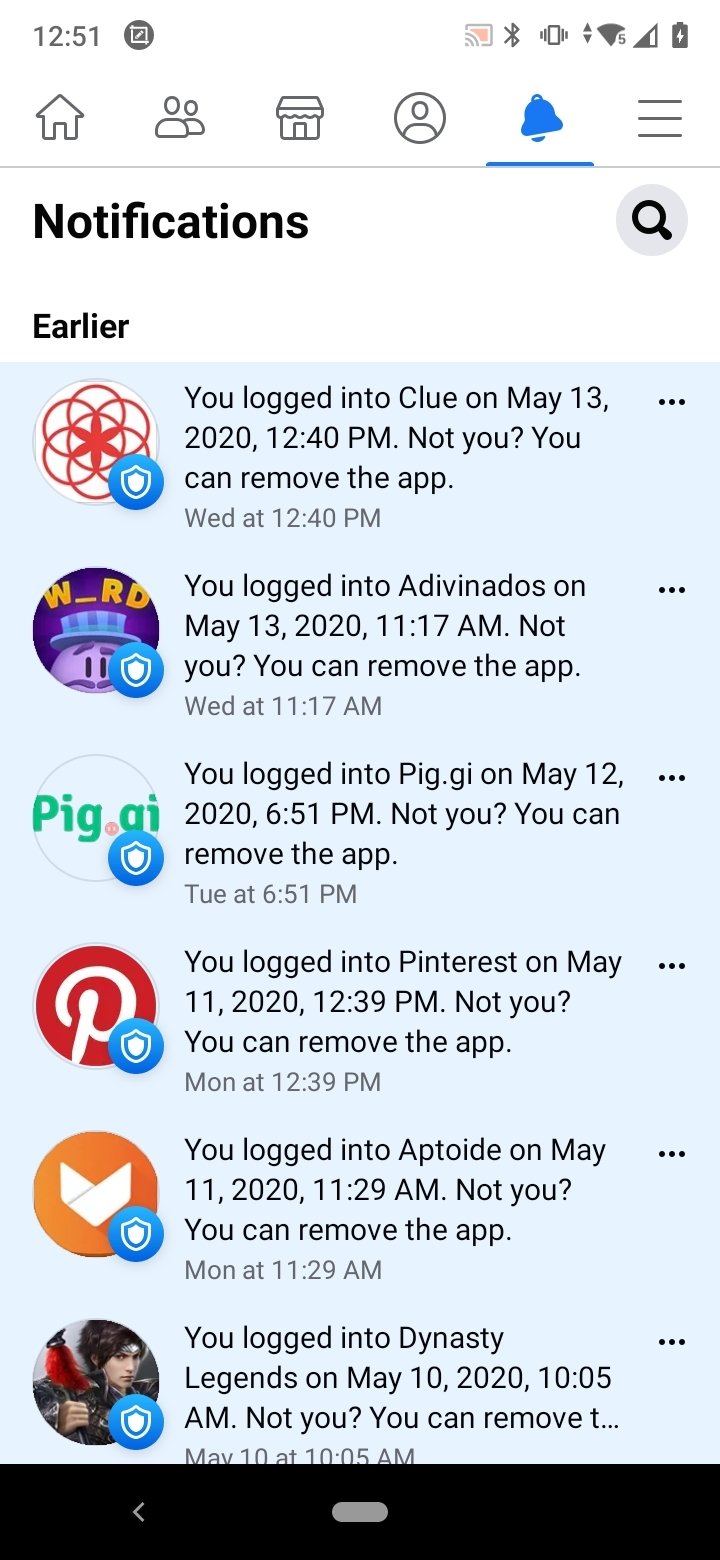
- Displays notifications of the activity generated by the user's posts.
- It lets you comment on other users' walls, write comments, and reply to others.
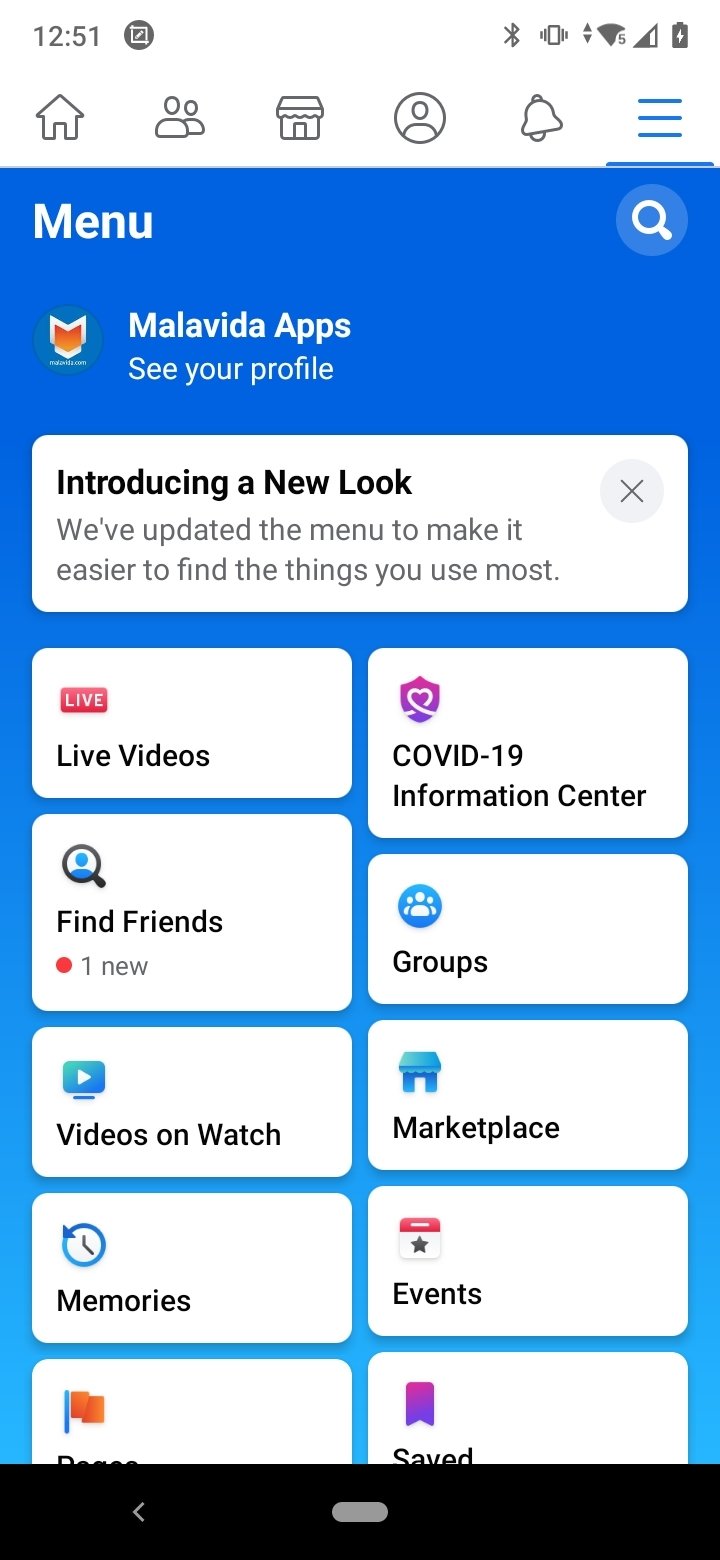
- Displays social events in the area so that the user can find out what is going on around them and attend if they are interested.
- It includes integrated games to play directly from the interface against other Facebook users.
- Allows you to organize photos into albums that will also serve as a backup.
- You can choose whether to keep photos private, set up a secret album, or control who can view them.
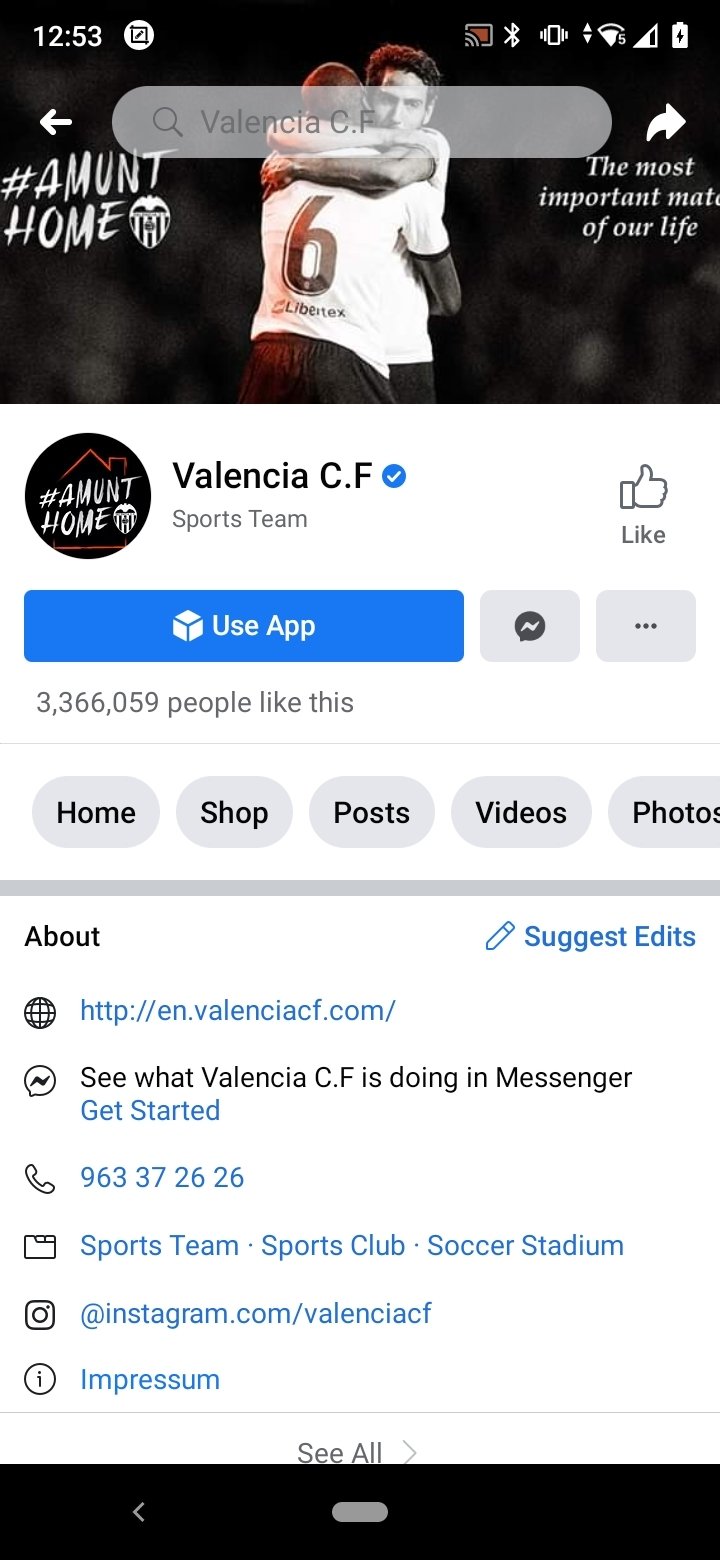
- In addition to personal profiles, the user can follow companies, brands, celebrities, sports teams, artists, or websites to keep up to date with their activities.
- Local businesses such as restaurants, bars, or stores can display their opening hours, photos of items, and customer reviews.
- The user can retransmit streaming video or watch their contacts' video.
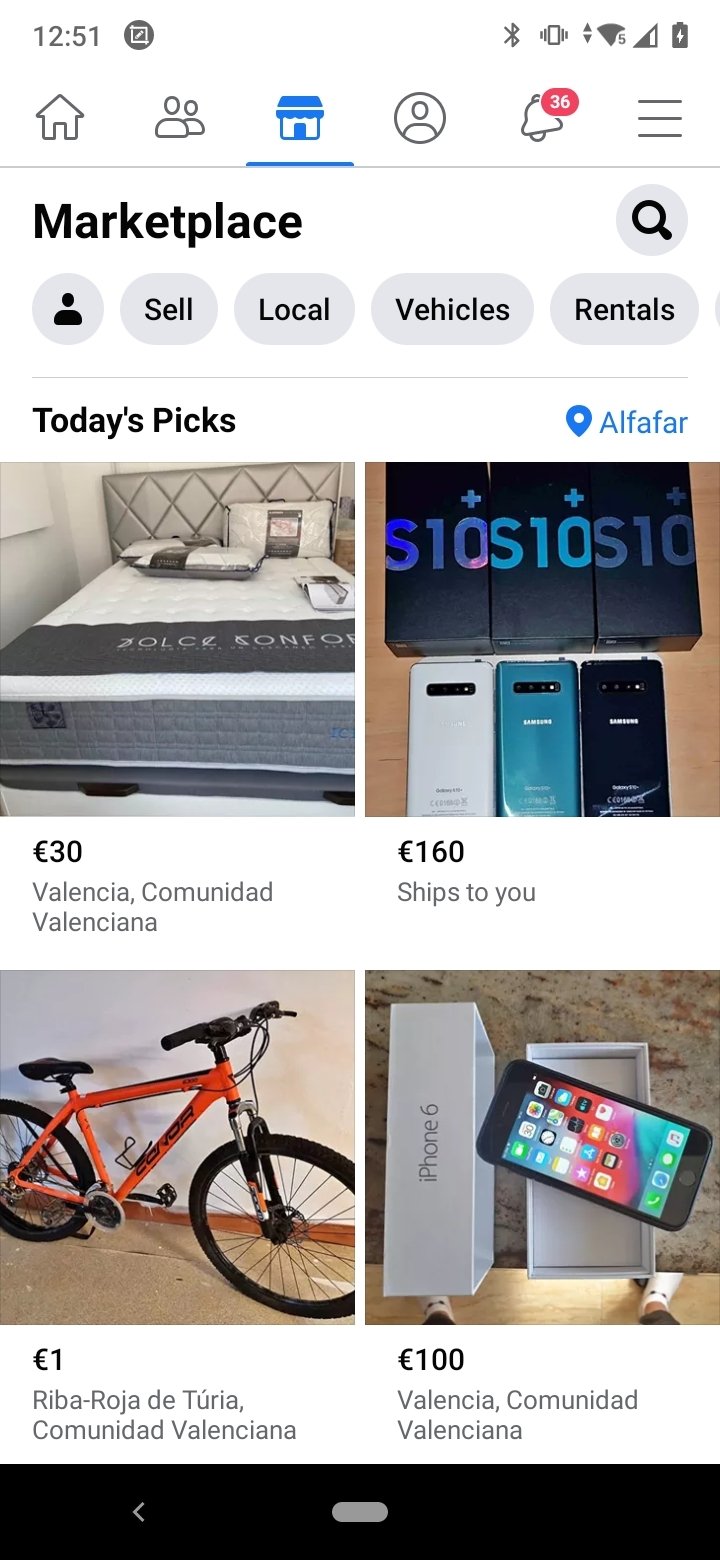
- The Facebook Marketplace section lets you buy and sell items of all kinds between users in the area.
- It includes the Messenger 'Rooms' option to create a group video call of up to 50 people or join one.
Although we know that Facebook no longer has the same popularity it had years ago and that new generations prefer to use other ways of communicating and interacting with others such as TikTok or Instagram stories, the blue social network remains as the leader in absolute numbers. Millions of people continue to access it every day to keep in touch with friends, share updates, and follow the communities they like best or the businesses they go to regularly. The "like", "love", or "angry" buttons are nowhere near to disappearing.
News from the latest version of Facebook APK
- No changelog available for this version.
Requirements and additional information:
- Minimum operating system requirements: Android 11.0.
- Offers in-app purchases.
 Antony Peel
A Telecommunications Engineer, chance led me to the translation industry, where after a few years, I discovered another side of the world of technology while translating what others were writing about mobile applications and software. That...

Manuel Sánchez
Facebook Tips & Tricks