

Windows 11 has some productivity-focused features that you may want to know about if you want to work faster with your computer. One of them is virtual desktops. But do you really know how they work? Do you already know the ways you can get more out of this feature? Keep reading because we will tell you how to change your virtual desktop in Windows 11 and much more.
What are virtual desktops in Windows 11 and what are they for
When we use the term desktop in Windows, we refer to the set of elements that make up the work area. We consider the taskbar, the start menu, and the windows, grouped in the way chosen by the user, to be inside the desktop. Although the space offered by the desk is generally sufficient, it can sometimes fall a little short. For this reason, Microsoft includes in its system virtual desktops, or other words, duplications of the main work area that work independently.
Taking into account what is described in the previous paragraph, it is possible to host different windows or applications on a virtual desktop than those in the rest of the spaces. You can also move windows from one desktop to another, rename them, or alter the wallpaper individually.
You should not confuse this feature with the virtualization of an operating system. Rather, what Windows does is generate spaces adjacent to the main desktop to organize the workflow and effectively classify open windows. As this is basically an organizational function, adding multiple virtual desktops does not have a very incisive effect on computer performance.
How to access the Windows 11 virtual desktop view
Before we move on to explain how to change your virtual desktop in Windows 11, there are a few things you should be aware of. The first is how to access the task view, from where you can manage virtual desktops. Basically, there are three ways to do this:
- With the keyboard shortcut Windows + Tab.
- By clicking on the virtual desktops button in the taskbar.
- Sliding three fingers up on the trackpad.
How to create a virtual desktop in Windows 11
 How to create a new desktop
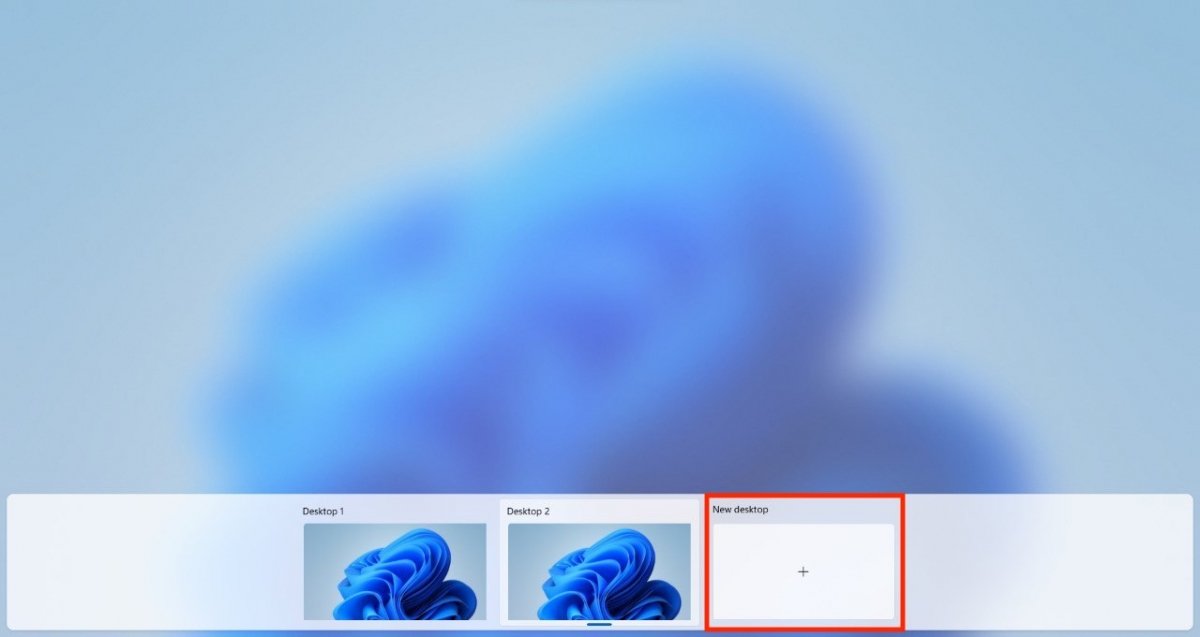
We know that you are eager for us to tell you how to change your virtual desktop in Windows 11. However, before doing so, you need to create a new one. This is the way to go.
- Click on the keys Control + Windows + D. Immediately, a new virtual desktop will be enabled and you will be sent to it.
- If you prefer to do it with the mouse, go to the task view and click on New desktop.
- Then, click on the new desktop to enter it.
How to close a virtual desktop in Windows 11
 How to close a virtual desktop
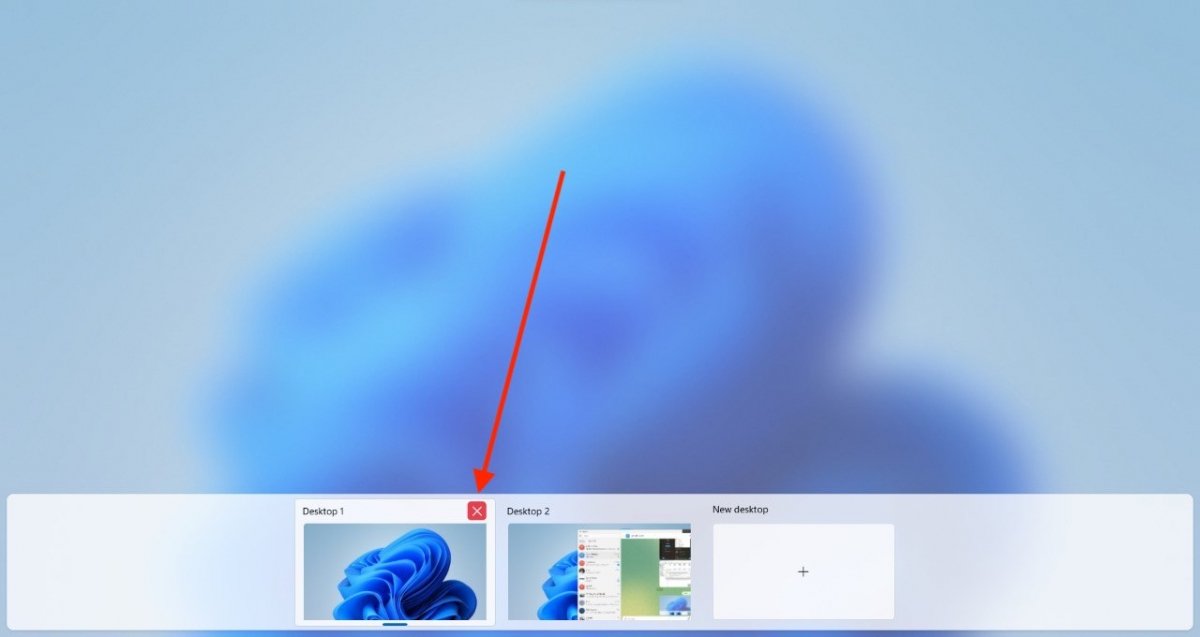
We assume that you do not want virtual desktops to pile up on you, especially when they are no longer useful. In this case, follow these steps to close them:
- Go to the task view.
- Click the X button to close the desired desktop.
- As an alternative, click on the Delete key when you have previously selected it.
Both methods have the same effect: they close the virtual desktop. Do not forget that applications will not be stopped and their active windows will be assigned to another desktop.
How to move applications from one virtual desktop to another and organize them
 Send applications to another desktop
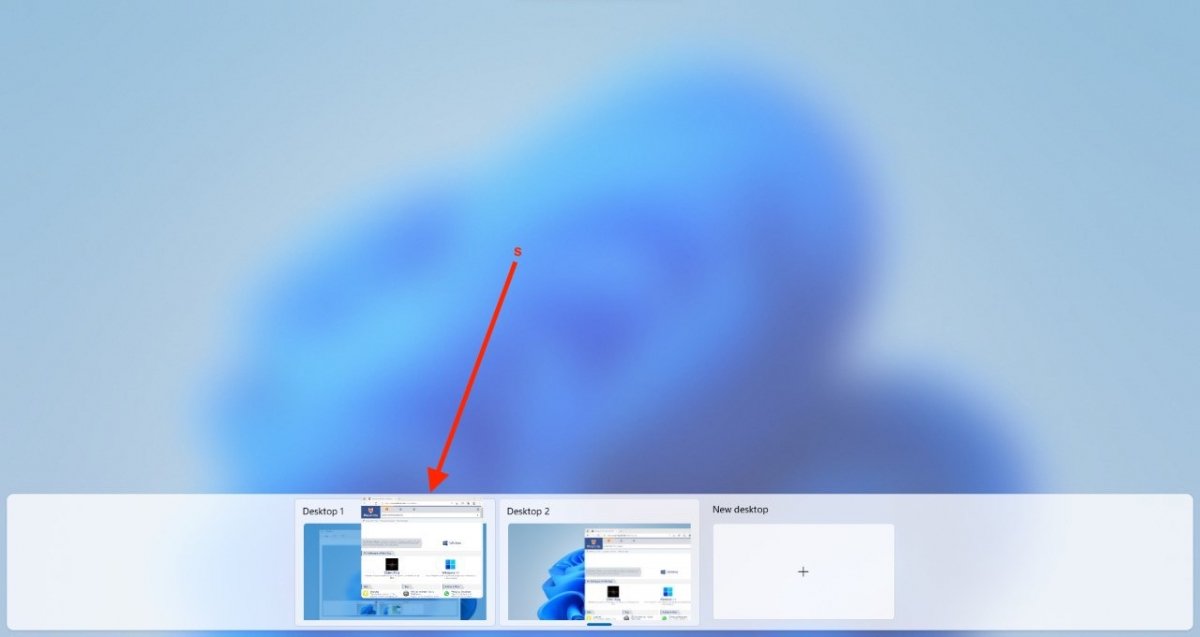
From the task view, you can move applications from one virtual desktop to another. How? This is how you do it:
- Access the task view to access all your desktops.
- Select an application or window and click and hold it.
- Move it to the desktop where you think it should be.
- When released, the window will have been transferred between the two desks.
 Change the order of the virtual desktops
As you can see in the previous image, you can also arrange the desks according to your convenience. The operation is carried out in a similar way to the process mentioned above. In this case, you must select the desktop and move it to the place you want to move it.
How to rename and change the background of a virtual desktop
 Change the wallpaper of each virtual desktop
There are two additional parameters that we recommend you to control if you want to take full advantage of virtual desktops. One of them is the selection of unique wallpaper for each site. This will help you to better distinguish each desk and its purpose. To modify it, it is as easy as following these instructions:
- Go to the task view.
- Right-click on the desktop to which you want to change the wallpaper.
- In the menu, select Chose background.
- When the configuration dialog opens, select the wallpaper you want for your desktop.
If you have noticed, the same context menu offers the possibility to rename each of the spaces you have enabled on your computer. This is the other option you should not overlook.
How to switch your virtual desktop in Windows 11
 Browse between the different virtual desktops
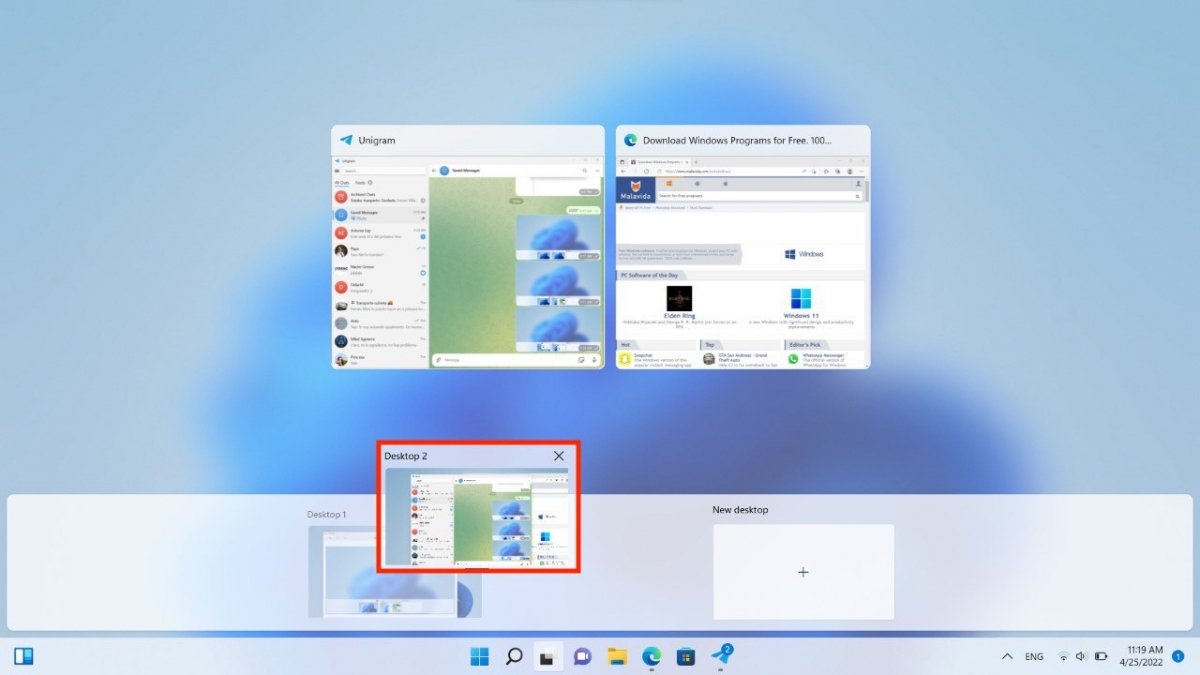
So far we have told you how to use the Windows 11 task view and make the most of such a practical feature as virtual desktops. What else you should know? Well, it is time to find out what to do to switch desktops to Windows 11. You do it with these tips:
- Move four fingers on the trackpad to move from one desktop to another in the order you set.
- Use the keyboard shortcut Windows + Control + Left or Right Arrow.
- Open the task view and click on the desktop you want to go to. This method is useful when the enabled spaces are numerous and you do not want to jump from one to another.
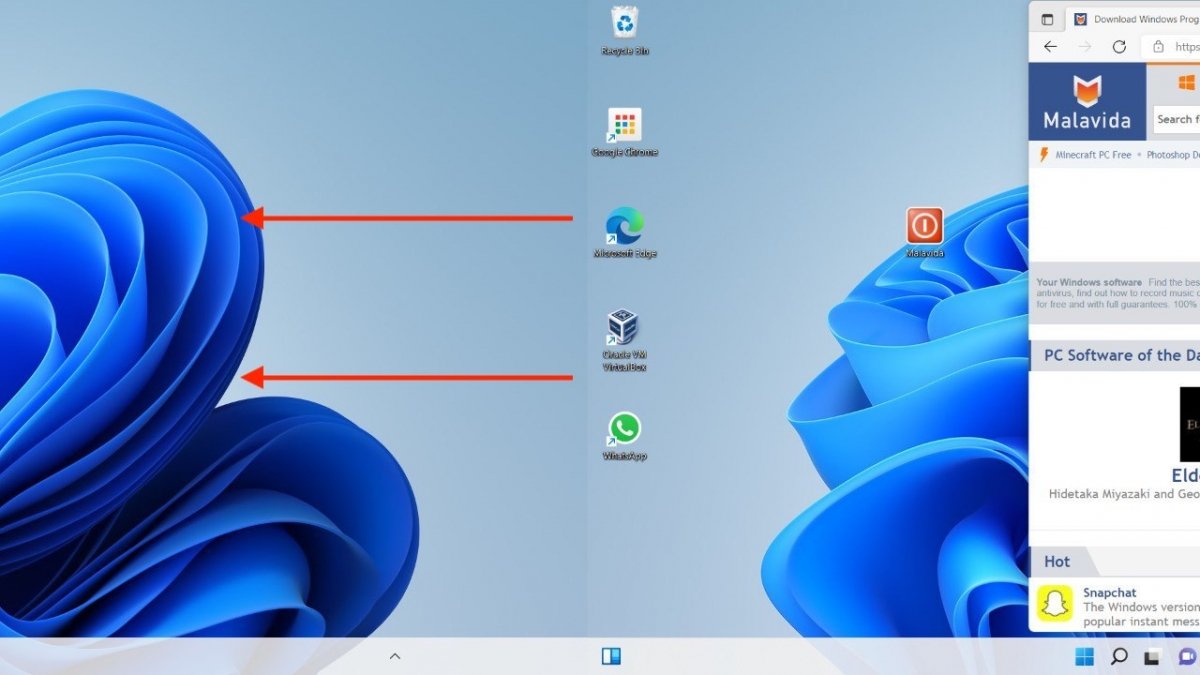
When you reach the last available desktop, Windows will display a black space to the left or right (depending on the direction in which you are scrolling). This is an indication that there are no more virtual desktops available.
