
Windows 11 can be installed in several ways. For example, some people have upgraded directly from the previous version, keeping their files and programs. Others prefer a clean installation, only possible by creating a bootable USB. If you are more attracted to the latter method, we recommend you to stay with us. Here, we give you all the details about this process and tell you how to install Windows 11 from a USB drive. We also tell you the requirements you will need to meet. So let's get down to work.
Minimum requirements to install Windows 11 from a USB
Microsoft requires that computers meet certain minimum requirements to install Windows 11. If you are familiar with your computer's hardware, compare its components with the following list:
- Processor: Clock frequency of 1 GHz or higher. CPUs with two or more with 64-bit architecture. There is no version for 32-bit computers,
- RAM: 4 GB or more.
- Storage: At least 64 GB are required. It may require additional space for downloading updates and enabling specific features.
- Graphics card: It must support DirectX 12 or later and have a WDDM 2.0 driver.
- System firmware: UEFI with secure boot.
- TPM: Secure platform module in version 2.0.
- Screen: 720p resolution or higher. Monitor 9 inches or larger with 8 bits per color channel.
- Internet connection: Required for Windows 11 Home edition
In addition to all these minimum requirements to install Windows 11, it is necessary to have a USB memory of at least 8 GB. Please, note that during the process, the unit will be completely erased. Therefore, avoid using a flash drive with relevant information inside.
How to create a bootable USB for Windows 11
Microsoft provides an official application that lets you create bootable USB drives to install Windows 11. This is the Media Creation Tool, that you can download safely and for free from Malavida.
When you have its executable file in EXE format, double click on it. This software does not require installation. The first screen you will see will be the one showing the terms and conditions. It is necessary to accept them to proceed. Otherwise, the program will close.
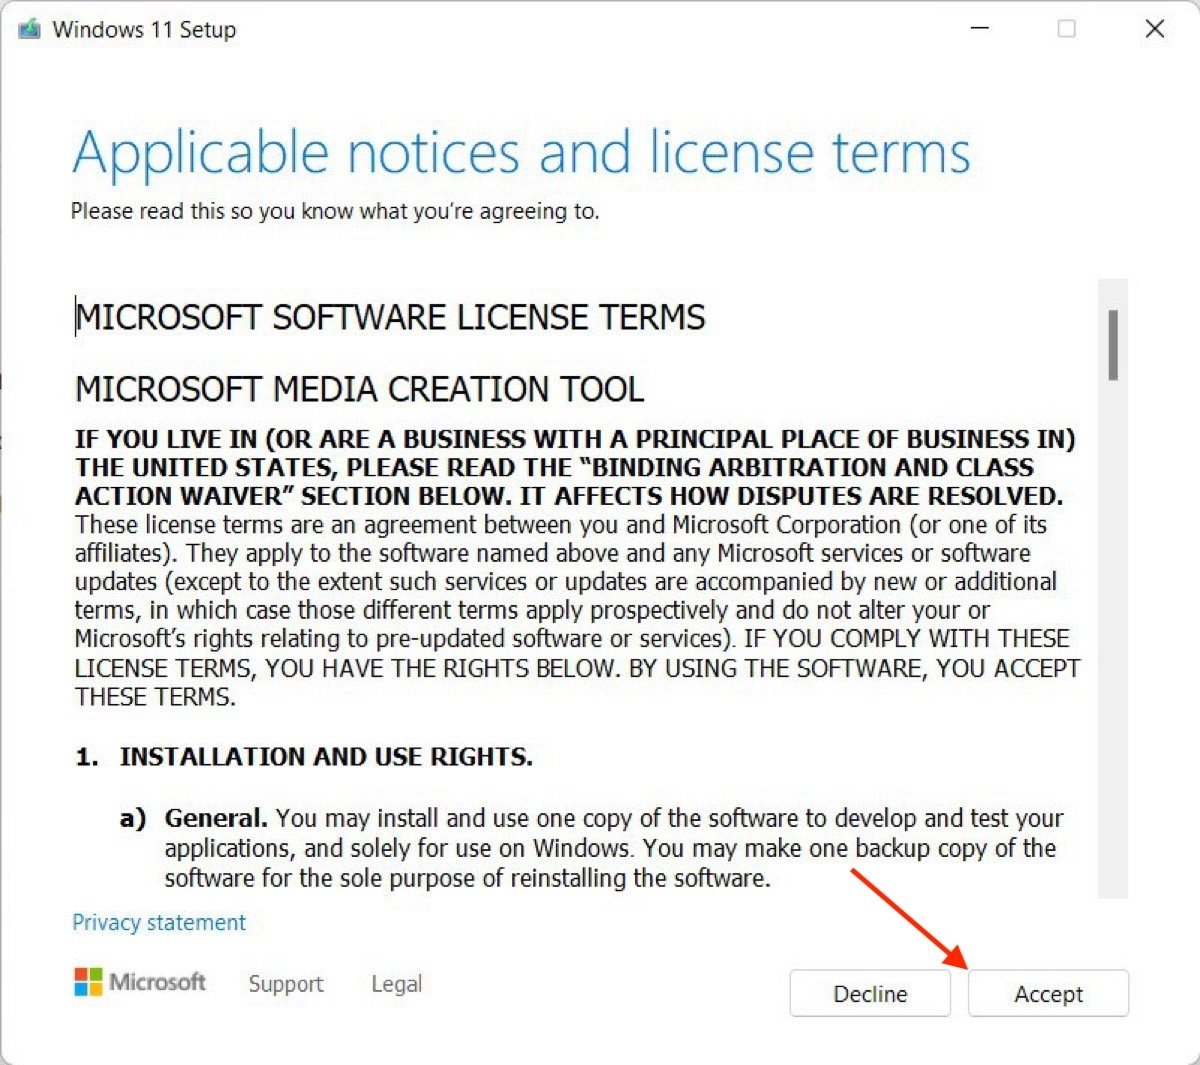 Accept the terms and conditions of the media creation tool
Next, choose the version of Windows 11 you want to install, along with the installation language. Ideally, check the box below to let the tool make this selection.
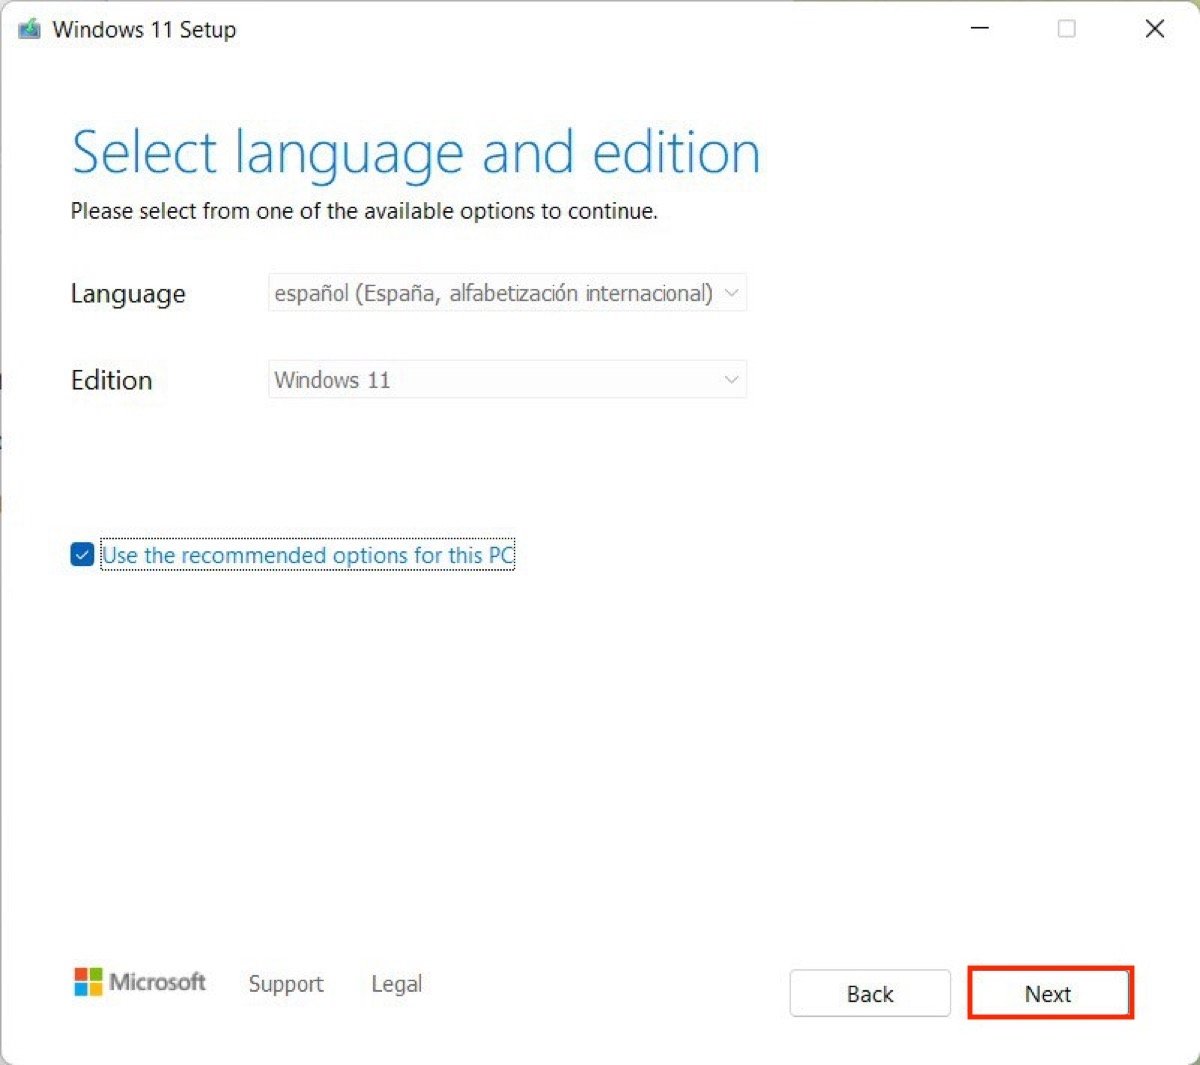 Use the recommended configuration or choose the version
In the next step, click USB flash drive. Alternatively, you can download an ISO image to your computer. All in all, the first option is the right one if you want to get a bootable USB.
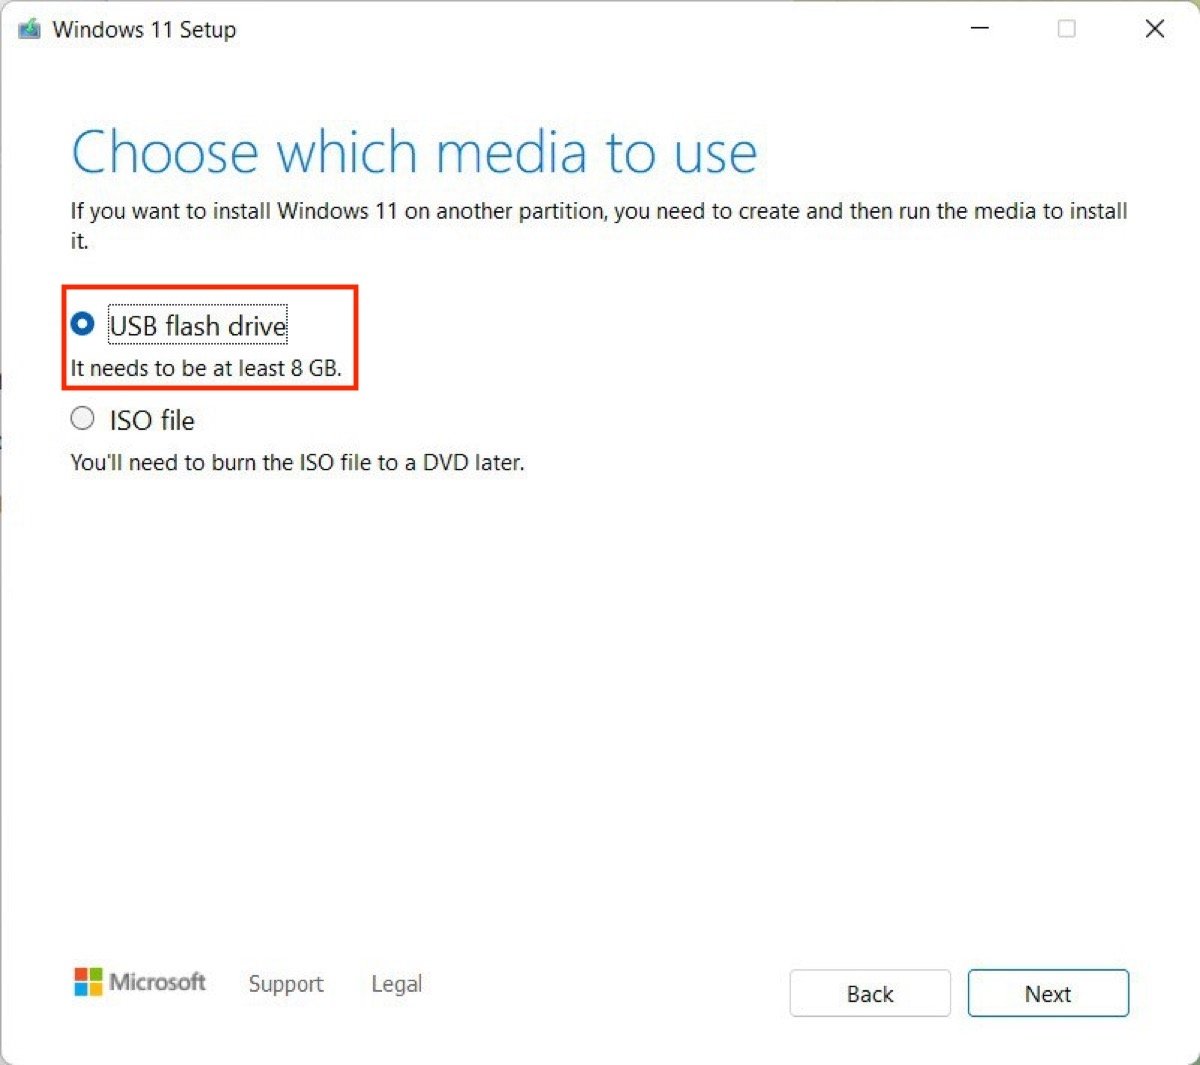 Select the USB to save Windows 11
Set the unit you wish to use. If you have only connected one to your computer, it will appear as shown in the following screenshot:
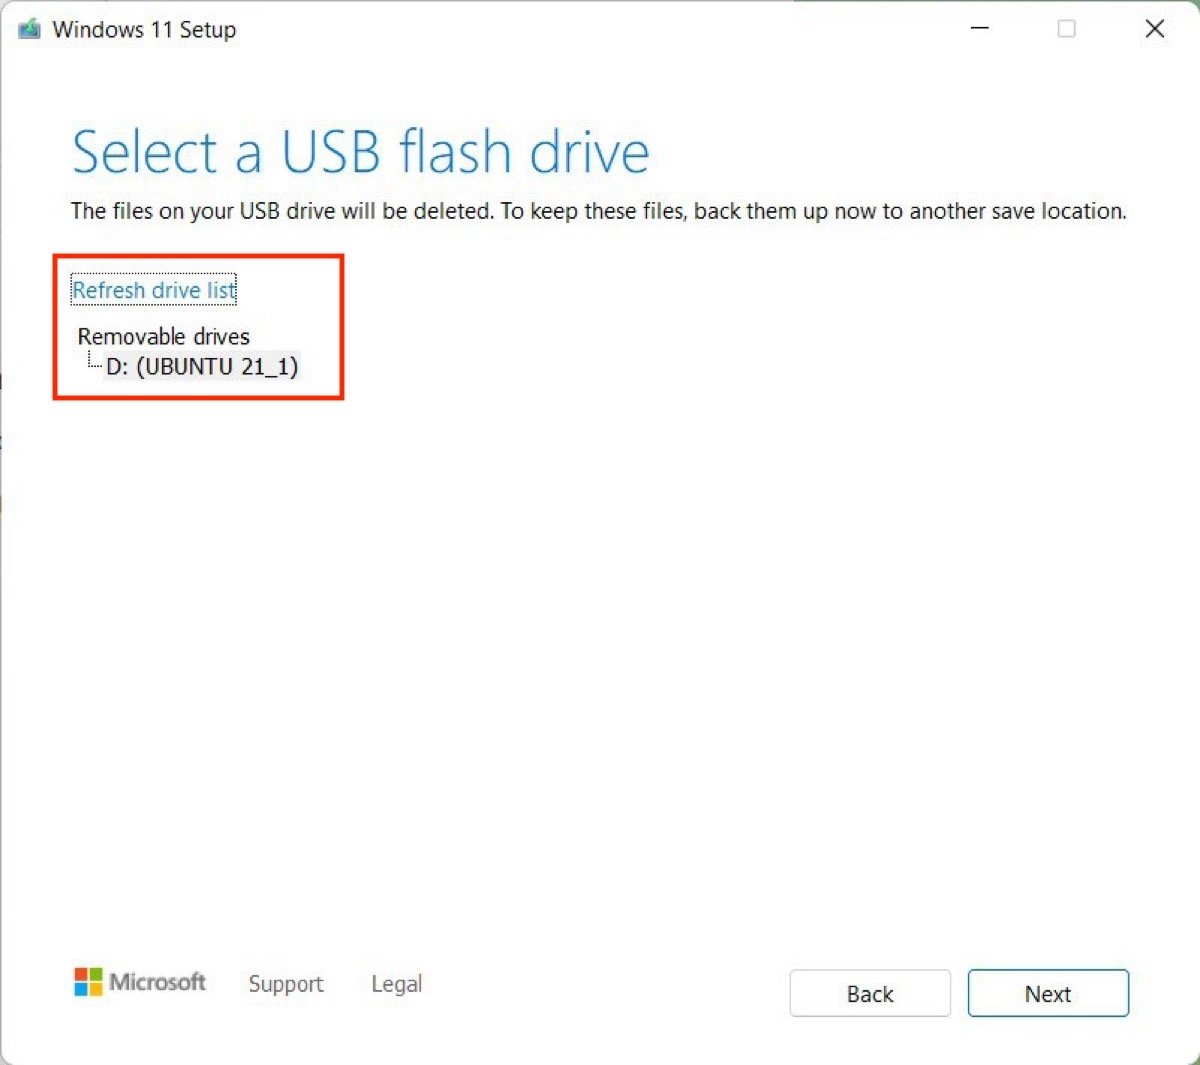 Choose the specific unit you wish to use
Finally, Windows 11 will be downloaded. Then, all necessary files will be copied to the USB flash drive.
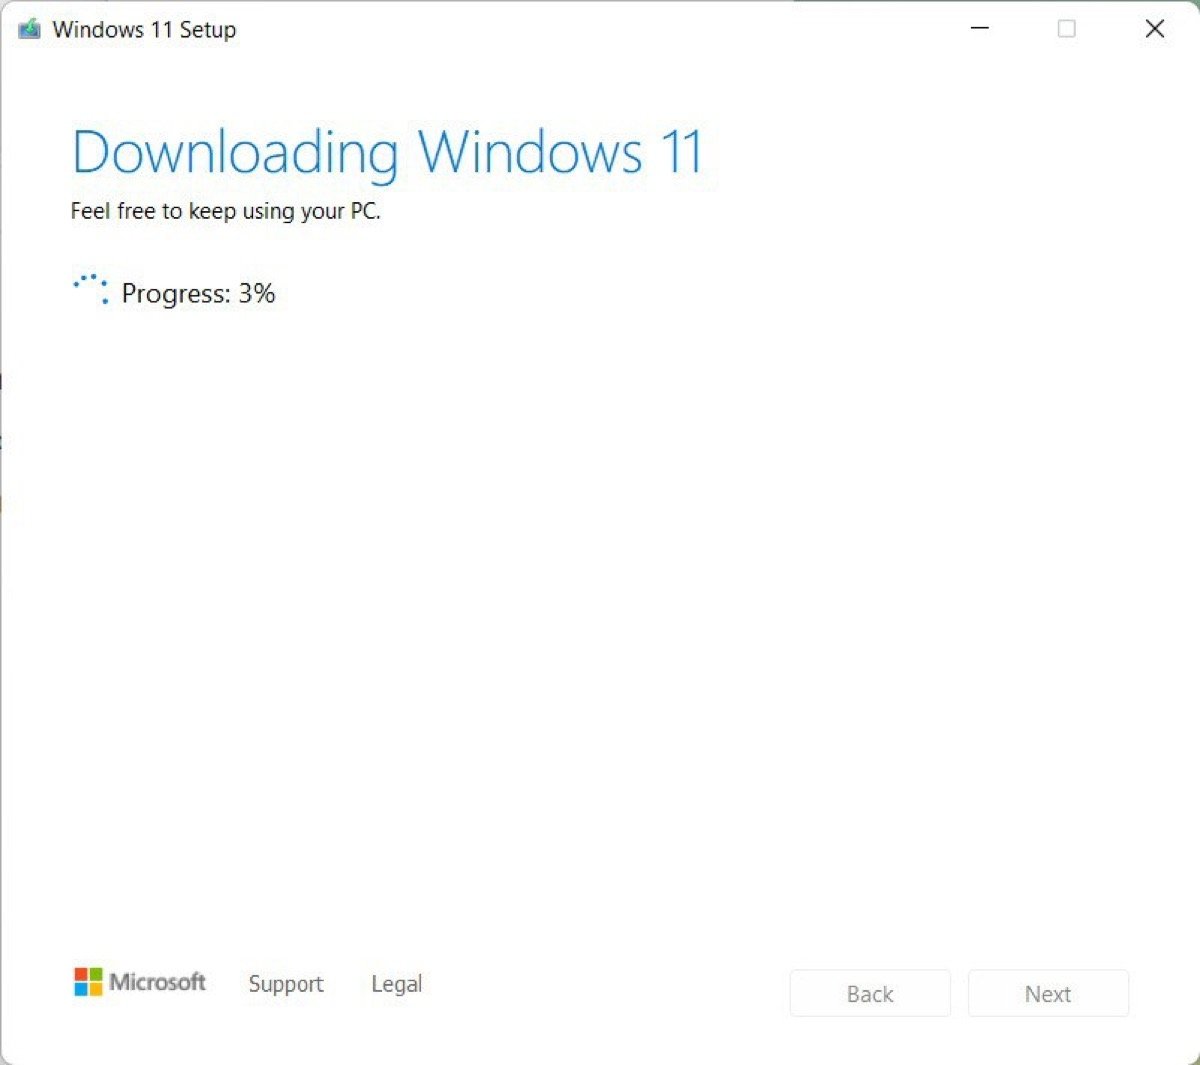 Creation of the bootable USB in process
If you receive the message Your USB flash drive is ready, which means that everything went as expected.
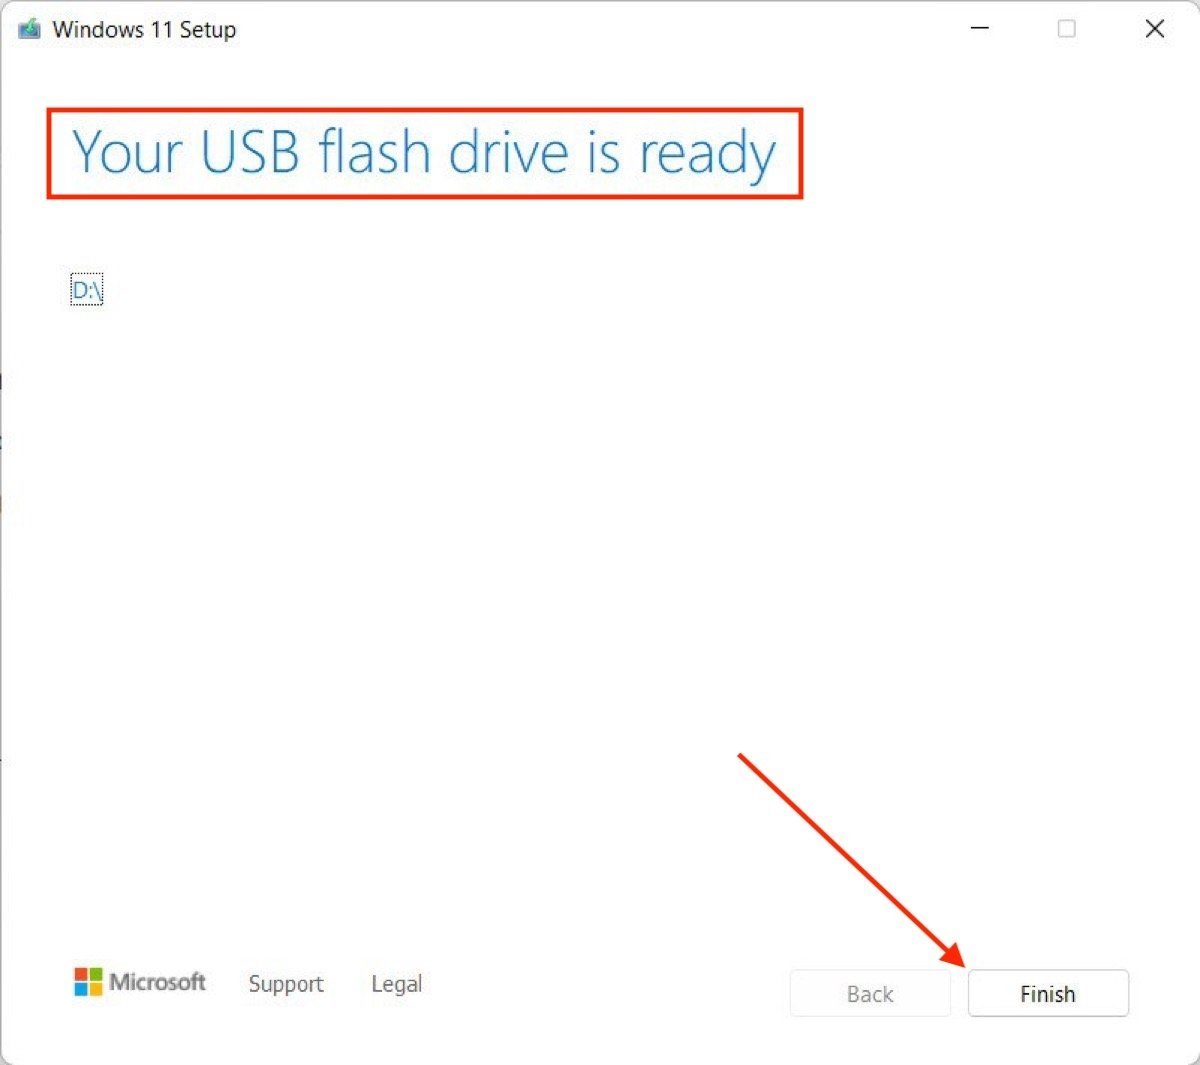 Confirmation message once completed
The time has come to launch the installation of Windows 11.
How to install Windows 11 from USB step by step
With the bootable USB flash drive created, the next step is to plug it in and ask your computer to boot from it. It is often necessary to press a key combination to request that the BIOS prioritize the USB drive over the internal storage unit. Consult your computer or motherboard manufacturer's website for the steps to follow to boot the computer from USB.
In the screenshot below, you will see the message that appears when the computer has detected the USB. It is easy: touch any key to start the installation.
 Press any key to start Windows 11
The installation wizard will show up. The first thing you will be able to choose is the language, region, and keyboard layout.
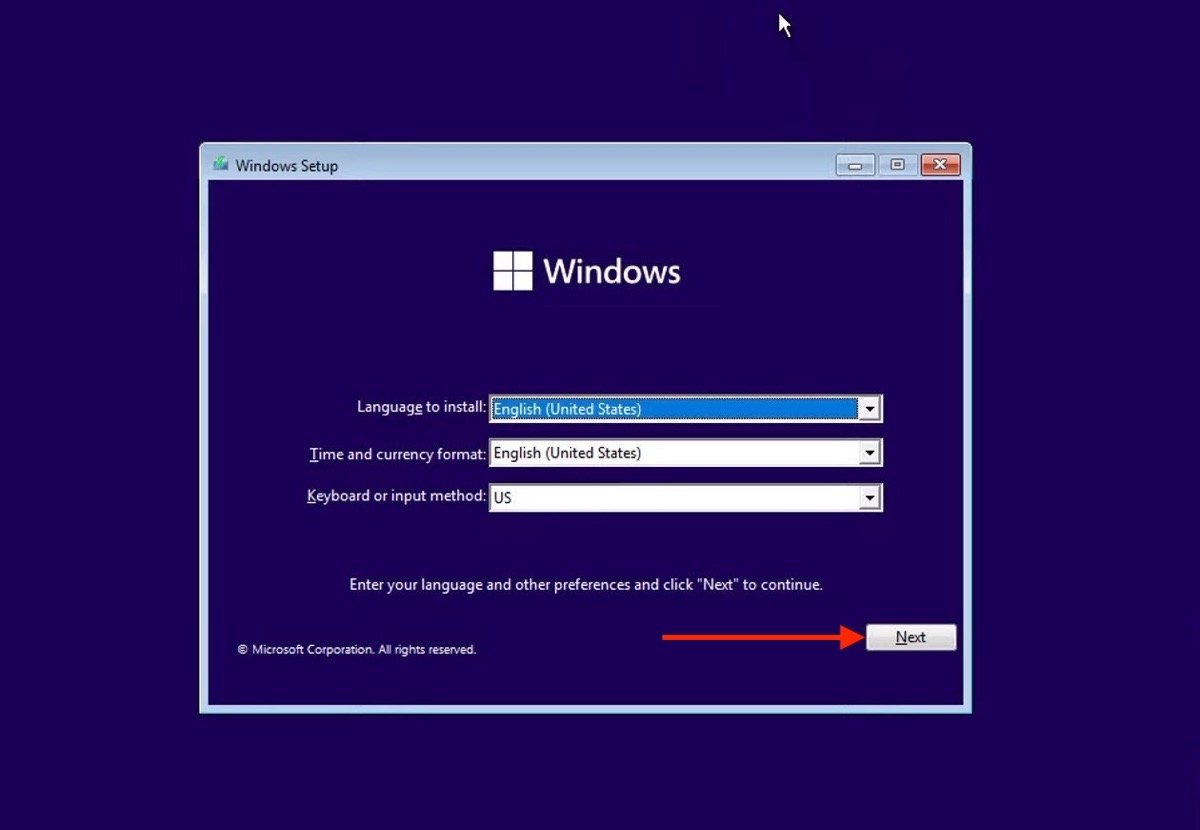 Choose the language for Windows
Click the Install now button to begin.
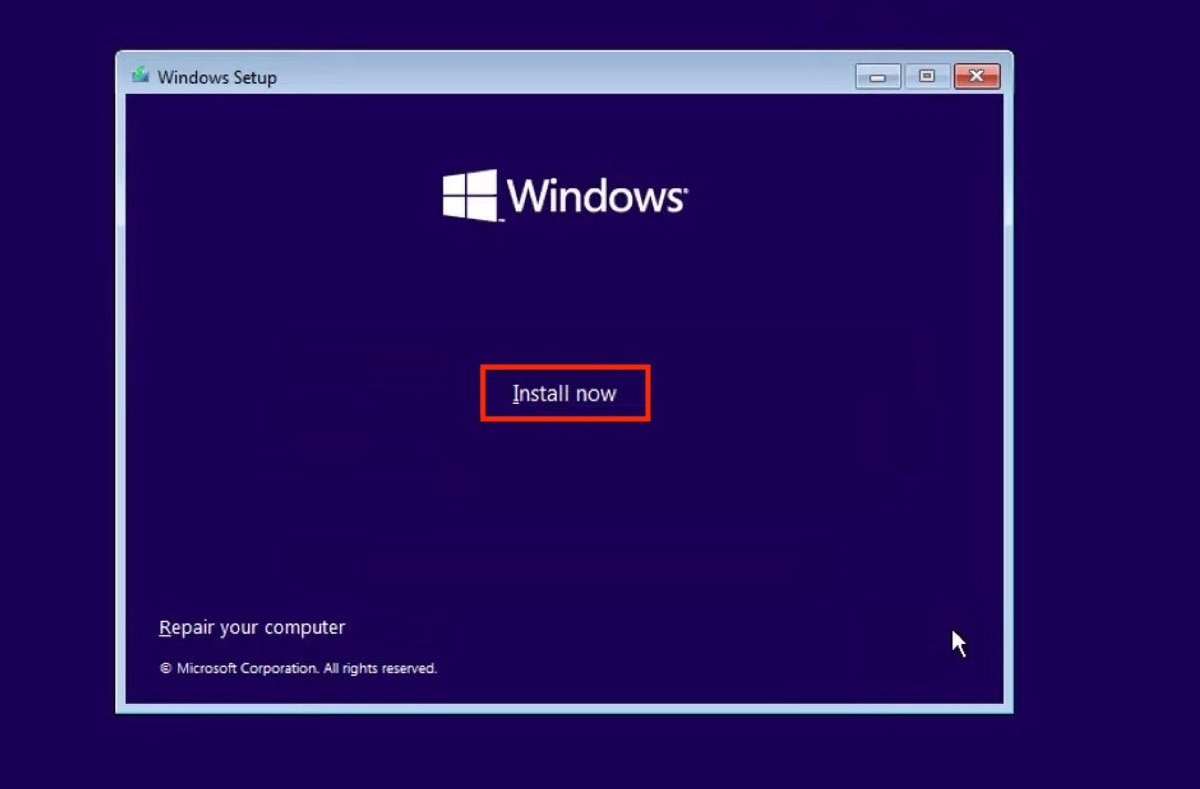 Start installing the operating system on your computer
Windows will prompt you to enter the system password. This is only necessary on custom computers where the operating system is installed for the first time. If your computer already had Windows 10 activated previously, click on I don't have a product key. Even if this is not the case, you will later have the possibility to add a valid key.
 Enter the activation key
Select the appropriate Windows edition. Remember that your license must be compatible with it.
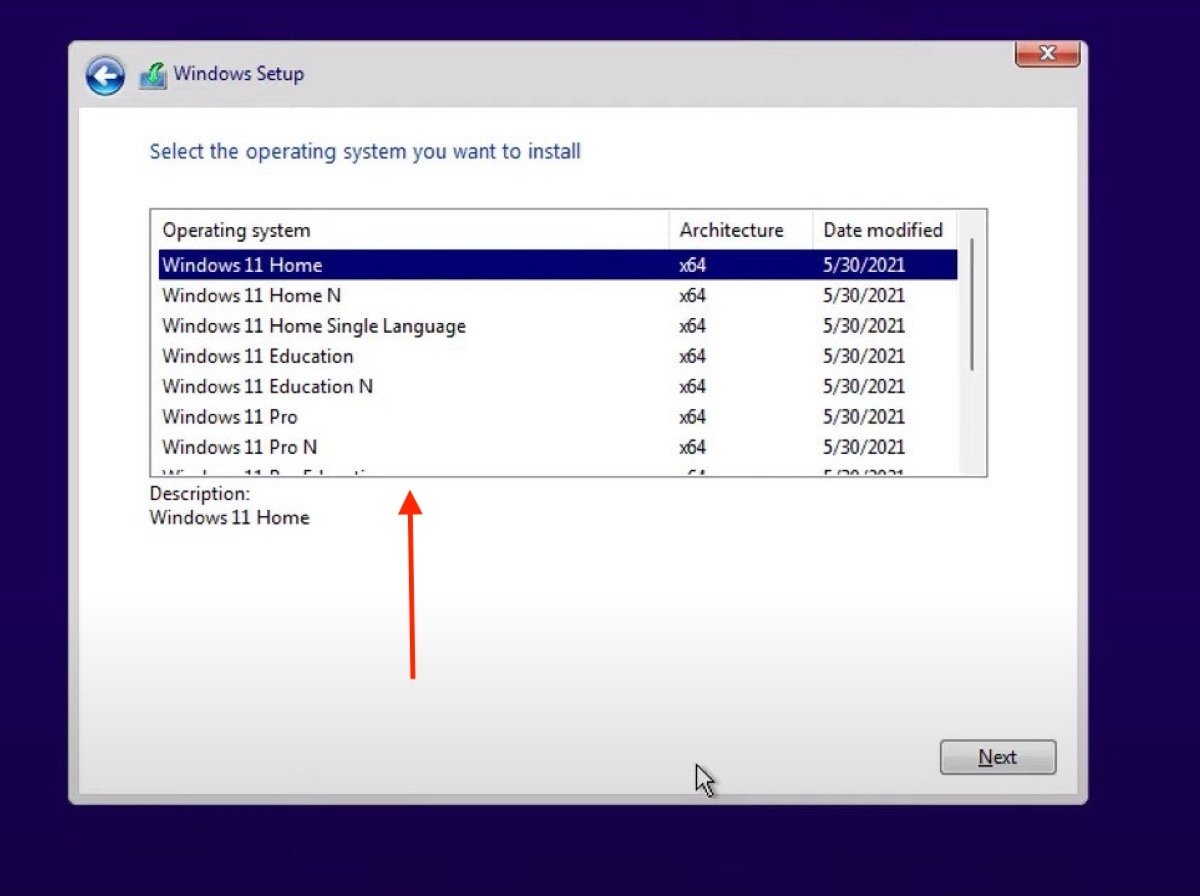 Choose the most appropriate Windows 11 edition
To upgrade to Windows 11 from a previous version without losing your data and settings, check the Upgrade: Install Windows and keep files, settings, and applications option. On the contrary, if you want a clean installation, click on Custom: Install Windows only (advanced). The following steps correspond to the latter option.
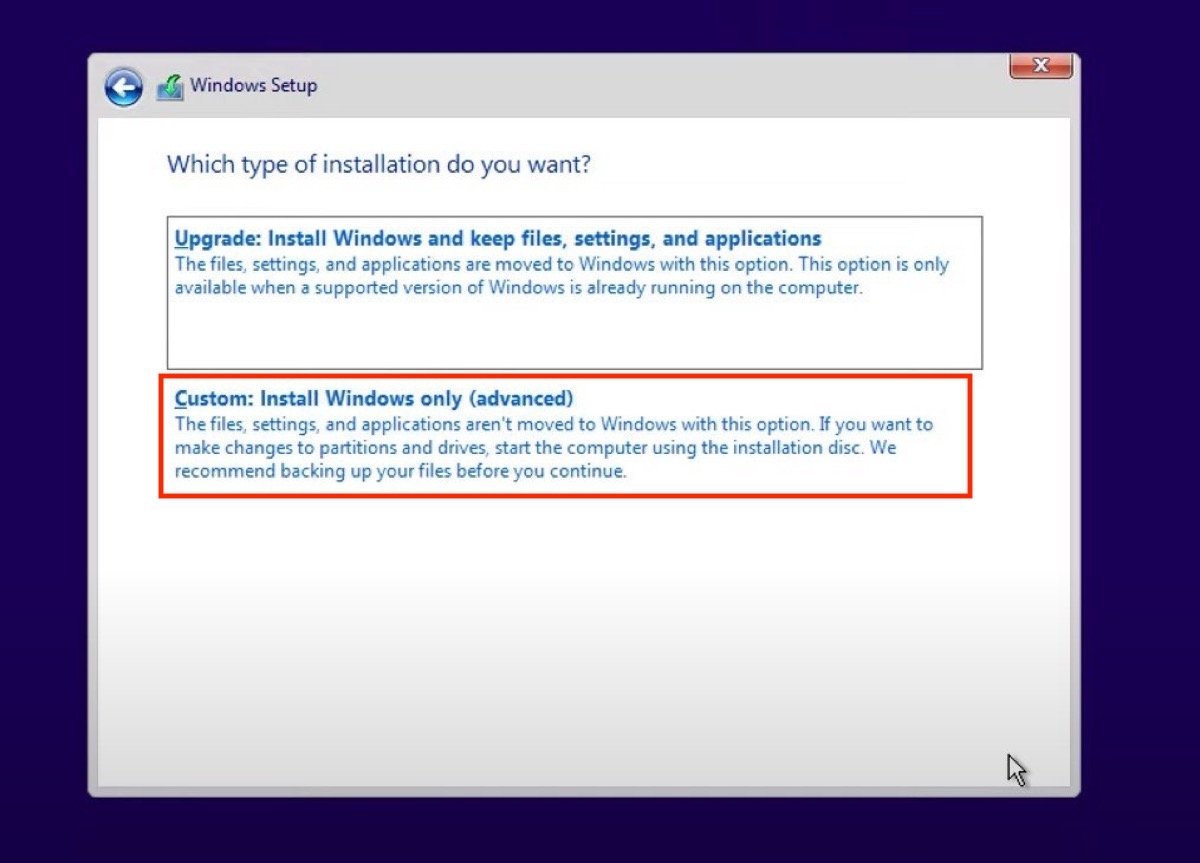 Choose the custom installation
Delete all partitions on your computer and create as many as necessary with the New button. Next, select a valid partition on which to install Windows 11.
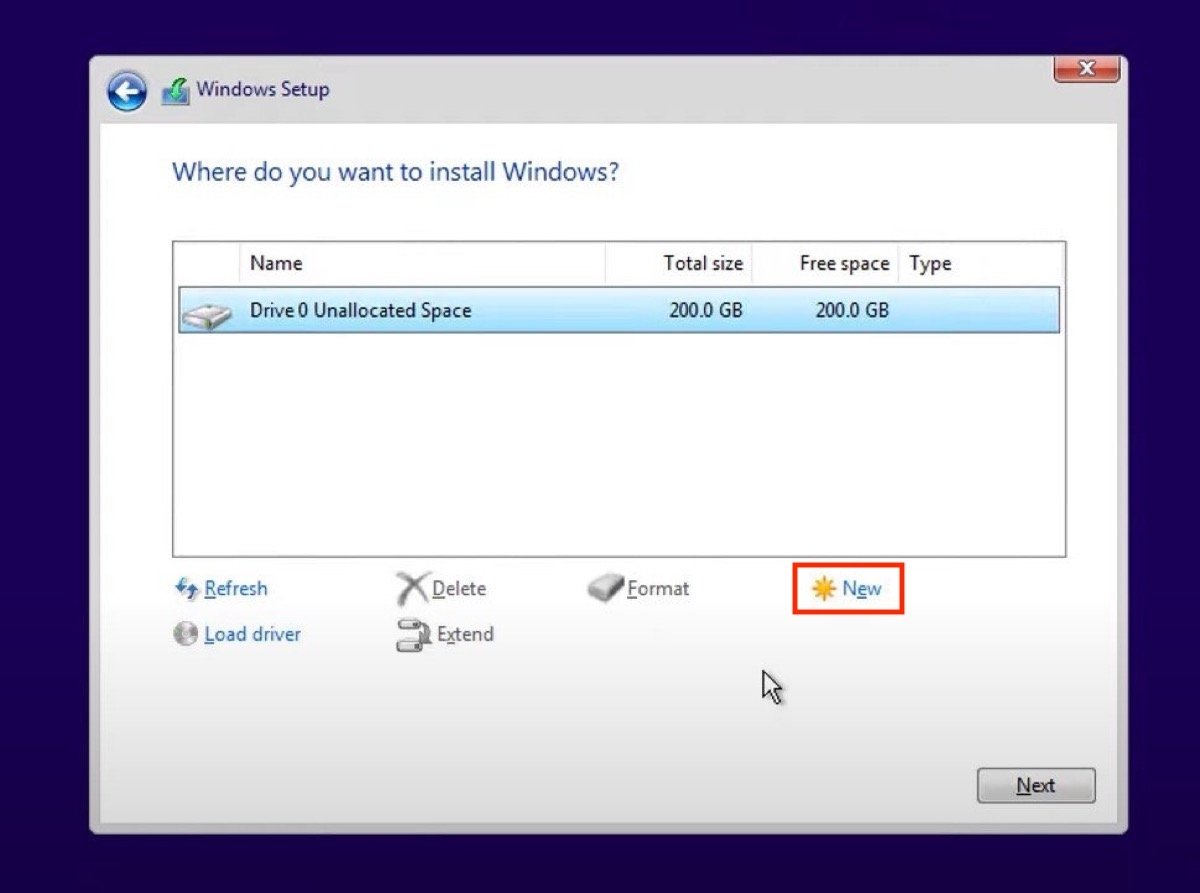 Delete partitions and create a new one to install Windows 11
And that is it. The system will be installed on your computer. Be patient because it may take some time.
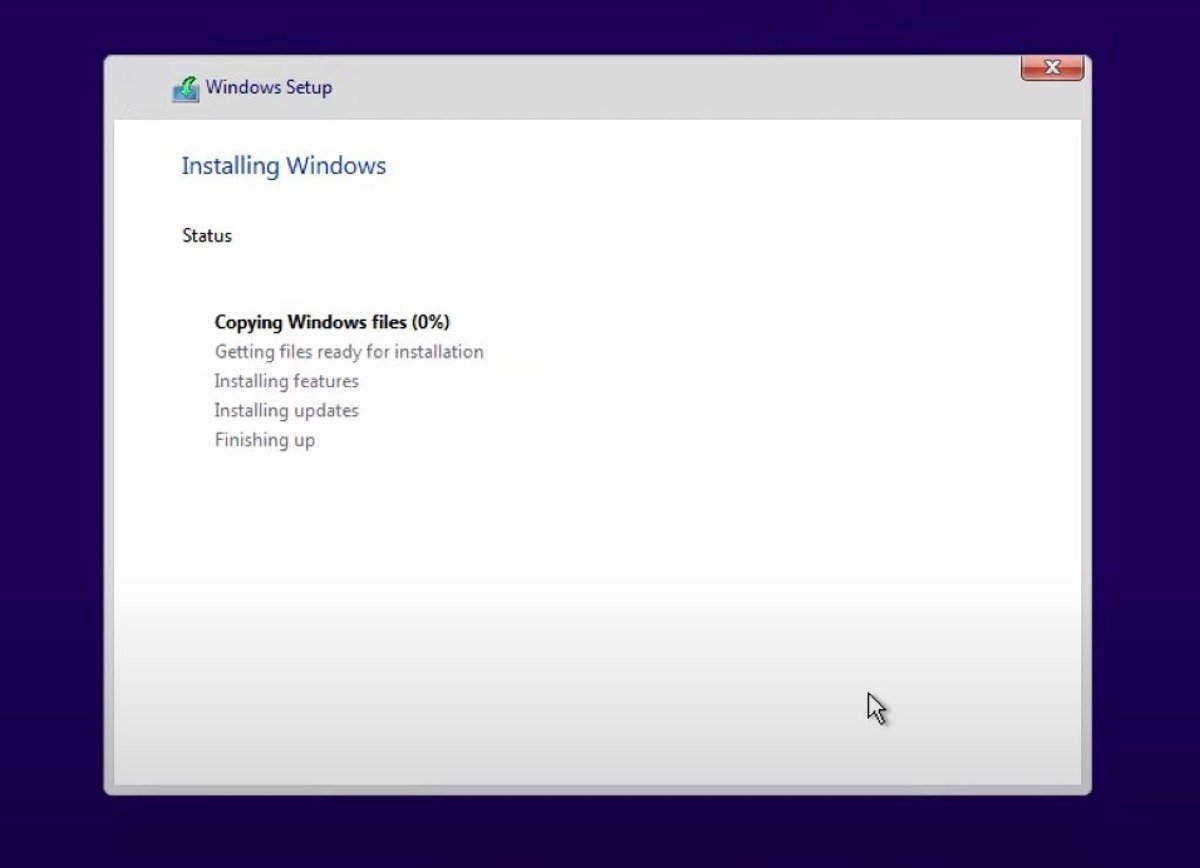 Windows 11 installation underway
Once Windows 11 has finished installing, the computer will restart. You will no longer need to keep your USB connection to the computer because the system is on the storage unit. All you have to do is finalize the settings for your user.
