


Return to San Andreas in this Rockstar classic
Netflix expands its excellent catalog of games with a trilogy of the best GTA games, Grand Theft Auto: The Trilogy - The Definitive Edition. One of the chosen ones is GTA San Andreas - Grand Theft Auto APK, inviting us to once again accompany Carl Johnson in a story of redemption and revenge. But that's just the beginning of what you're going to find when you download GTA San Andreas - Grand Theft Auto Android for free.
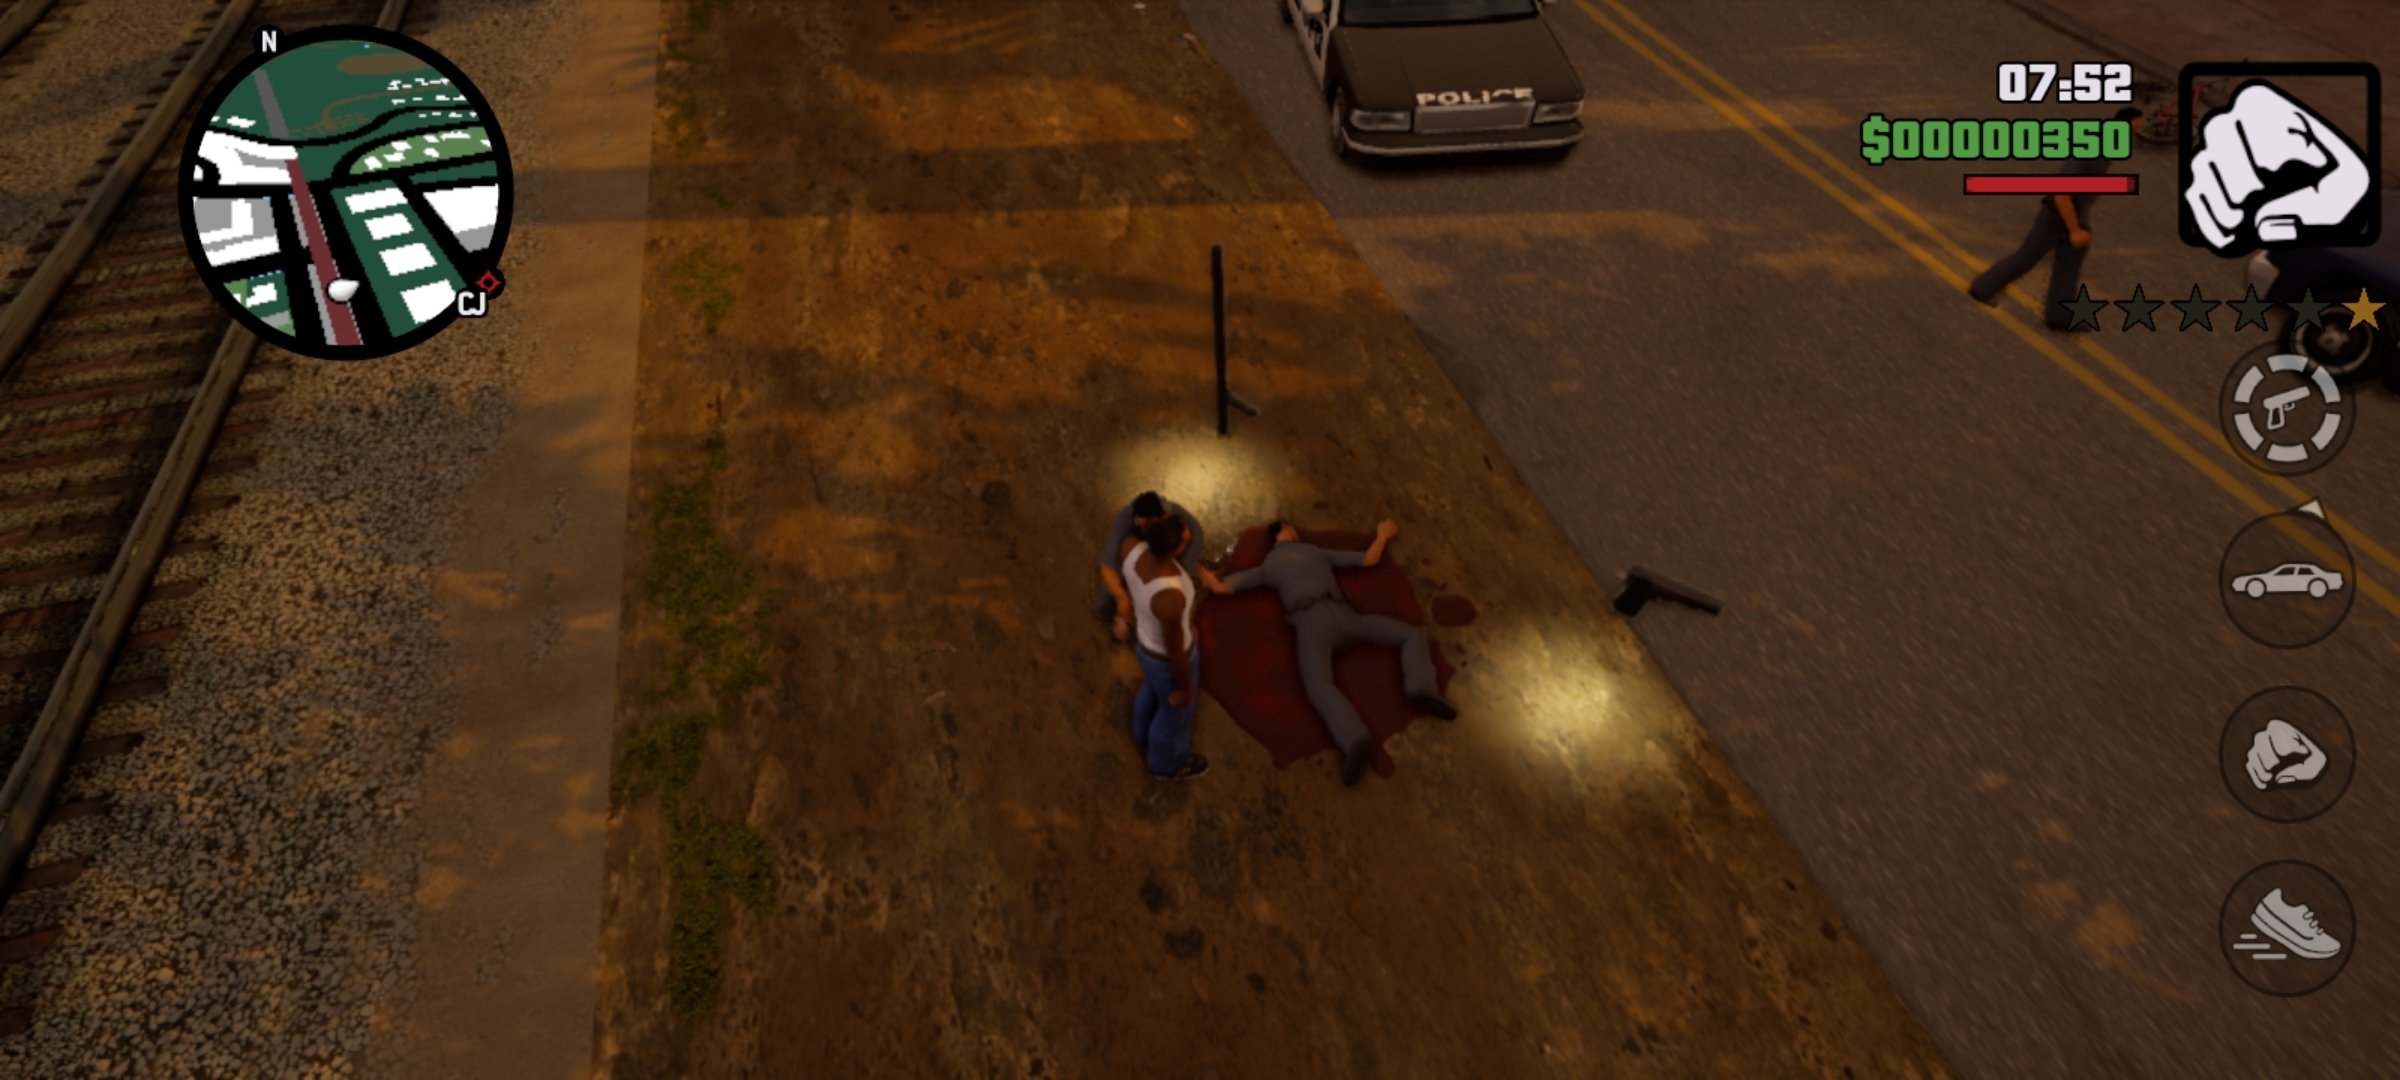
Fights, criminal gangs, robberies and, above all, revenge
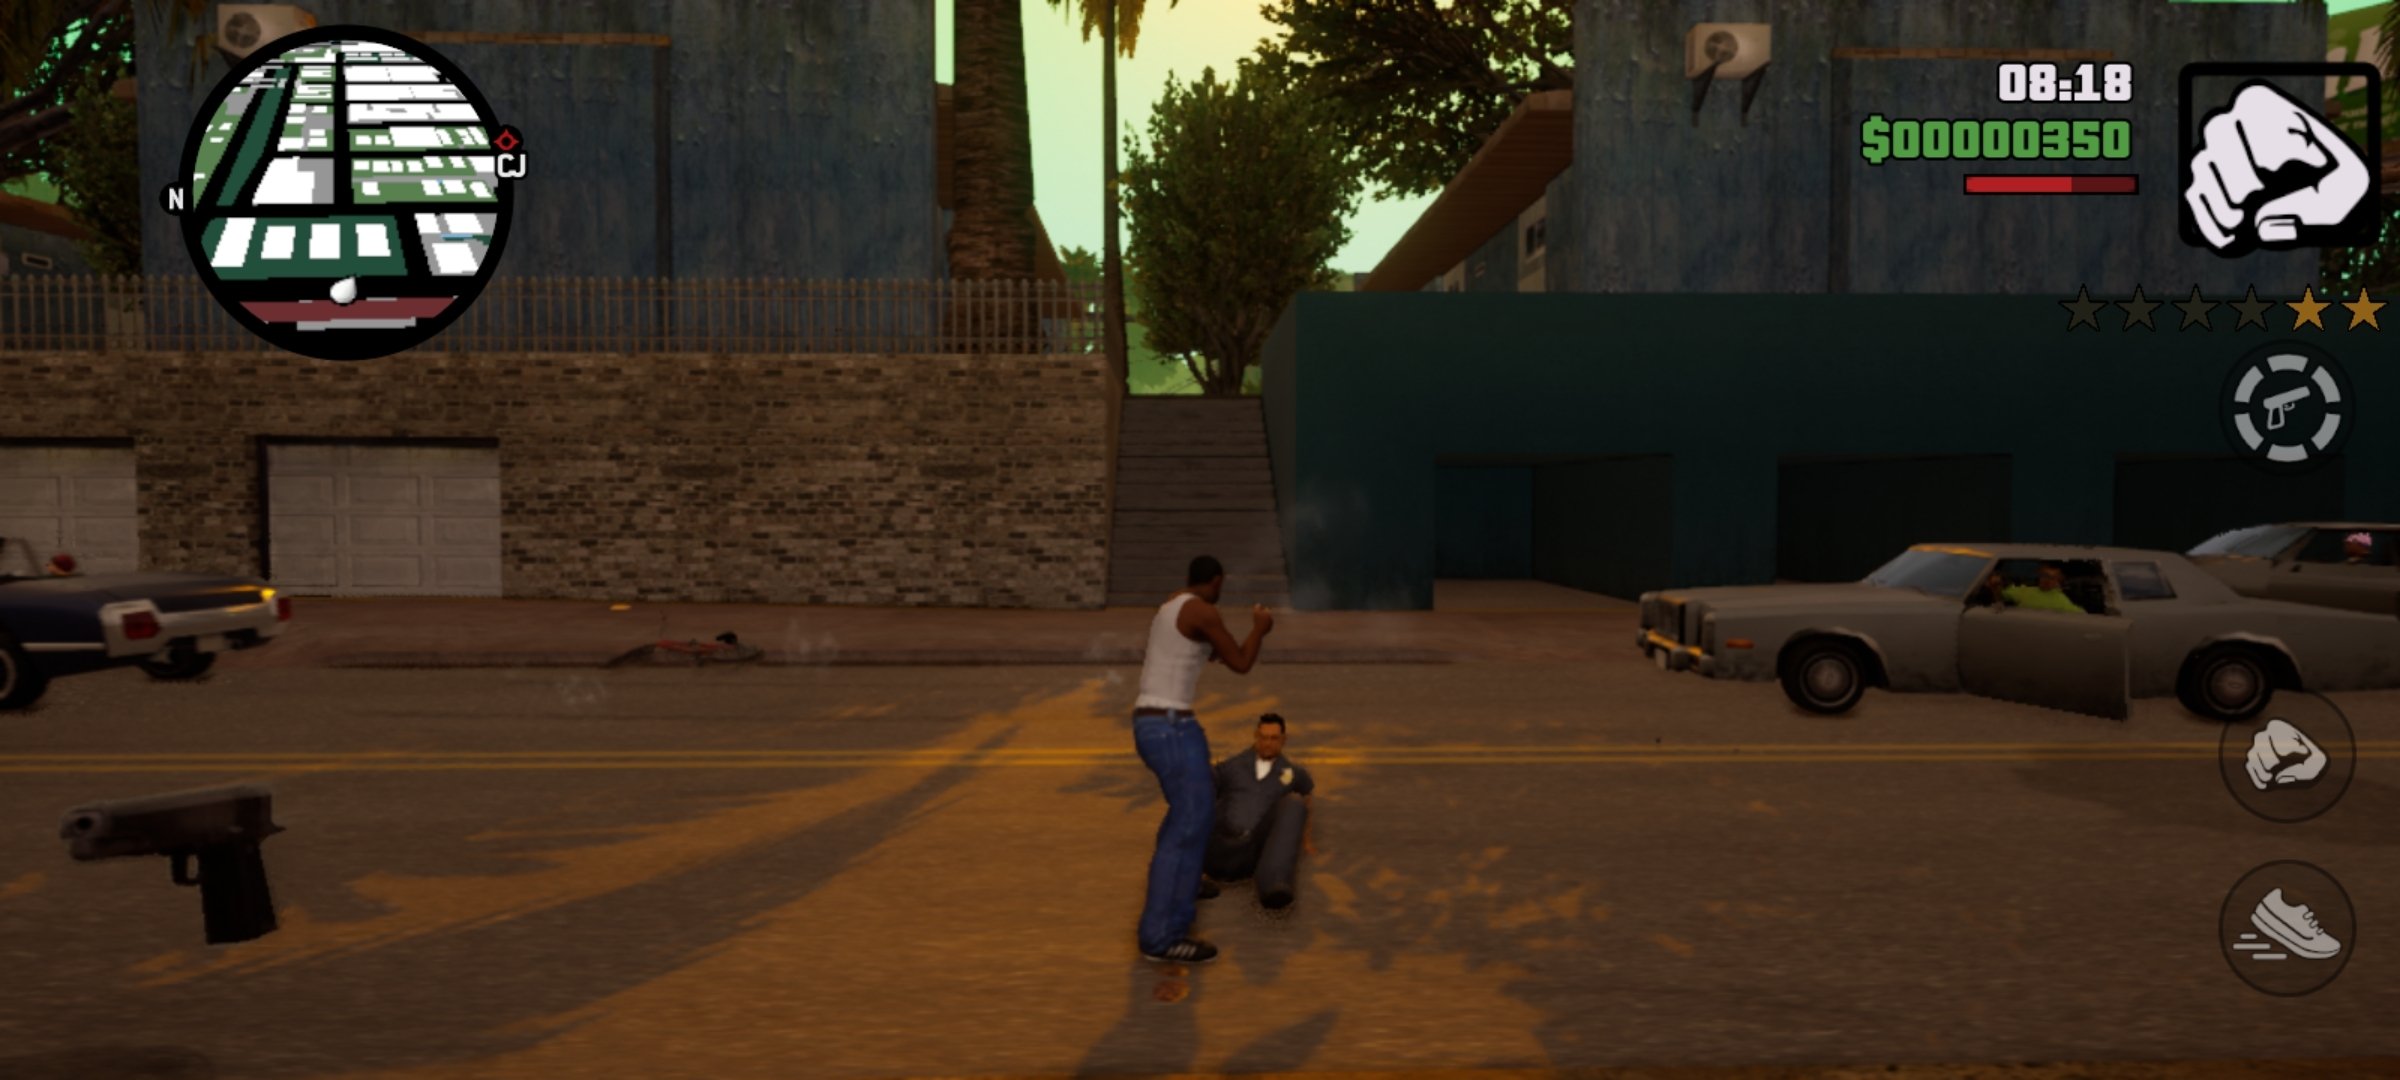
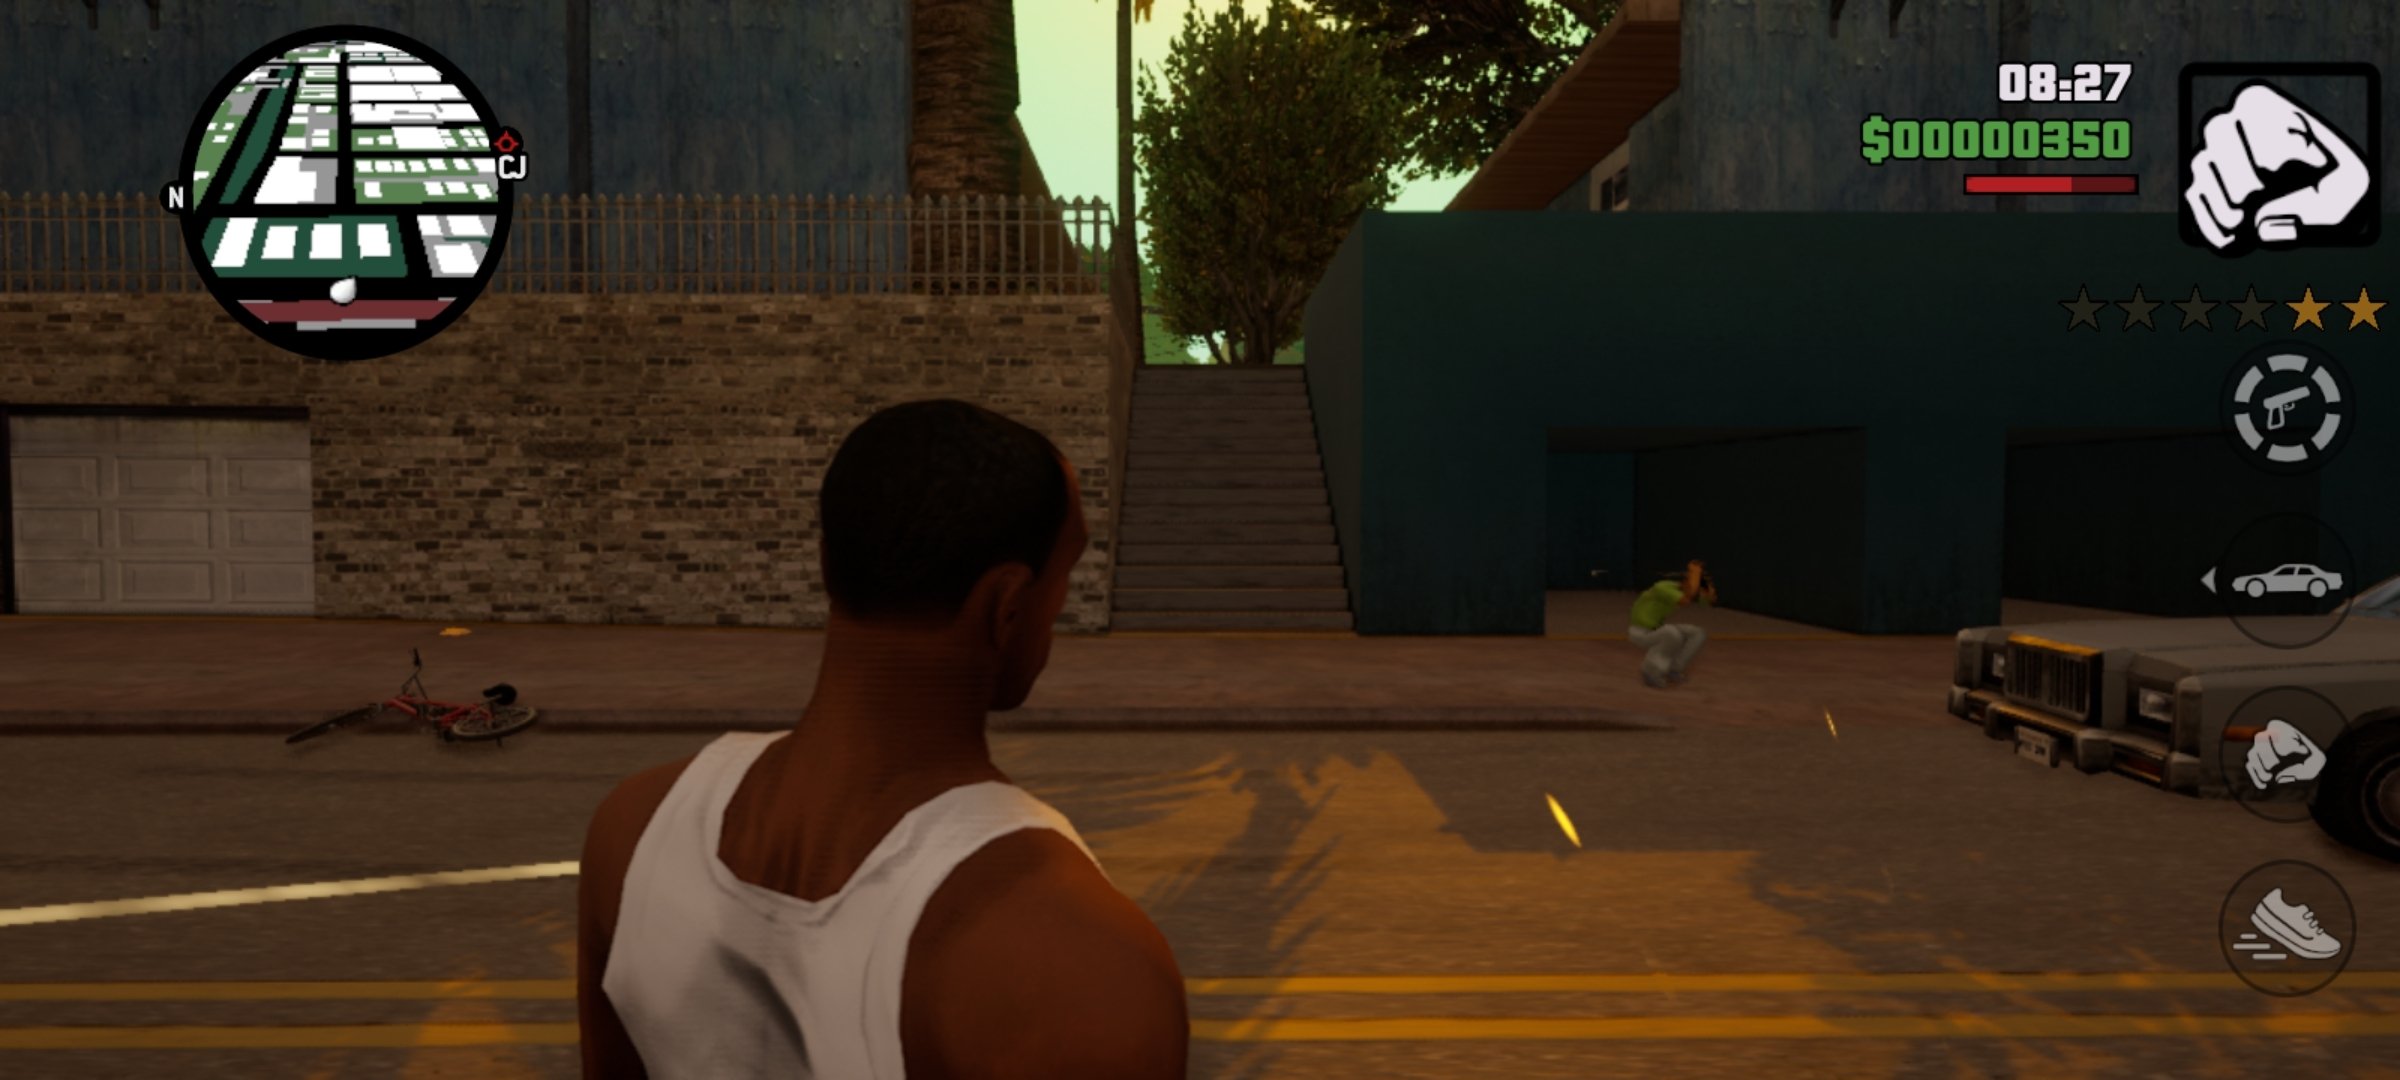
GTA San Andreas - Grand Theft Auto APK is an action-adventure game with 3D graphics in open world. Originally developed by Rockstar Games for the PlayStation 2, its success led to different versions and remasters. The last one is this one that comes from Netflix with different improvements, such as:
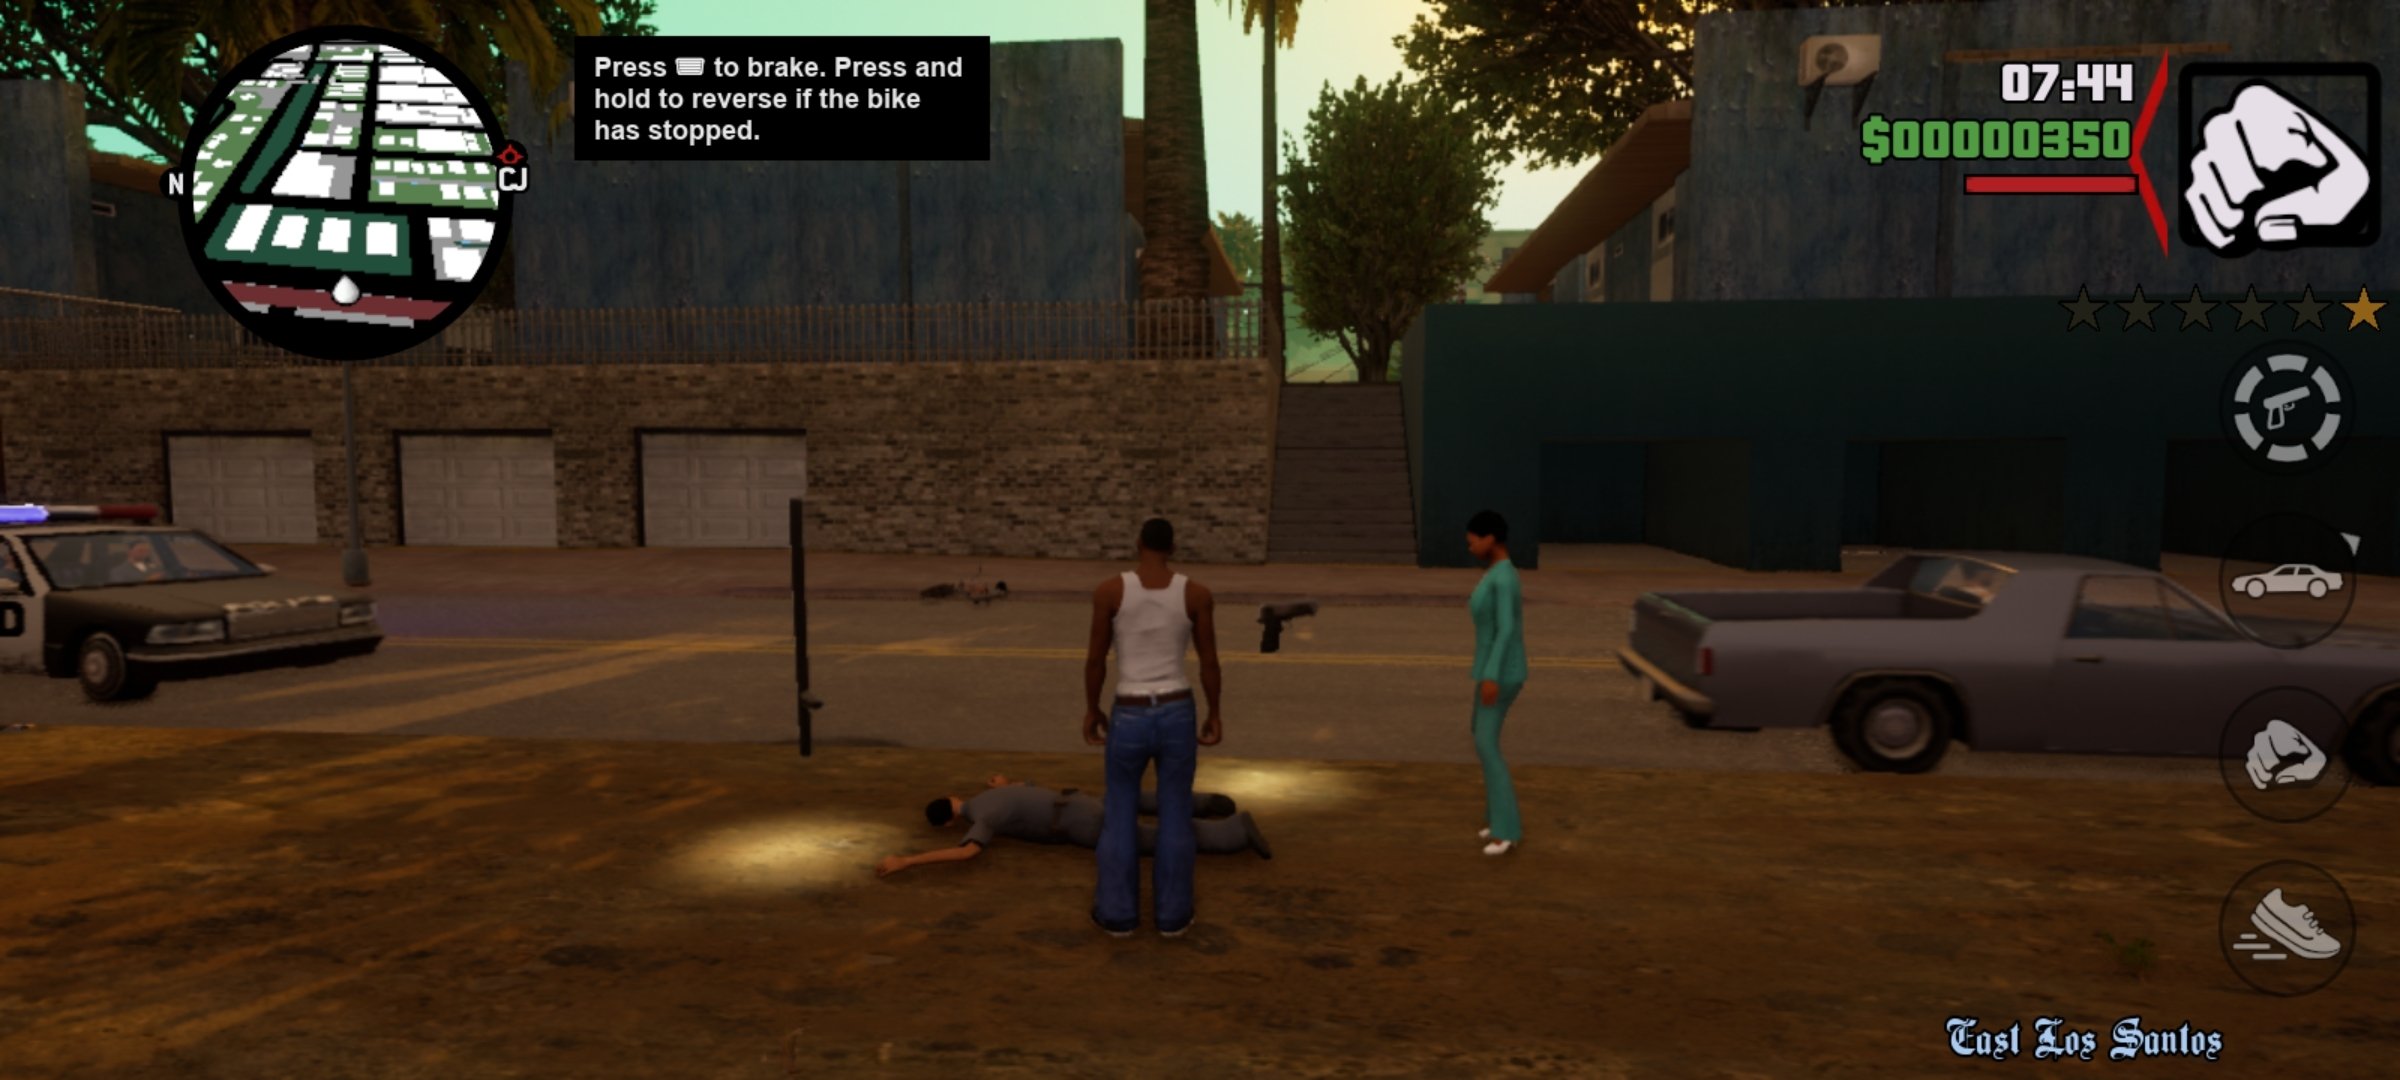
- High-resolution textures.
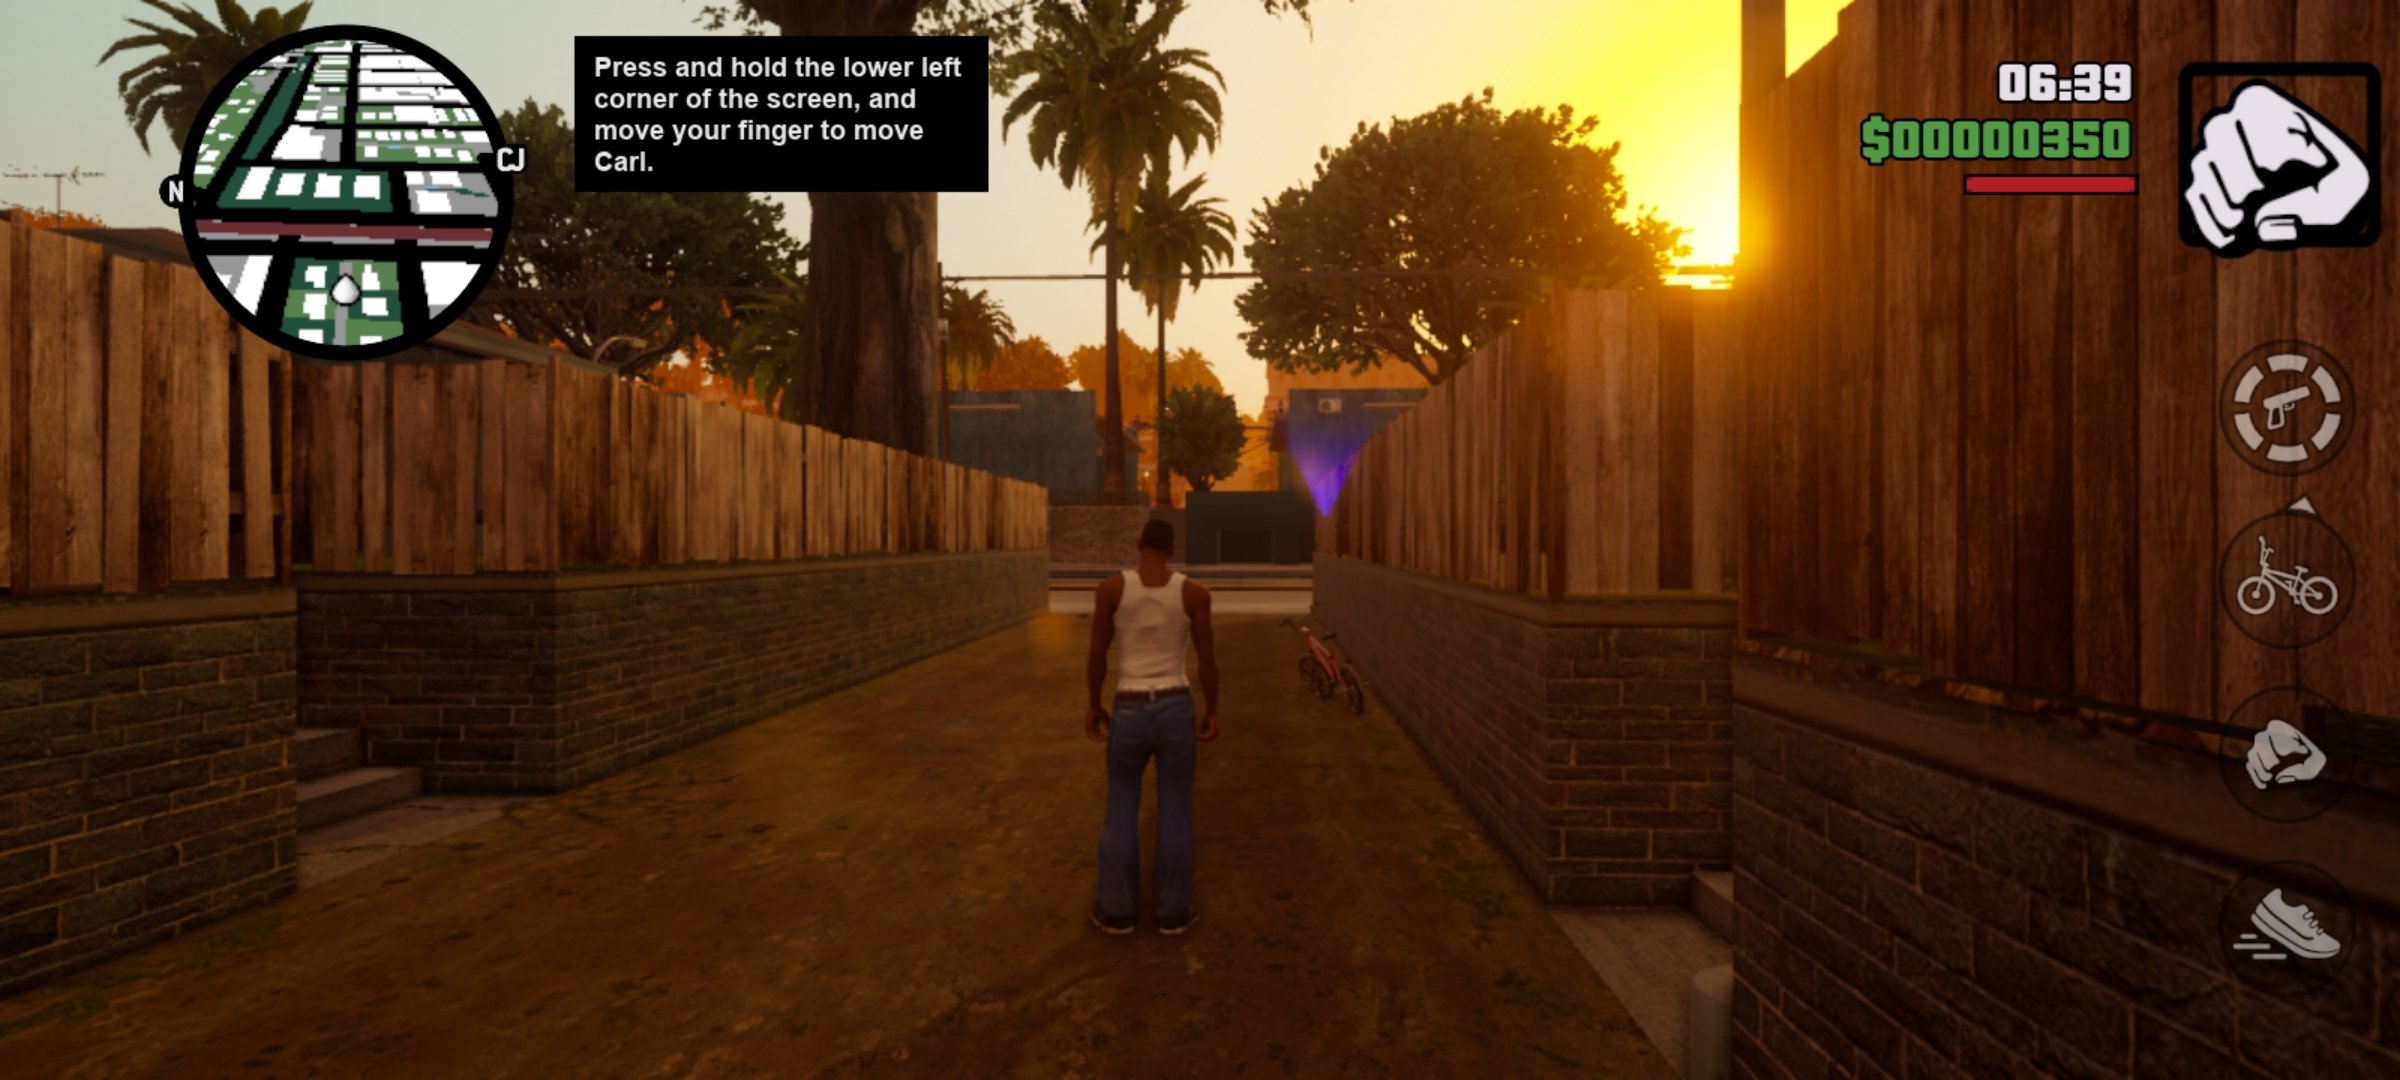
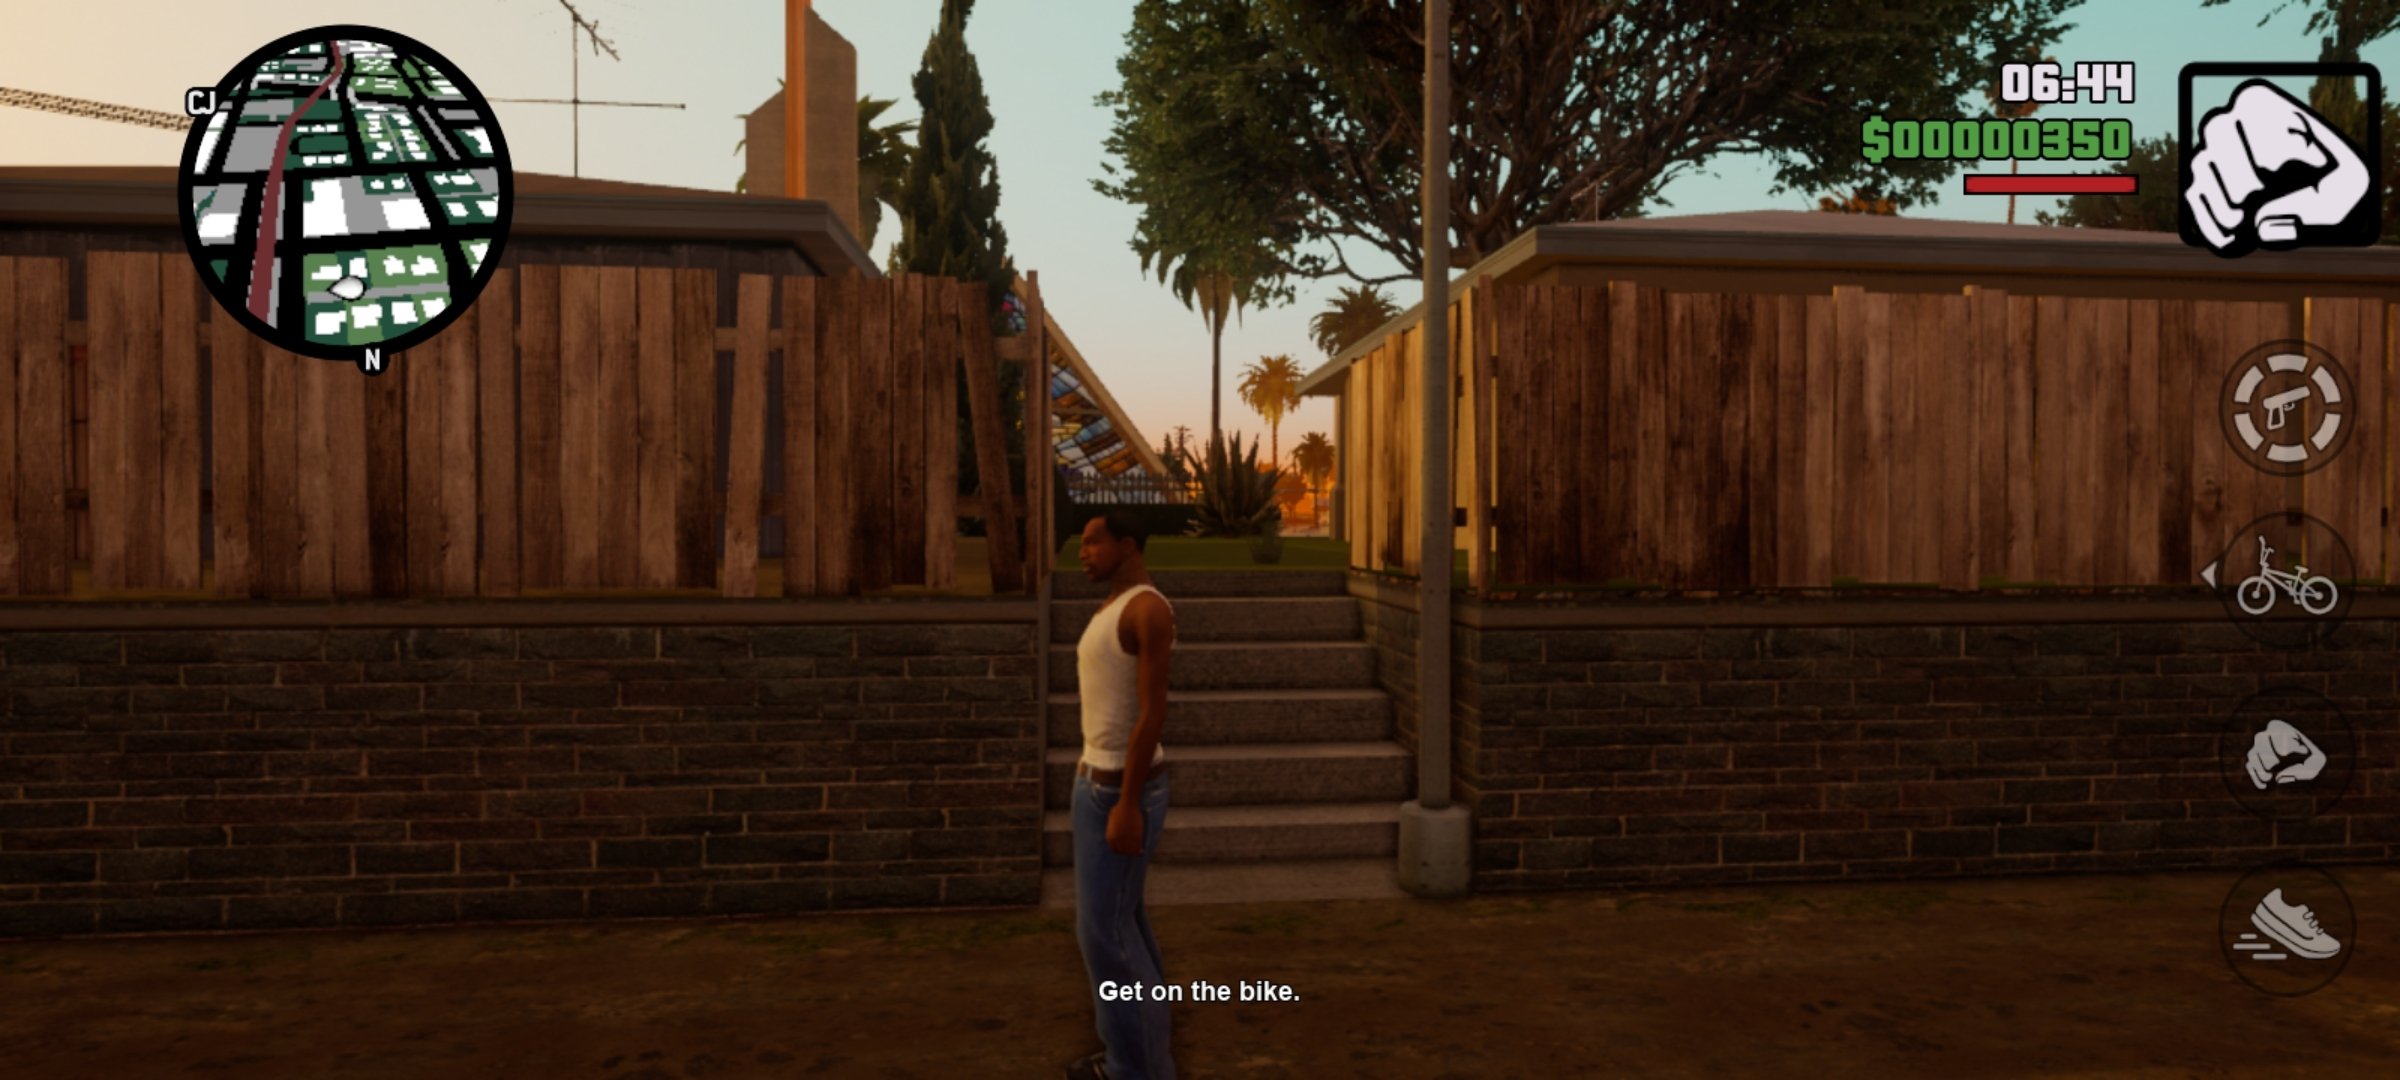
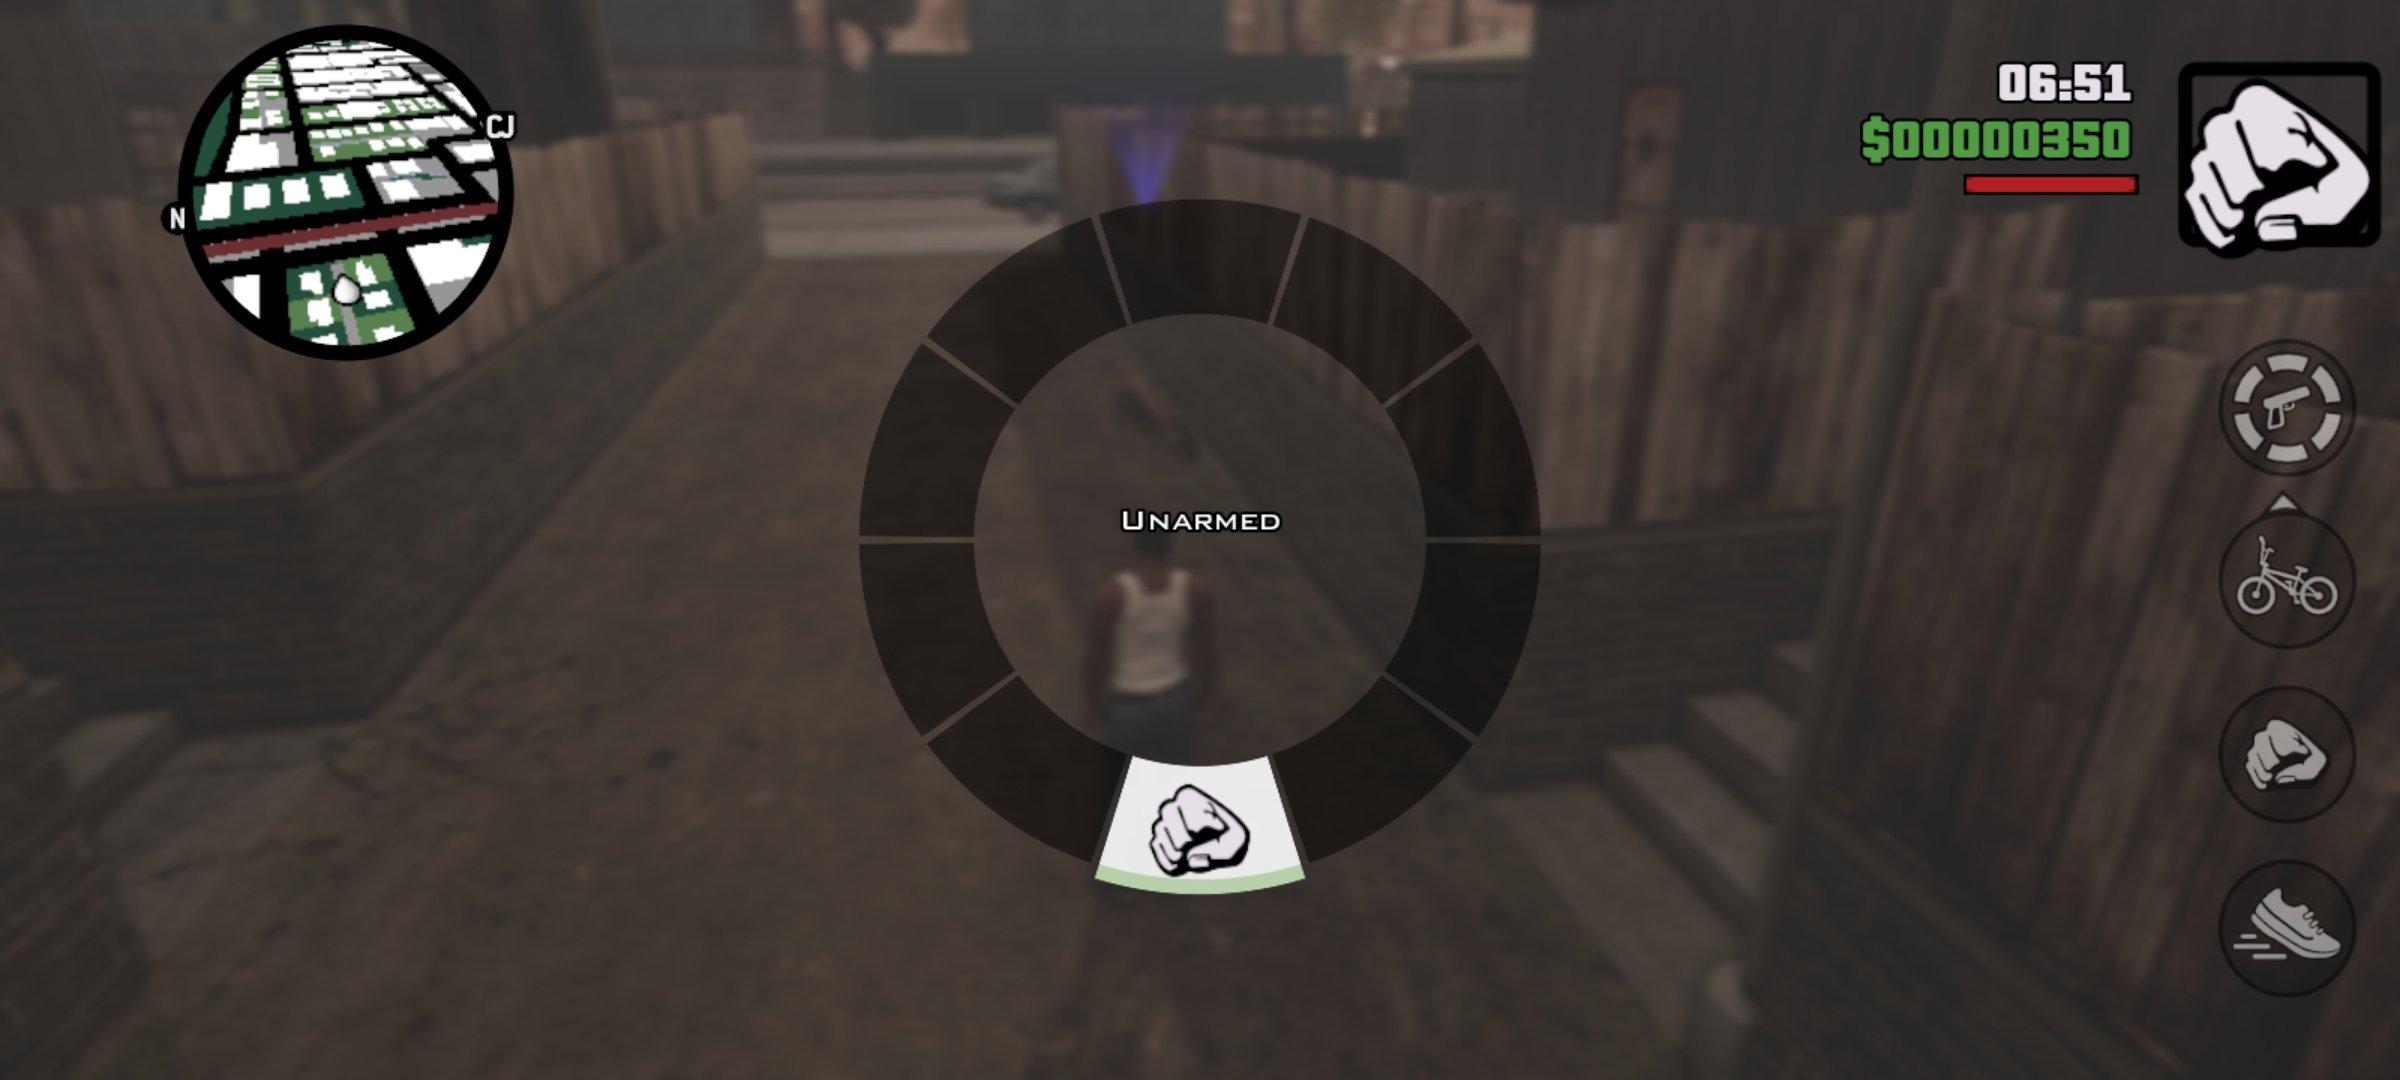
- Gameplay adapted to mobile devices.
- Controls similar to those in GTA V.
- Tweaked and improved lighting.
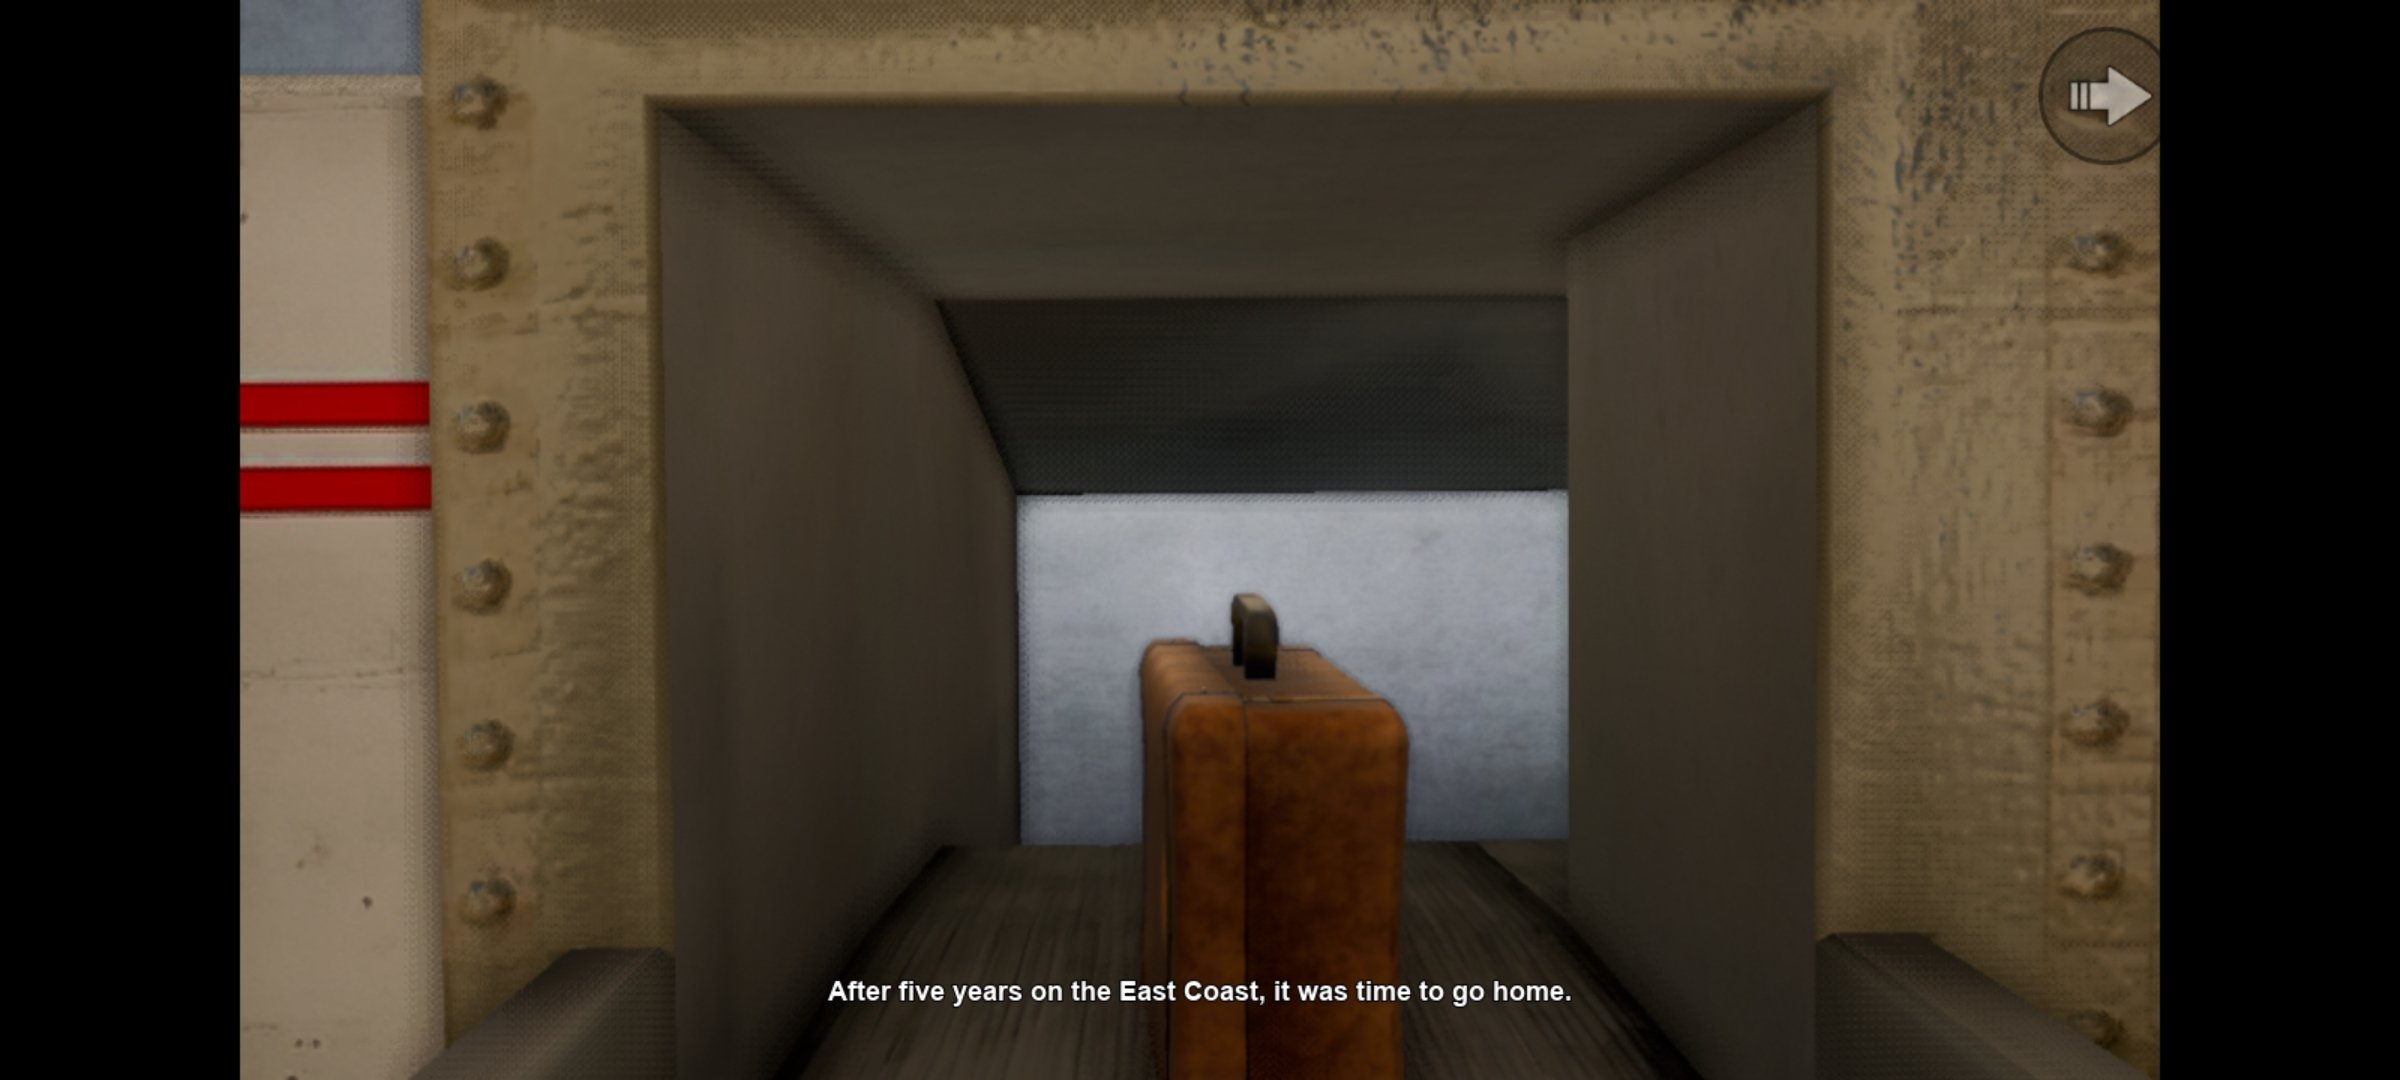
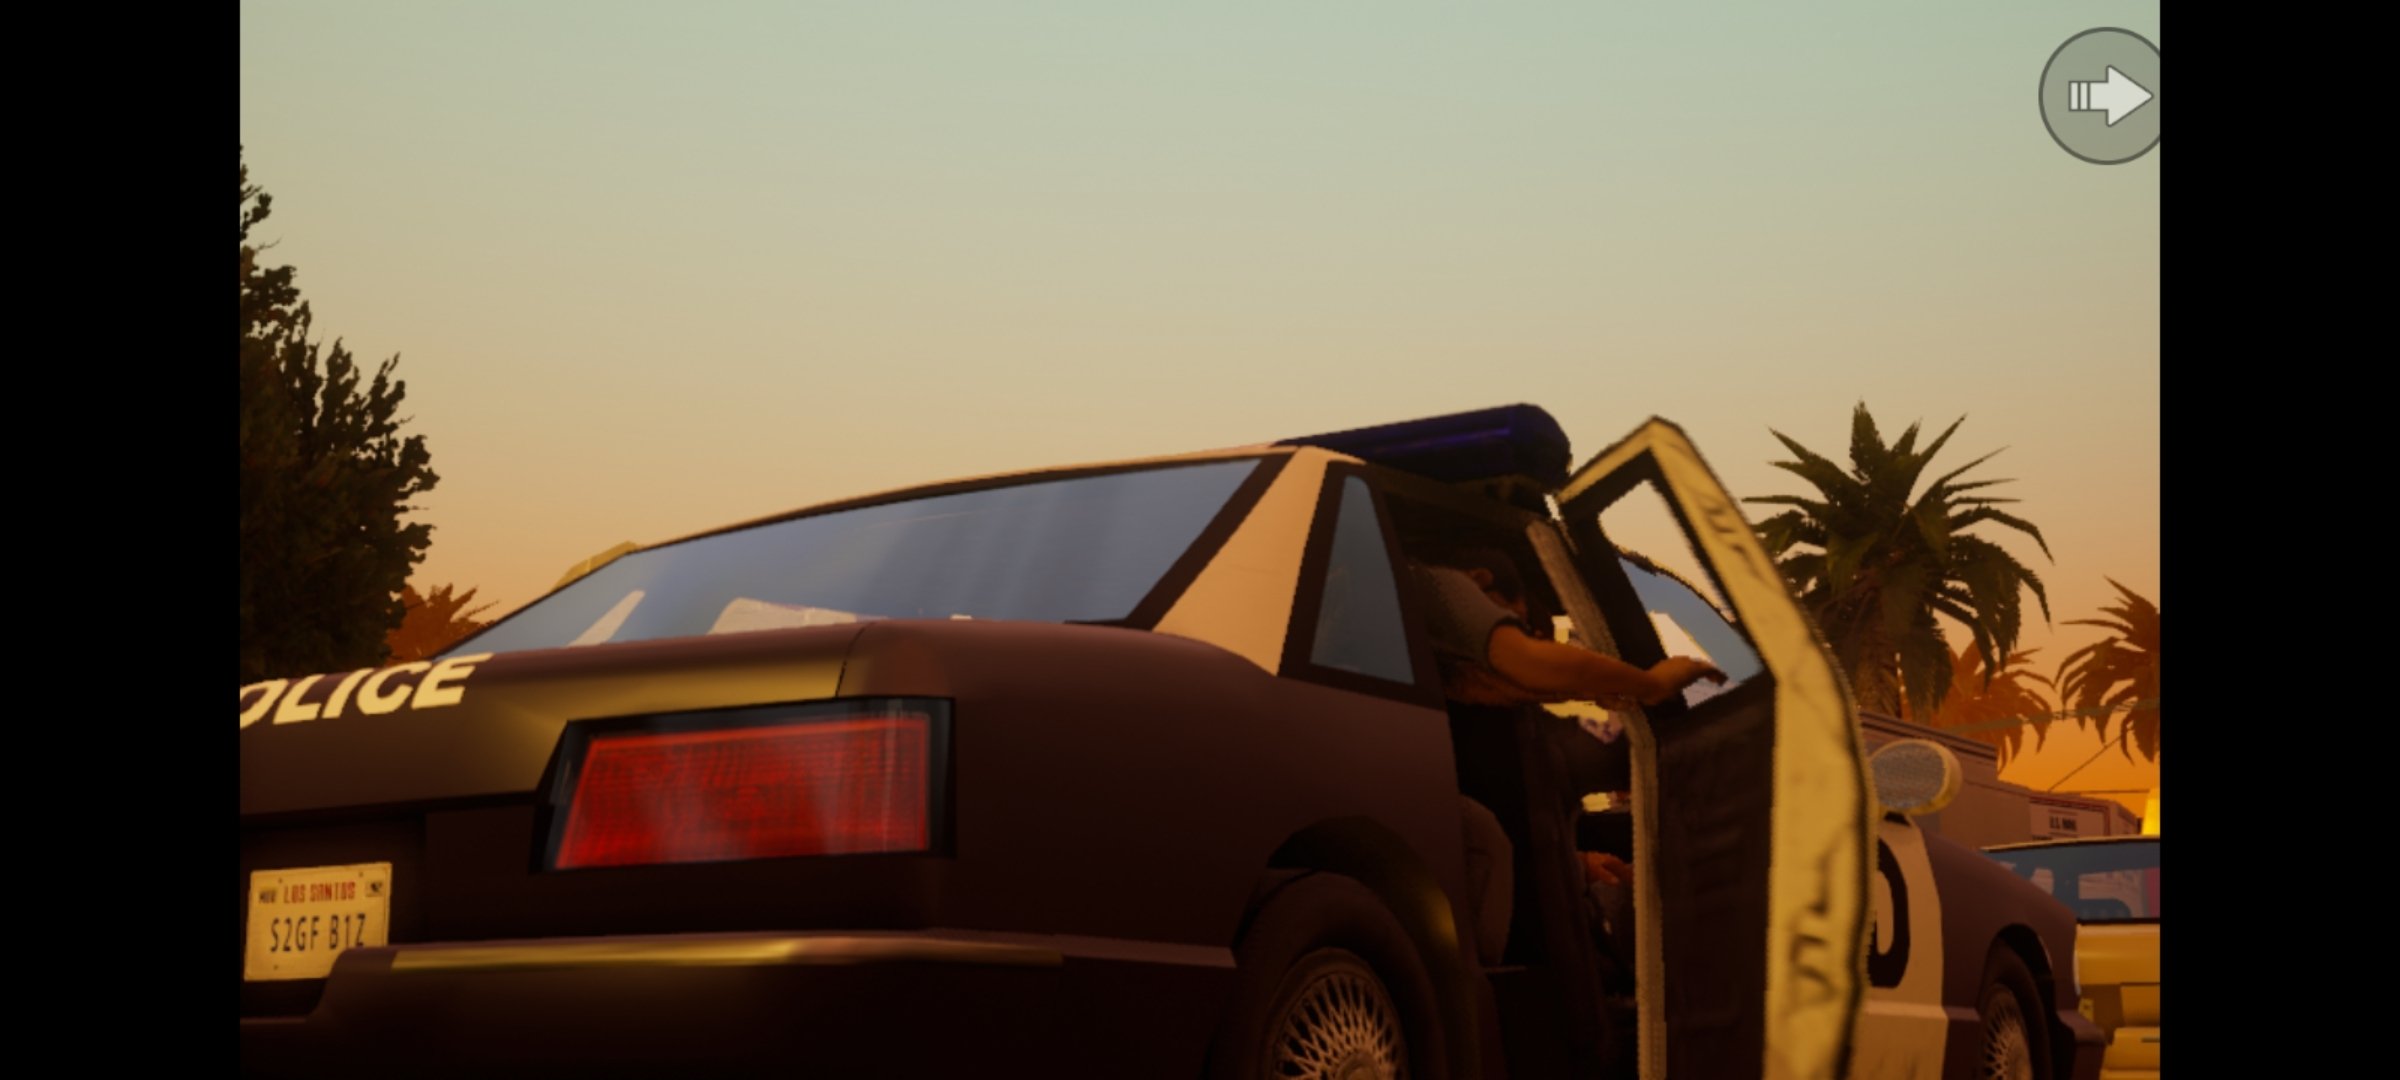
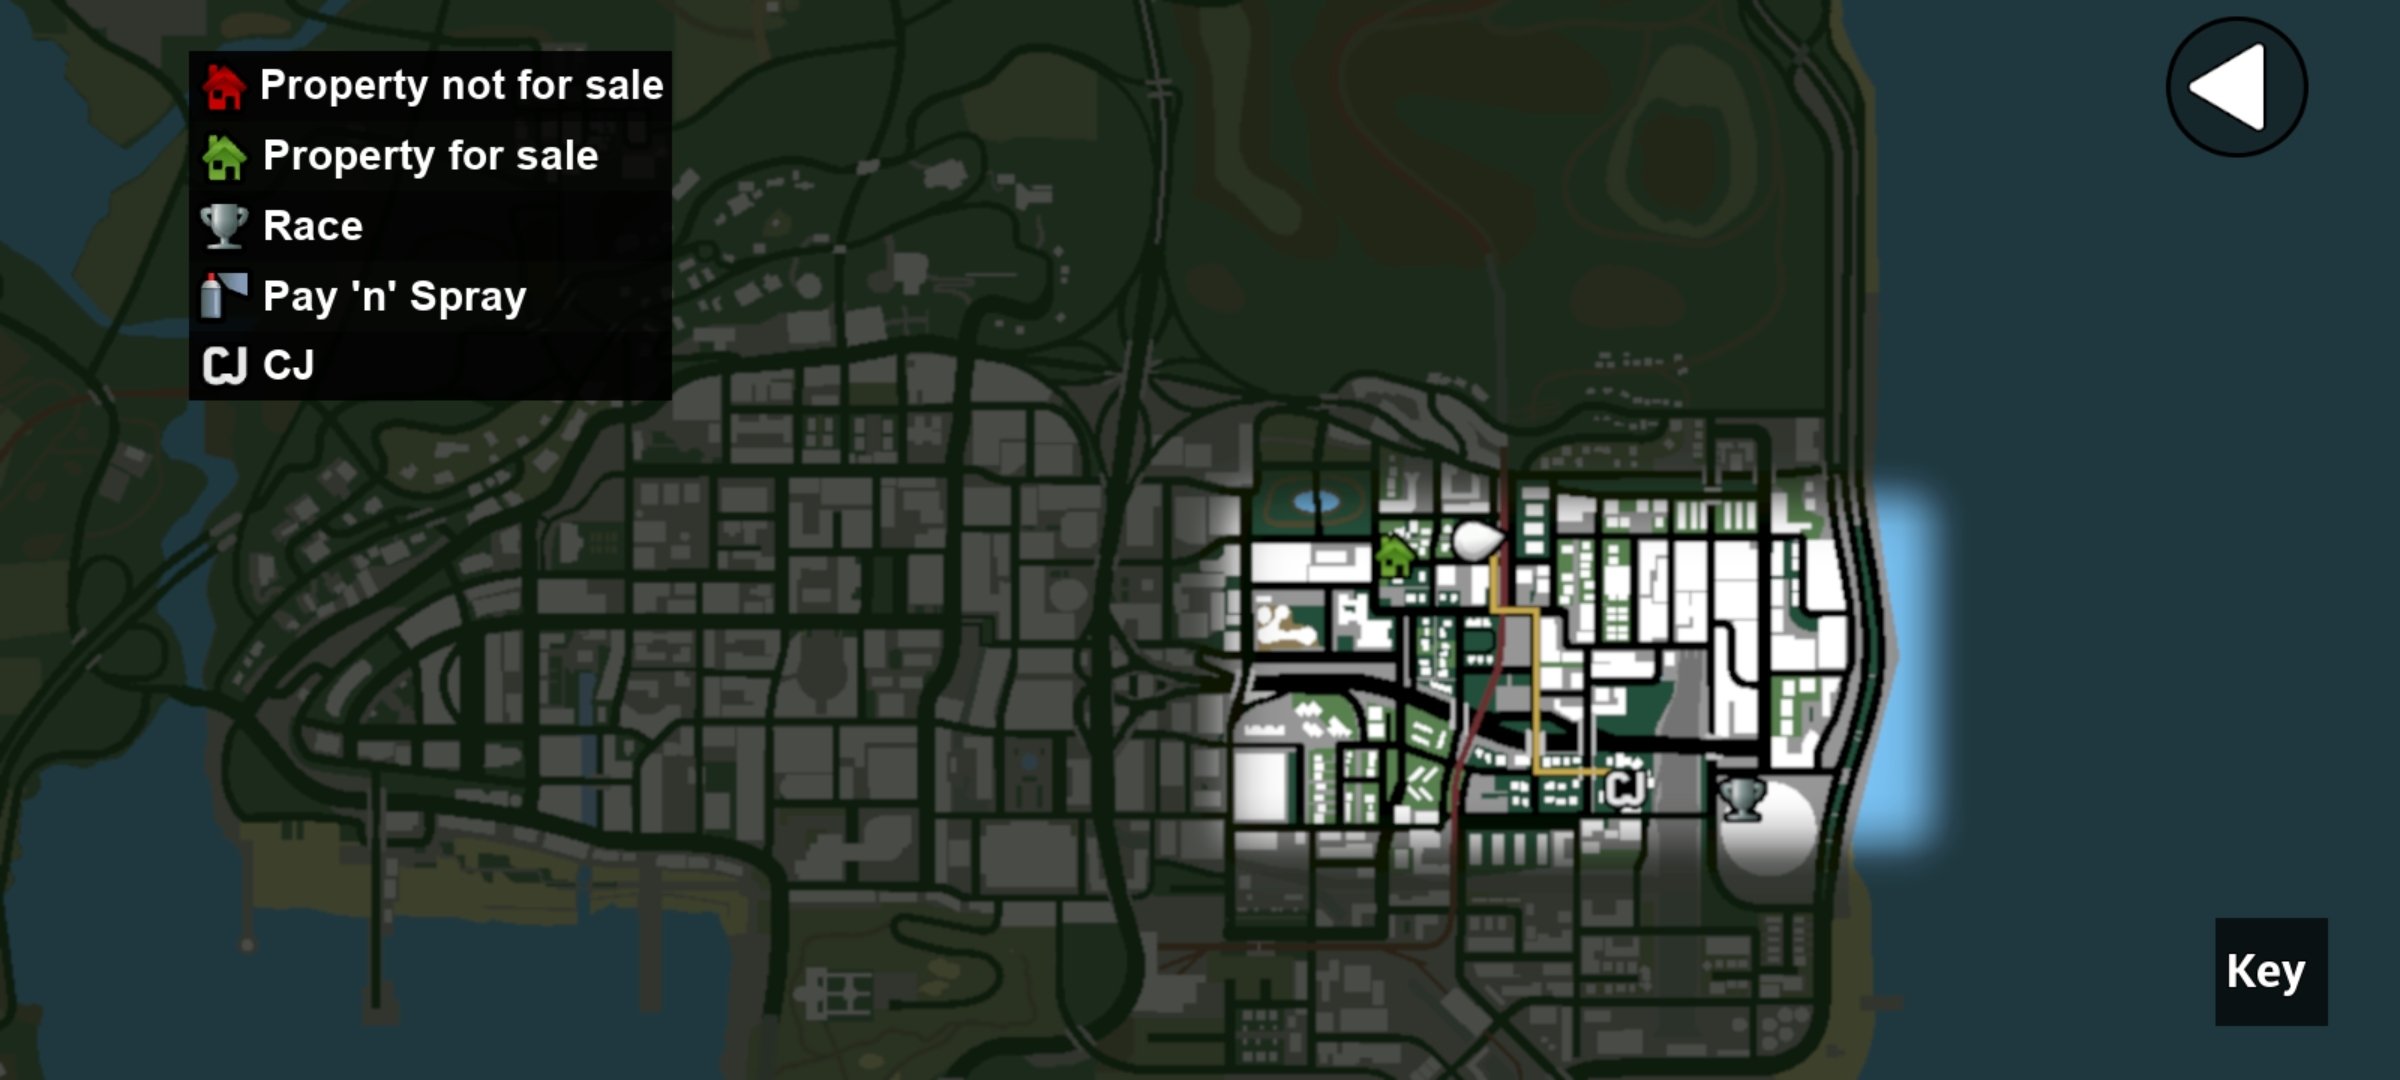
The story takes place in the early 90s, when Carl 'CJ' Johnson returns to San Andreas. His mother has been murdered, his family has fallen apart, and his childhood friends are on the verge of a crisis. On top of that, when he returns to his old neighborhood, two corrupt policemen falsely incriminate him in a homicide. CJ will embark on a journey across San Andreas to save his family and clear his name.
CJ is dragged on a journey that will take him across San Andreas to save his family and take control of the streets in the next installment of the saga that changed everything.
Therefore, when you download GTA San Andreas - Grand Theft Auto Android for free, you'll take on a task that's as epic as it is titanic. And best of all, you can play without limits, although you need to have an active Netflix subscription.
Requirements and additional information:
- It requires a Netflix subscription.
- Minimum operating system requirements: Android 11.0
- Instructions to install XAPKs on Android
 Almudena Galán
With a degree in Law and Journalism, I specialized in criminology and cultural journalism. Mobile apps, especially Android apps, are one of my great passions. I have been testing dozens of apps every day for over six years now, discovering all...

Susana Arjona
GTA San Andreas Cheats