

The number one instant messaging application
Few things end up being a real revolution in our day-to-day lives. But one of them is surely WhatsApp Messenger APK. Thanks to the popular instant messaging application, we are connected to our friends and family 24 hours a day from our smartphones. Download WhatsApp Messenger Android to discover that the functions of this application go far beyond the simple exchange of messages, although that was its initial purpose. We will be able to access a whole communications ecosystem ranging from messages, calls, voice notes, and video calls, to sharing audio, video, image files, and status updates.
The simple, reliable, and private messaging app with end-to-end encryption.
But most importantly, it has a secure and very easy-to-use tool that only requires a phone number to identify yourself, while implementing end-to-end encryption for all communications.
What can be done in WhatsApp Messenger?
Download WhatsApp Messenger Android for free to access all the following features and functions:
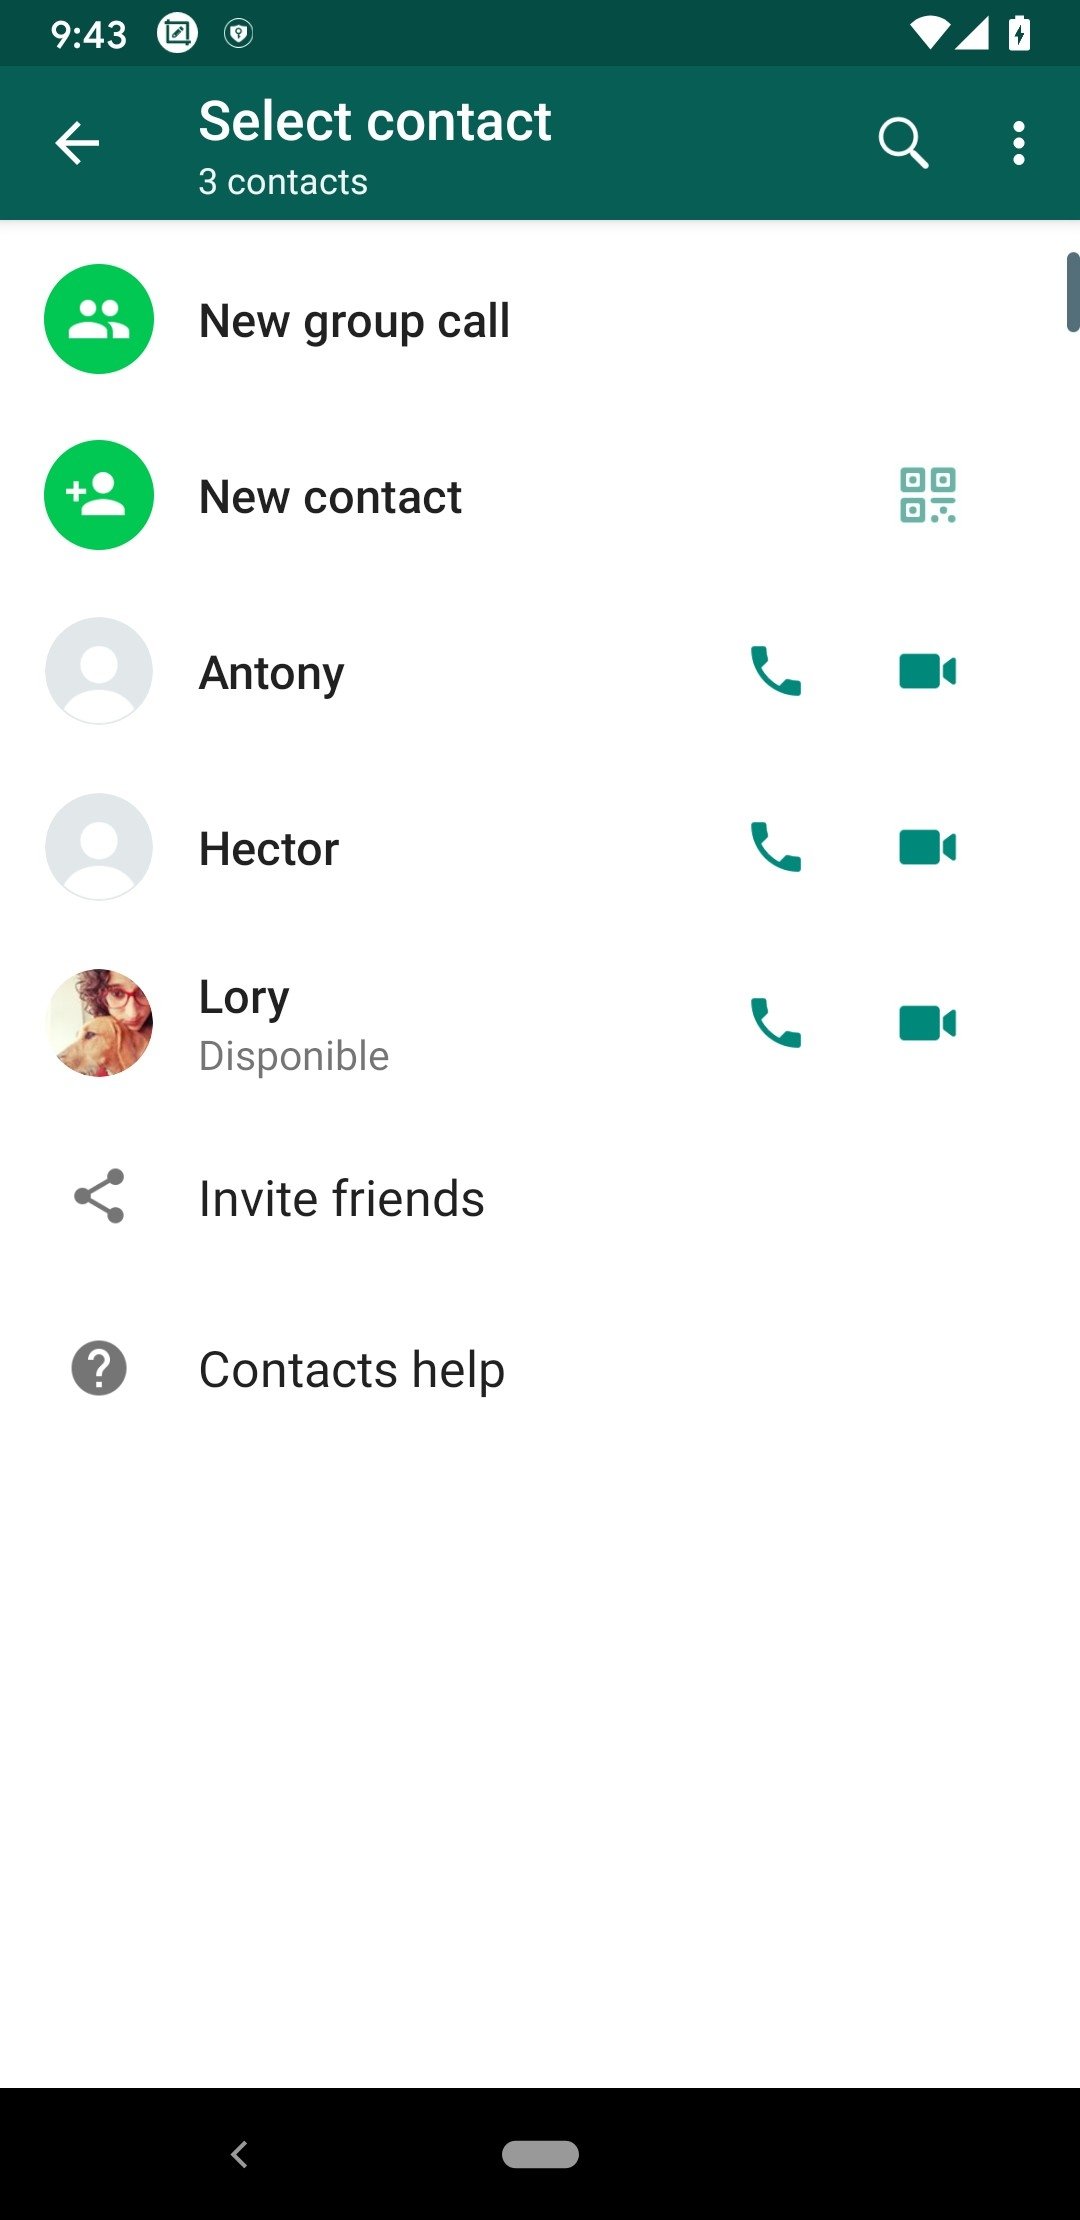
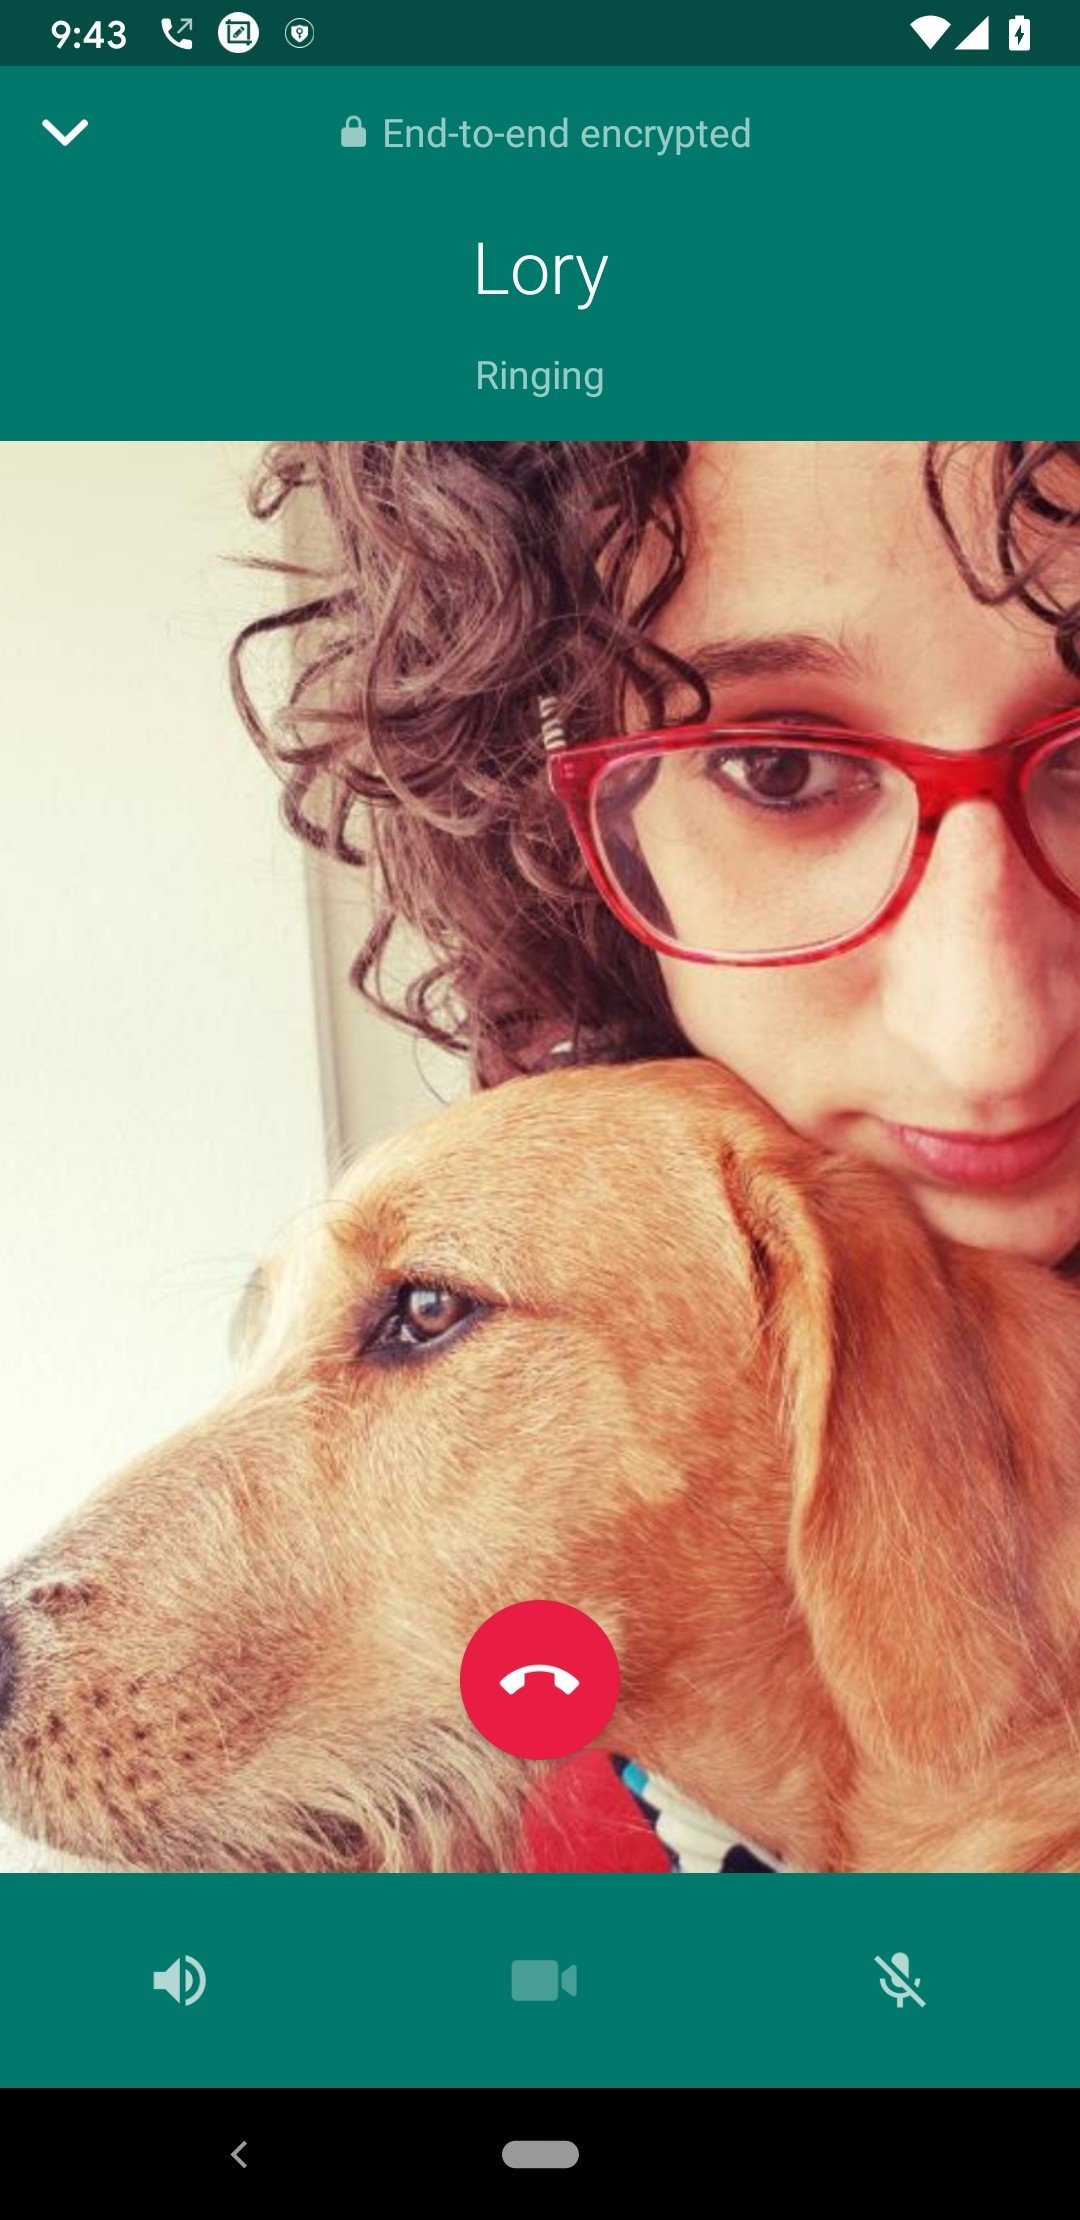
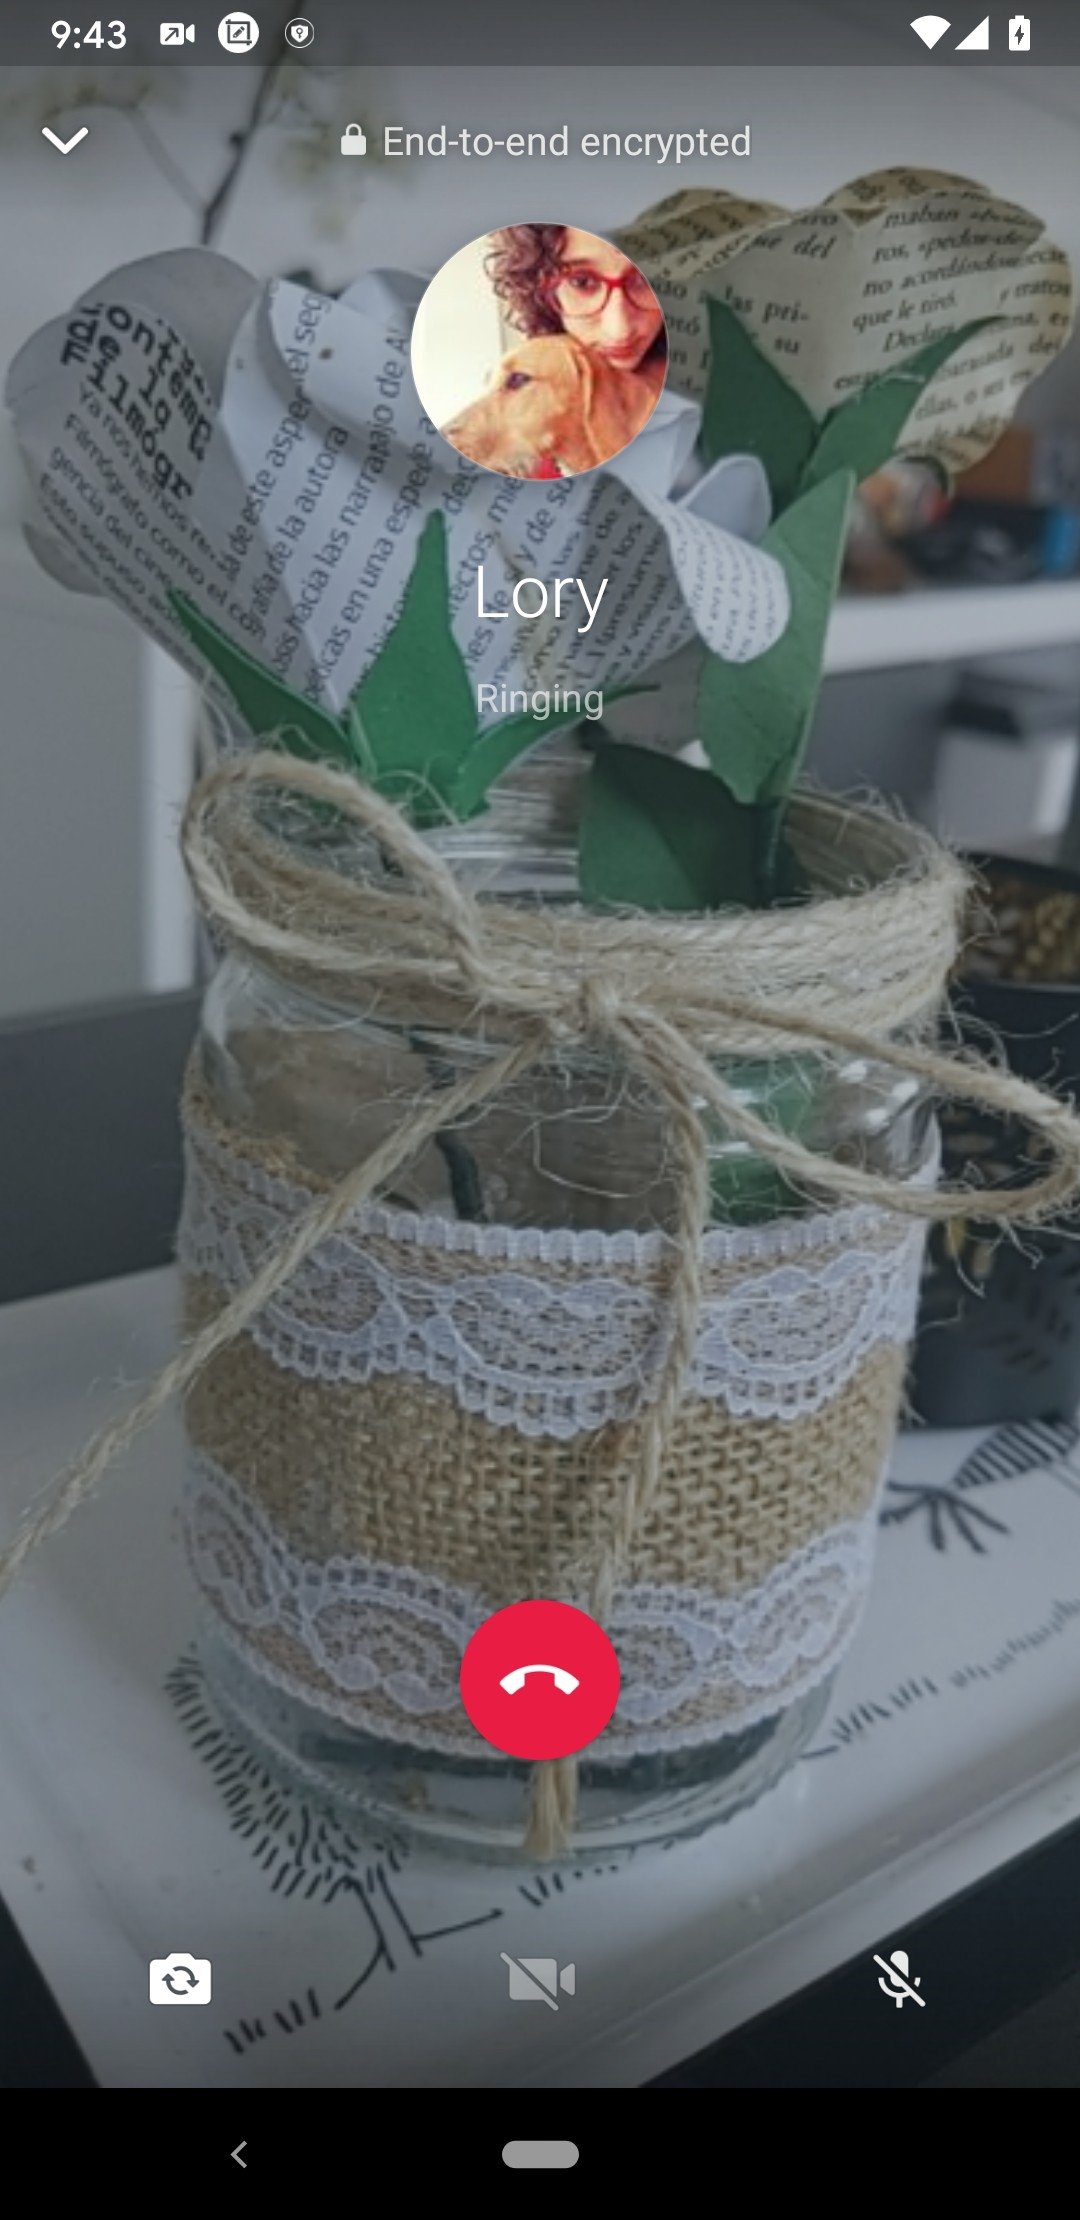
- Write messages to individuals, groups, or make end-to-end encrypted calls and video calls.
- Call or video call up to eight people completely free, even on slow connections.
- Send audios (voice messages) by pressing a button to record for as long as necessary.
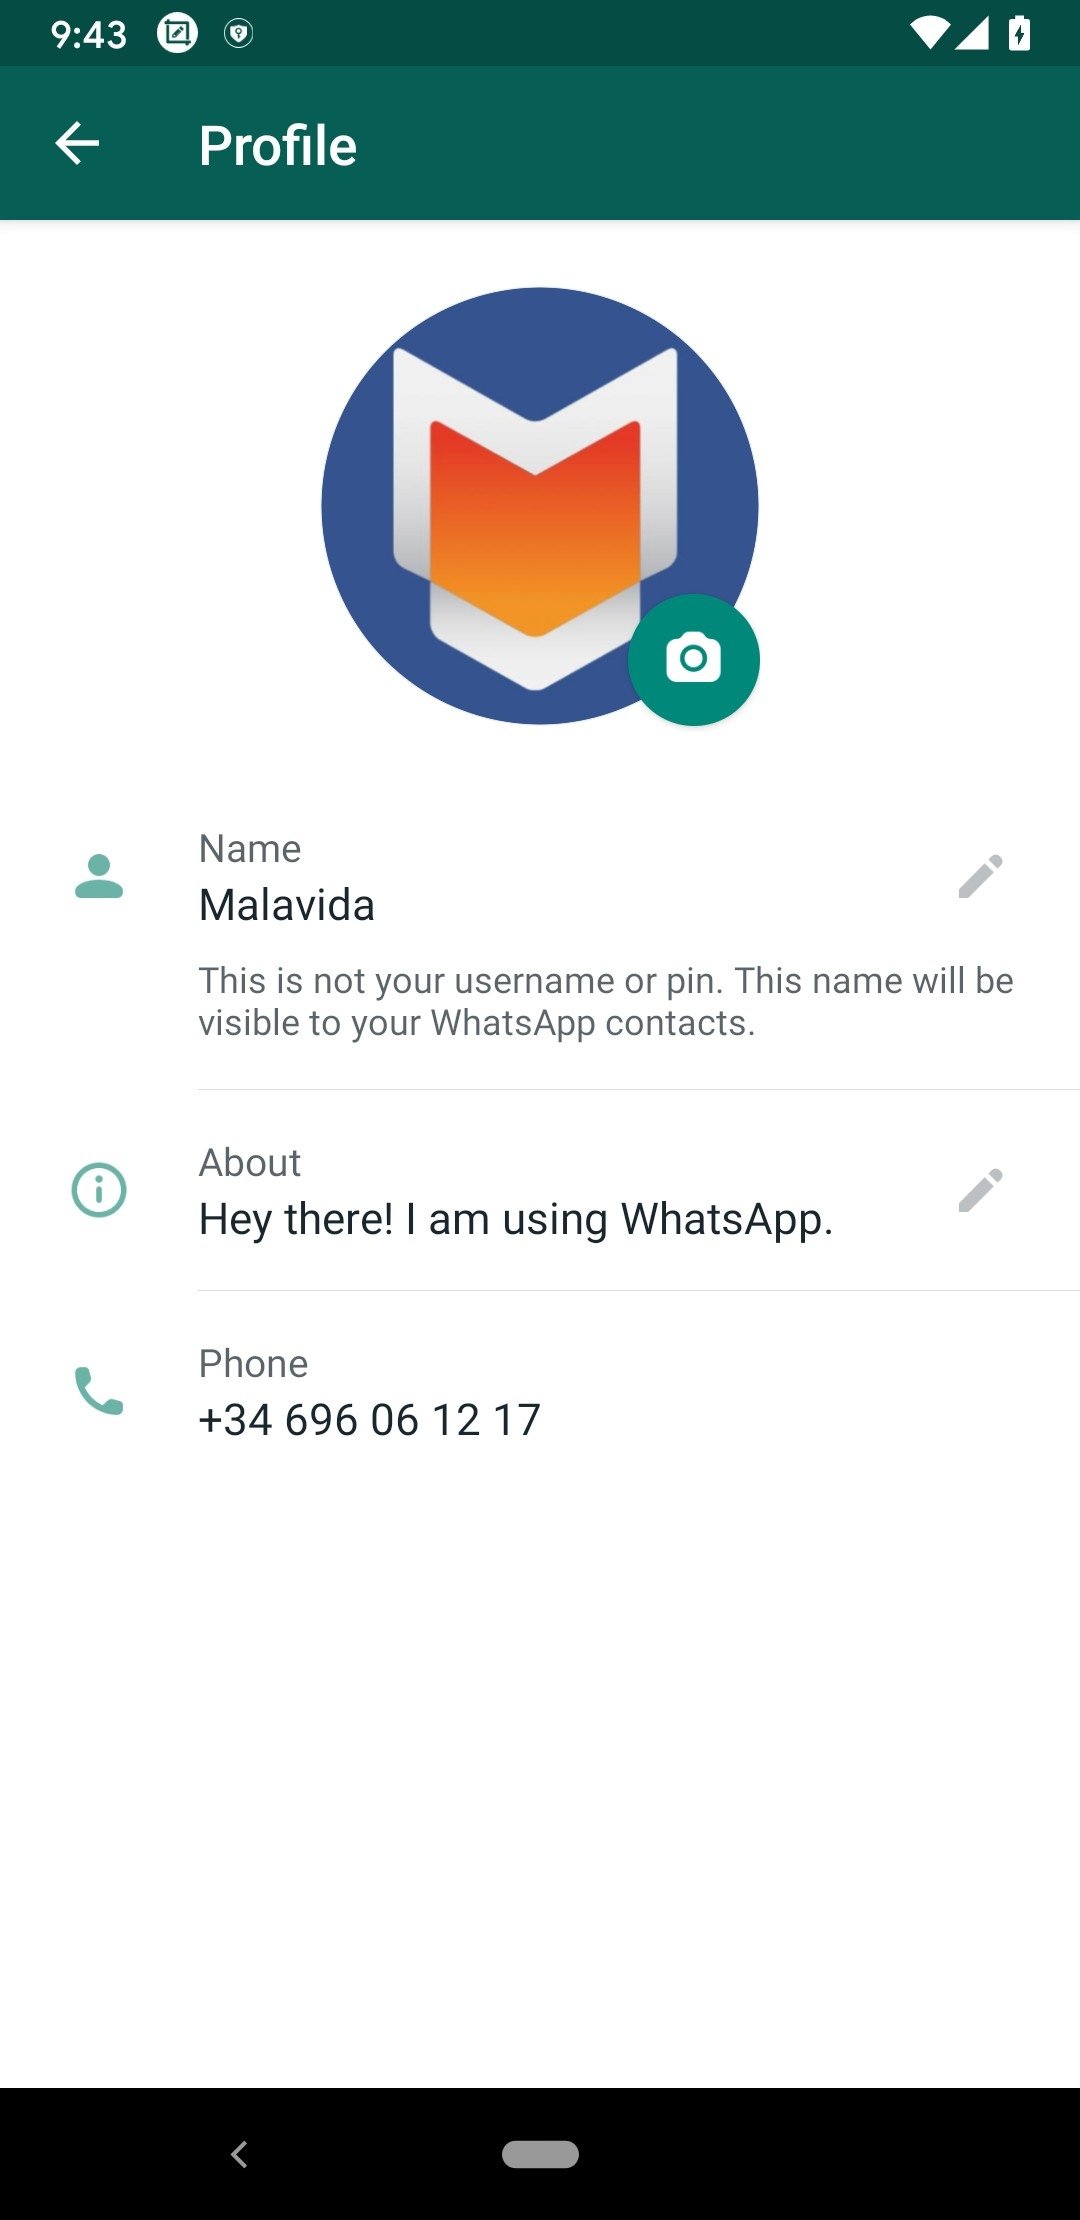
- Set a profile picture that all contacts will see and see each other's pictures.
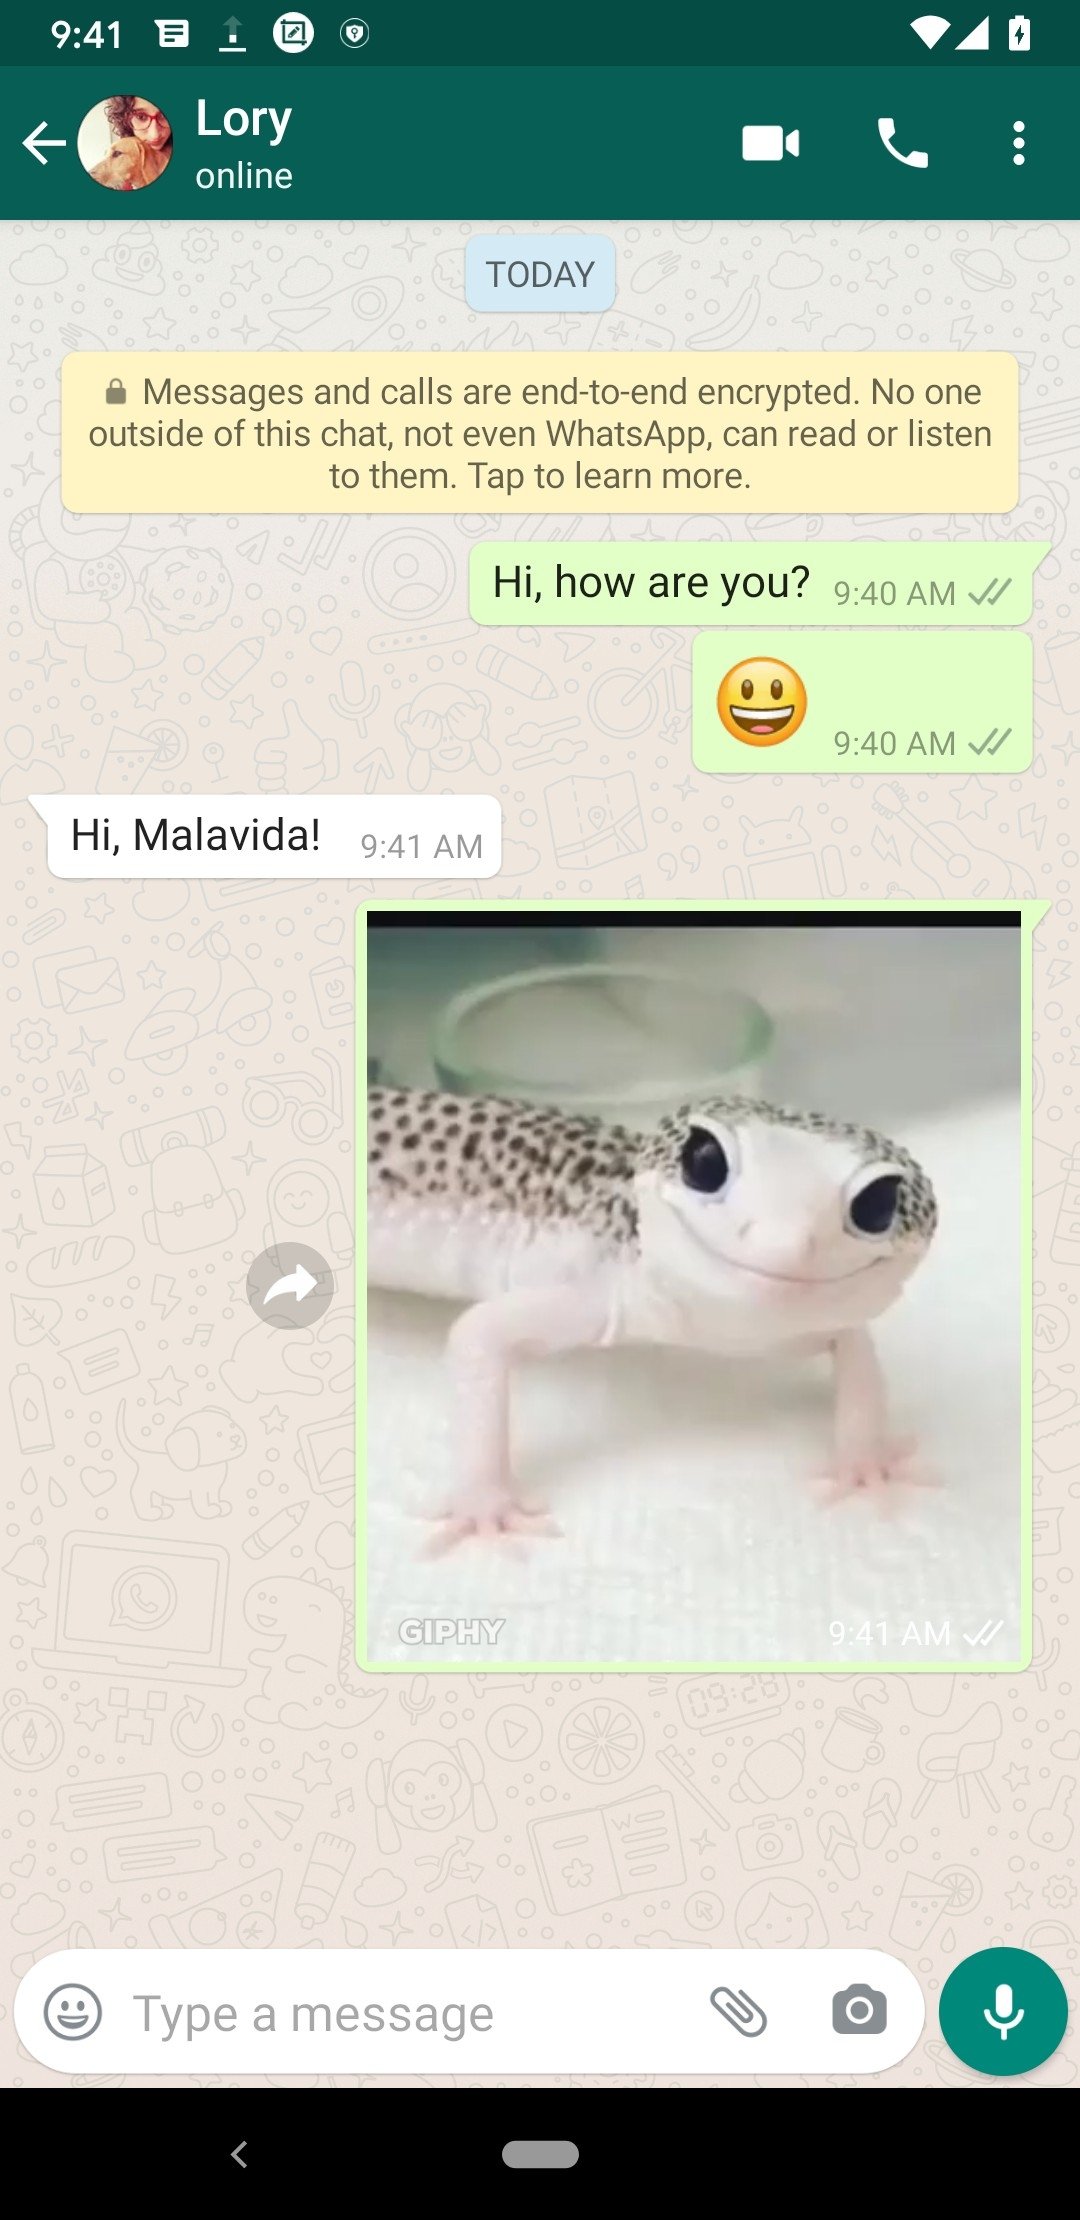
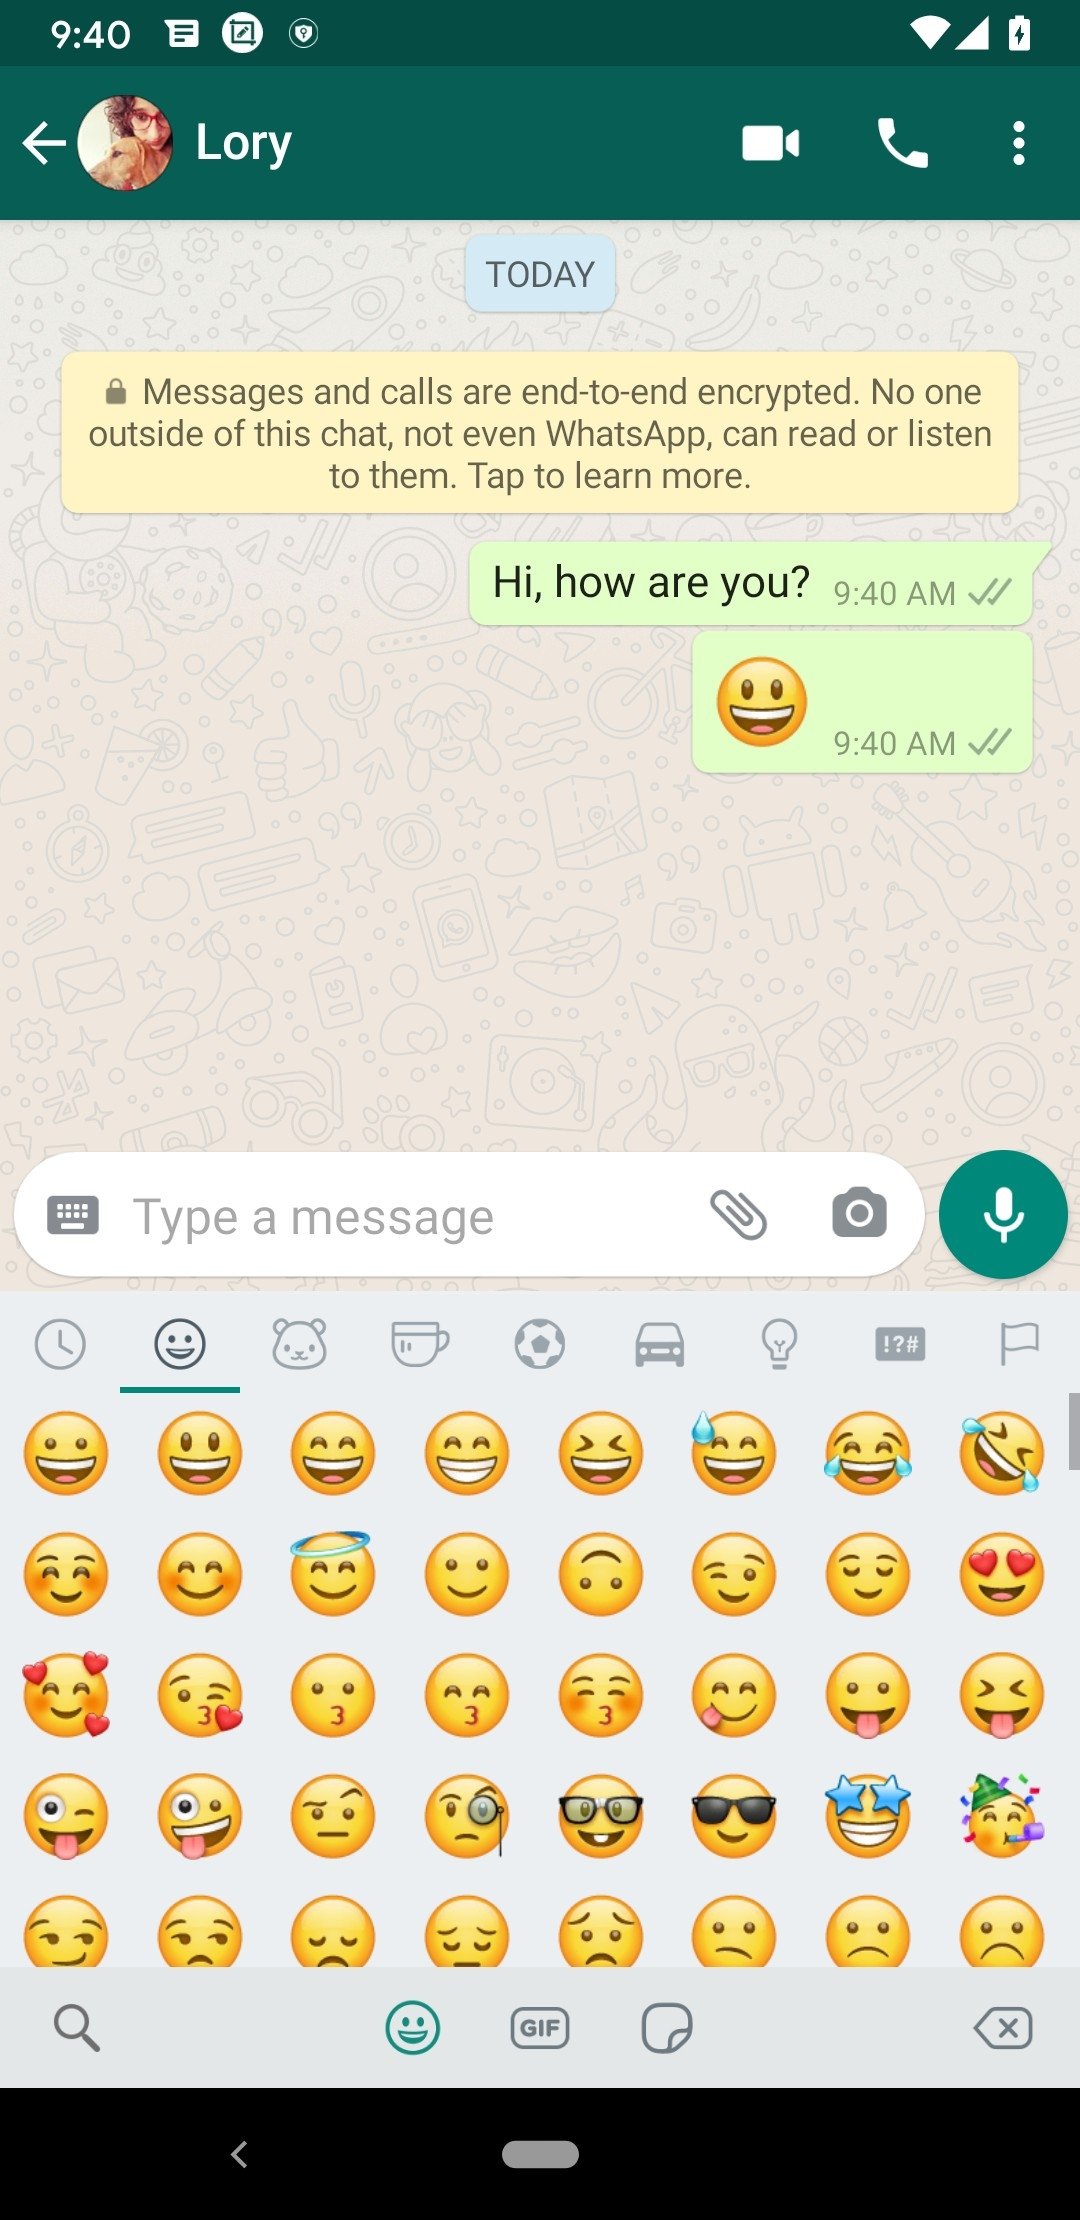
- Add hundreds of emojis, stickers, or GIFs to conversations. There are dozens of sticker packs to download and the GIFs section includes a search engine within Giphy.
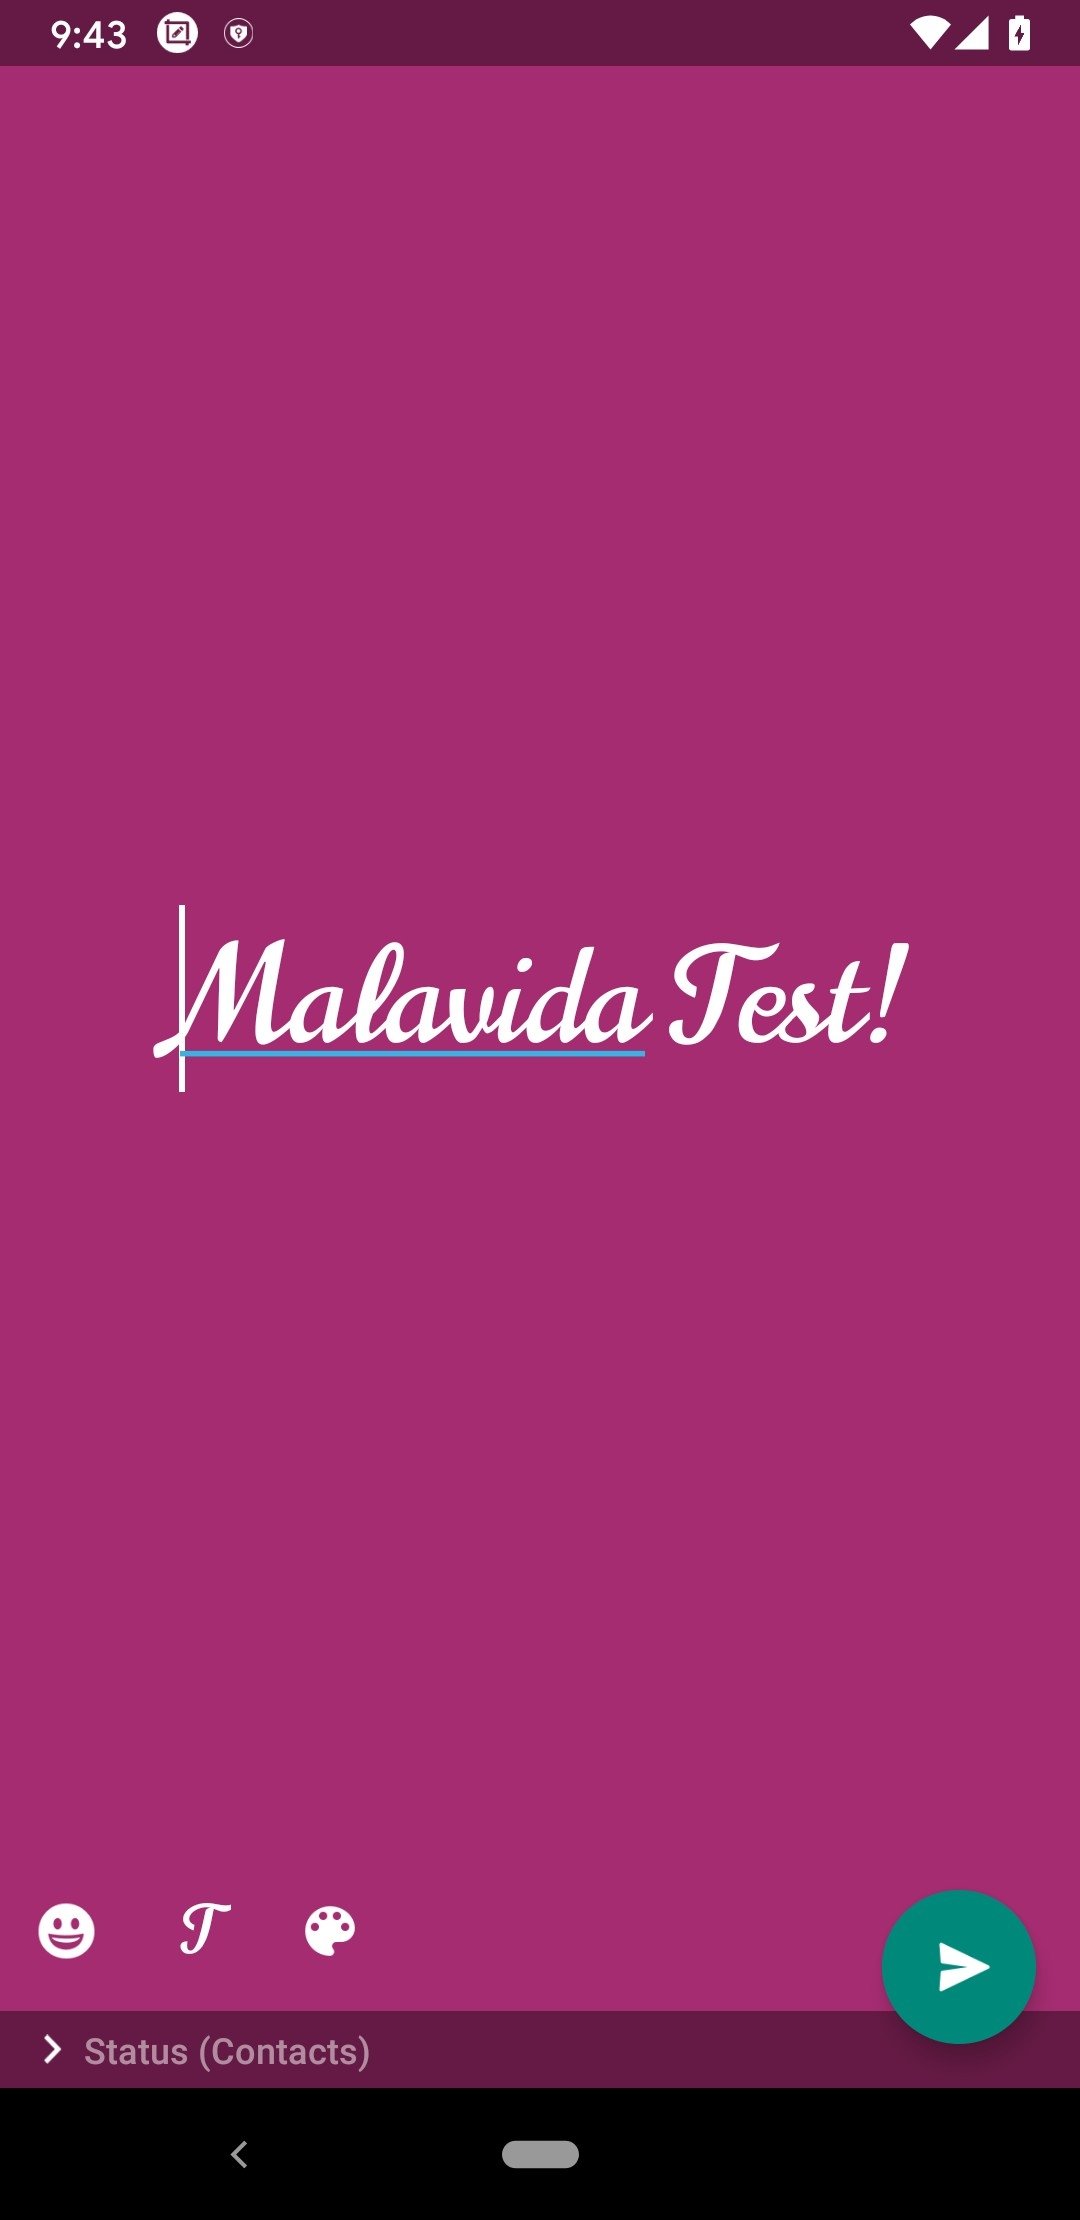
- Create status with text, photos, videos, and GIFs that are displayed for 24 hours to all or selected contacts before disappearing.
- Send messages to several contacts at once using the broadcast list function.
- Formatting our messages: bold, italics, and strikethroughs.
- Share gallery images, audio files, photos, videos, contacts, or locations at an exact moment or in real-time.
- Take photos (both front and rear camera) directly from the application and share them instantly.
- Quote previous messages to reply to a specific comment.
- Mute groups to avoid unwanted disturbance for a certain period (8 hours, 1 week, or Forever).
- Mention members of a group using @[name] so that they receive notifications even when the group is muted.
- Check whether the contacts have read the messages using a system of checks (1 gray check: sent; 2 gray checks: received but not read; 2 blue checks: read).
- Log in to the web version by using the phone camera to point to the QR that appears on your PC screen.
Lots of other apps have tried to take its throne, but all of them have failed: WeChat, Viber, LINE, Telegram, and more. There is absolutely no one to match it with its 2 billion users in over 180 countries.
On the other hand, although its functions are multiple, many users always want more and more, for example, a more customizable interface, better quality when sending files, the possibility of using the app with two phone numbers, or better settings related to confidentiality. For this reason, over the years, developers completely external to WhatsApp have been creating their own MODs that can also be found in Malavida as WhatsApp Plus, GBWhatsApp, or YoWhatsApp, among many more options. Of course, WhatsApp LLC (Facebook, Inc.) does not like this too much, and may occasionally interfere to complicate its use. So for our part, we still recommend the use of the official version, or an alternative such as Telegram, which is also very interesting.
News from the latest version of WhatsApp Messenger APK
- Only admins will be notified when you leave a group.
- You can now create and share call and video call links.
- Group admins can delete messages for everyone.
- More and improved Status reactions.
Requirements and additional information:
- Minimum operating system requirements: Android 5.0.
 Antony Peel
A Telecommunications Engineer, chance led me to the translation industry, where after a few years, I discovered another side of the world of technology while translating what others were writing about mobile applications and software. That...

Manuel Sánchez
WhatsApp Messenger Tips & Tricks